
 |
Howzhit my braddahs, sistas, aunties, uncles madda's and faddas? Dis stay braddah D from 808! Cheee! OK. Theres already a few threads about this on HID planet and i stumbled
|
|||||||
 |
|
|
LinkBack | Thread Tools | Display Modes |
|
|
#1 (permalink) |
|
Base Member
Join Date: Dec 2015
Location: Hawaii
Posts: 192
Drives: 2012 370z sport
Rep Power: 10       |
Howzhit my braddahs, sistas, aunties, uncles madda's and faddas? Dis stay braddah D from 808! Cheee!
OK. Theres already a few threads about this on HID planet and i stumbled upon a few on some google searches but nonetheless, sometimes they are hard to find and another thread is always helpful right! Our 370z's have some pretty crappy headlight output as we all know. And you can just be a fool and throw in some higher kelvin bulb and think you are getting higher output. Just like the 350z or any headlight projector, theres always improvement. So hopefully this helps. I didnt have a photo of the stock headlight output so hopefully someone can post it for reference. 1. Take off the headlight. Theres already threads about this so i wont do this. Such a PITA with the Amuse (i have rep) one piece bumper. 2. Open the headlight. THeres already a huge thread on this. 3. I must mention, there are a great deal of items you should always do anytime you open the headlight. I know some people just paint but dont you want performance? and the flicker effect (cyan, purple, blue) is just sick! 4. Heres what you should have. I realized later that you dont even have to take out the silver piece in the pic that the projector bolts on to. The silver piece is what move when adjusting. This is awesome because you don't have to readjust head light beam after! Take off the projector from the adjuster brcket. 3 bolts i think it was. 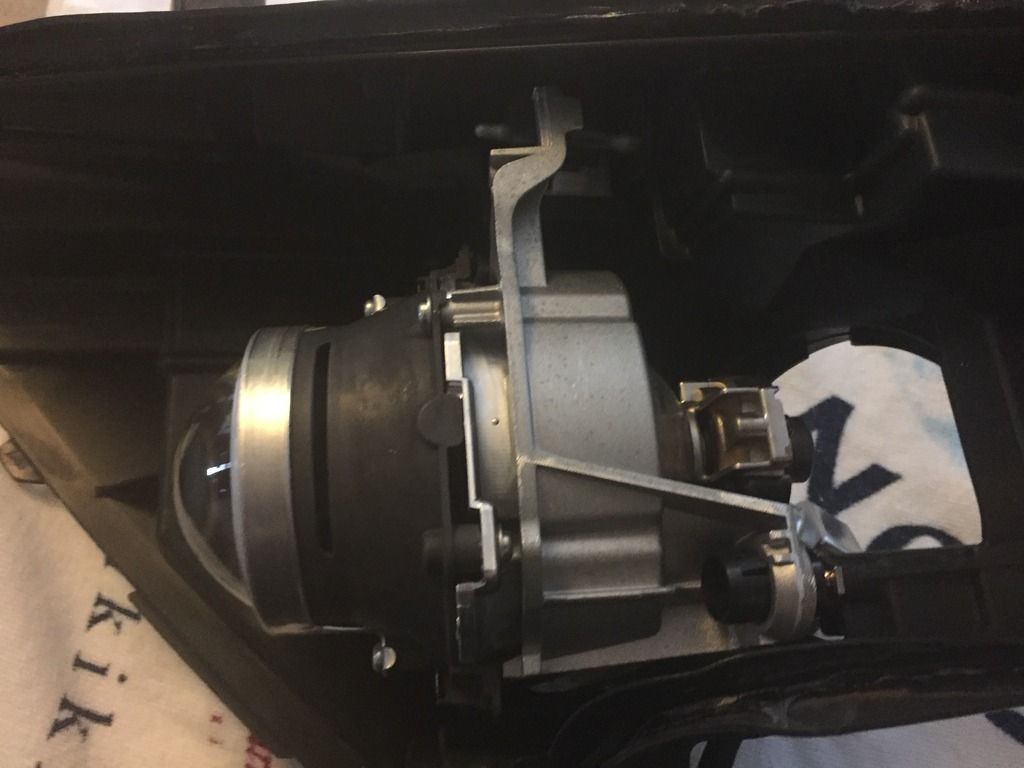 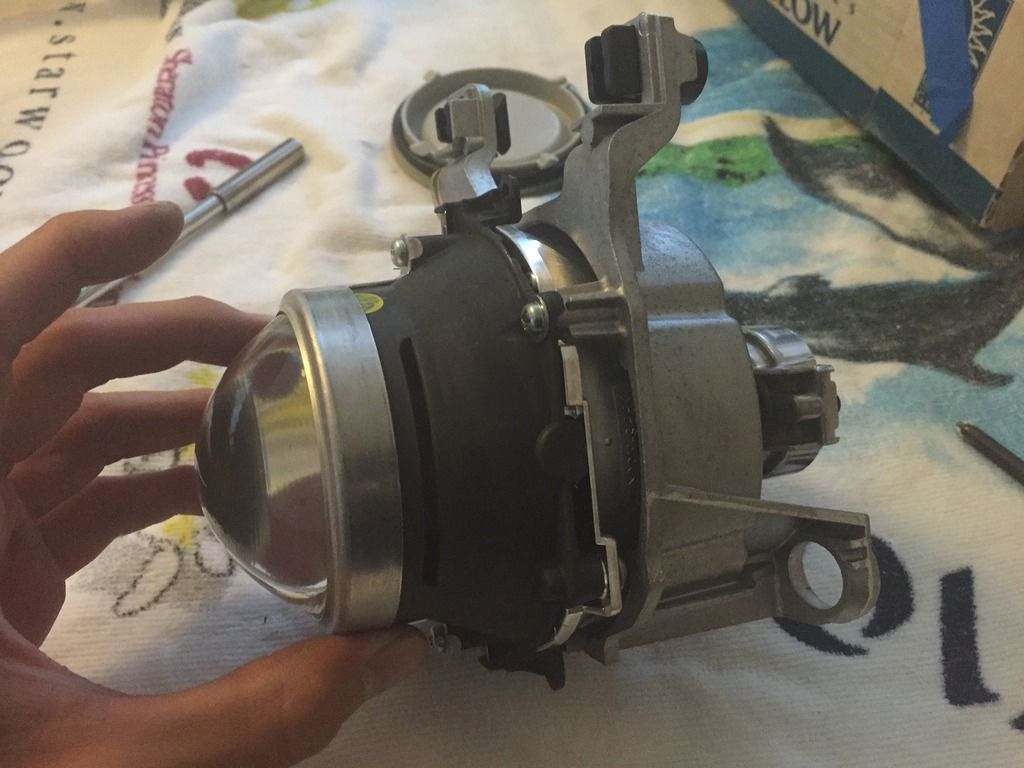 5. Take off the the front (lens side) and the back side (projector bowl w/bulb). 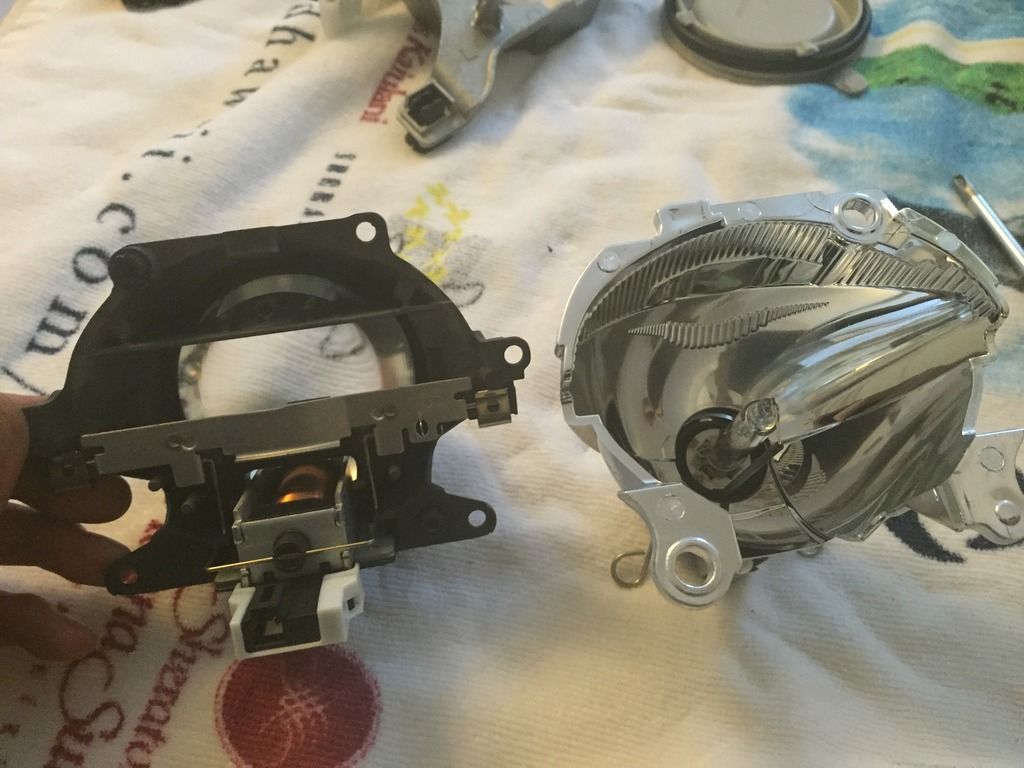 6. You see this little black piece above the cut off shield, this is whats contributing to poor cut off. 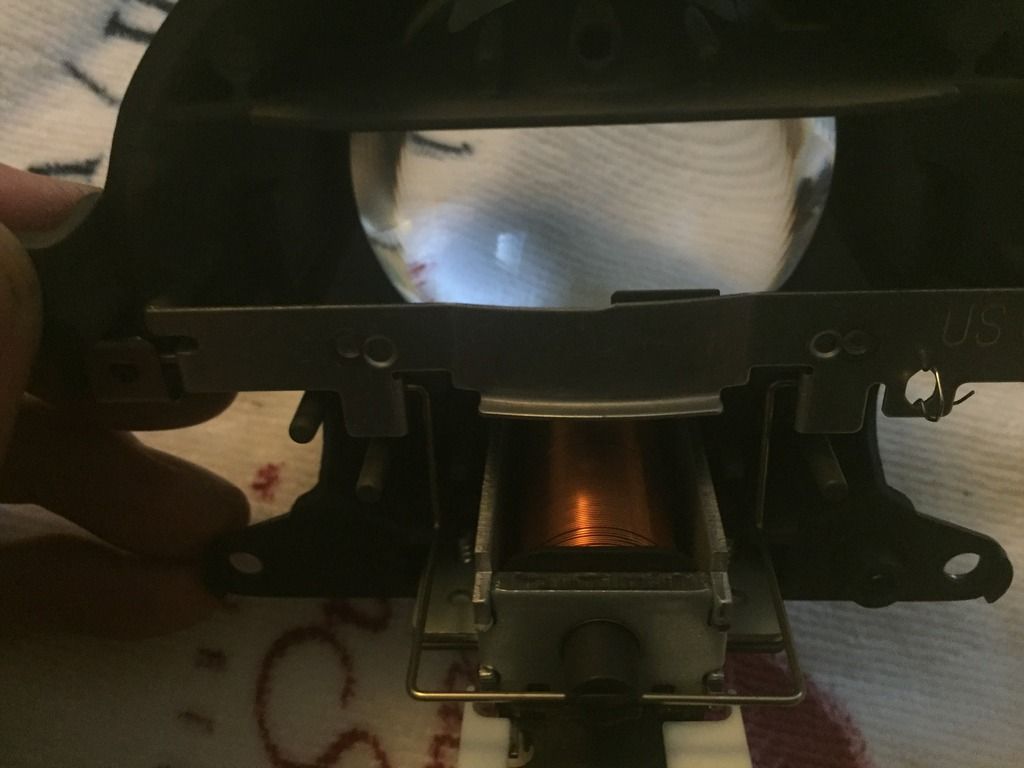 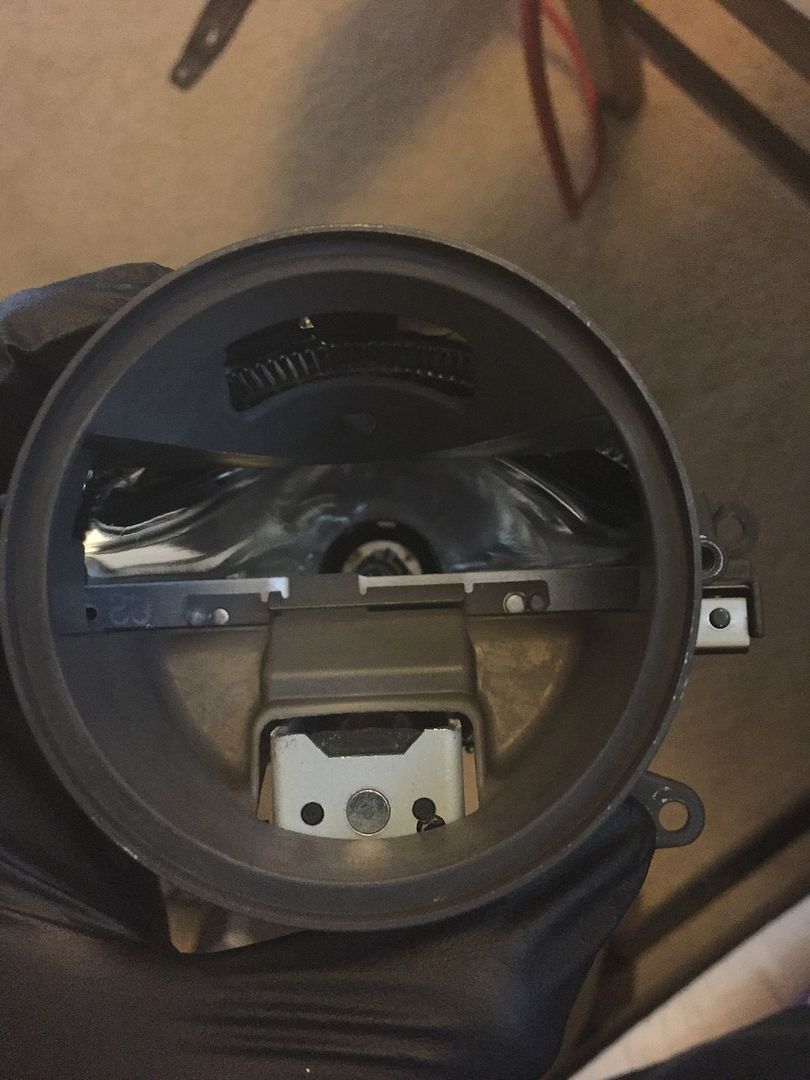 7. So along with removing this little black piece, we will be changing to STI-R clear lens and Osram CBI bulbs. Top quality stuff. Get it from retrofitsource.com. 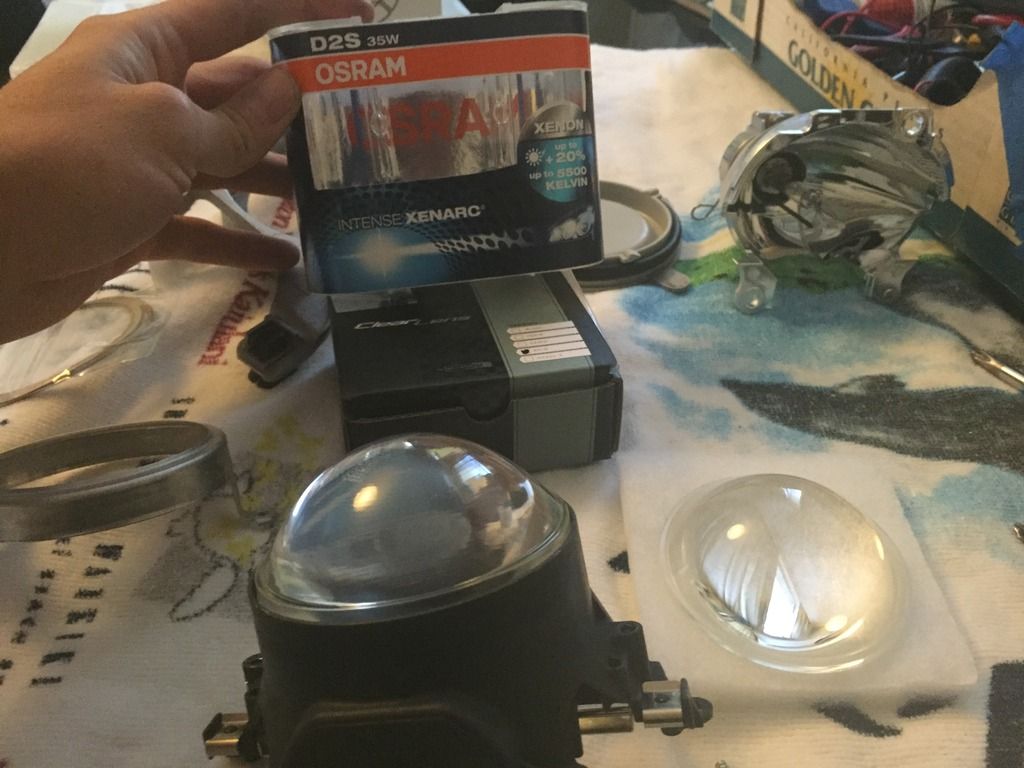 8. this shield can be taken off. You remove the two clips pictured on the top and bottom with a flat head. It holds the round cylinder piece that also has a spring. The piece on the left is the bi-xenon solenoid. The motor pulls the shield down for the highbeams. Once you take it apart, you will see how easily its put together. 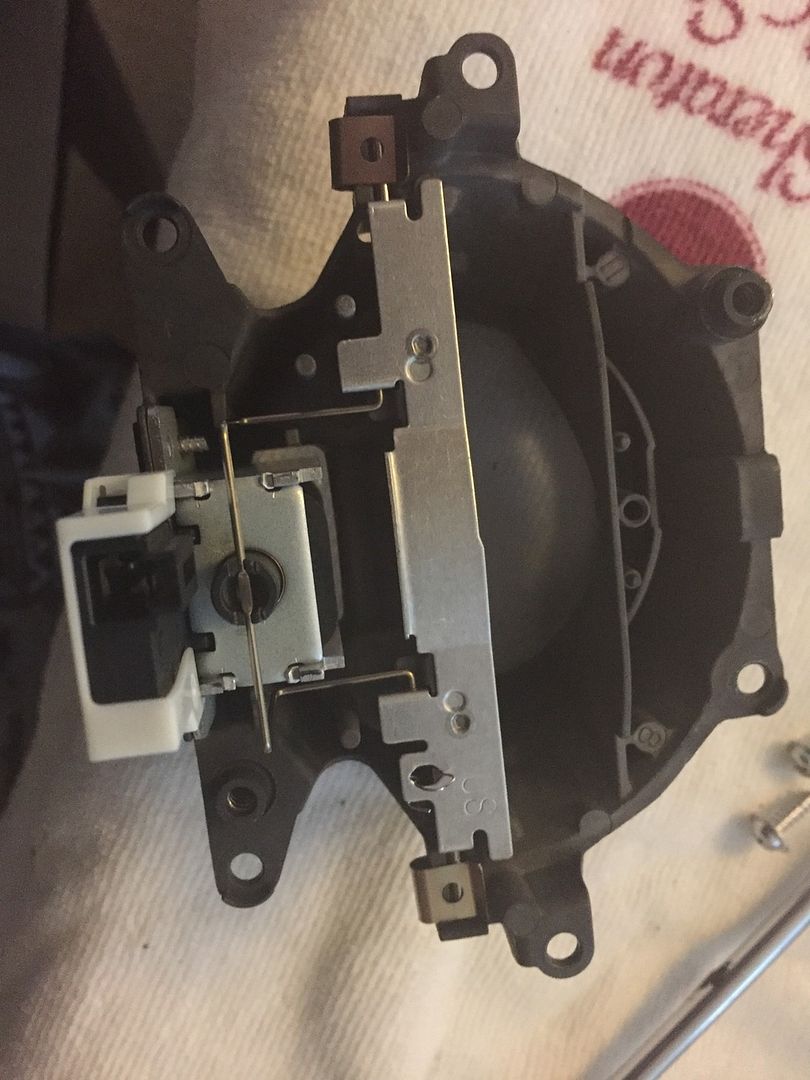 9. Heres the shield and black piece were removing. Its slightly over the cut off shield which is the problem. 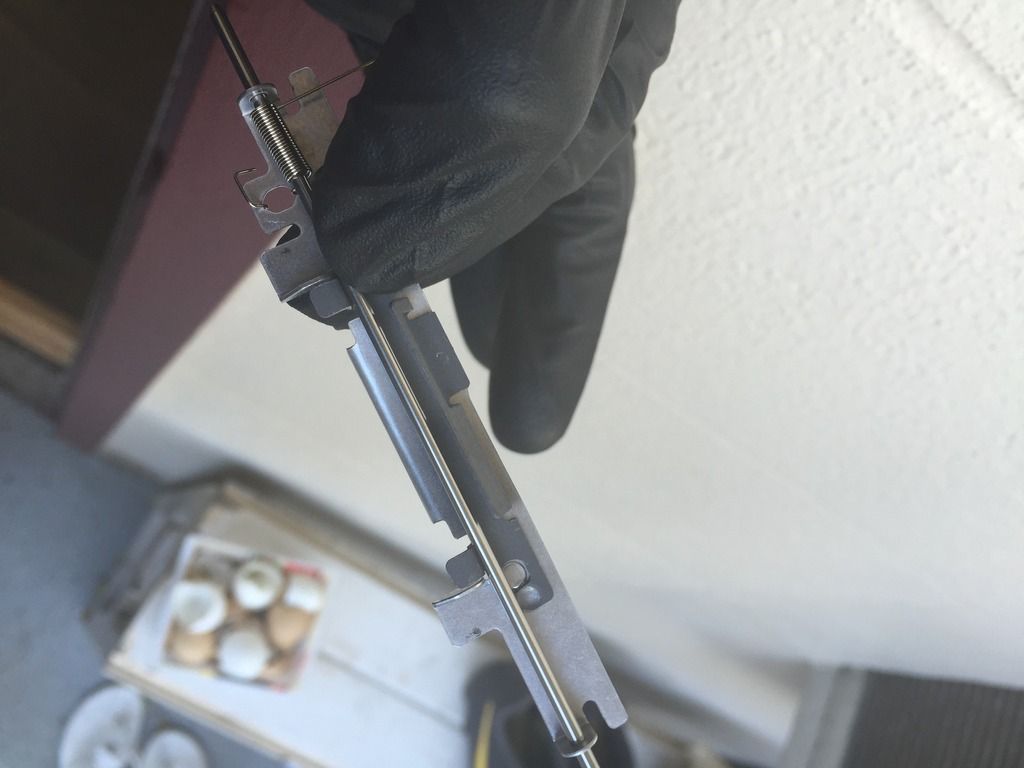 10. Grinded down with cutting wheel you can also bend it down like some other members did but i thought it was easier to cut. 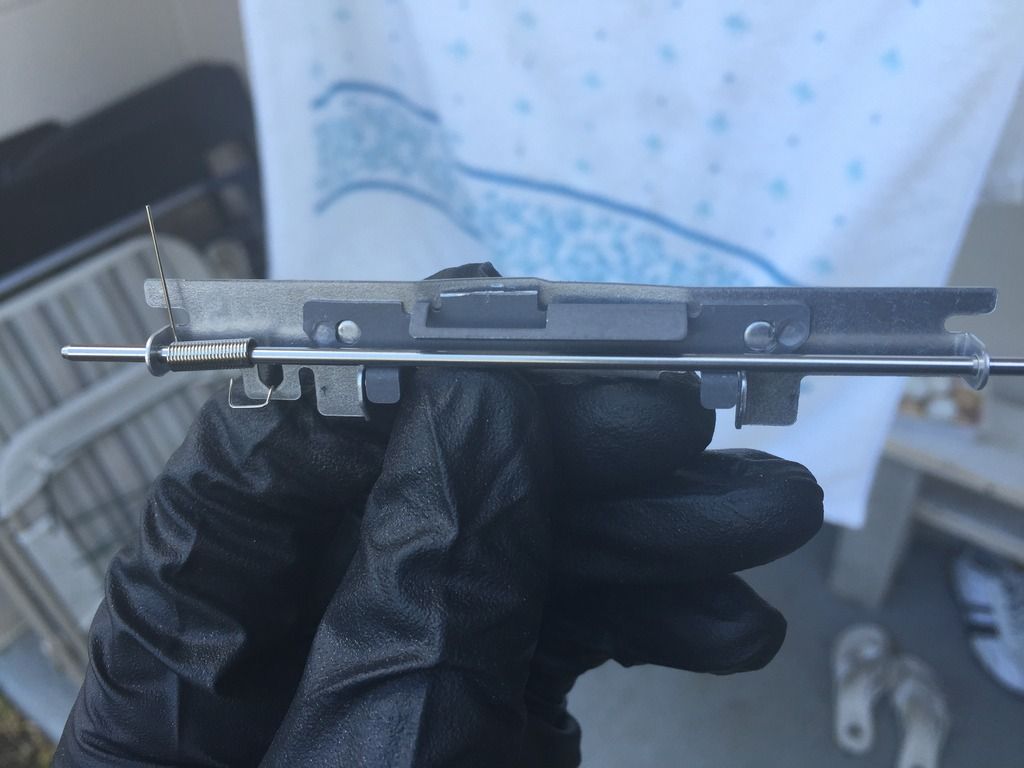 11. Now its not visible over the shield.  12. I didnt go into much depth about the clear lens swapping witht he stock fresnal lens because there is too much too learn. to sum it up, the stock Fresnel lens has lines in it that distort the light, the clear lens from The retrofit source (along with other OEM cars like s2000) projects the beam more crisp and sharp. You have to also use lens spacers (from The retrofit source to make life easy) to find the sweet spot for a razor sharp cutoff. This has to be done while the projector is on and holding the clear lens with spacers to find the perfect amount of spacers needed, then you bolt it down. The tiniest adjustments will change the cut off so hold it steady and bolt the lens holder down and double check output again. 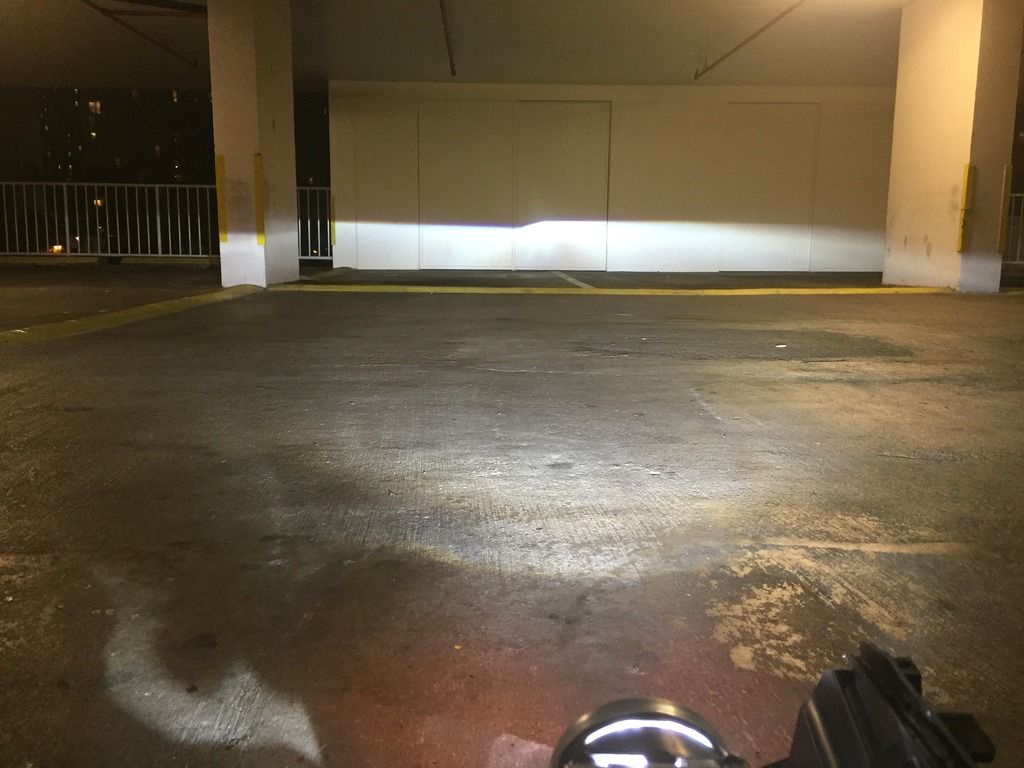 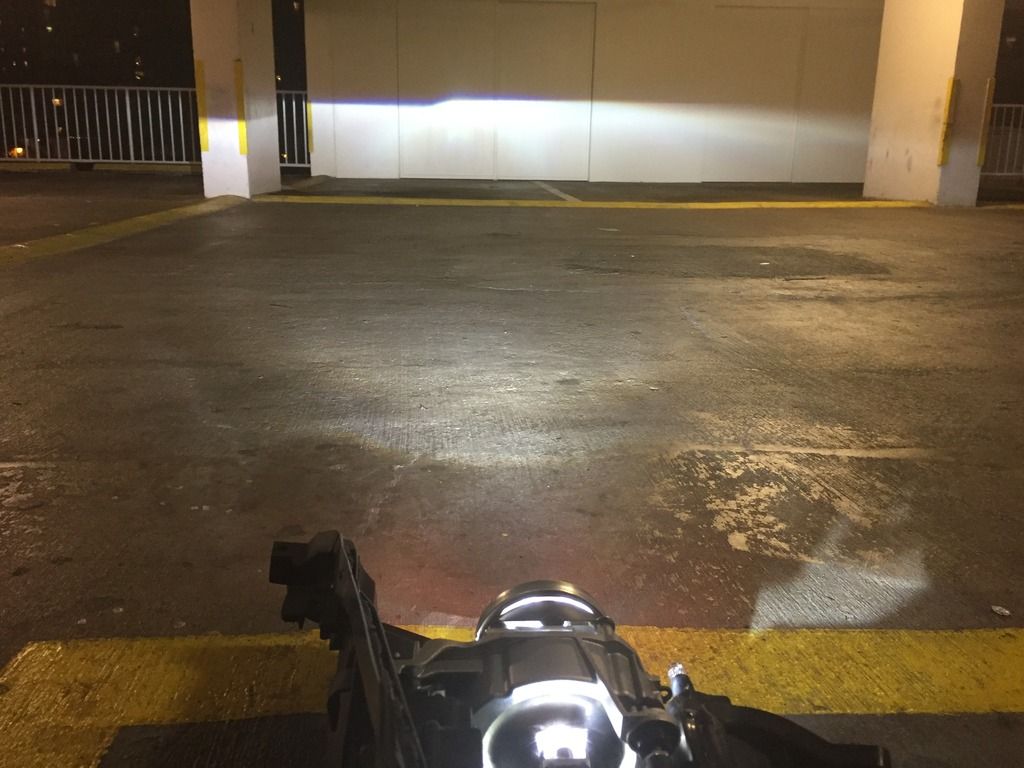 13. As you do adjustments with the lens spacing, you can create this blue line which is commonly knows as flicker effect. This colerful light projects purple, cyan, blue, yellow right on the beam line. You will see this often in your rear view mirror of some cars like TSX, S2000, Acuras, BMW i3, new corollas with led headlight. From factory some of these cars have that flicker cut off but there are many many enthusiasts/hid fanatics that can make these color effects very strong based on cut off shield designs, etc. 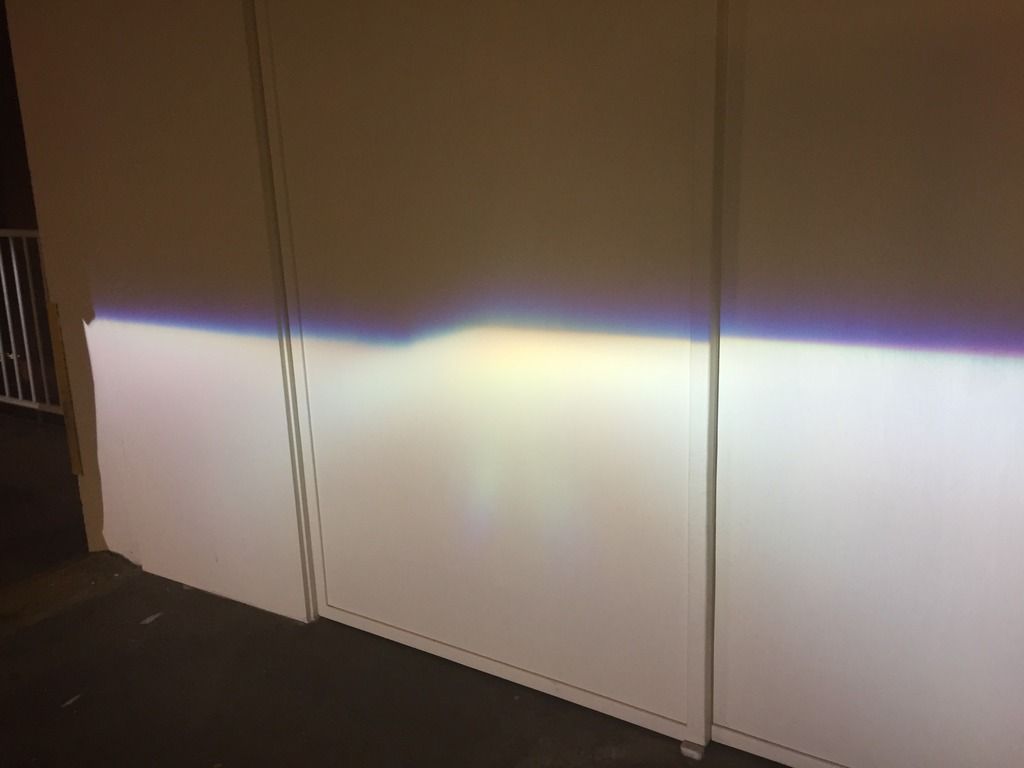 Hope this helps in any way. Last edited by Daniel123588; 04-29-2016 at 02:10 AM. |
|
|

|
|
|
#2 (permalink) |
|
Base Member
Join Date: Dec 2015
Location: Hawaii
Posts: 192
Drives: 2012 370z sport
Rep Power: 10       |
Clear lens pic.
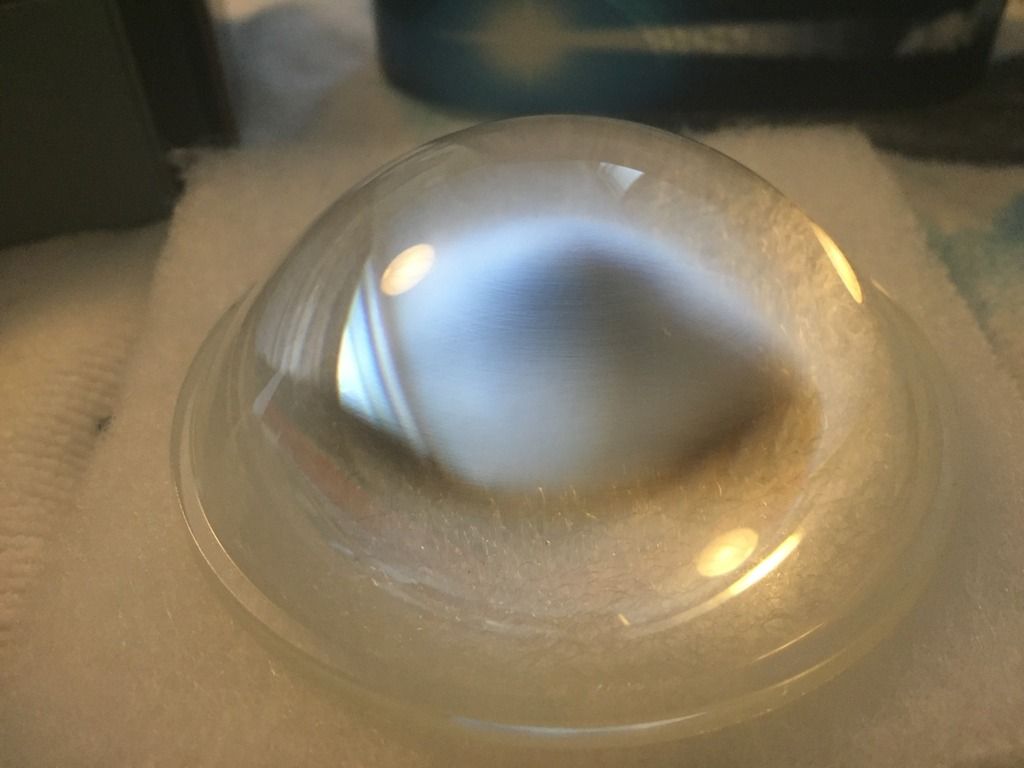 Fresnal lens pic. 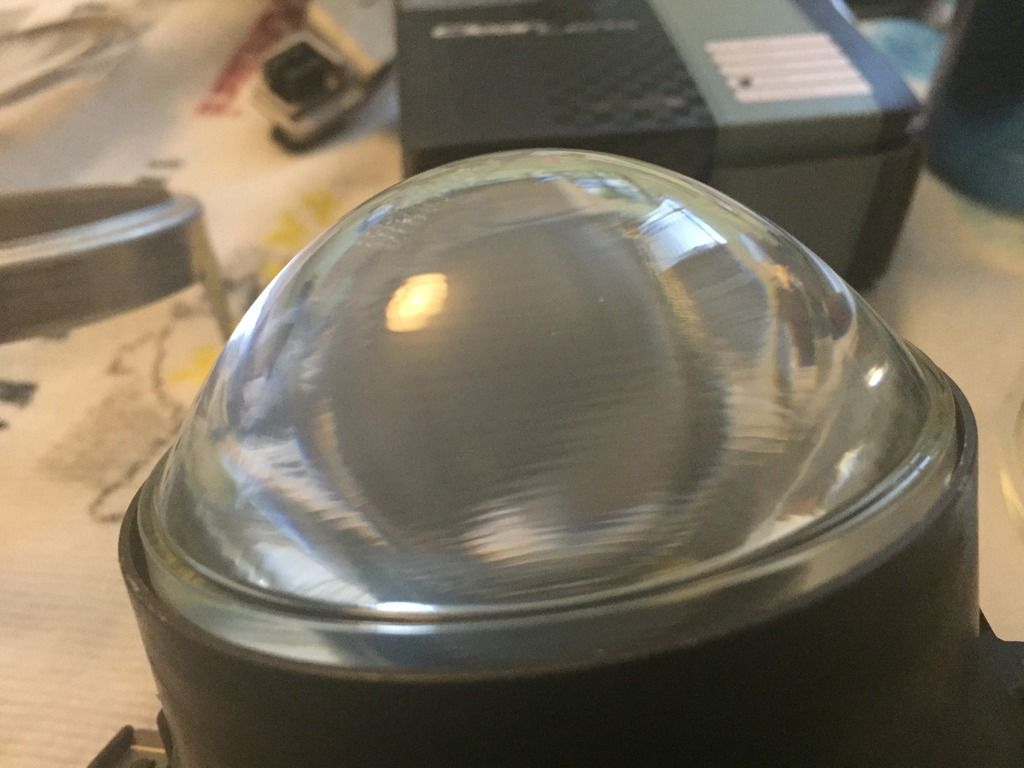 Misc items pics. 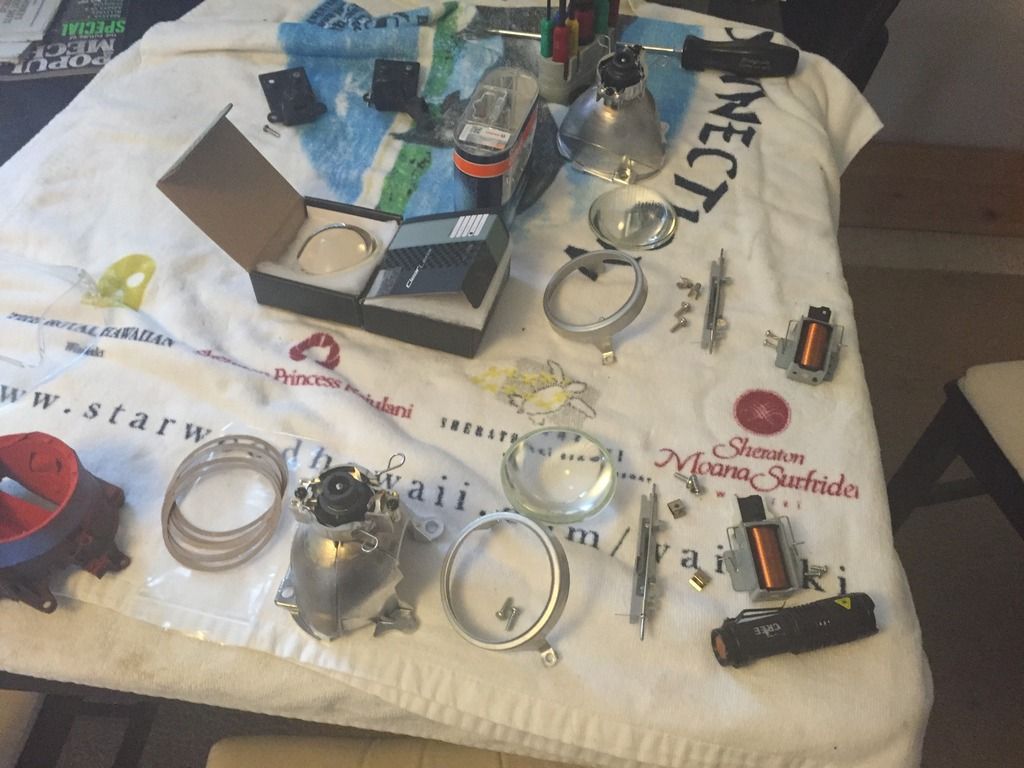 Osram CBI pics. 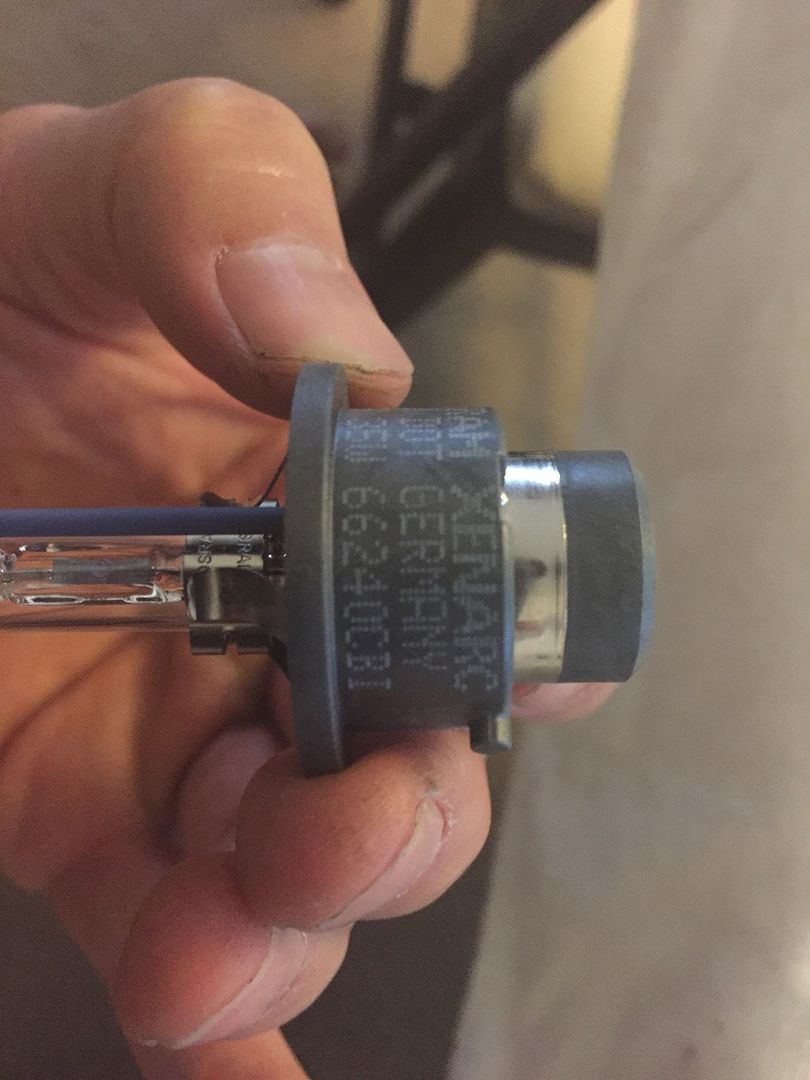 Forgot to add. You can paint the cut off shield to get the red demon eye look. BUT make sure you paint the side of the shield that faces the lens and not the bulb. Also dont get paint on the top of the cut off shield. Probably best to do some reading. 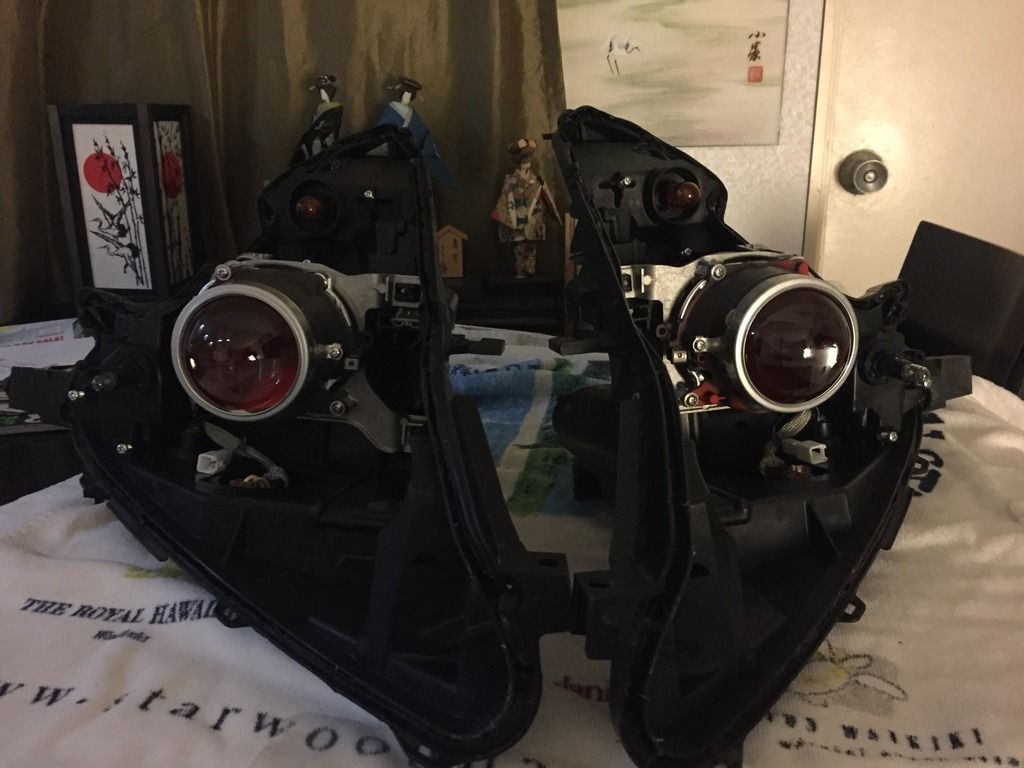 Lastlly, heres the two amber led's that nobody ever goes in depth to about changing. Im debating on just unplugging it or replacing the soldered LEd's. Its just the other 194 bulb is right there so might just run that 194 bulb and leave the 2 little 5mm led's off. I cant seem to do this utilzing the circuit board, like the 350z, i just made a board with resistors. 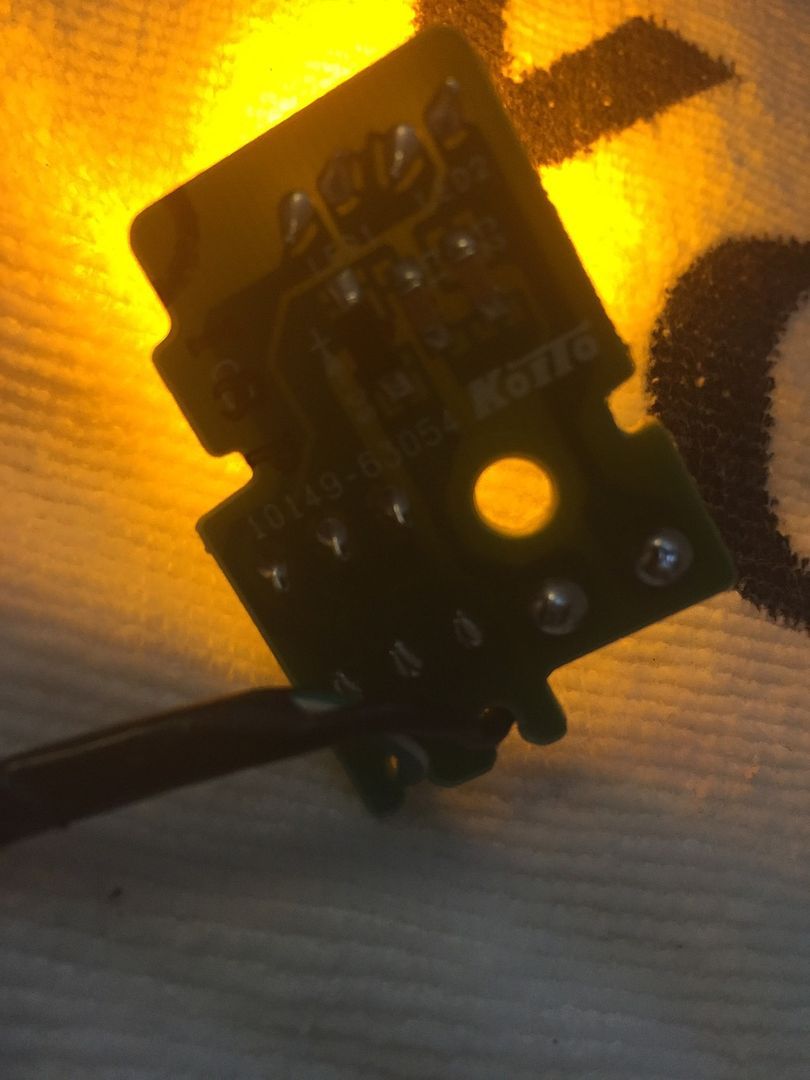 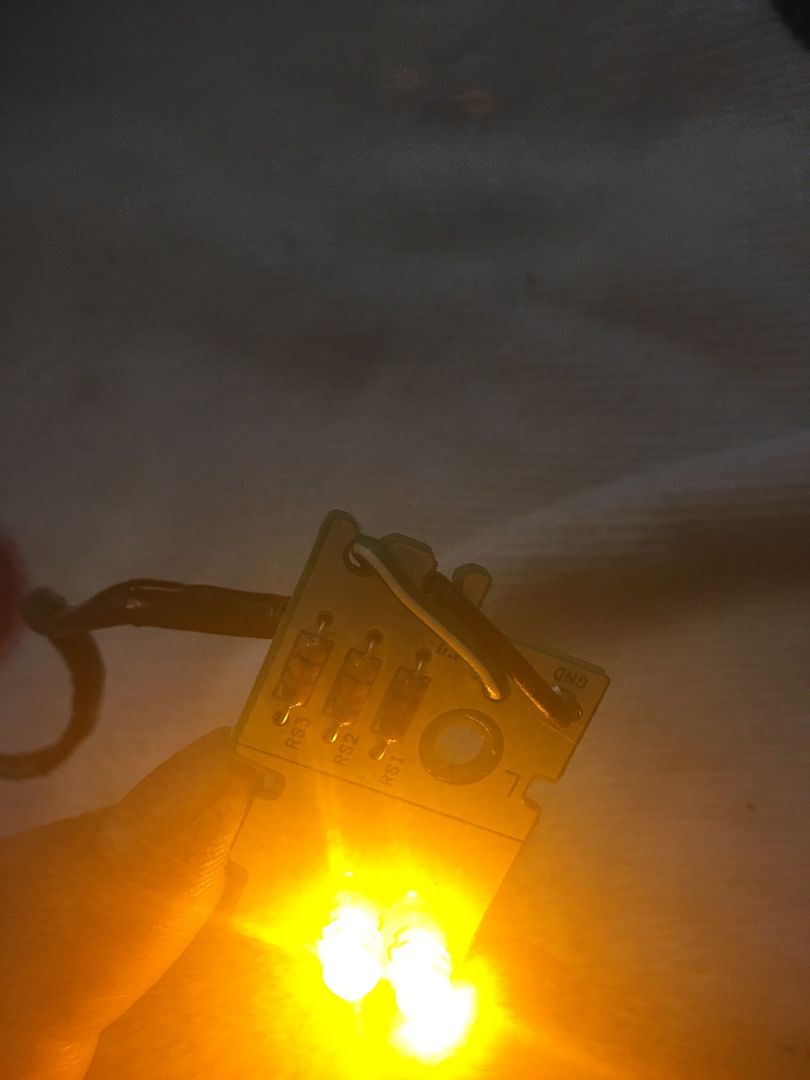 my old z and the led's im talking about. 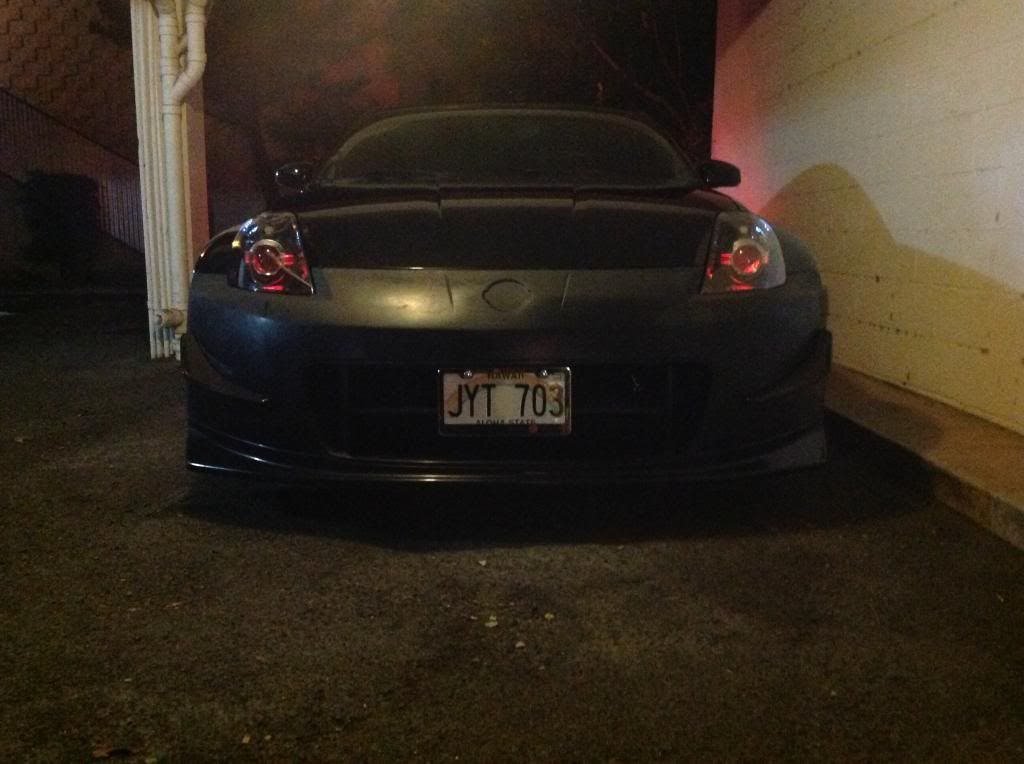 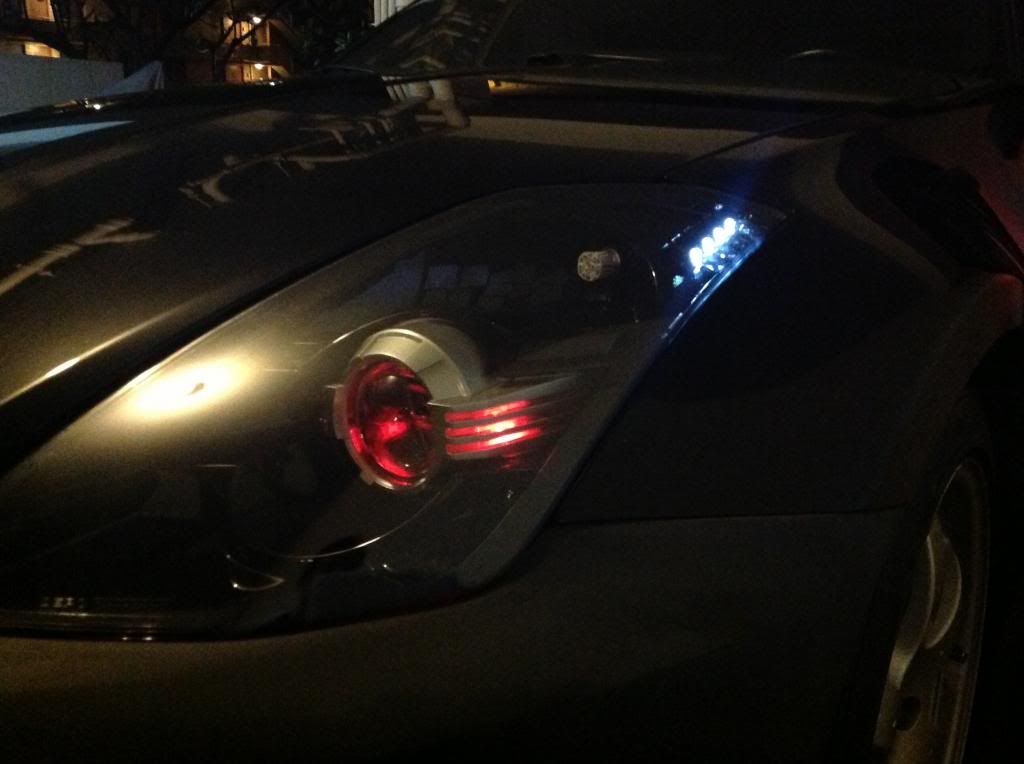 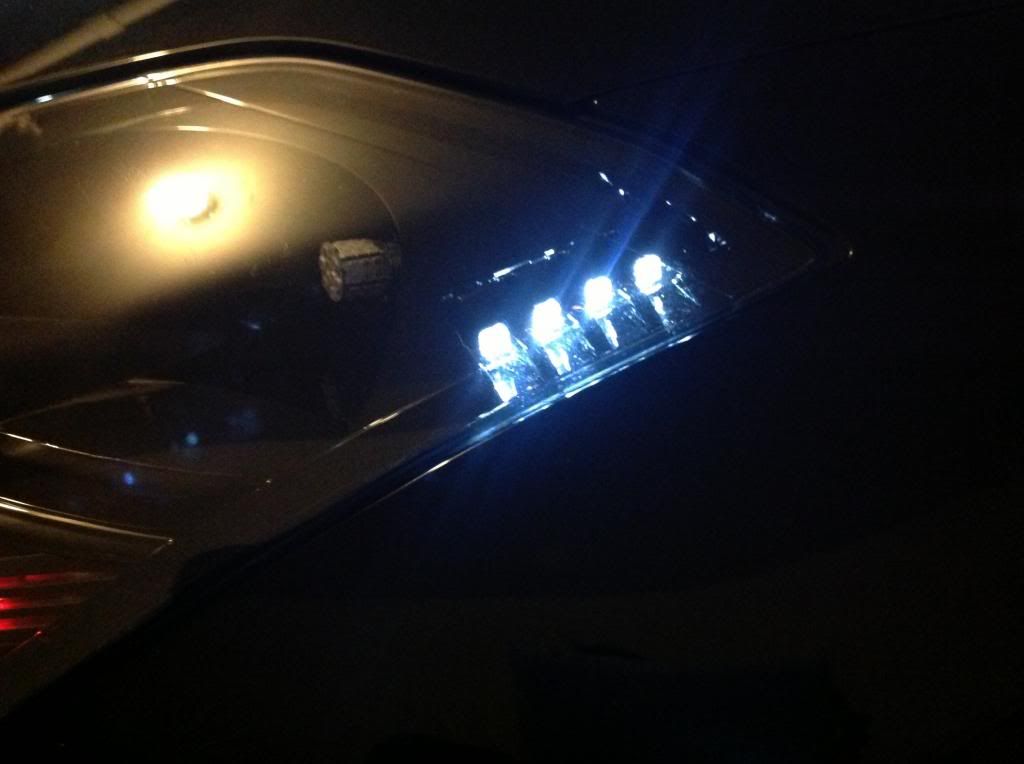
|
|
|

|
|
|
#5 (permalink) |
|
Track Member
Join Date: Mar 2012
Location: San Antonio
Posts: 714
Drives: '09 370Z PW M6
Rep Power: 20            |
Ho cuz wish I woulda saw this befo I cracked my ones open! Big Island/Hilo bra!
__________________
VSR Single-turbo kit: 611hp/517tq @ 10psi (Q16 race gas) Dan's VSR top-mount turbo 370z |
|
|

|
|
|
#6 (permalink) |
|
Base Member
Join Date: Dec 2015
Location: Hawaii
Posts: 192
Drives: 2012 370z sport
Rep Power: 10       |
Cheeee!
Most people are probably thinking WTF are they saying...primitive animals... Hey just FYI to people with slightly oxidized headlights. Although my oxidation was quite minimal, there still was sun damage along with fine scratches that would just not come off with off the shelf products. Because im trying to shoot for a car show, I had a shop prep and reclear the headlights, they came out simply AMAZING and literally looks brand new. They were able to get all the oxidation out and the small scratches. I was extremely surprised. Keep in mind, if your lenses already have stress cracks (tiny looking cracks), those cant be fixed. 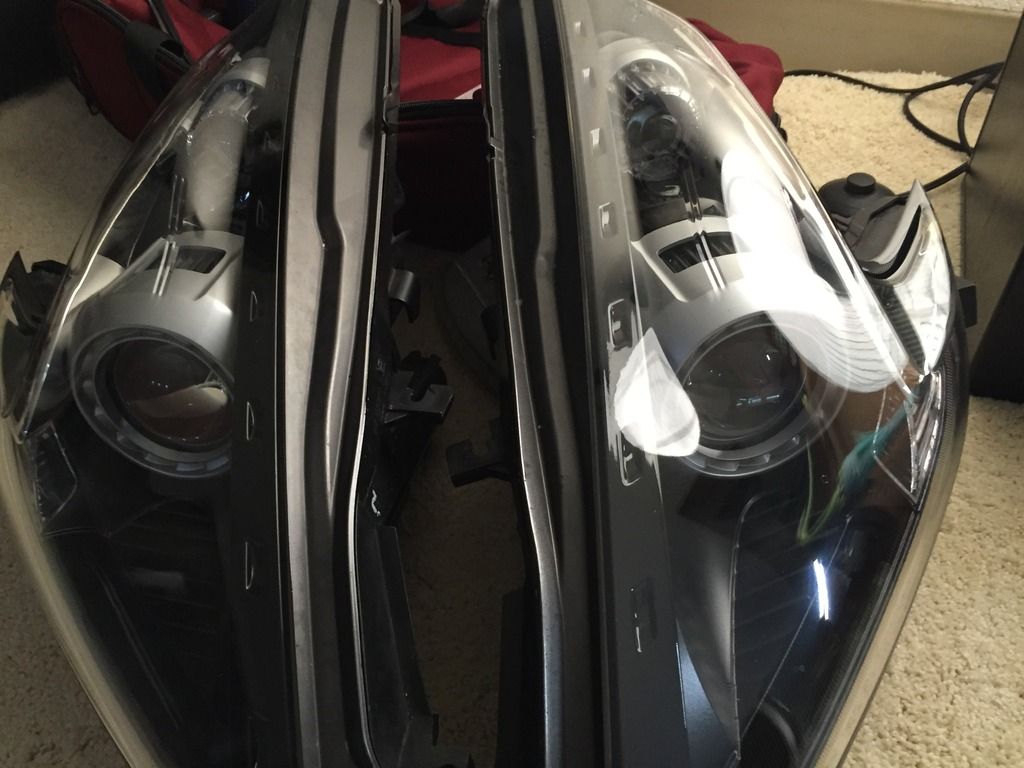 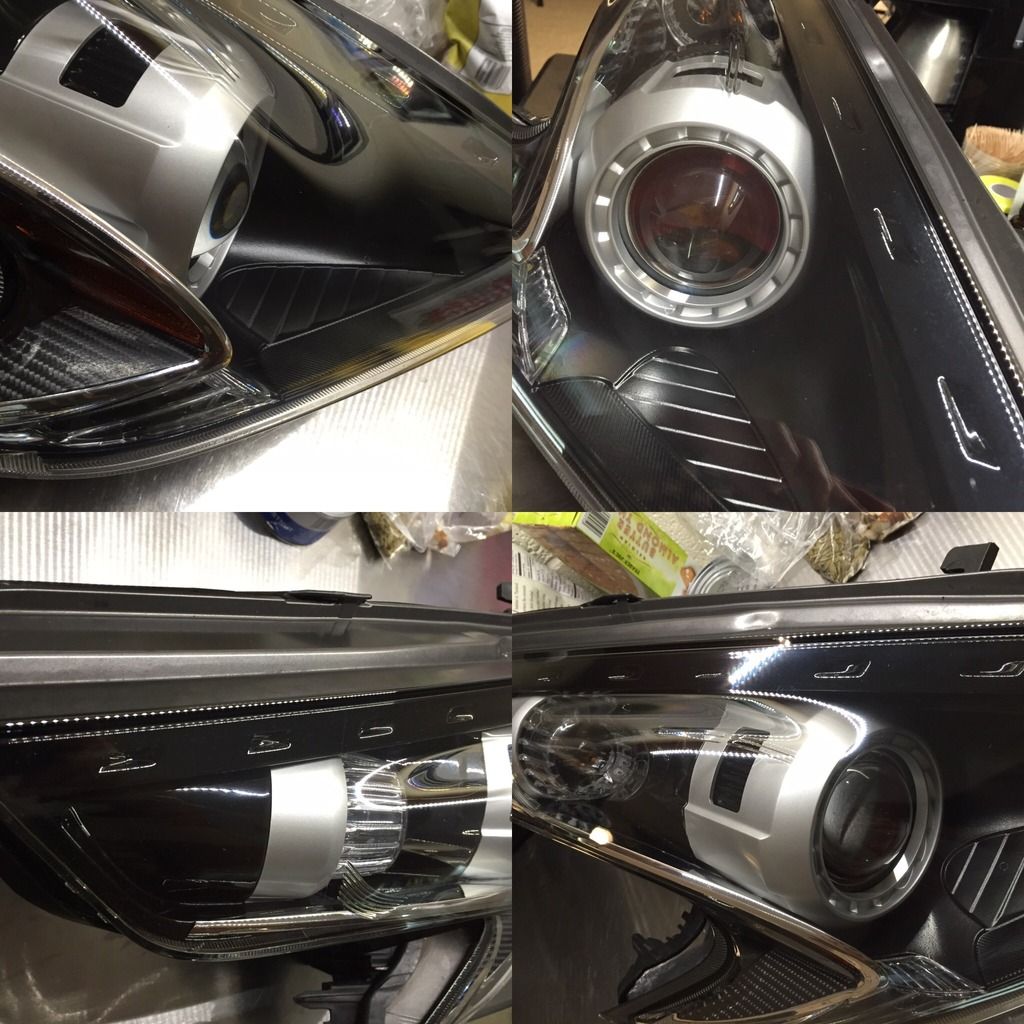 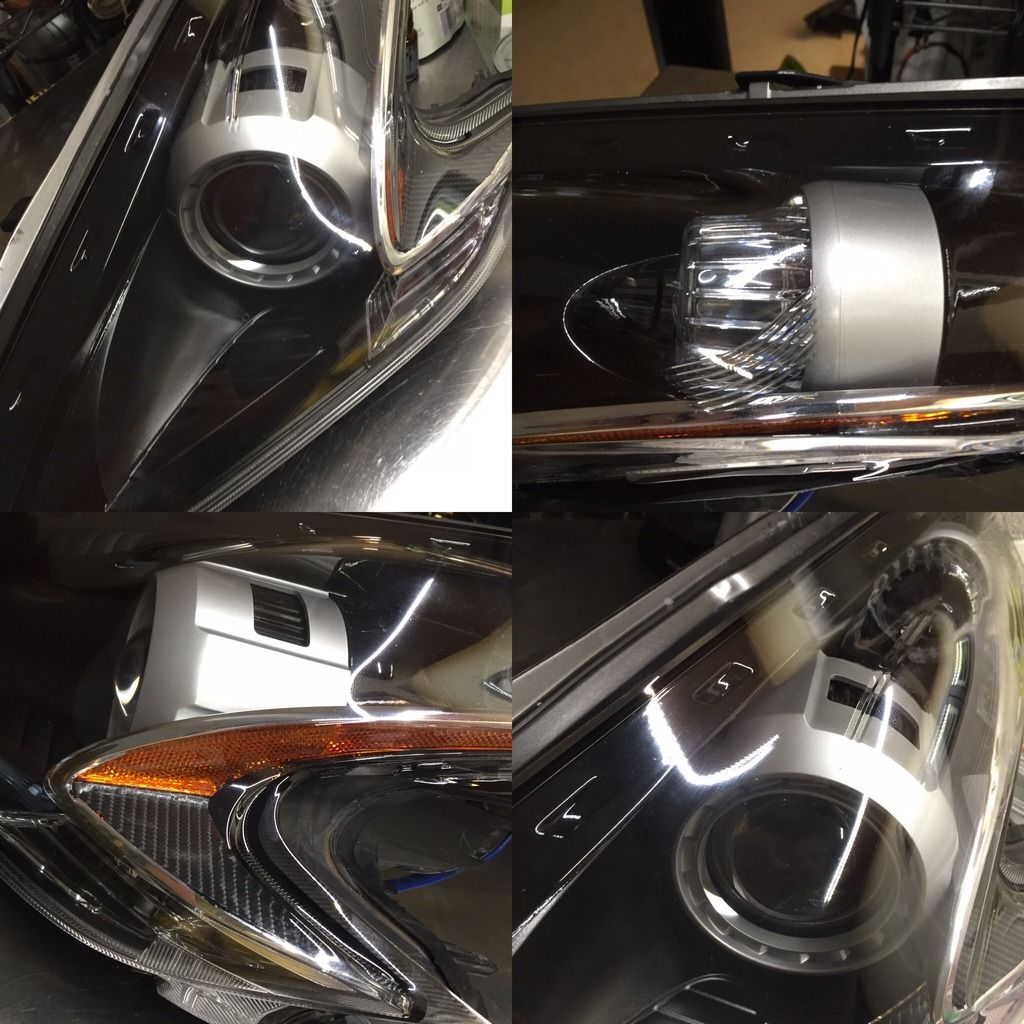
|
|
|

|
 |
| Bookmarks |
|
|
 Similar Threads
|
||||
| Thread | Thread Starter | Forum | Replies | Last Post |
| Headlights OEM Projector/Shroud Question | moore.speed | Exterior & Interior | 2 | 06-10-2015 03:58 PM |
| Introducing 180 Custom "Quad Projector" Headlight. | bullitt5897 | Exterior & Interior | 33 | 03-02-2015 09:28 PM |
| [FOR SALE] Lexus IS250 Xenon Projector | fairz | Parts for sale (Private Classifieds) | 2 | 12-25-2013 12:30 AM |
| Headlight Projector Grey Plastic Shrouds | future370zzz | Wanted | 2 | 08-24-2013 03:03 PM |
| WTB: LH (Driver) Headlight Projector Assembly | DIGItonium | Wanted | 0 | 05-25-2011 08:52 AM |