
 |
What's going on everyone? I first want to say thank you to everyone in the community for the awesome DIY pictures, videos, tips and tricks! They have given me many
|
|||||||
|
|
LinkBack | Thread Tools | Display Modes |
|
|
#1 (permalink) |
|
Base Member
Join Date: Aug 2015
Location: Boston
Posts: 7
Drives: 2011 370z
Rep Power: 10  |
What's going on everyone? I first want to say thank you to everyone in the community for the awesome DIY pictures, videos, tips and tricks! They have given me many ideas and a lot of help on other topics.
This is my first time posting to the forum and I wanted it to be of a DIY project. I am very new to the forum so my apologies if this has already been gone over, however, if not, I am posting how I fitted my new 6.5" speakers using the OEM male and female speaker clips, without having to cut the wire harness. I searched and could not find this on the forum but again, noob. So... The stock speakers are poor to say the least. So I took the old speakers out, removed the female adapter from the speaker, and mounted it to the plastic speaker plate from the stock speaker. All the tools I used and the parts I used for the job are listed in the post. Parts: Alpine SPS-610 6-1/2" 2-Way Type-S Series Coaxial Car Speakers Nissan / Infiniti 6.5 Inch Black Plastic Speaker Adapter Bracket Ring All wires and hardware came included with the speakers. They are very good quality and not expensive. First, I matted the door, and removed the stock speaker and mount. 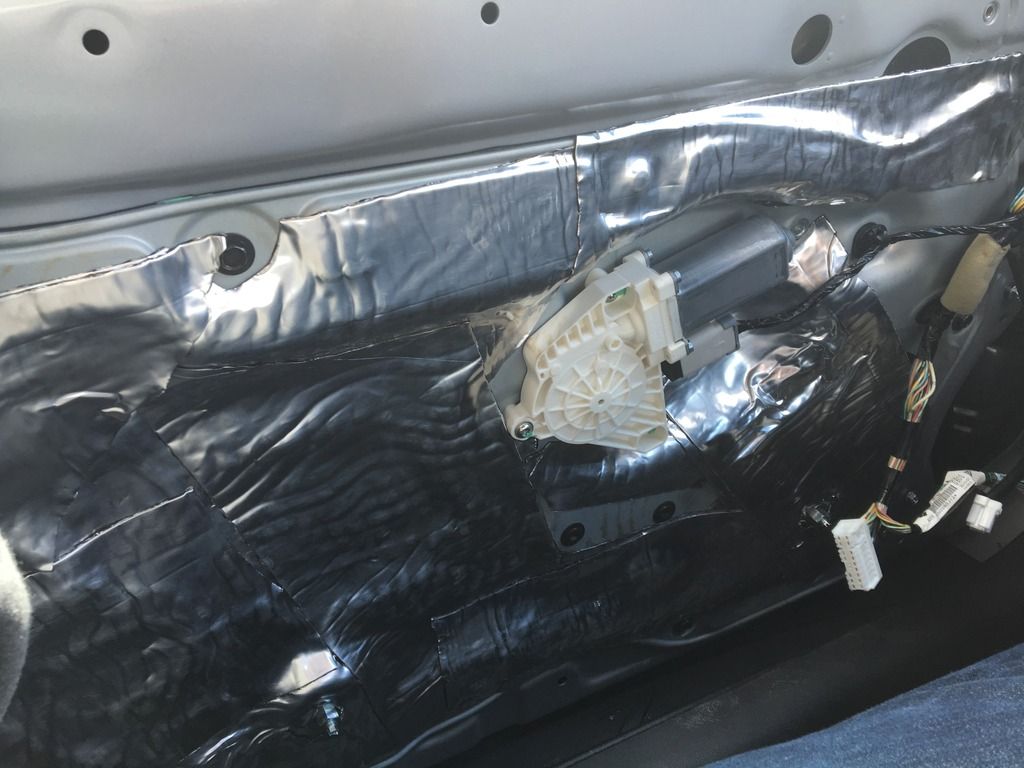 Next I took the stock speaker and removed the female plug by bending the metal tabs up, snipping the wires from the speaker and pushing the plug out from the bottom. 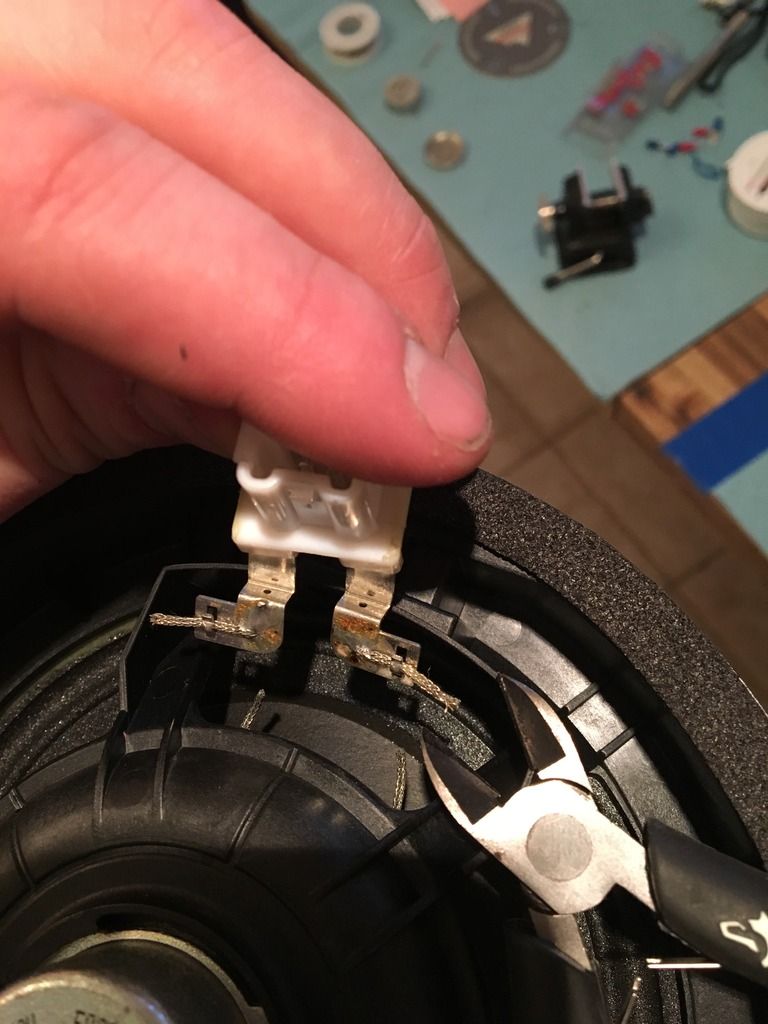 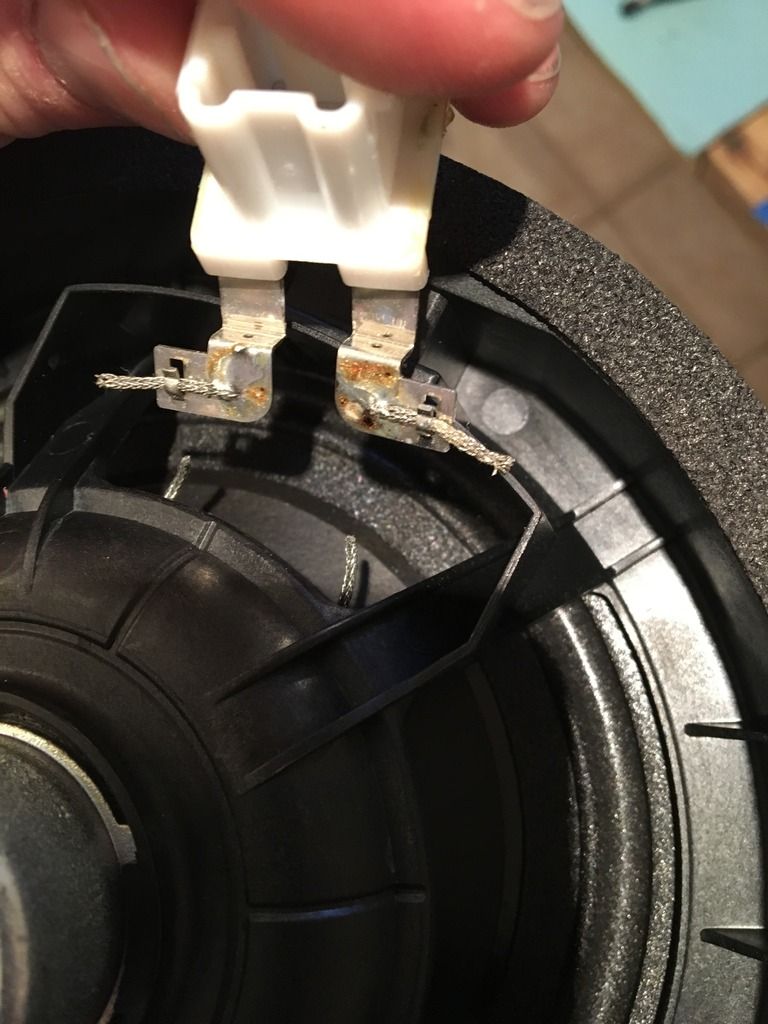 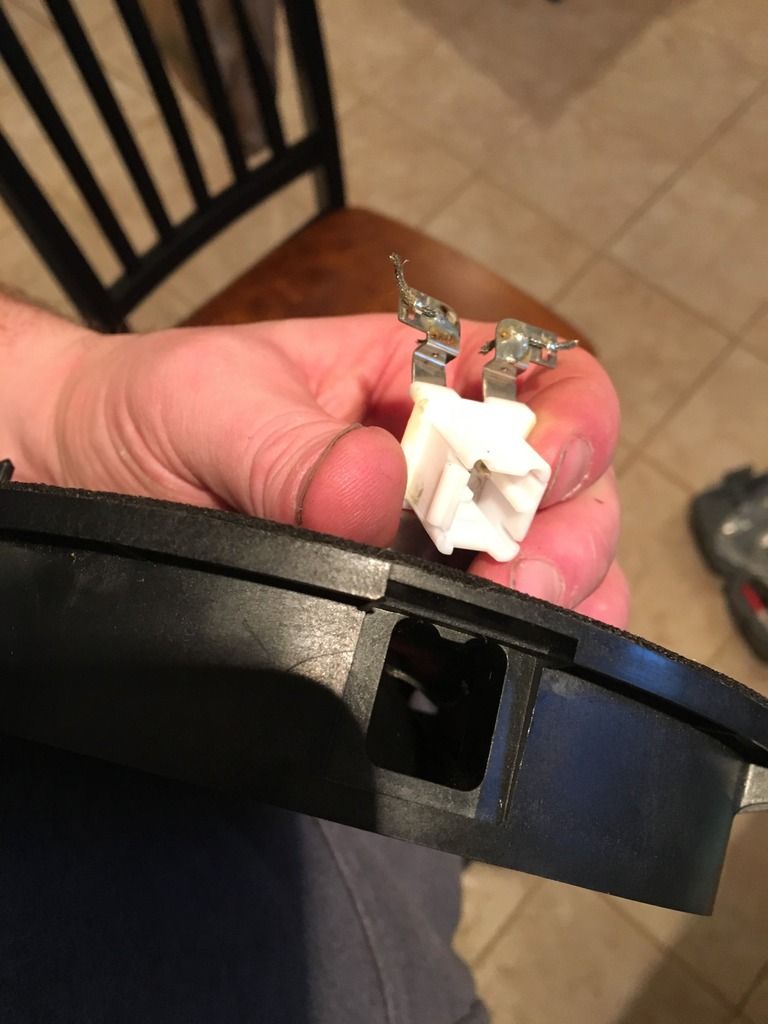 By plugging it into the male, I marked the positive terminal for when I solder. The purple is the positive but check twice, cut once. 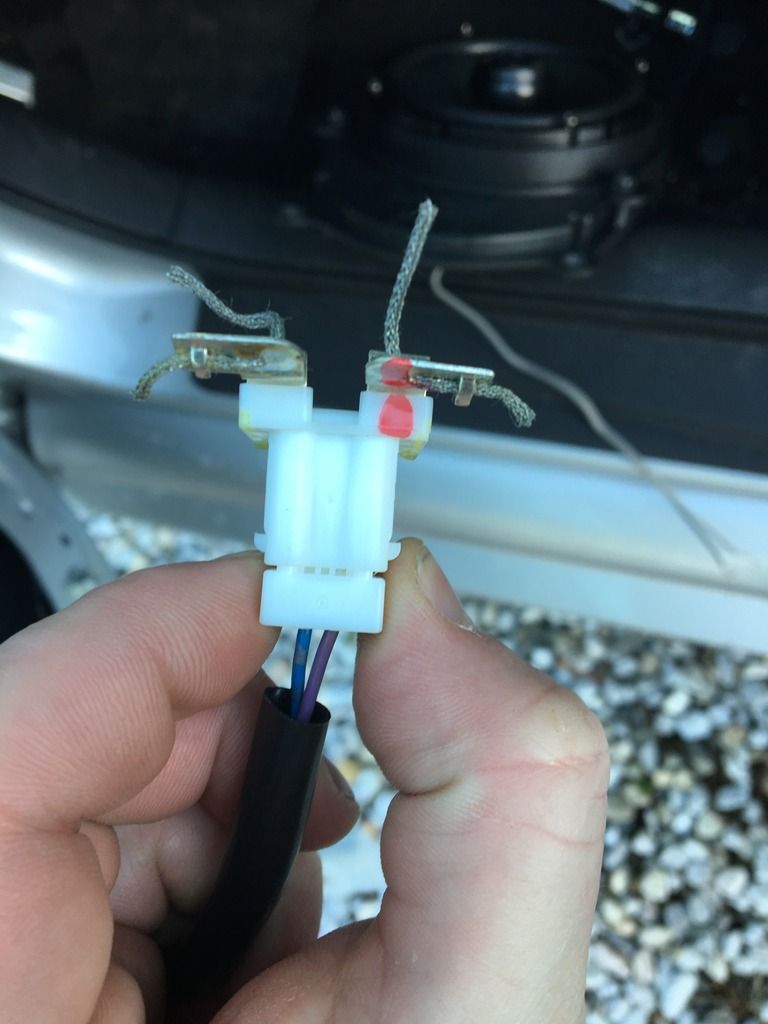 Now to remove the old wires and old solder, I used the gas oven in my home (ran out of fuel on my torch  ). It works but just don't melt the plastic! Heat one tab at a time and I used vice grips and pulled the old wires off. They came off easy with the heat. After, reheat and make sure to use a wet towel to wipe off the solder to have a nice clean surface. ). It works but just don't melt the plastic! Heat one tab at a time and I used vice grips and pulled the old wires off. They came off easy with the heat. After, reheat and make sure to use a wet towel to wipe off the solder to have a nice clean surface. 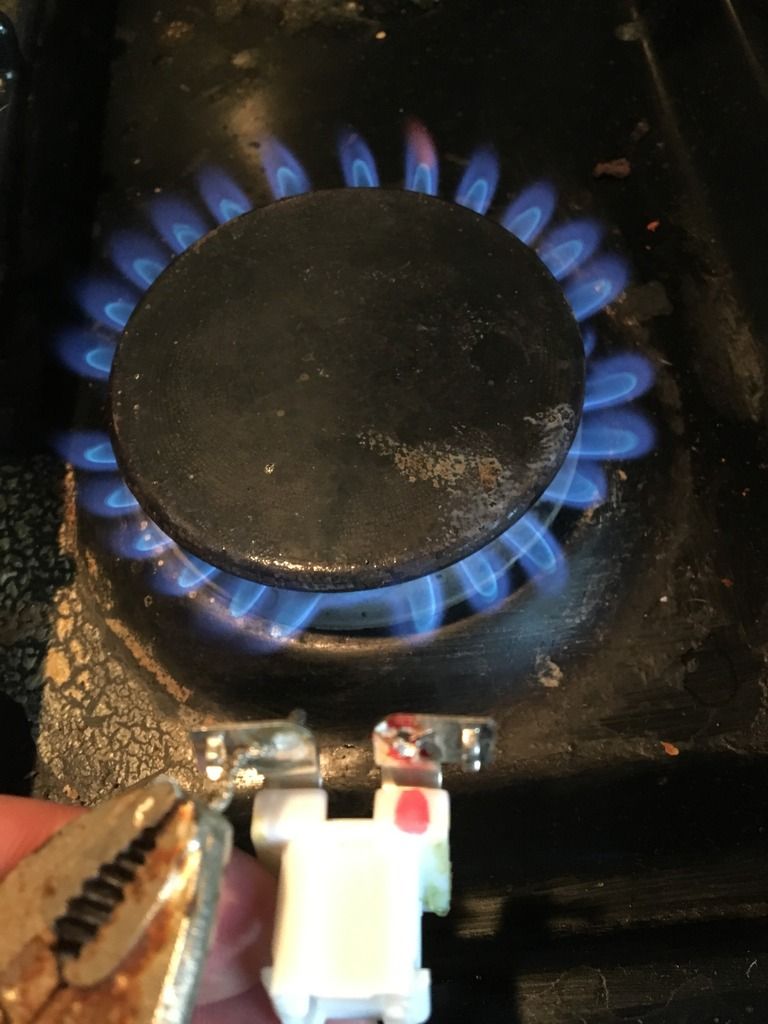 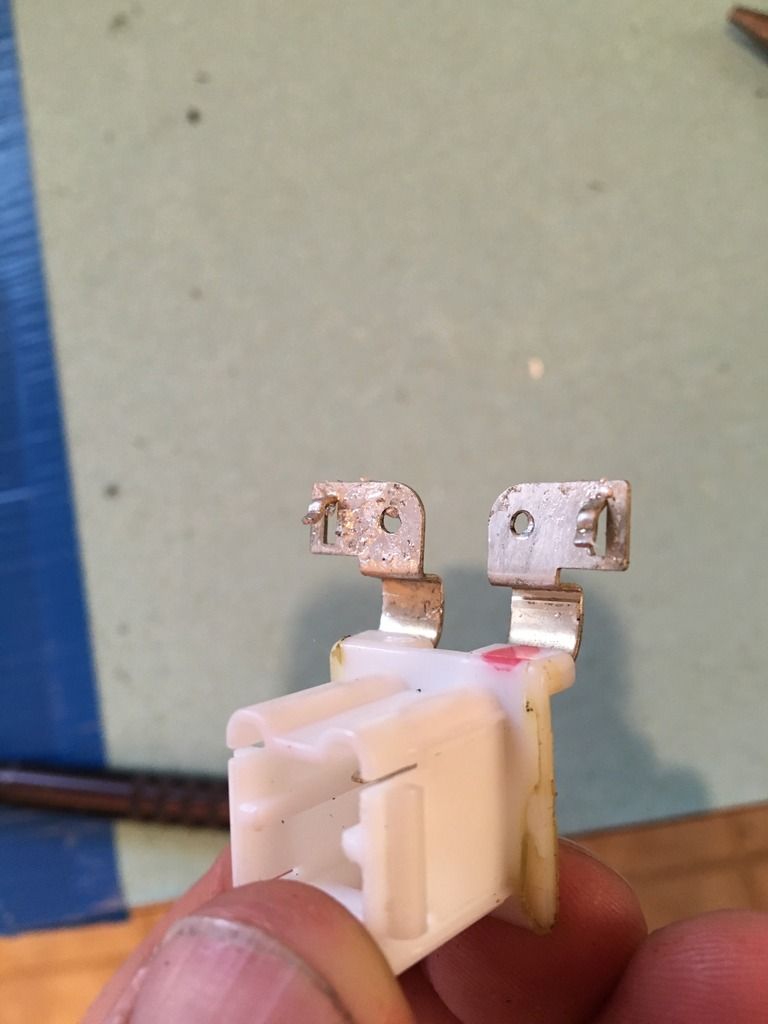 Using the stock mounting plate, I saw that the female clip was perfect size to fit in the second row of webbing in the plastic. I traced it with a razor blade, and used a dremel tool to cut the square out. If you take your time you can get it to be a nice snug fit. 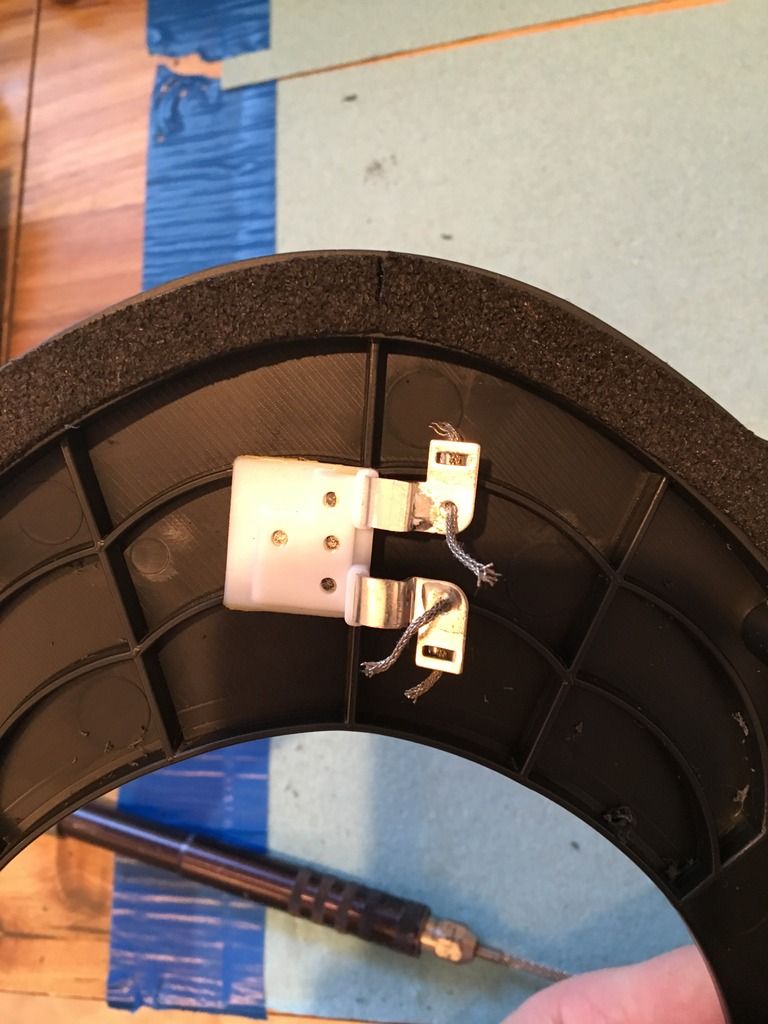 Dremel bits used: I ended up going with the one on the left. .125 DIA burr tool. Good for cutting plastic as it does not want to grab the plastic as you cut. 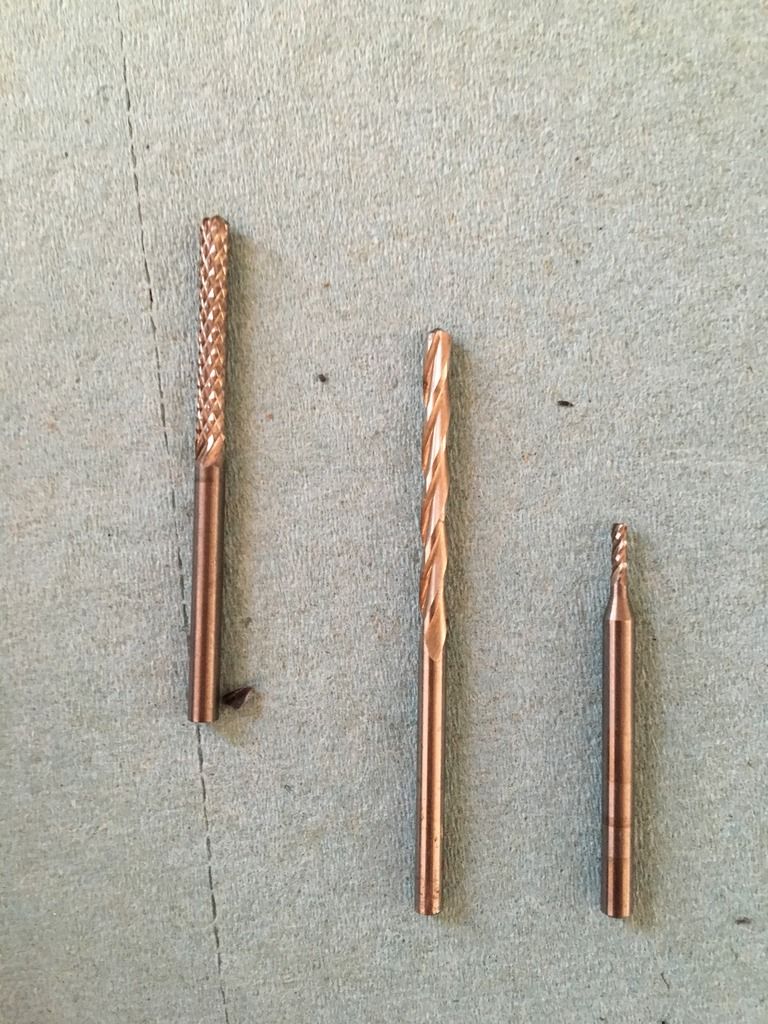 Finished cut in plastic mount. 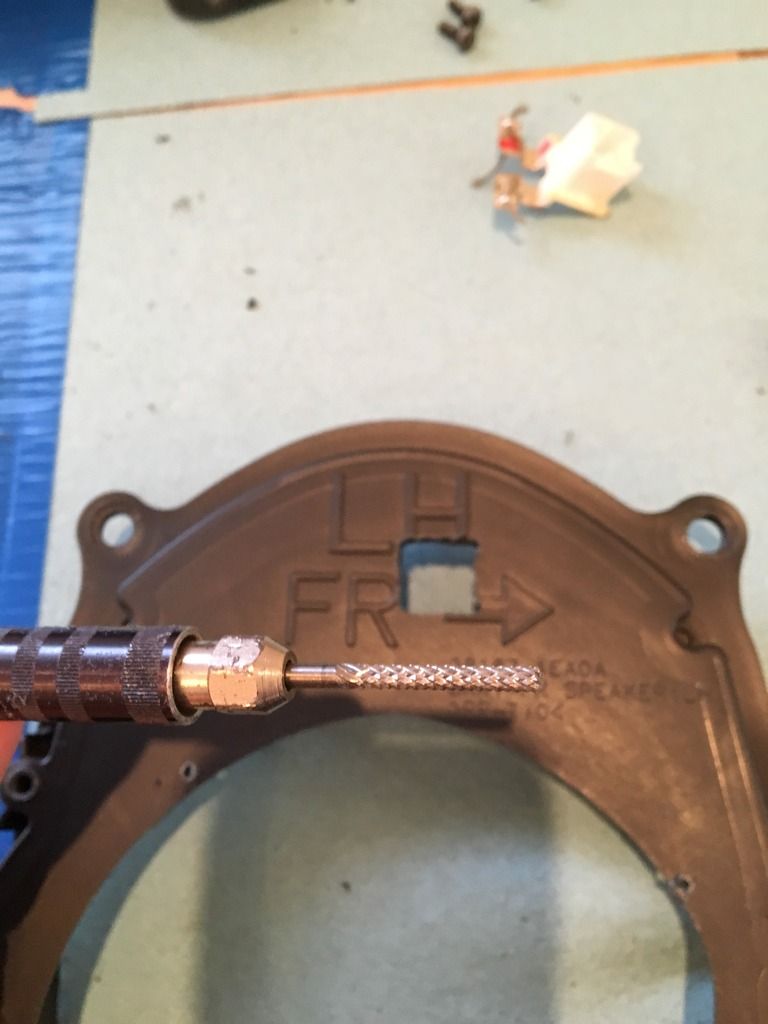 I cleaned up the back with some sandpaper and removed any remaining plastic. In case you want to glue the plug in, this step is a must or it wont bond well. 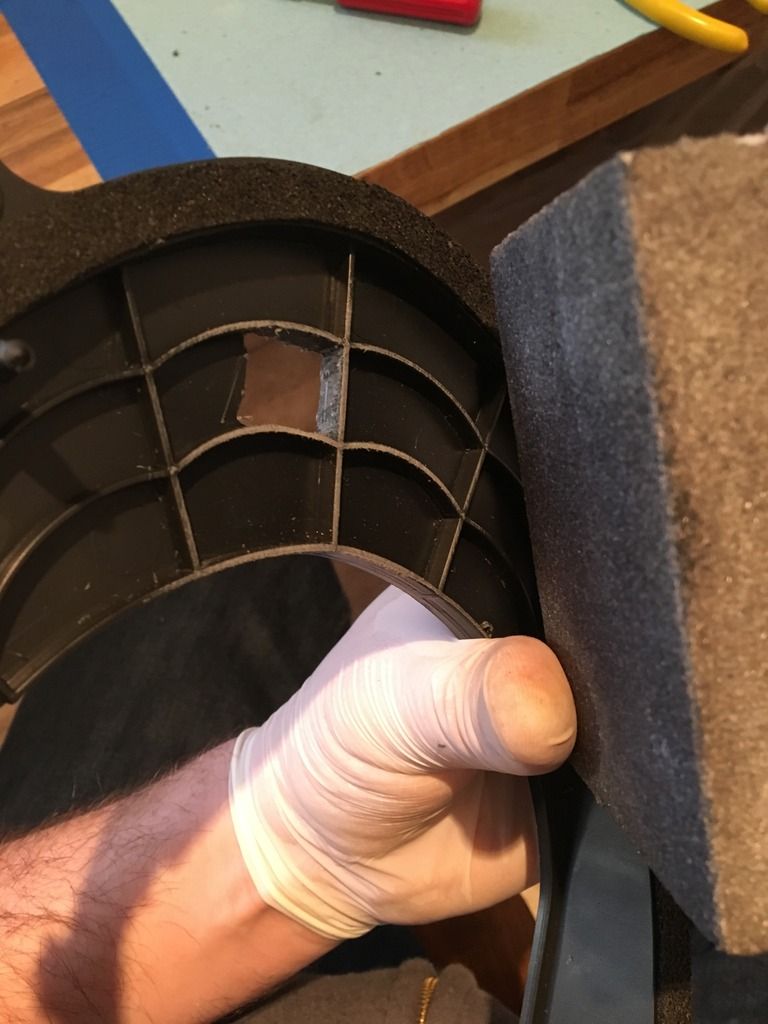 Next I soldered in the wires to the metal tabs. Keep in mind the positive terminal. 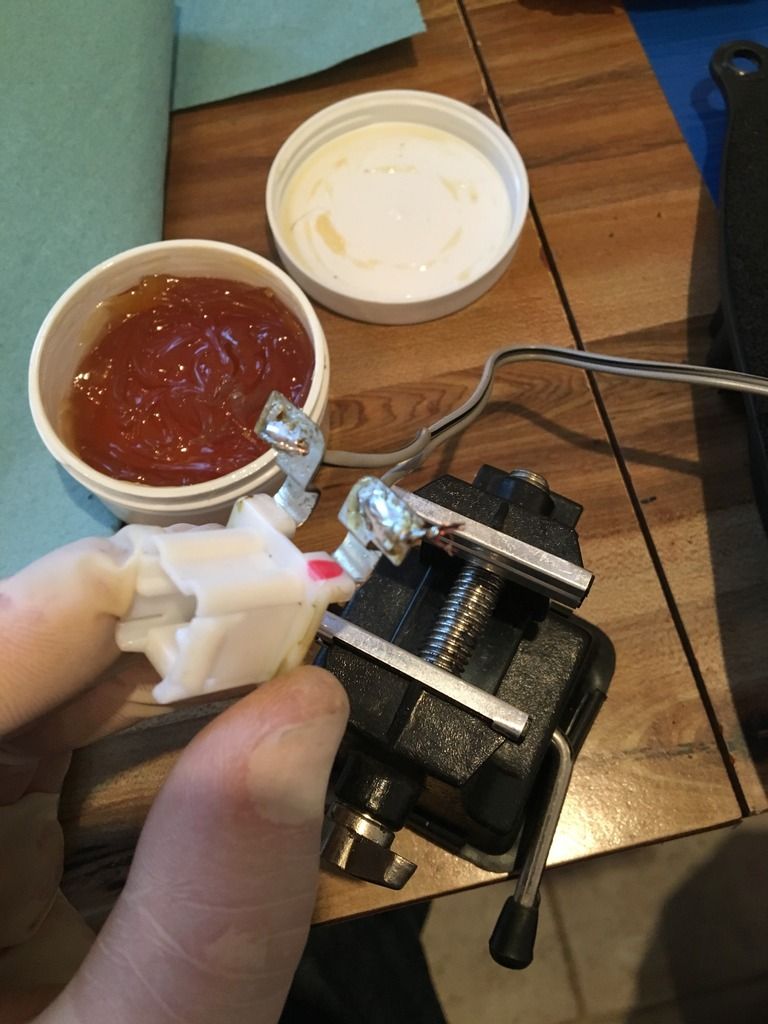 Dry fit to check 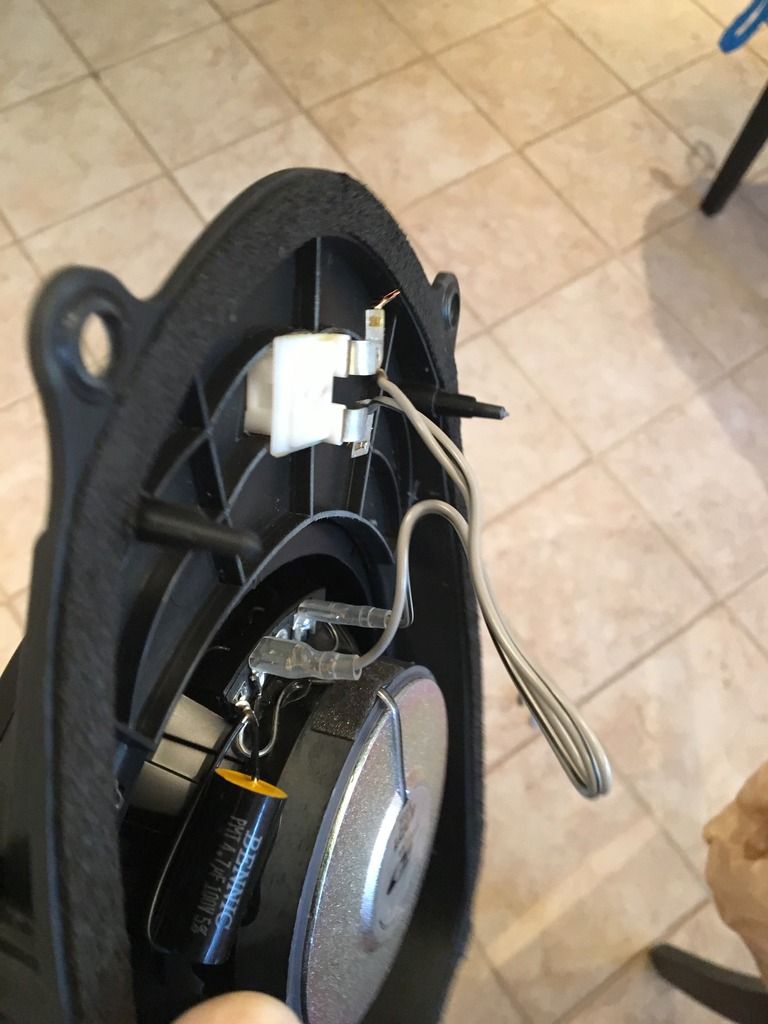 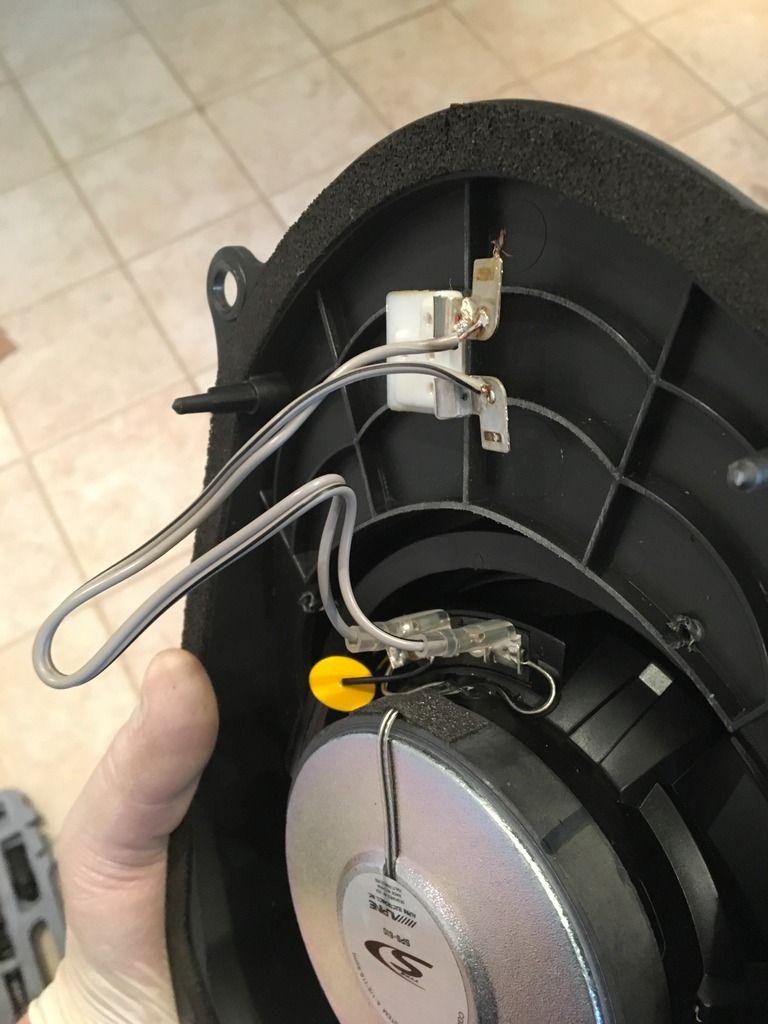 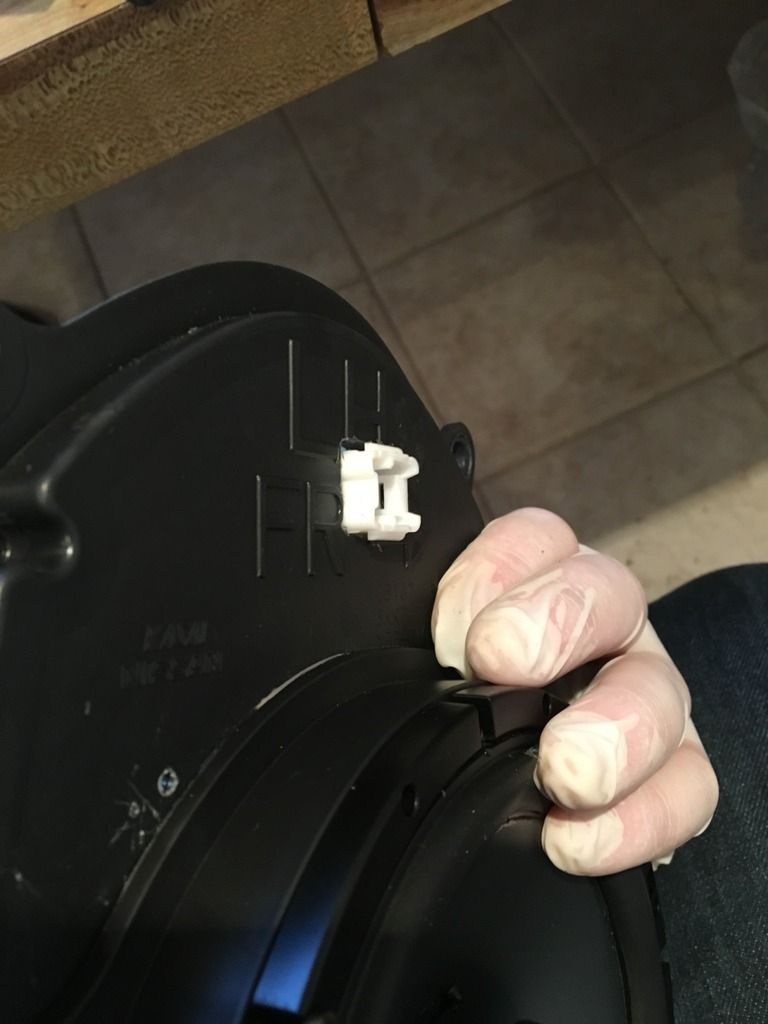 Tidy up and glue it in place if you like. I put a dab of super glue just to hold in place so I can remove it easy in the future. 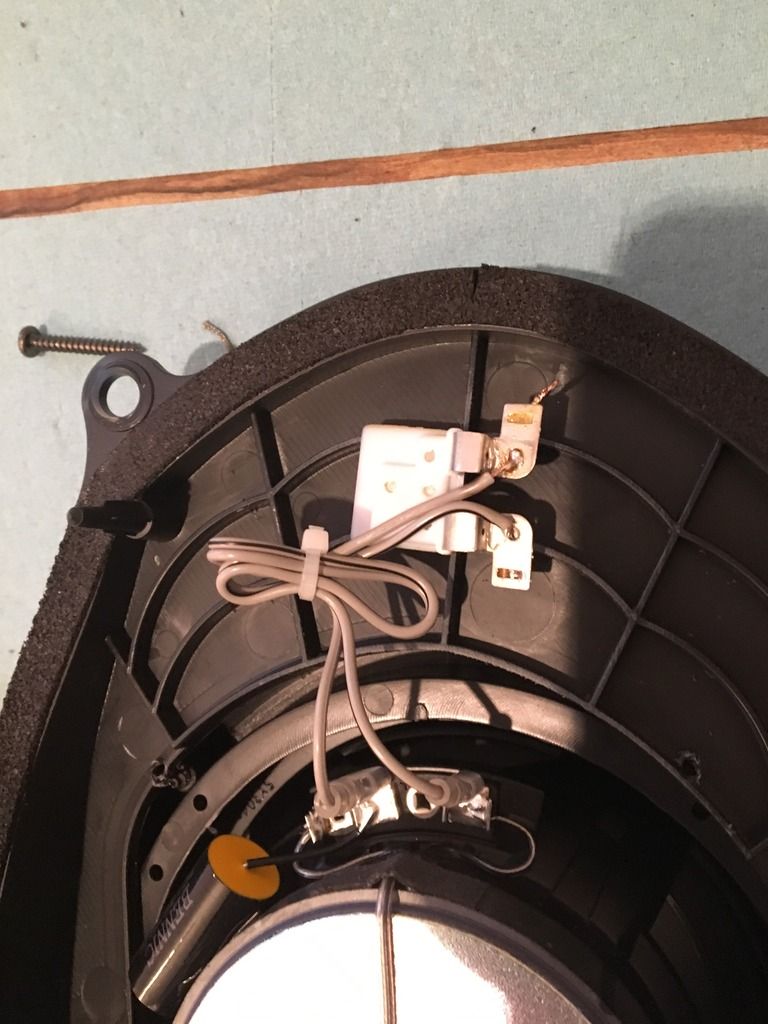 Final mount back in the door. It fit great, and no need for cutting the plug off the main wire harness. 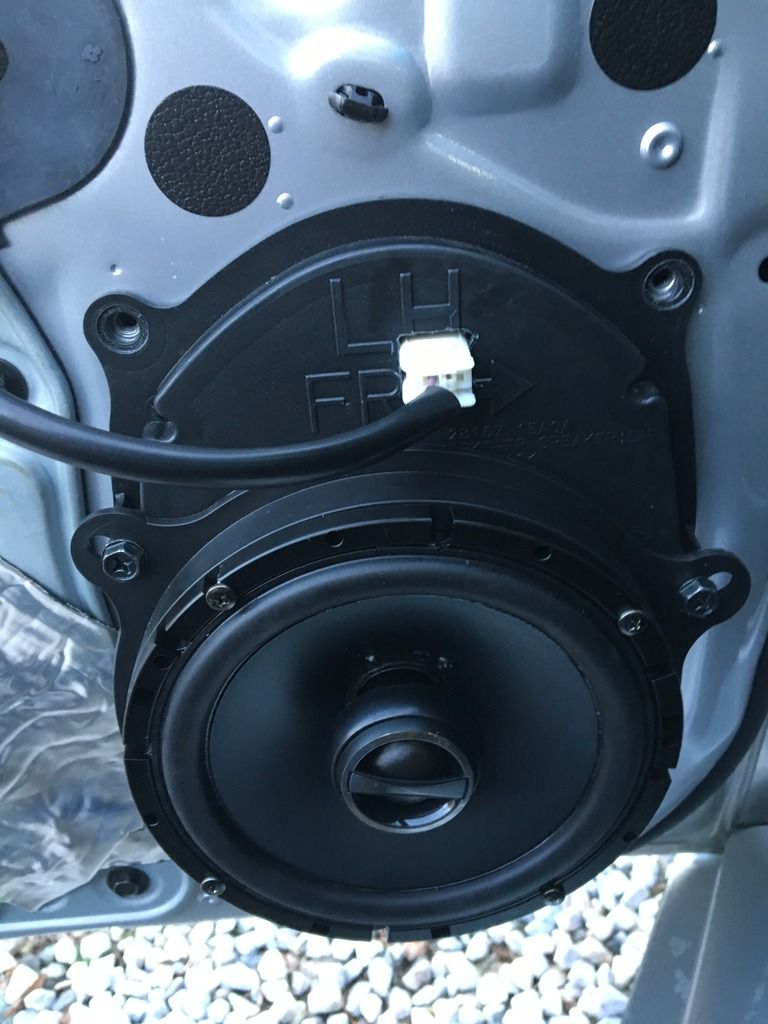 The head unit I have is not powerful enough to reach the potential that these speakers can produce, however it is powerful enough for my needs. If I want to I can add an amp for that later and wire it, but for now this will do!  After testing, the sound was excellent and I had zero issues with fitting it to the door. After testing, the sound was excellent and I had zero issues with fitting it to the door. If you guys have any questions let me know! JD 
Last edited by Johnnyd883; 04-07-2016 at 10:16 AM. |
|
|

|
| Bookmarks |
|
|
 Similar Threads
|
||||
| Thread | Thread Starter | Forum | Replies | Last Post |
| DIY: Stock Speaker to Plug and Play mount. | Johnnyd883 | DIY Section (Do-It-Yourself) | 4 | 06-18-2016 10:57 PM |
| Plug & Play Speakers? | Bonzo | Audio & Video | 10 | 03-20-2013 05:40 PM |
| Plug and play video in motion | Marcusz | Audio & Video | 8 | 03-14-2013 07:56 PM |
| will oem navi plug and play? | raynman9 | Nissan 370Z General Discussions | 0 | 11-06-2011 12:59 PM |