
 |
Okay guys, time to install the 4-point ladder bar on the 370z! What you will need. (1) 17mm socket (1) 3/8" Ratchet (1) 12" or > Torque Bar (1) 17mm
|
|||||||
 |
|
|
LinkBack | Thread Tools | Display Modes |
|
|
#1 (permalink) |
|
Track Member
Join Date: Jul 2009
Location: Beaumont, TX
Posts: 685
Drives: 06 Porsche Carrera S
Rep Power: 18            |
Okay guys, time to install the 4-point ladder bar on the 370z!
What you will need. (1) 17mm socket (1) 3/8" Ratchet (1) 12" or > Torque Bar (1) 17mm Open End Wrench (1) 19mm socket (2) Jack stands (1) Jack Alright, first things first, jack up the car on the two front pinch welds, and lower the car safely back down on your two jack stands. Make sure you have the e-brake on to keep the rear wheels from moving. I also suggest chocking the rear wheels. Below you see the car jacked up and let down on jack stands. 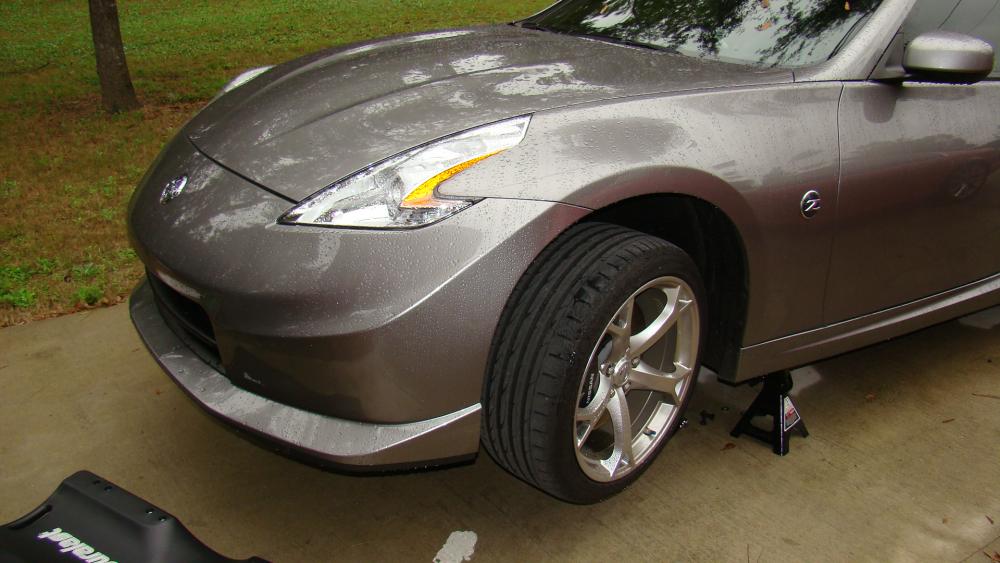 Now, here is a picture of where we will be working under the front end of the car. 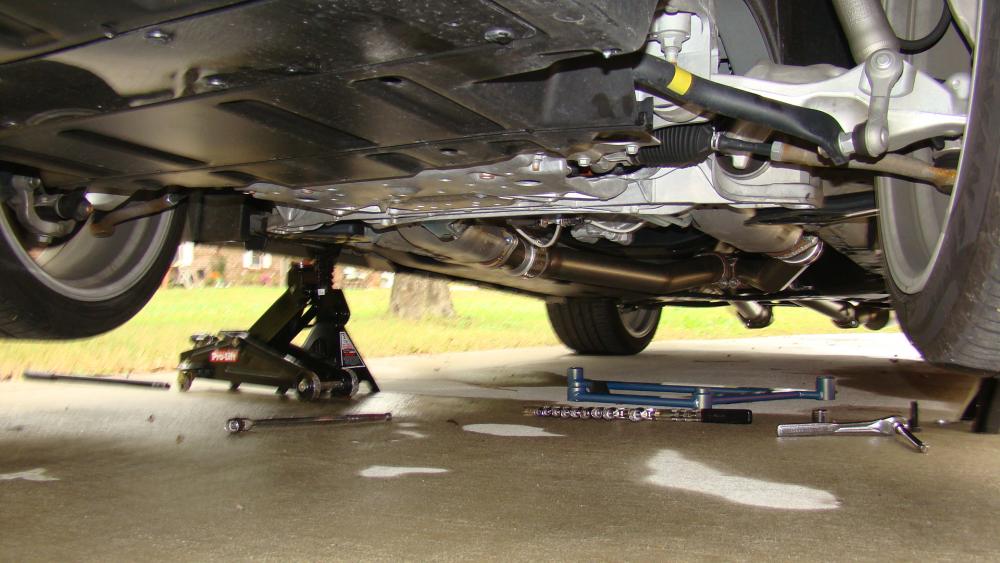 Now, there are four bolts we are going to take off in order to bolt on the ladder bar. Please use the picture below for reference of before and after to locate the 17mm bolts I'm talking about. 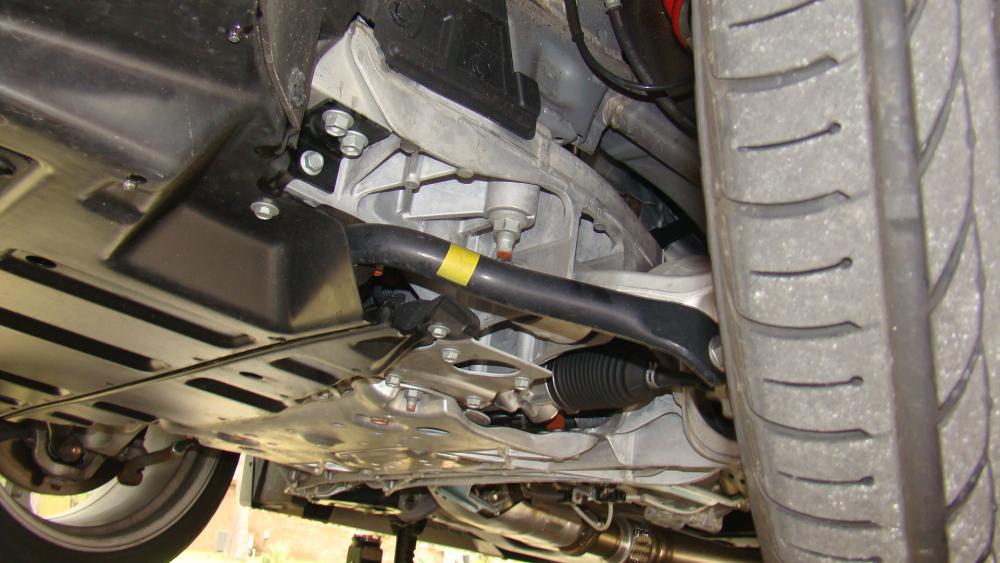 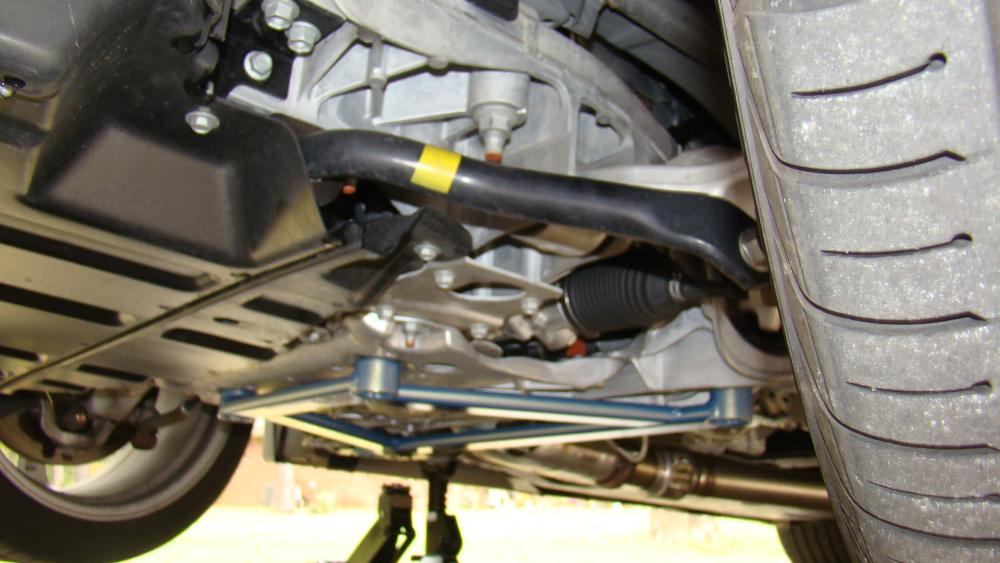 Now the two forward-most bolts are pretty easy, they aren't torqued too hard, and are just bushing bolts holding the tierod bushings to the engine cradle. Unscrew these shorter sized bolts, and put them to the side. GTSPEC provides you with (2) Bolts and washers to replace these. Below, you can see the forward-most bolts removed, and compared next to the GT-SPEC Black bolts and washers that come with the bar. The Black bolts have more thread that is needed to bolt the ladder bar up due to the thickness of the ladder bar. Do not re use the two silver OEM front bolts. 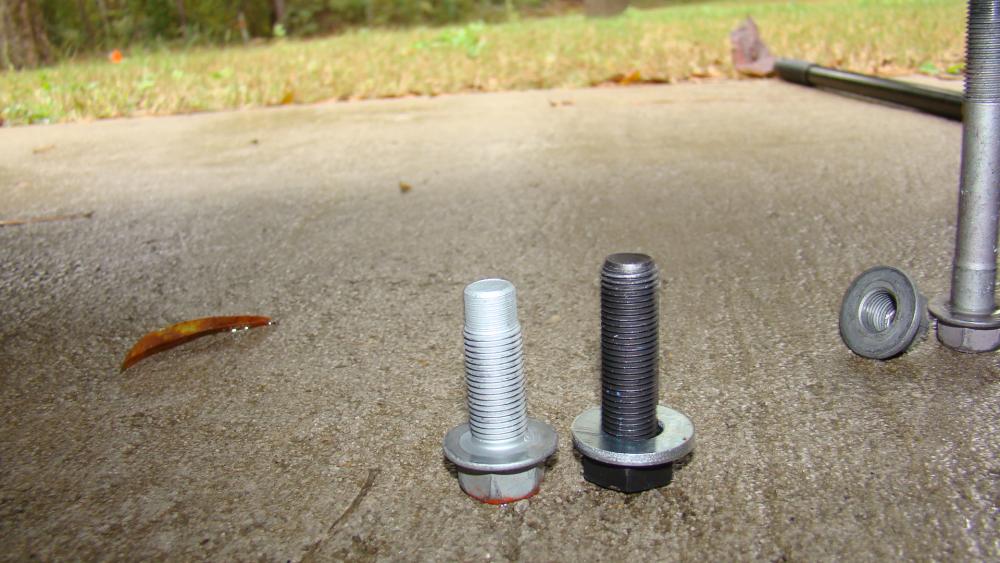 Now, the rearward bolts take a little bit more thought, but not much. These longer bolts screw unto the lower camber arm mount point, and go through a shim block and are held in with a nut on the opposite end. This means, to loosen this bolt, you have to hold the other side with an open end wrench. THere is plenty of space to do this, and should not be much trouble. Below, you will see me loosening the rearward most two longer bolts. Note the open end 17mm wrench above the bolt holding the nut from moving. Let the wrench push against the catalytic converter, you don't need to hold it as you loosen the bolt. 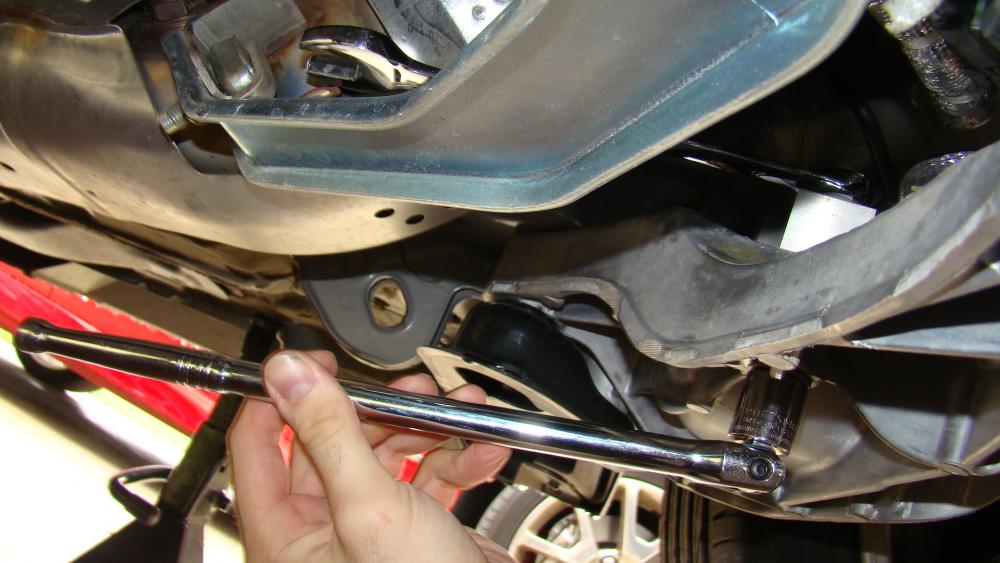 Now that you have your bolts removed, put the ladder bar up against your engine cradle, and bolt it down. NOTE: When replacing the forward-most bolts, use the supplied black bolts WITH WASHERS. Snug up all the bolts with your torque bar, giving it a little elbow grease, and you should be good to go. Let the car back down, and enjoy your sweet ladder bar. NOTE: SHould you get your oil changesd at a lube shop, the grease monkeys under your car will say something, lol. Below, here is some eye candy that the lube shop monkeys will get to see. 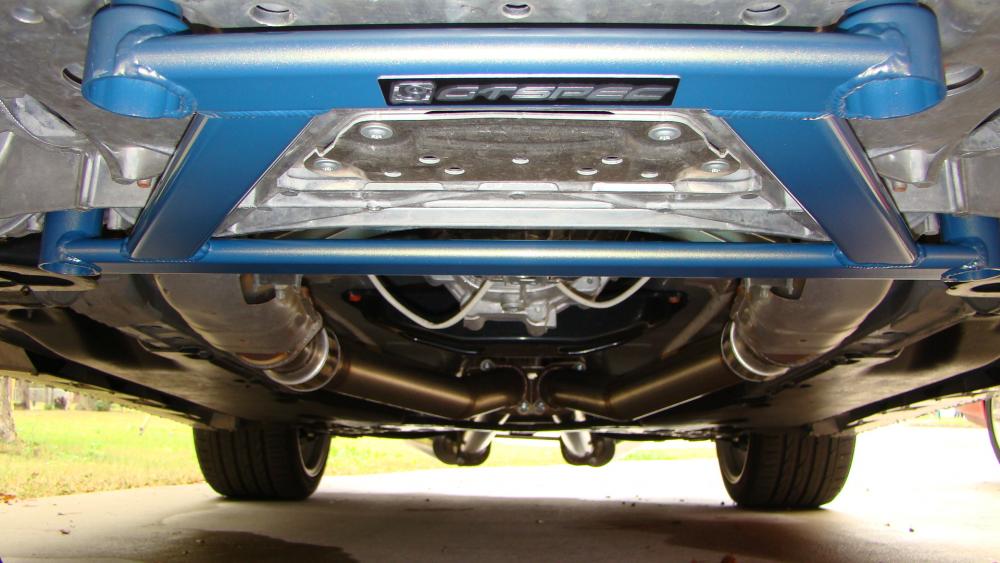 Here's my picture album
__________________
Check out my Albums '13 Subaru WRX STi | '06 Porsche 911 Carrera S (SOLD) | '96 Mazda RX-7 6.0L V8 RHD (SOLD) | '09 Nissan Nismo #0058 (SOLD) |
|
|

|
|
|
#2 (permalink) |
|
Track Member
Join Date: Jun 2009
Location: SoCal
Posts: 821
Drives: Graphite Bullet
Rep Power: 369            |
DDM already made a DIY for this but very nice writeup Equinox
 +1 +1The DIY is very descriptive and pretty much leaves no question on how to get that sucker on I'm still not sure if I want to get this and end up being overkill. I've purchased the Nismo brace kit which stiffens the chassis in the front, rear, and mid (interior). I wish the Nismo (yamaha) performance dampers were available for purchase. On another note, you planning on purchasing the GT-spec lower tie bar?
__________________
 2009 PG 6MT Sports Stillen Gen3 CAI | Stillen CBE | AMS Short Shifter | Nismo Brace Kit |
|
|

|
|
|
#3 (permalink) | |
|
Track Member
Join Date: Jul 2009
Location: Beaumont, TX
Posts: 685
Drives: 06 Porsche Carrera S
Rep Power: 18            |
Quote:
__________________
Check out my Albums '13 Subaru WRX STi | '06 Porsche 911 Carrera S (SOLD) | '96 Mazda RX-7 6.0L V8 RHD (SOLD) | '09 Nissan Nismo #0058 (SOLD) |
|
|
|

|
|
|
#4 (permalink) |
|
Track Member
Join Date: Jun 2009
Location: SoCal
Posts: 821
Drives: Graphite Bullet
Rep Power: 369            |
Sweet. Just took a look at it. Good stuff
 I plan on ordering the lower tie brace for now and later on down the road the 4pt brace.
__________________
 2009 PG 6MT Sports Stillen Gen3 CAI | Stillen CBE | AMS Short Shifter | Nismo Brace Kit |
|
|

|
|
|
#5 (permalink) |
|
The370Z.com Sponsor
Join Date: Oct 2009
Location: Laguna Hills, CA
Posts: 9,879
Drives: 240sx, 350z, 370z
Rep Power: 35  |
any difference in driving feel?
__________________
Corner3motorsports.com |
|
|

|
|
|
#6 (permalink) |
|
Track Member
Join Date: Jul 2009
Location: Beaumont, TX
Posts: 685
Drives: 06 Porsche Carrera S
Rep Power: 18            |
none that I can tell to be honest. Never raced the car before the tie bars though
__________________
Check out my Albums '13 Subaru WRX STi | '06 Porsche 911 Carrera S (SOLD) | '96 Mazda RX-7 6.0L V8 RHD (SOLD) | '09 Nissan Nismo #0058 (SOLD) |
|
|

|
|
|
#7 (permalink) |
|
A True Z Fanatic
Join Date: Nov 2010
Location: Lexington Ky #BBN
Age: 48
Posts: 1,156
Drives: Supercharged
Rep Power: 17      |
I have had a set setting in my closet for about 3 months now and never got around to installing them until I came across you post. +1 to you my friend. you made it easy.
__________________
MY 2009 SC BUILD. |
|
|

|
 |
| Bookmarks |
|
|
 Similar Threads
|
||||
| Thread | Thread Starter | Forum | Replies | Last Post |
| bent my jacking point underneat | thispecialk | Exterior & Interior | 31 | 06-30-2012 10:15 AM |
| Summit Point Sept 11 (FATT) | ErnieT | Mid-Atlantic Region | 20 | 08-17-2009 05:14 PM |
| DIY: GTSPEC 4-Point Ladder Brace | M.Bonanni | DIY Section (Do-It-Yourself) | 8 | 07-29-2009 02:44 PM |
| 370Z Final Point of Assembly | daytontp | Nissan 370Z General Discussions | 9 | 05-11-2009 06:49 PM |