
 |
Parts needed: Drill and bits - to drill the 1/4" hole for the nozzles. Bumper does NOT have to be removed. You just have to drill at an angle. Start
|
|||||||
|
|
LinkBack | Thread Tools | Display Modes |
|
|
#1 (permalink) |
|
Base Member
Join Date: Mar 2010
Location: OC, Ca
Posts: 200
Drives: 2010 370z Nismo
Rep Power: 16  |
Parts needed:
Drill and bits - to drill the 1/4" hole for the nozzles. Bumper does NOT have to be removed. You just have to drill at an angle. Start with a smaller bit for the pilot holes and work up to the 1/4" bit. Then the nozzles will actually screw in and be secure. Nozzles - see pic below for what I used. Can be picked up at major auto parts stores. Vacuum line - I used 5/32" line. I used 15' of line which was too much, but better than not having enough. Vacuum 'T' connectors - I used 3 of them in my setup. You can use 2 'T' connectors and 1 'L' connector for the end. Zip ties - Optional. I didn't use them. Installed windshield spray nozzles into the bumper. Disconnected (not spliced) the OEM nozzle line. Disconnected up by the passenger side hood hinge. Then ran new line from there. Activates using OEM wiper stalk in the car. You can uninstall the wipers so they don't move if you want. Couldn't locate a fuse to turn off the wipers. Also since the nozzles are below the wiper fluid reservoir the fluid will drip out slowly AFTER you activate the first time. Just hook back up the factory line to stop the pressure leak. Takes 5 seconds. Edit: I noticed it stopped dripping, but I think that might be because the fluid level in the reservoir got low enough that the pressure went down. Plan on using this during track days on the big straights. It is a pretty fine mist and shouldn't be an issue. I have no expectation that this will be any kind of miracle cure, but it can't hurt and I thought it would be a fun DYI. The pics are self explanatory. You can see where I ran the line under certain panels so they don't get pinched with the hood. 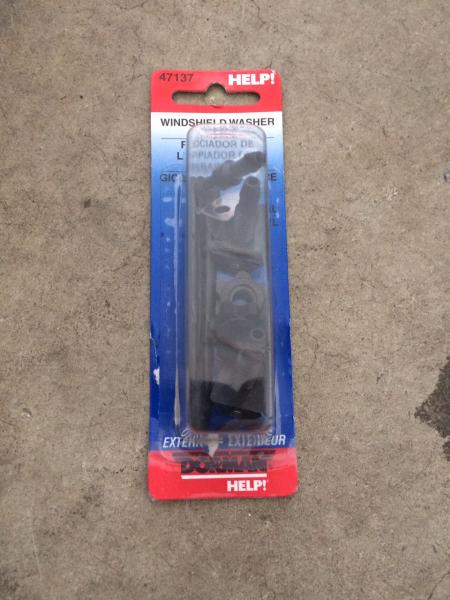 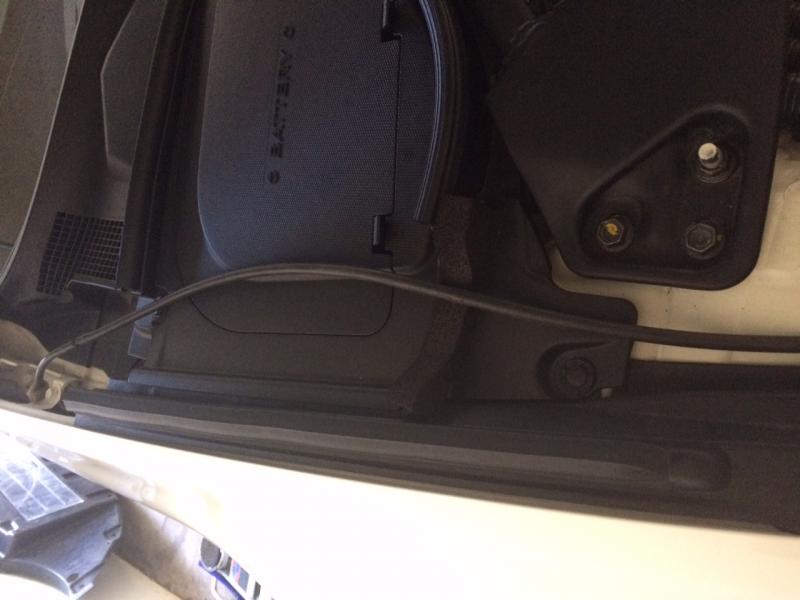 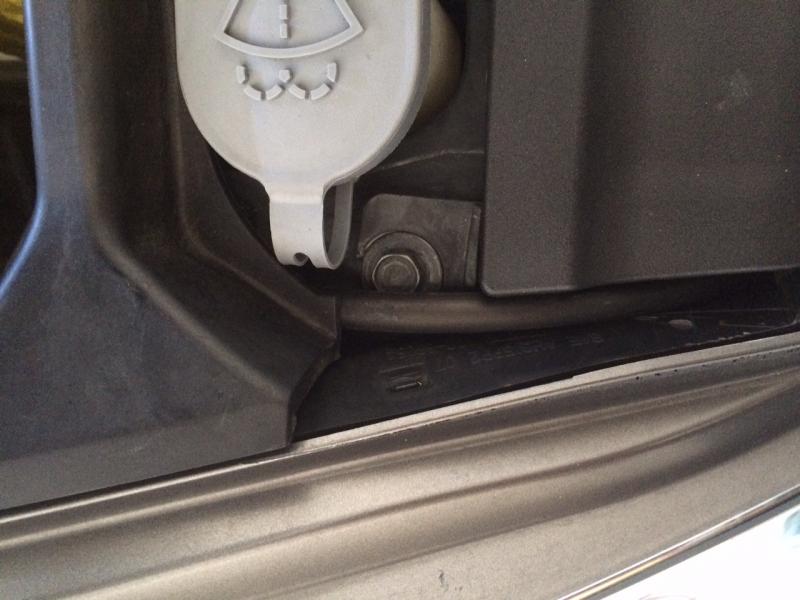 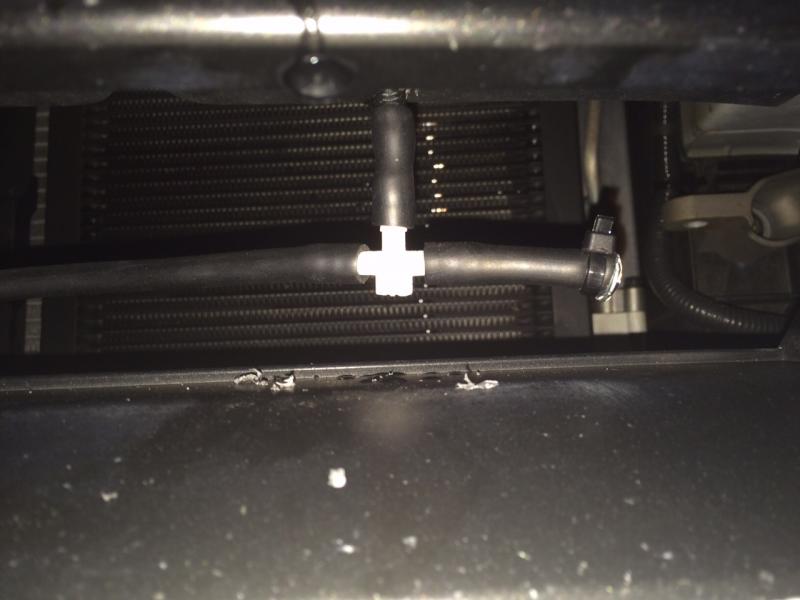 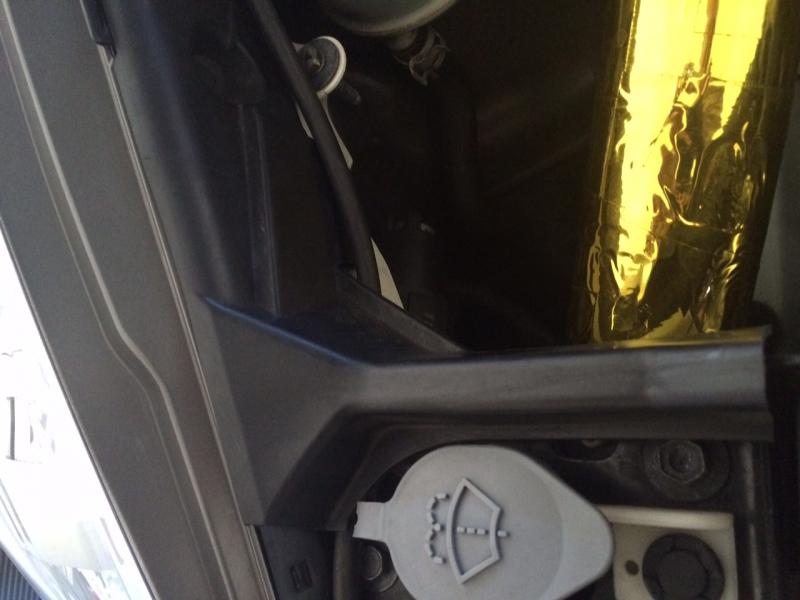
Last edited by AnthonyD1978; 08-04-2015 at 11:33 AM. |
|
|

|
| Bookmarks |
|
|
 Similar Threads
|
||||
| Thread | Thread Starter | Forum | Replies | Last Post |
| DIY: Stillen 19 Row Oil Cooler Install - driver side (stock PS cooler unmoved) | djpathfinder | DIY Section (Do-It-Yourself) | 21 | 11-30-2015 05:47 AM |
| DIY: Oil cooler and radiator spray cooler with video | AnthonyD1978 | Track / Autocross / Drifting / Dragstrip | 24 | 08-14-2015 09:55 AM |
| [FOR SALE] Mishimoto Radiator, Oil Cooler and OEM Fender | mjch3n | Parts for sale (Private Classifieds) | 3 | 06-11-2015 08:28 PM |
| Use CSF Radiator's Internal Radiator for ATs for Oil Cooler? | Nixlimited | Engine & Drivetrain | 21 | 07-01-2014 08:46 AM |
| Oil Cooler - any issues with covering radiator? | EgoTrip | Engine & Drivetrain | 10 | 06-07-2011 05:03 PM |