
 |
B&W Tut - PAGE 1 Color Correction - PAGE 1 HDR 1 IMAGE - PAGE 2 CAR COLOR CHANGE - PAGE 3 I'm a professional photographer that specializes in fashion,
|
|||||||
 |
|
|
LinkBack | Thread Tools | Display Modes |
|
|
#1 (permalink) |
|
A True Z Fanatic
Join Date: May 2009
Location: Denver CO
Age: 34
Posts: 2,146
Drives: 2006 Civic SI HFP
Rep Power: 405            |
B&W Tut - PAGE 1
Color Correction - PAGE 1 HDR 1 IMAGE - PAGE 2 CAR COLOR CHANGE - PAGE 3 I'm a professional photographer that specializes in fashion, I've been shooting professionally since age 18. However, I've taught myself retouching and have been able to seek valuable critiques from leading retouchers. www.clintearhart.com I would like to share how to do a selective HDR toning process in photoshop that does not require PhotoMatix (In my opinion can be great if used properly but alot of time overboard.) With this selective HDR toning... You can use ONE IMAGE... The Good: 1 Image shot, can look HDR The Bad: If the stop difference is too much you'll get some noise I would love to have a picture of someones car a High Res file, of the car outside in the sun with skys, like 12 PM lighting, the shitty kind and we will make it better! HDR = High Dynamic Ranger, what this does is your cameras can only see a 5-7 stop range left to right, our human eye can see many more around 10-14 (they suspect), I know there is a Photoshop thread, but I'd like to give some helpful basic Photoshop Do's and Don'ts so that you can get better images!
__________________
Last edited by k20z3; 10-04-2011 at 10:42 PM. |
|
|

|
|
|
#3 (permalink) |
|
A True Z Fanatic
Join Date: May 2009
Location: Denver CO
Age: 34
Posts: 2,146
Drives: 2006 Civic SI HFP
Rep Power: 405            |
HOW TO DO A BLACK AND WHITE IMAGE CORRECTLY.
Lets use this image together: This tutorial will give you a BETTER black and white image vs using photoshops Gray Scale, you have 100% tonal control over all your colors! http://ladymanson.com/Goodies/PS%20Tutorials/stock1.jpg (It's a stock image will work for the demonstration.) Open this image in photoshop.  Once you have it we want to work NON DESTRUCTIVELY meaning using layer masks and using a nice soft brush 25 hardness and about 50% flow to paint black and white to conceal or reveal things. Secondly, as tendency I always duplicate the background image to work on. Next, locate the Adjustment Icon on your layers.  Locate "Black and White" Click Okay. You will notice this will look like crap simply if you went to image > mode > grayscale, BORING AND FLAT!  So now here is where the fun beginning you are seeing all the colors in the B&W adjustments layer options above all the layers.  So lets beginning working with the red, THESE ADJUSTMENTS are TOTALLY SUBJECTIVE, meaning I will do what I think will yield, "emotional" results, people tend to be more attracted to contrasty images. With the red I added more because if you look at the original, where my orange mark is, you will see that getting lighter and darker, I wanted to lighten up the reds in the image...  Now onto yellow you will see that this adjustments will brighten up the "Yellow" areas such as the arches once more, you will see the arches "pop" more.  Lets go onto the green, of course this is going to start messing with the trees, lets go a little darker subtracting green!  Now onto Cyan or the sky, I want the sky to be a little bit more darker, so again subtracting some cyan will bring in the details.  Again blue will be in the sky and most shadows are a form of blue, so you will see by subtracting blue the shadows get darker and so does the sky!  Last but not least magenta there is HARDLY anything in magenta you will notice marginal difference. You will notice this in the shadows will lightly bring the shadows darker.  For the final product I added another curve adjustments layer. And Used an S curve to add extra high lights and extra shadows!  NOW you see the Layer mask, or the white Box next to "Black and white" adjustment? That is the layer mask and you can get creative now! Click on that white box next to the black and white adjustment layer, that is the adjustment mask take a 50FLOW and a 25% hardness and paint the picture where the green would be, this is revealing the green grass...  Again with this I see a tendency with board members to have "flat gray" images, this adds flair to your images...  enjoy! enjoy!
__________________
|
|
|

|
|
|
#4 (permalink) |
|
A True Z Fanatic
|
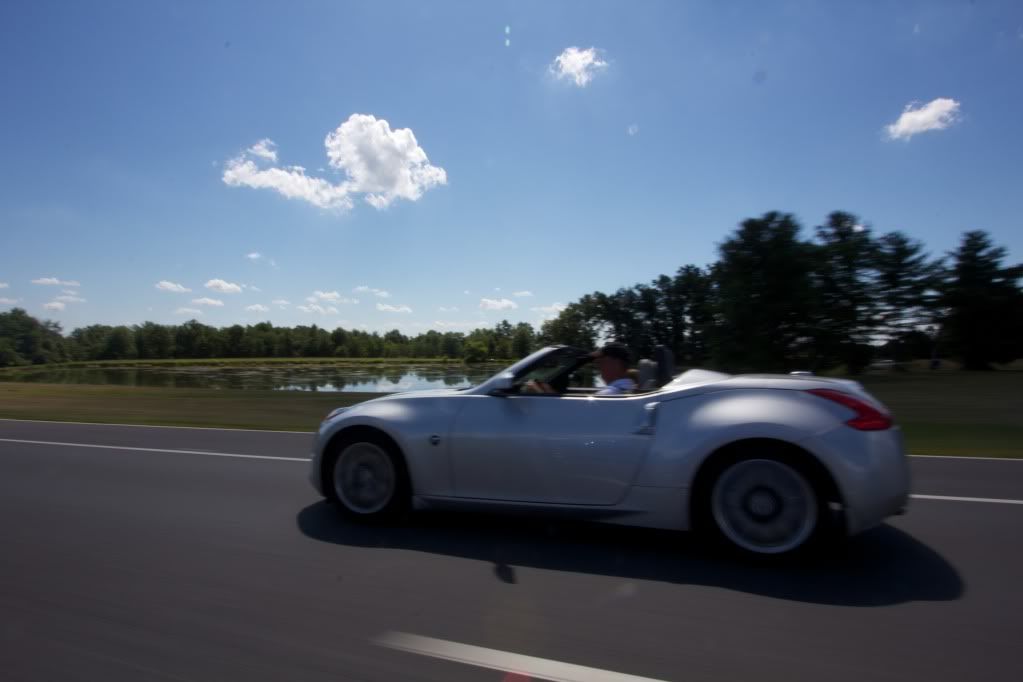
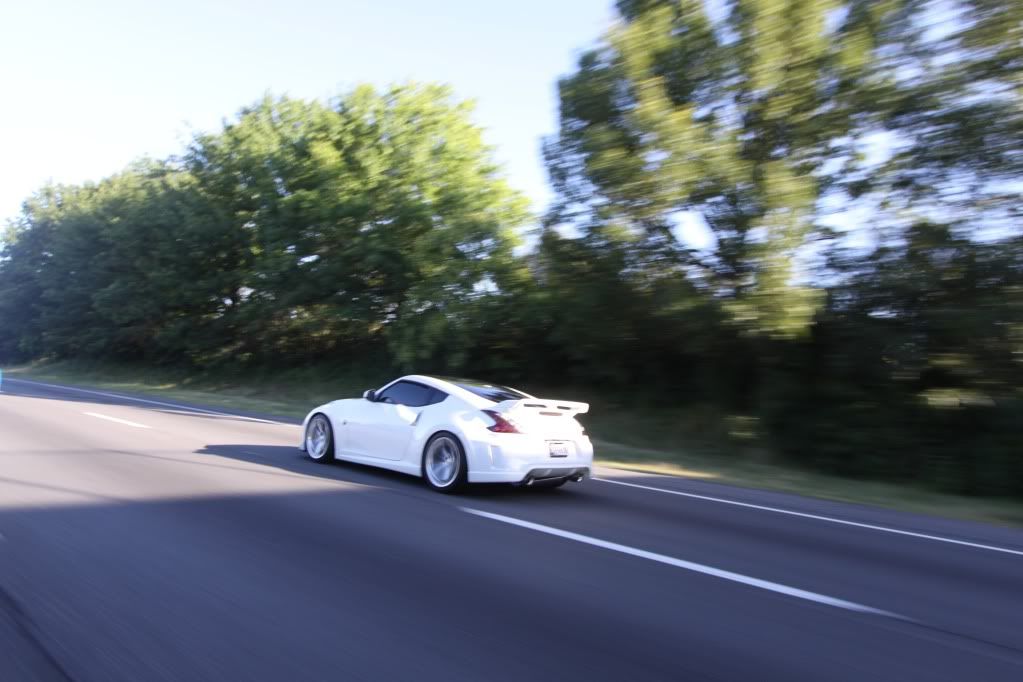
Interesting thread Clint. Here are a couple of pics for a friend member's Z and mine. As you can tell from the first shot, it is out of focus and would turn out great if properly edited. The second shot is overexposed. I can't attach the hig res files due to their size. If the links below won't do due to file conversions at the time of uploads, I can always dropbox them to you. Let's see you work your magic with the before and after shots
 . . 
__________________
370Z NISMO #0462 | ClearBra | 3M tint | Head/Taillights | Dynamat | Black Roof | Tommy Kaira HB | CF Parts | Berk HFCs | FI SS | NST Pulleys | Takeda aFe | K&N | H&R Spacers | Swift Spec R | SPC F&R | Zuperman M370 Nismo Vid | Nismo Journal | Nismo Rumble  |
|
|

|
|
|
#6 (permalink) |
|
A True Z Fanatic
|
Clint, if you can definitely correct the out of focus/blurriness issue in those shots that would be a great start. Beyond that, if you feel like making them pop would make it turn out even better, I'm all for seeing the end result. Thx for your time BTW.
__________________
370Z NISMO #0462 | ClearBra | 3M tint | Head/Taillights | Dynamat | Black Roof | Tommy Kaira HB | CF Parts | Berk HFCs | FI SS | NST Pulleys | Takeda aFe | K&N | H&R Spacers | Swift Spec R | SPC F&R | Zuperman M370 Nismo Vid | Nismo Journal | Nismo Rumble  |
|
|

|
|
|
#7 (permalink) |
|
A True Z Fanatic
Join Date: May 2009
Location: Denver CO
Age: 34
Posts: 2,146
Drives: 2006 Civic SI HFP
Rep Power: 405            |
Lets start with the first one the ABSOLUTE biggest problem is the sensor dust. From a marketing and commercial stand point you would get fired if you had this, but seeing its the Z forums no hard feelings but you want to look like you can pretend what you're doing right...
 Before you start duplicate the background and add a layer mask, (non destructive editing) the layer mask icon to add is the square icon with dot in there and click on the box of the car. 1st- Use the HealStamp tool, to do this you alt+left click a point where you want the brush to sample...  Looks alot better right? The image is under exposed, the background is fine, but the car (subject is) so lets do some selective HDR... To do this add an adjustments layer -- "Exposure", this is where we're going to "Paint" the car in the layers mask. You want too Add almost +2 stops of exposure to over all lighten up the image FOCUS on the car! Not anything else, until you're happy with how light the car is... The numbers I have I was happy with Do not screw with offset that is more localized contrast. Add a little gamma to the image as such.  Uploaded with ImageShack.us Once you're happy with that you see the white box next to the adjustment icon, click on the white black and invert it to make it black, CMD+I (on mac) the image will go back to its normal state, do NOT worry about this! Next thing you do is hit "B" for brush change the hardness to 25% and the flow to about 50% ( I like working with flow more so than Opacity more control). Choose white (hit x & d till the main colors turn white) Beginning paining over the car lightly.  See how much better this looks? Lighten up the trees too by painting white over them so its not a contrasty area. Next lets crop!  I use alot of negative space in my photography because I shoot fashion, but with cars I don't find it works that awesome (just my opinion). Next lets add some selective color! Add an adjustments layer, so what I did was work in the GREEN, YELLOW, and Blue channels, because I wanted the sky to yield bluer the grass to yield greener!  To take some of the blur away you can go to sharpen > smart sharpen and use the setting "rid of lens" blur 10 on the first line 25 on the second you'll get a little bit sharper image.  Again -- you have to be careful with what you paint cause you'll get crap haloing which I got, but just be careful with your painting. So compare this with the first and what I got...  Do it to the second image you attached and Ill give an honest critique! 
__________________
Last edited by k20z3; 08-14-2011 at 07:28 PM. |
|
|

|
|
|
#8 (permalink) |
|
A True Z Fanatic
|
Great tutorial and end result, repped for that and for taking the time. Would it be possible to see actual edited file link. I believe a bit of res is lost through taking a screenshot of your desktop.
 Got it now 
__________________
370Z NISMO #0462 | ClearBra | 3M tint | Head/Taillights | Dynamat | Black Roof | Tommy Kaira HB | CF Parts | Berk HFCs | FI SS | NST Pulleys | Takeda aFe | K&N | H&R Spacers | Swift Spec R | SPC F&R | Zuperman M370 Nismo Vid | Nismo Journal | Nismo Rumble  Last edited by birdmanx1; 08-14-2011 at 07:33 PM. |
|
|

|
|
|
#9 (permalink) | |
|
A True Z Fanatic
Join Date: May 2009
Location: Denver CO
Age: 34
Posts: 2,146
Drives: 2006 Civic SI HFP
Rep Power: 405            |
Quote:

__________________
|
|
|
|

|
|
|
#12 (permalink) |
|
A True Z Fanatic
Join Date: Jan 2011
Location: Fort Bliss, TX
Age: 41
Posts: 1,440
Drives: 2011 GM 370 base SP
Rep Power: 17       |
Can you tell me what you think of the before and after of this pic? I did this back in March so I don't remember what exactly i did with the photo other than obviously some cropping.
Original: 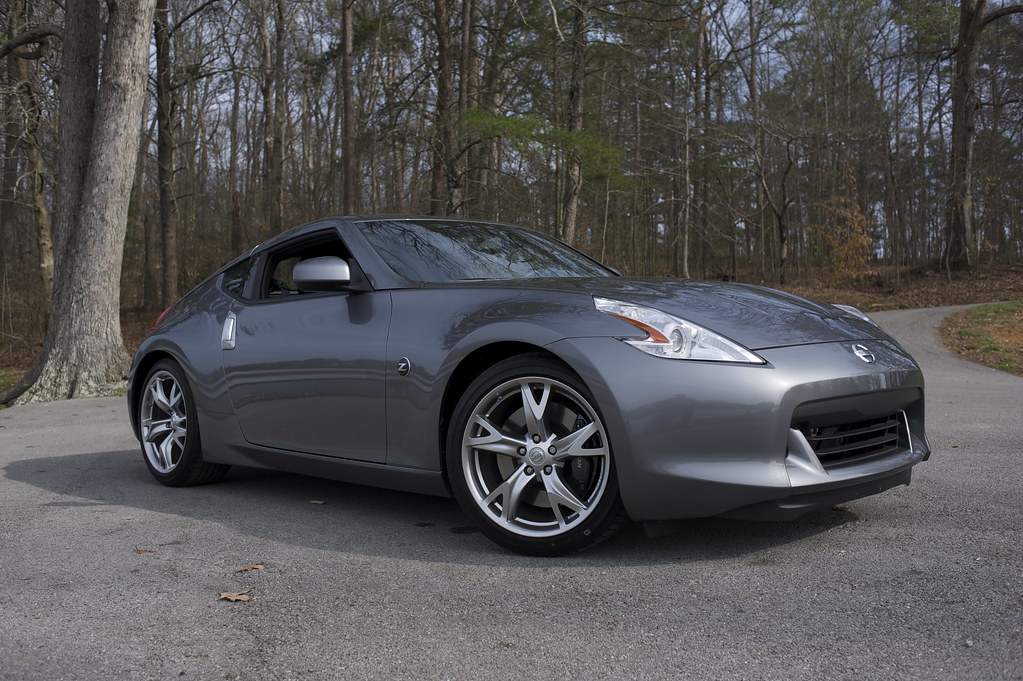 Edited: 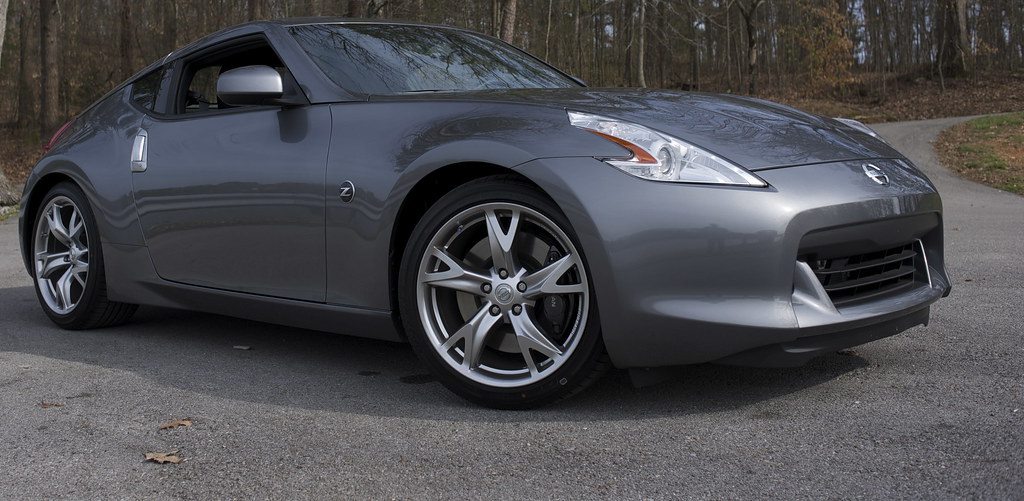
__________________
Srenity: "Yeah no rest needed to spread the love when your 20 that's for sure...." |
|
|

|
|
|
#15 (permalink) |
|
A True Z Fanatic
Join Date: Jan 2011
Location: Fort Bliss, TX
Age: 41
Posts: 1,440
Drives: 2011 GM 370 base SP
Rep Power: 17       |
thanks, I was doing bracketed shots. i find that if i have the time i get more usable pictures that way. Looks like you made a couple subtle color adjustments?
__________________
Srenity: "Yeah no rest needed to spread the love when your 20 that's for sure...." |
|
|

|
 |
| Bookmarks |
|
|
 Similar Threads
|
||||
| Thread | Thread Starter | Forum | Replies | Last Post |
| Helpful and money saving tips | SeattleLion | Brakes & Suspension | 13 | 12-06-2012 03:02 PM |
| Photoshop help!! | dixon cider | Nissan 370Z Photos / Spyshots / Video / Media Gallery | 6 | 11-11-2010 08:41 AM |
| ABLS, helpful or not helpful at autox? | cossie1600 | Track / Autocross / Drifting / Dragstrip | 0 | 10-21-2010 12:18 PM |
| Need someone to photoshop!!!!!! | SophiaZ | Nissan 370Z General Discussions | 3 | 12-17-2009 07:26 PM |
| photoshop help... | zcoupe09 | Nissan 370Z Photos / Spyshots / Video / Media Gallery | 0 | 11-09-2009 06:59 PM |