 |
Started working on the battery relocate this afternoon. Picked a spot and got the thing mounted, so "phase 1" is complete. This is the rear edge of the trunk, pretty
|
|||||||
 |
|
|
LinkBack | Thread Tools | Display Modes |
|
|
|
|
#1 (permalink) |
|
A True Z Fanatic
 Join Date: Mar 2009
Location: Houston, TX
Posts: 4,024
Drives: too slow
Rep Power: 3595            |
Started working on the battery relocate this afternoon. Picked a spot and got the thing mounted, so "phase 1" is complete. This is the rear edge of the trunk, pretty much dead center. If you have the bracket that DDM sells, there's exactly one spot right about there where it will fit and mount up level. Had to unbolt and slightly mangle the heat-shield above the muffler on the underside to drill my bolt holes and attach lockwashers/nuts under there, but it all went back together fine.
Now I have to sort out how to run the cabling 
Last edited by wstar; 05-31-2009 at 02:54 PM. |
|
|

|
|
|
#2 (permalink) |
|
A True Z Fanatic
 Join Date: Mar 2009
Location: Houston, TX
Posts: 4,024
Drives: too slow
Rep Power: 3595            |
More pics of parts and progress, still not done. It's another one of those lazy weekend installs, taking my time
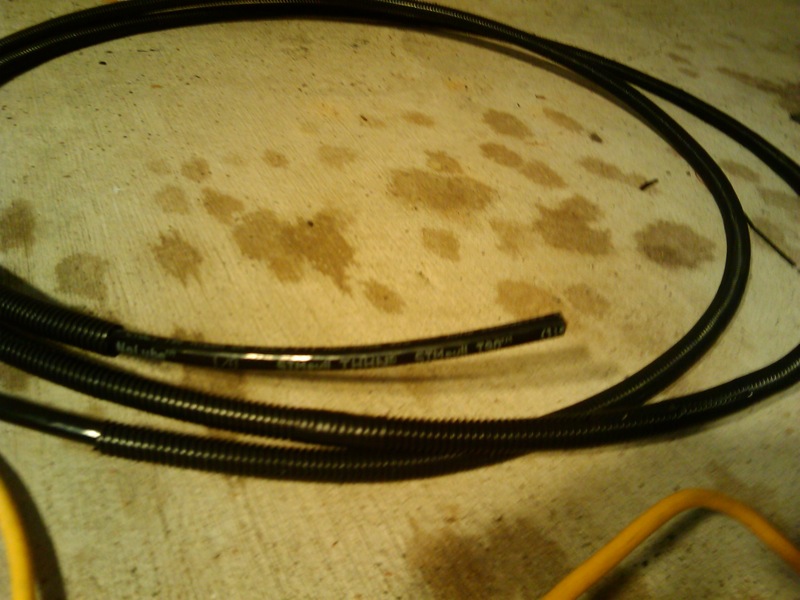
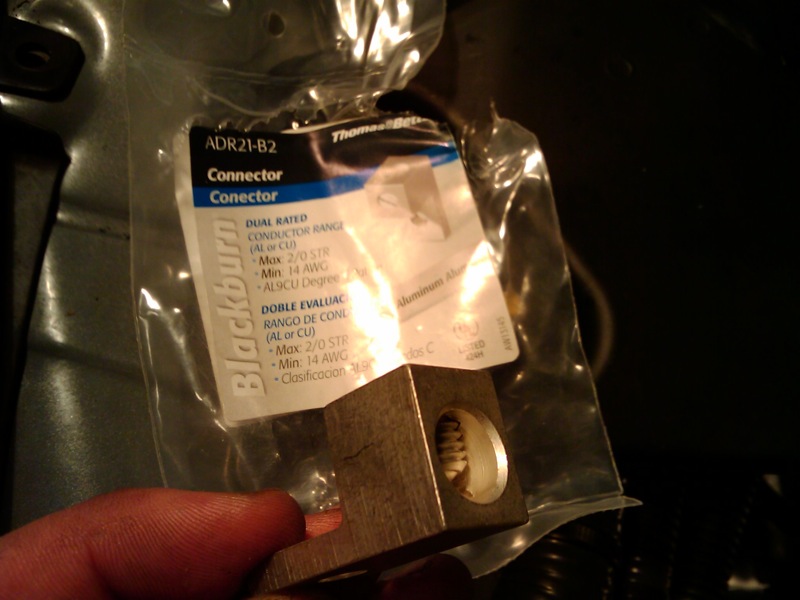
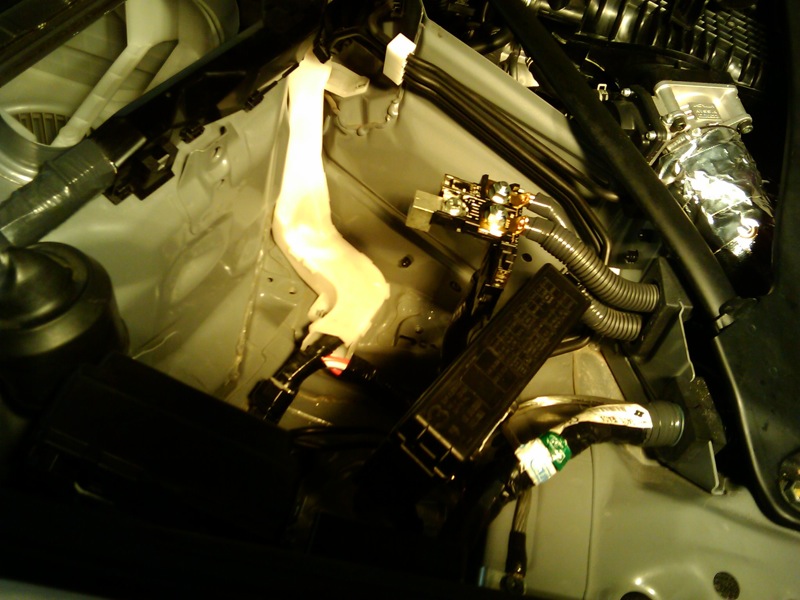
 This is the battery, newly mounted:  This is going to be the positive cable run. I bought 15 feet, which is longer than necessary, will cut to size and use some of the leftover for the ground lug as well. This is 1/0 gauge copper cable, 19 strand, available by the foot at any hardware store (as are all the other parts I'm using so far, other than the battery and bracket themselves). I sheathed it in that corrugated plastic tube stuff, they sell it in 7 ft lengths at the hardware store as well (1/2" dia).  These Al connectors were nearby the cabling at the hardware store. The screw-terminal end fits my cable, and the other end has a nice little screw hole.  After removing the battery and unscrewing the positive battery post connector from the big inline fuse holder assembly, I screwed one of the above connectors in place of the positive post connector. Used an M6x1.0 screw, 16mm length, with lock washers on both sides (same hardware I used on the battery bracket in the trunk)  BTW, the factory negative battery cable just runs straight to the body, so it can be removed completely. So now I'm basically down to doing the big cable run somehow, and then doing a tiny jump for the negative side from the battery to the trunk floor. Almost there... |
|
|

|
|
|
#4 (permalink) | |
|
A True Z Fanatic
 Join Date: Mar 2009
Location: Houston, TX
Posts: 4,024
Drives: too slow
Rep Power: 3595            |
Quote:
Pulled the glove box and the cabin air blower that's behind it, which reveals the wall between there and the factory battery compartment. Used a 1" hole saw drill bit to put a hole there, and routed the cable through the interior (under the panels/carpet along the passenger side) BTW, for this route, 15 feet was just barely enough cable. My leftover that I cut off at the engine bay side was about 8-9 inches, which was barely enough to make a short ground run back by the new battery. I still need to bolt that ground down, screw in the final connections to the battery itself, and give it a test-fire. More pics later. |
|
|
|

|
 |
| Bookmarks |
|
|
 Similar Threads
|
||||
| Thread | Thread Starter | Forum | Replies | Last Post |
| TravisJB Journal | travisjb | Member's 370Z Gallery | 1977 | 11-03-2017 09:39 AM |
| DannyGT's Journal/Progress | DannyGT | Member's 370Z Gallery | 174 | 10-17-2017 10:25 AM |
| RCZ's 370Z Journal. | RCZ | Member's 370Z Gallery | 1743 | 08-09-2013 11:55 PM |
| Edmonton Journal Review of the 370Z | BanningZ | Nissan 370Z General Discussions | 13 | 08-09-2009 05:44 PM |
| LiquidZ's Journal | LiquidZ | Member's 370Z Gallery | 22 | 05-22-2009 11:42 PM |