
 |
Originally Posted by LinPark Here she is - first pics and write up from the first day. Purchase date: 4/7/2010 2010 Dark Cherry 6MT with Sports Package, Floor Mats, Illuminated
|
|||||||
 |
|
|
LinkBack | Thread Tools | Display Modes |
|
|
#16 (permalink) | |
|
A True Z Fanatic
|
Quote:
|
|
|
|

|
|
|
#17 (permalink) | |
|
A True Z Fanatic
|
Quote:
Honestly, I hope to be missing the stock rims someday too - they are great but everyone has them right out of the box for the most part. With all the surfing on this forum that I've been doing, I have fallen in love with some of the Venaci rims but from what I can see you really can't go wrong with aftermarket rims on this car - it all boils down to personal taste. 
|
|
|
|

|
|
|
#18 (permalink) |
|
A True Z Fanatic
|
7/18/2010
So I have been waiting for quite sometime on this post - it is my 200th post here on the site and I have quite a bit to cover today. First, the car tripped 1,000 miles last night. She sat patiently in the parking lot of the movie theater at 997 miles while my wife and I took in The Sorcerer's Apprentice which I would recommend to anyone. After that, we took her out on SR70 here in Bradenton and I almost teared up as she passed into the 4 digit mileage territory but then I remembered how sad it would be if she just sat around in a garage all the time. I plan to do an oil change in the next 100 to 200 miles - I have all the items that I need now. I have to say the oil filter for this car is amazingly small. Not that long ago, I bought an oil filter wrench to help me change the oil out in my 280Z. Here is a picture of the 370Z oil filter sitting inside that wrench which just barely fits around the 280Z oil filter: 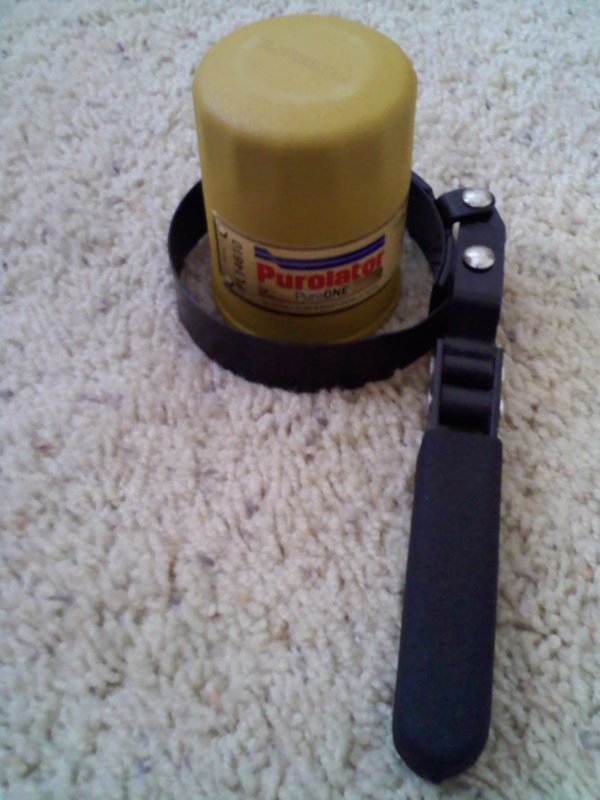 I haven't owned that many cars so I basically assumed that most cars have an oil filter in them about the same size as the one in the 280Z so I bought a fairly standard wrench and figured it would always work. Now I'm wishing I had bought one that was a little more flexible in the sizes it could handle because there is no way this one is going to grab that 370Z filter. Last weekend, I finally finished most of the paint correction and had gotten to the point where all the polishing was complete but no wax was used so I figured it was time for my first real modification. I guess you could say installing the locking lugs was my first one but that was just too easy so I'm not going to count that one. I stripped the 370Z logo from the rear using the techniques outlined in the DIY section - dental floss and the Bug N Tar remover seemed to do the trick best for me on this project. I had toyed with moving the logo altogether but in the end liked the look of it best right where the old logo had been - here are some pics of my Fairlady Z emblem: 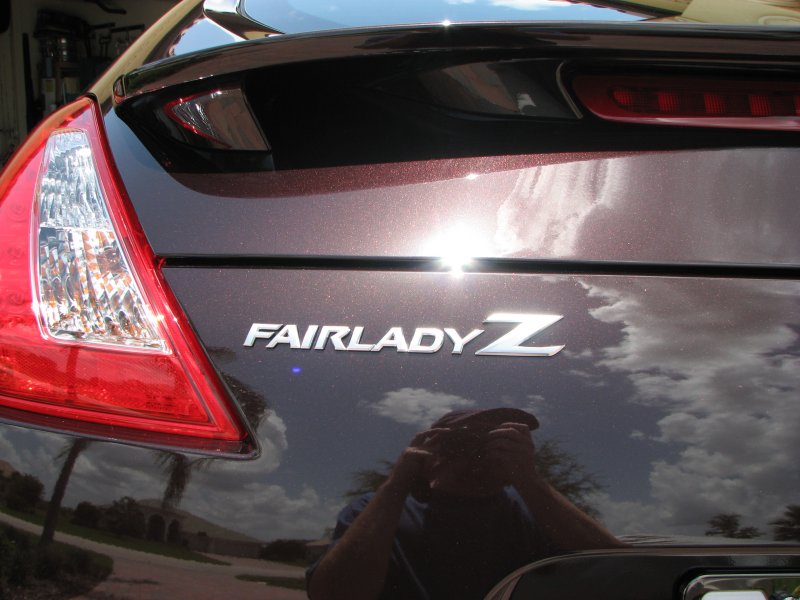 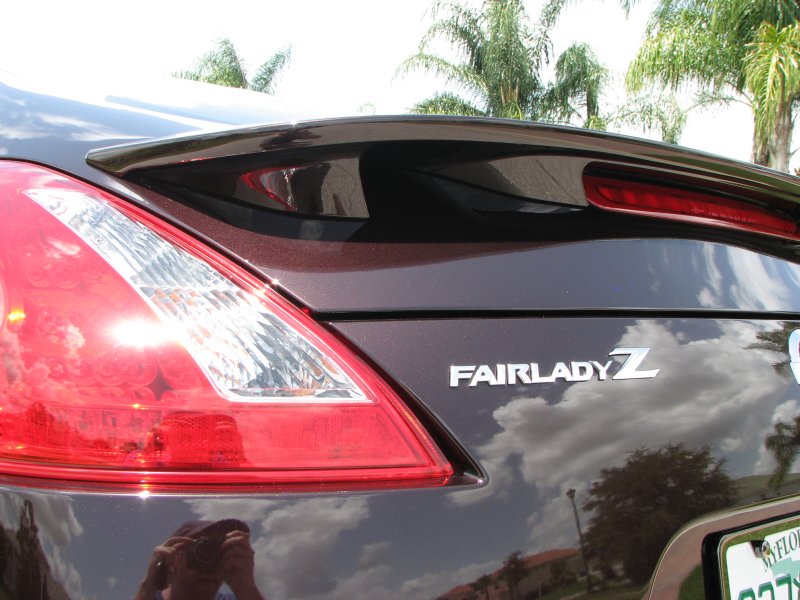 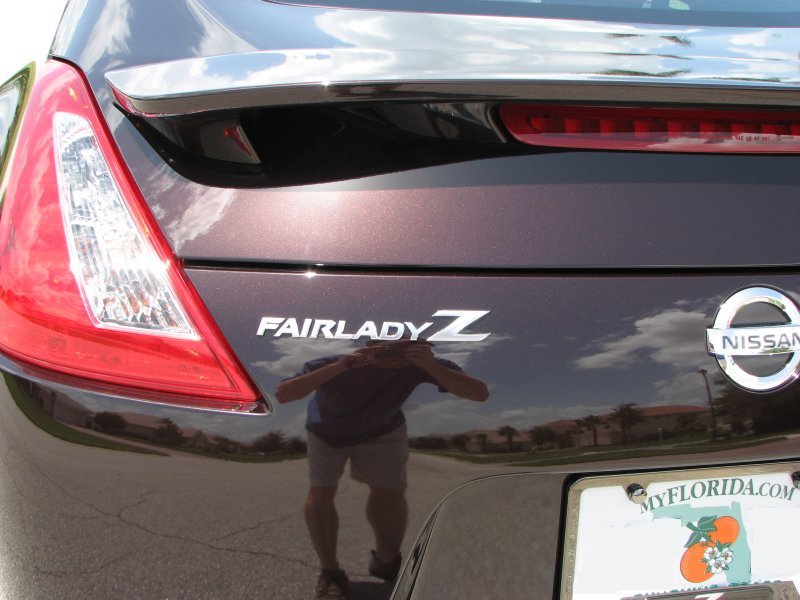 And last but not least, I've finally finished the exterior detailing. I can't believe I started this project back in April on a brand new car and it took me until July to wrap it all up. Granted I only work on this car a few hours each weekend because of other commitments (college for my kids and retirement for me can't come soon enough I tell ya!) but it has been completely worth it. I'd like to thank AK first for turning me onto the Adam's products - if it weren't for his thread on cleaning his car and referencing those products I'm not sure what I would have ended up doing but I'm sure it would've taken me even longer than it has and costed me even more money than I've already spent. I'm sure there are those that will argue with the use of those products and tell me I could've done it much cheaper and much faster (please let's not flood this thread with those comments). The bottom line is that there will always be certain things each of us are willing to spend money on - sometimes we pay the least we can for a solution and other times we pay what we feel is warranted to get the results we want. I am extremely happy with every product I've purchased so far and here are the pics: 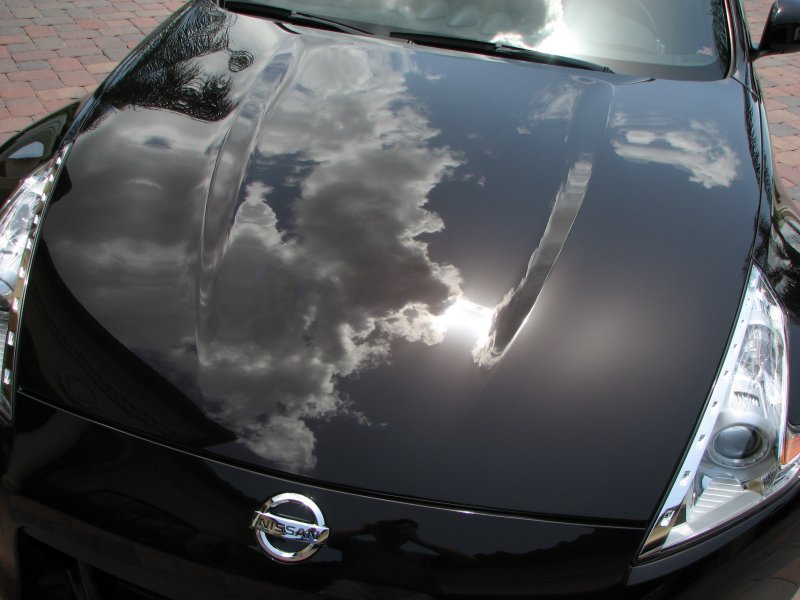 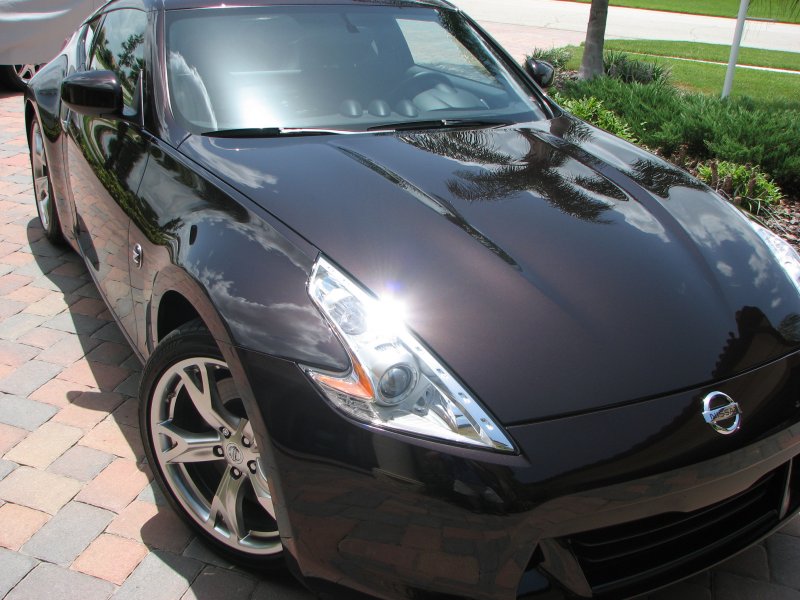 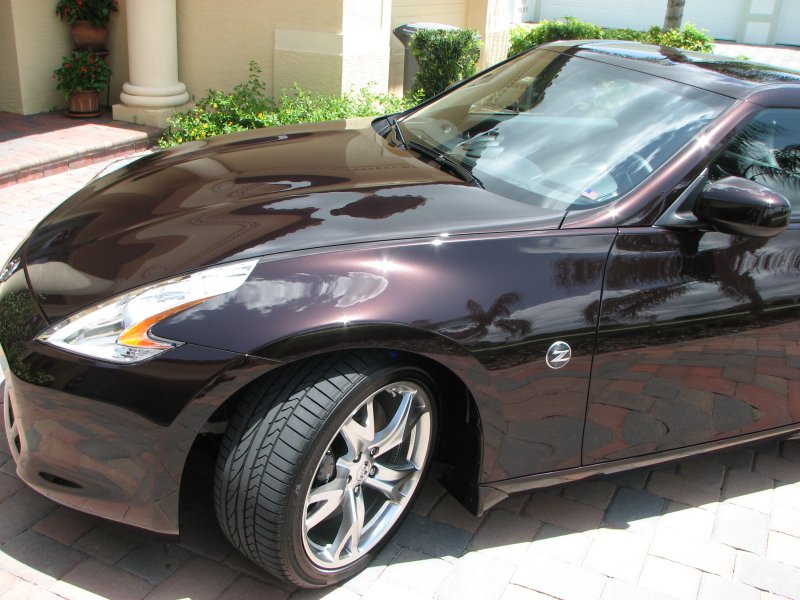  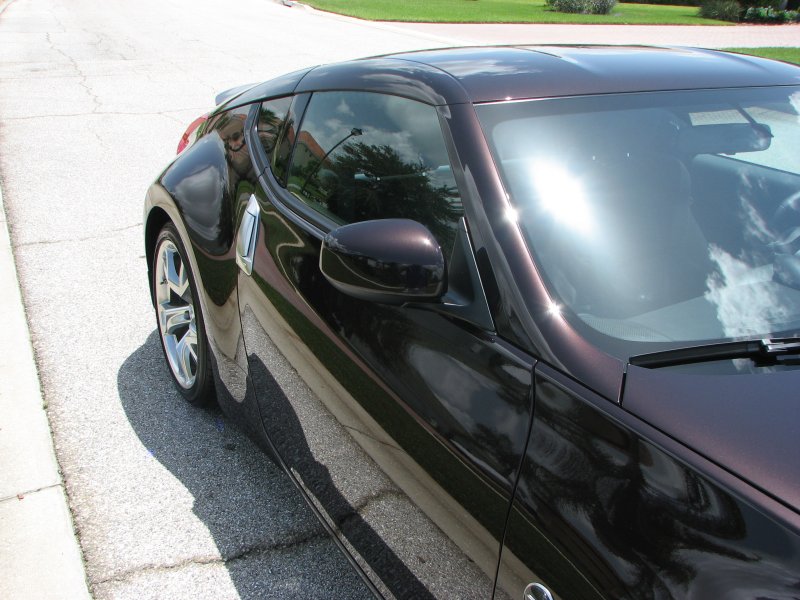 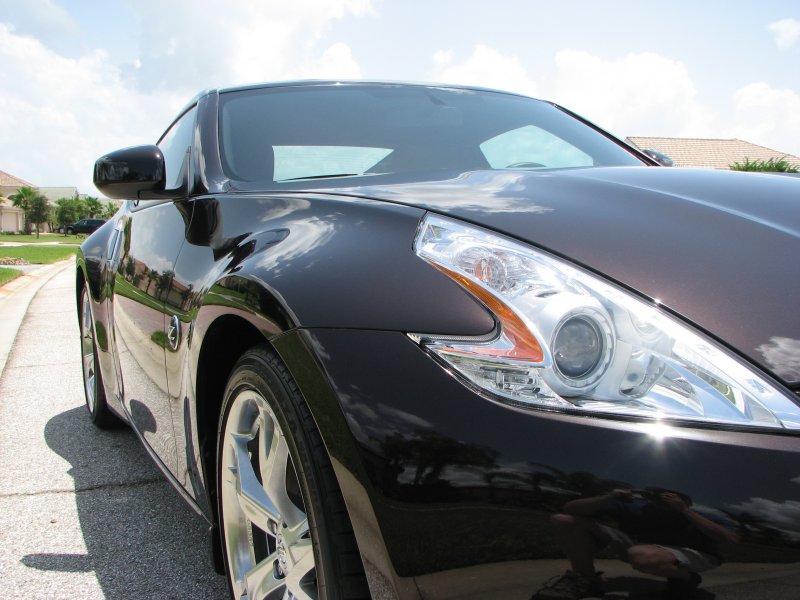 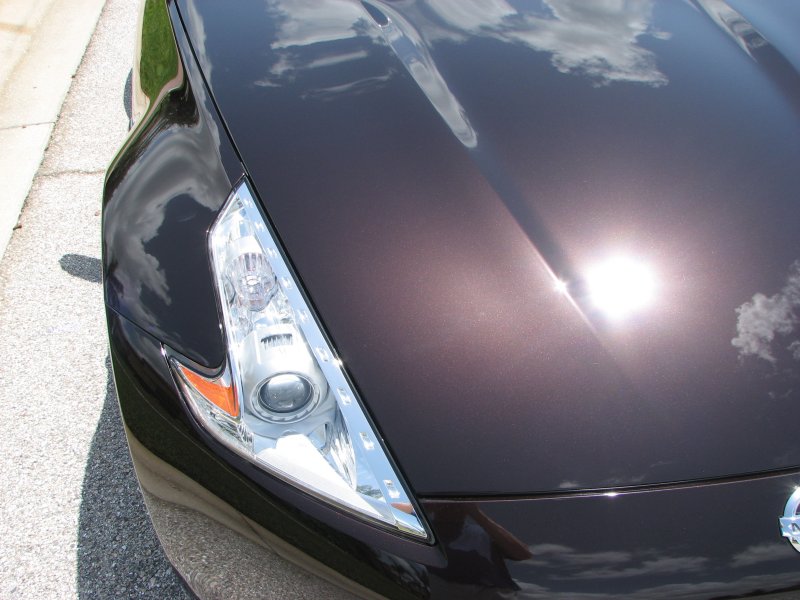 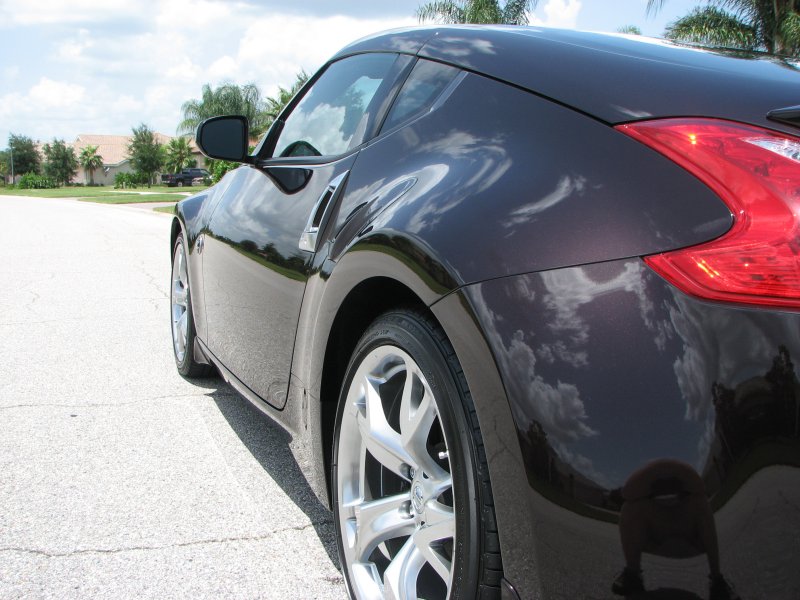 Next up for me will be an upgrade to the audio and I've also reached out to Igor/Alex at 180 Customs to do some headlight modifications. Later all! |
|
|

|
|
|
#21 (permalink) |
|
A True Z Fanatic
|
I've gotten some comments on the pictures in my Albums section and wanted to post up some before pictures so people can see exactly how bad things were on this car before I even started detailing it - these swirls stood out worst of all outdoors in the sun - they were not easy to see while the car was in the garage but working out in the sun in 100+ temps wasn't really an option.
The first 2 pics are of the rear spoiler area and the marks you see here were pretty much all over the car - the light just had to hit the panel the right way and you would see swirl city: 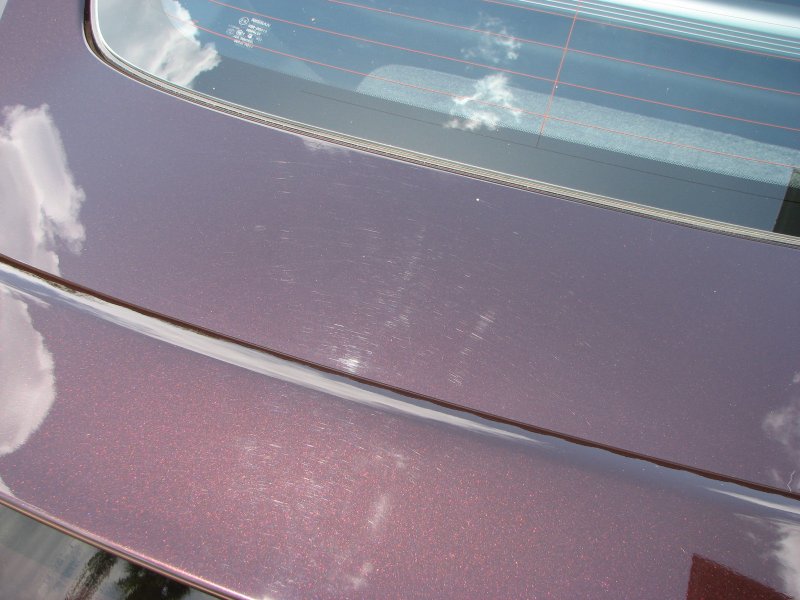 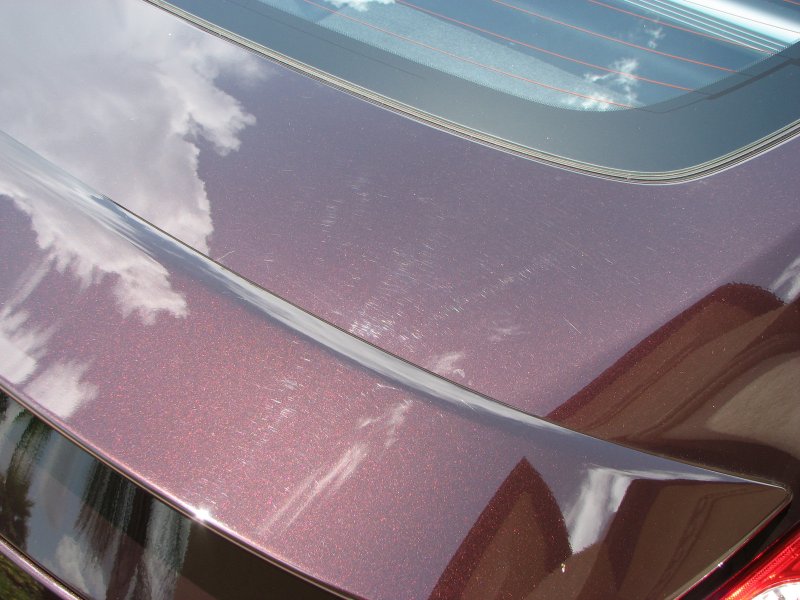 This next pic is of the front passenger side - at this point I had already finished the correction on the hood so it really shows the difference between the 2 surfaces: 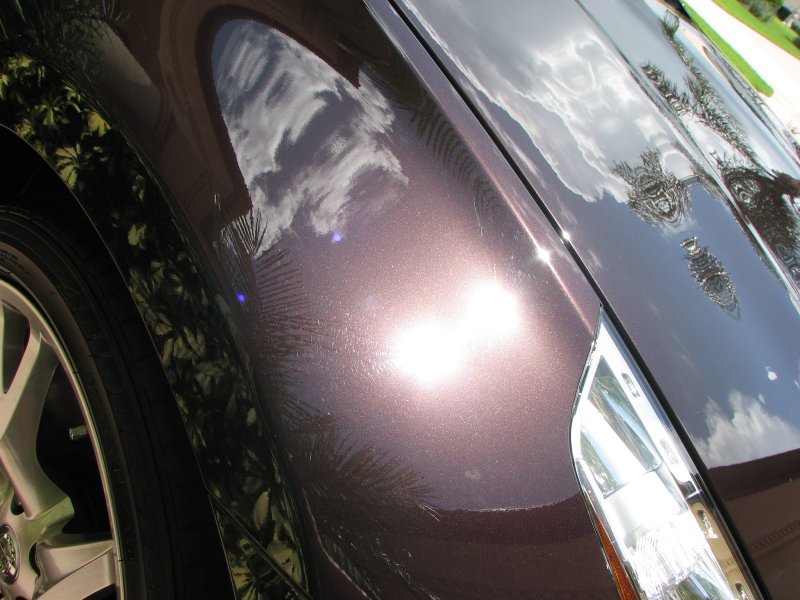 Here is a shot of the hood before it was corrected - note what looks like a spider web spreading out from the bright center of the spotlight I was using: 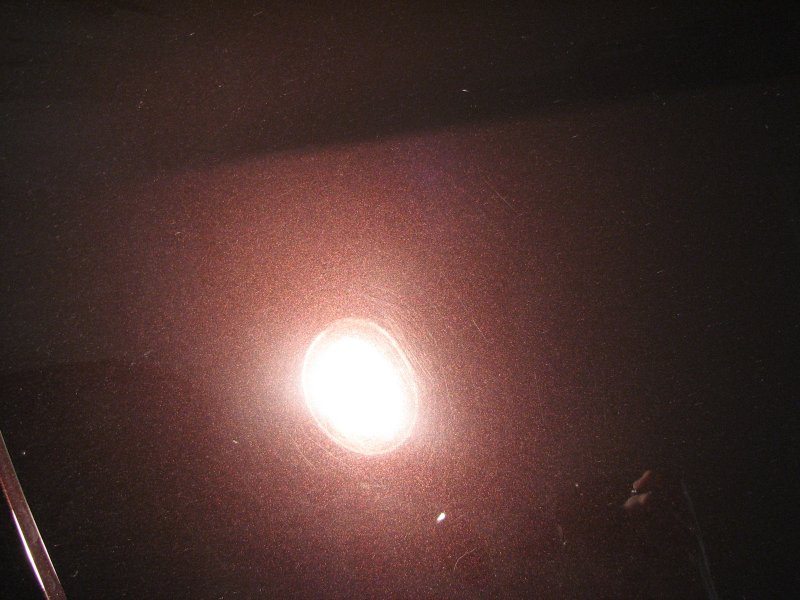 And finally a shot of the front fascia before correction - if you look just below the bright spot you'll see the swirls in the paint - again, this was taken after the correction to the hood so you don't see any swirls above the bright spot: 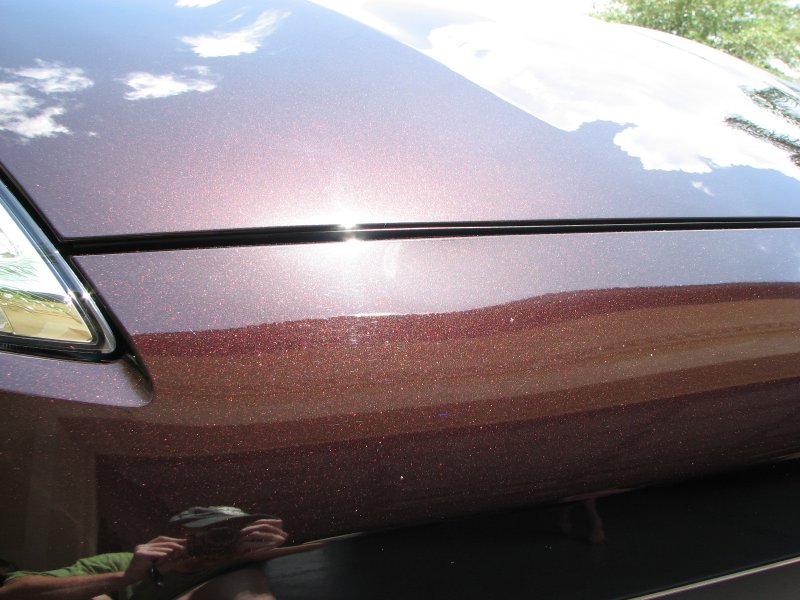 If your car has marks like this on it, you can fix them. It will be extremely difficult and time consuming to do it by hand. I would recommend some sort of orbital polisher (I used the Porter Cable 7424XP but there are many other options) and a mild polishing compound (I used Adam's Swirl & Haze Remover followed by Adam's Fine Machine Polish but again there are many other options). Some of these marks cleaned up in just a few minutes and other sections literally took me hours to perfect because it all depends on how bad the damage really is. The best part is that as long as I clean this car properly going forward, I shouldn't have to invest that amount of time again to achieve the same results. |
|
|

|
|
|
#24 (permalink) |
|
A True Z Fanatic
|
8/8/2010
The car tripped 1,100 miles on her maiden voyage with the new audio system intact. Here are some shots of the final product: No dash kit used for this install - space around the unit is minimal - only wish the screen came with more of a flat black appearance instead of the glossy screen - maybe I'll look into a screen protector or something. 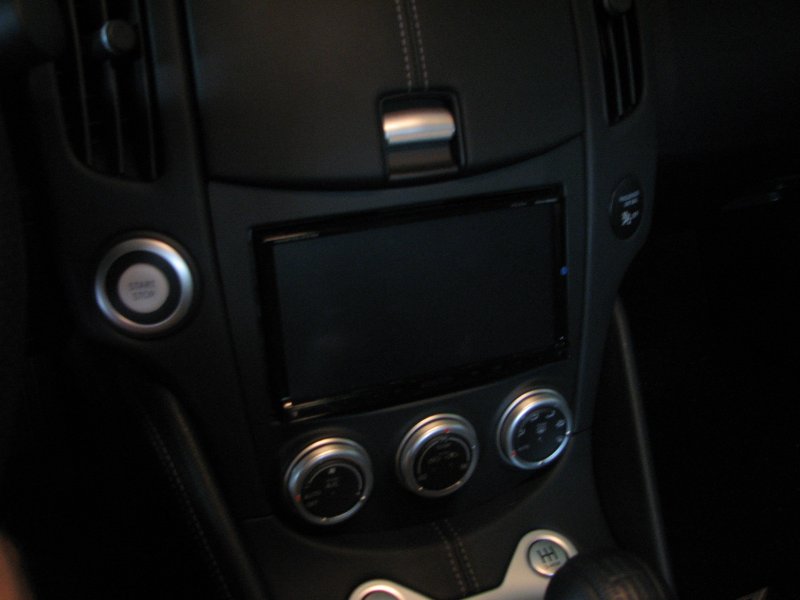 Fairly standard mounting location for the microphone. 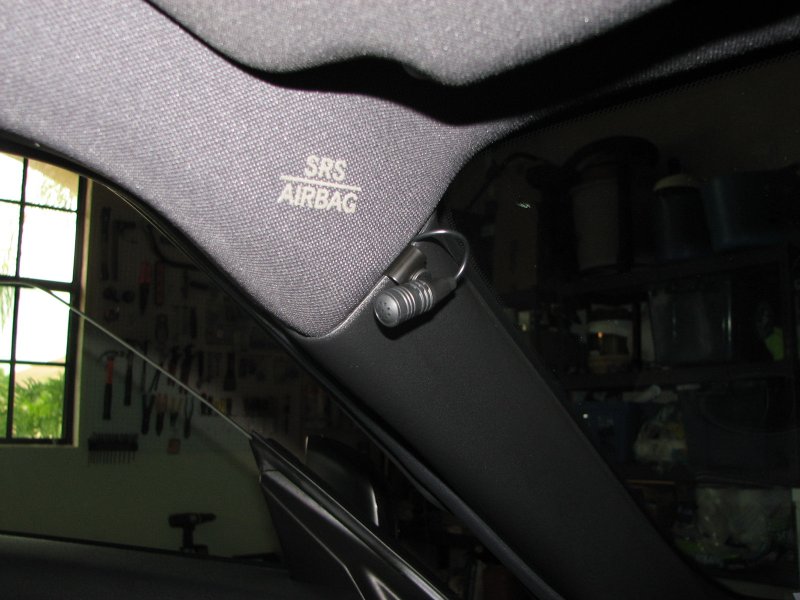 Most of my parts came directly from Wicked C.A.S. who I can highly recommend - shown here is the MagicBox with 13" JL Audio Sub and new Z carpet - the JL Audio J2 500.1 amp is mounted under the styrofoam piece just above the Z logo in this picture. 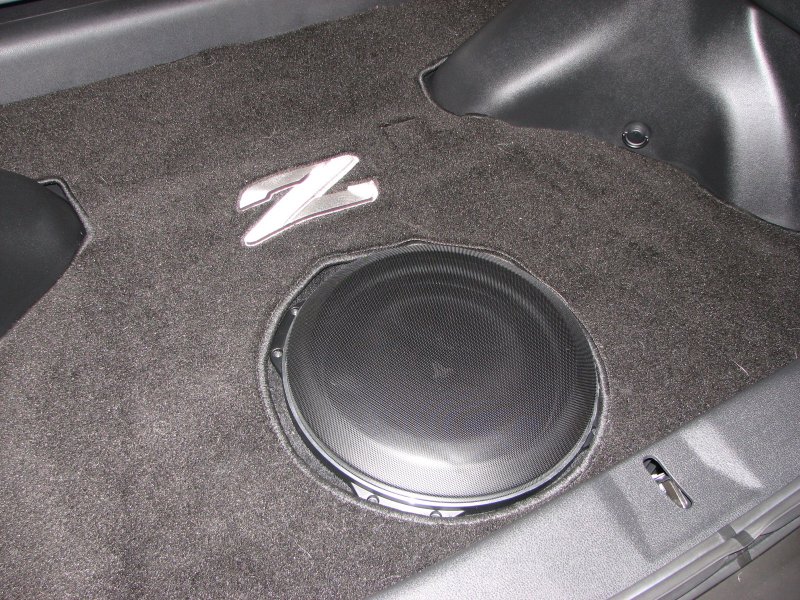 Sample screenshot showing the unit when using the FM Tuner - reception seems to be quite good. 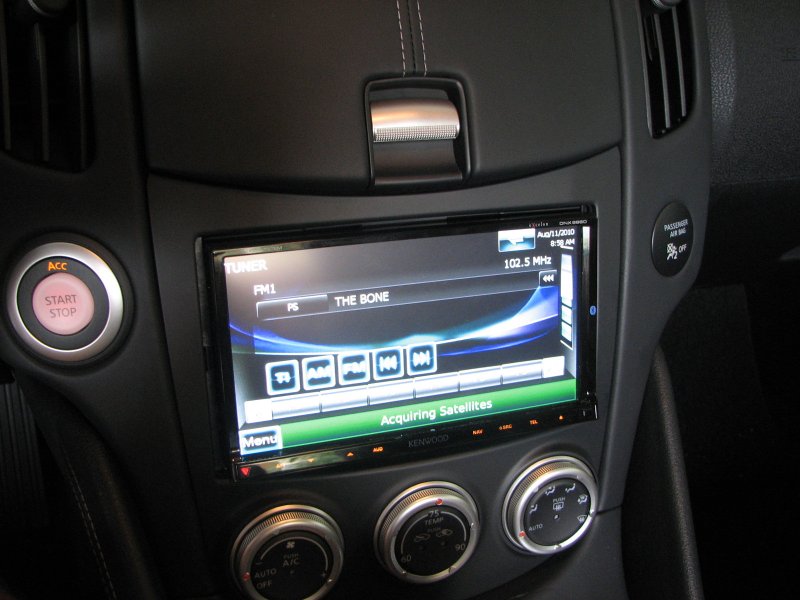 Sample screenshot showing the Main Menu of the Kenwood DNX9960. 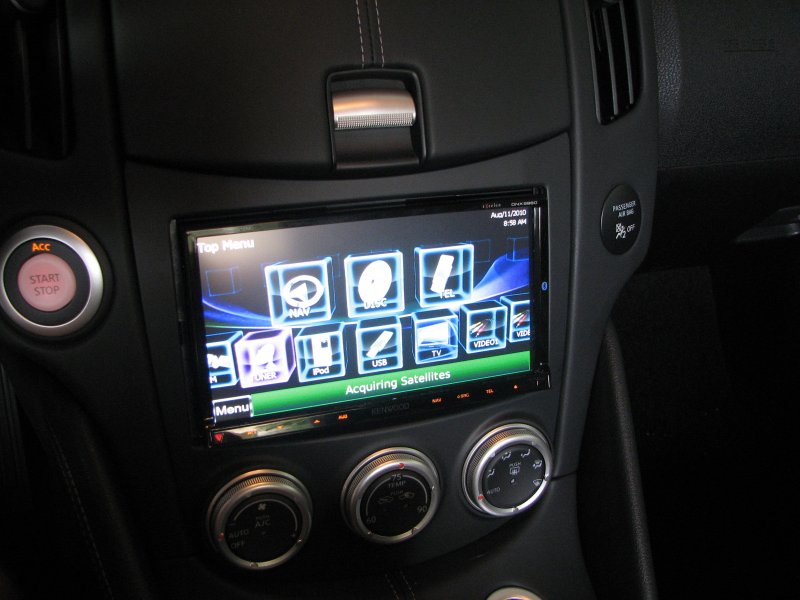 Sample screenshot showing the Reverse Camera feed - very impressed with the quality of the image - the unit works really well both day and night. 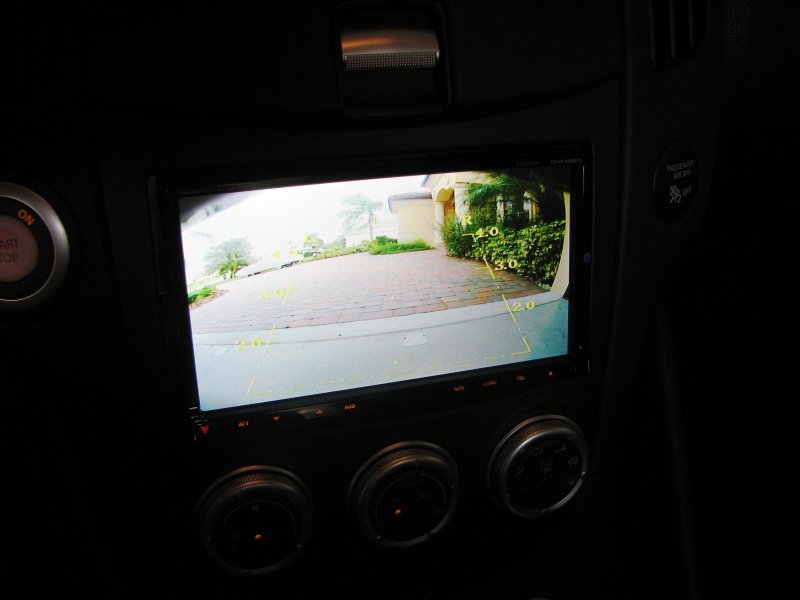 Sample screenshot showing the unit in Navigation Mode. 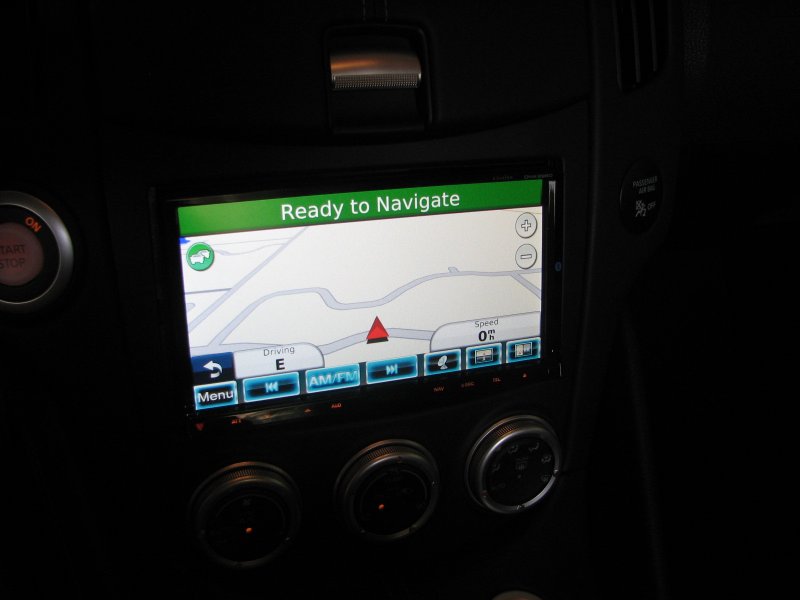 Location of the rearview camera. 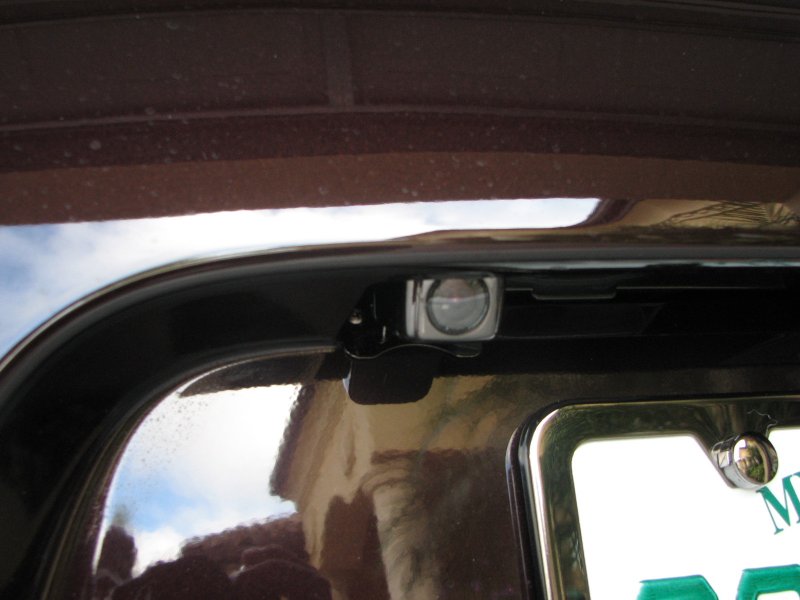 The sound quality on this unit is really nice and it has just about every feature I could ask for in an aftermarket HU. I was very surprised at how easy the install was for this. A big thanks to guys like SlikNik and bigaudiofanat for posting up their how-to pics and videos because without those I would have never been able to do this.  Next up will be my first oil change and after that who knows what might transpire. 
|
|
|

|
|
|
#25 (permalink) |
|
A True Z Fanatic
|
8/14/2010
Finished my first oil change on the car just before the 1,200 mile mark - went with the Purolator PureOne PL14610 ordered from Amazon (pack of 2 was about $12), an SS250 FilterMag (from eBay), the Project Kics magnetic drain plug (from Evasive Motorsports), and 6 quarts of Nissan Ester oil (from eBay). I tried to remove just the 4 bolts and fold back the underside fascia but I just couldn't get the oil filter off. I removed the entire plastic protector and found it much easier to do the work - this is quite a few bolts and clips but it really comes off easy and goes back on just as easy. I had the car up on stands but think you could probably do this entire project with just the front passenger side jacked up and supported. I think the most difficult piece was getting the factory installed oil filter off - they really seem to torque that thing on - luckily I had bought one of those special wrenches at AutoZone that uses a piece of rubber to wrap around and grip the thing. I think this is a great first project for someone looking to bond more closely with his/her car - in total it took me about 4 hours but I work really slow (that includes cooking my lunch Thanks to AK for his DIY post that convinced me to do this myself - I'll be switching to Redline synthetic about 2,000 miles from now and will start using the Blackstone Lab to analyze things. Here are some pics from the project: 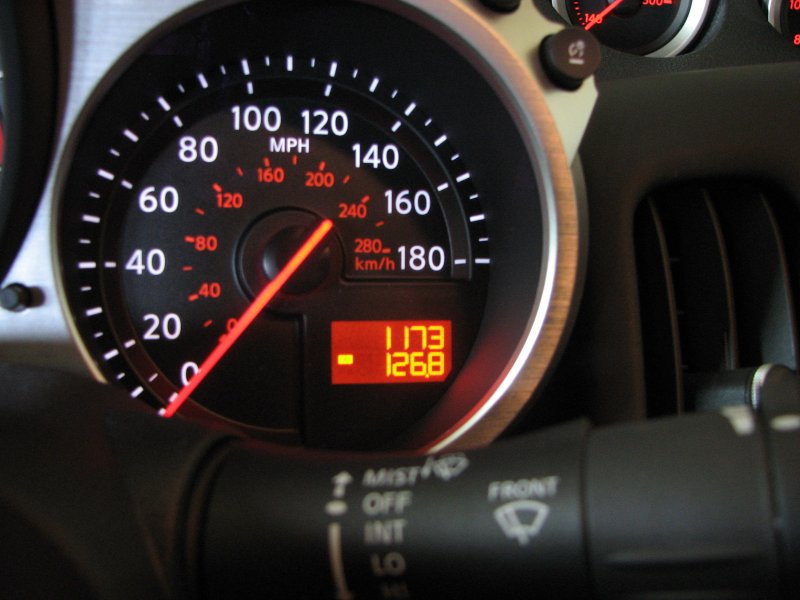 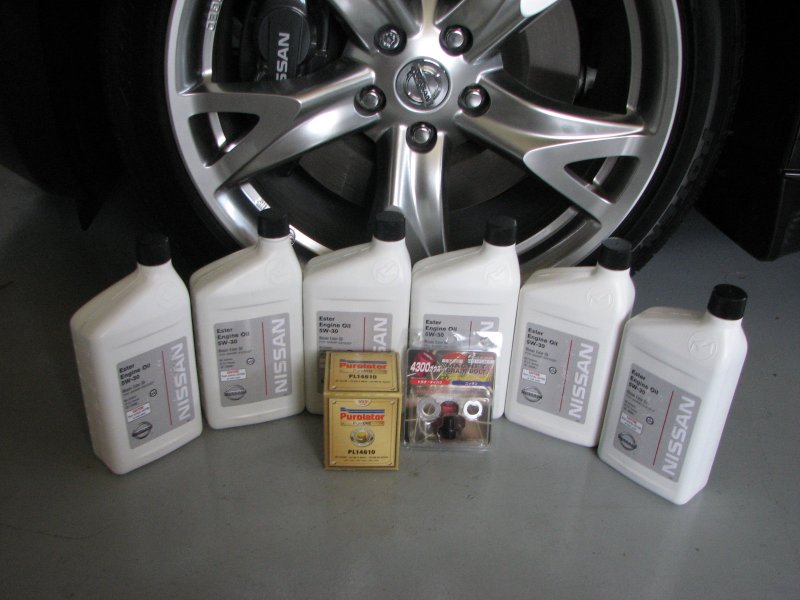 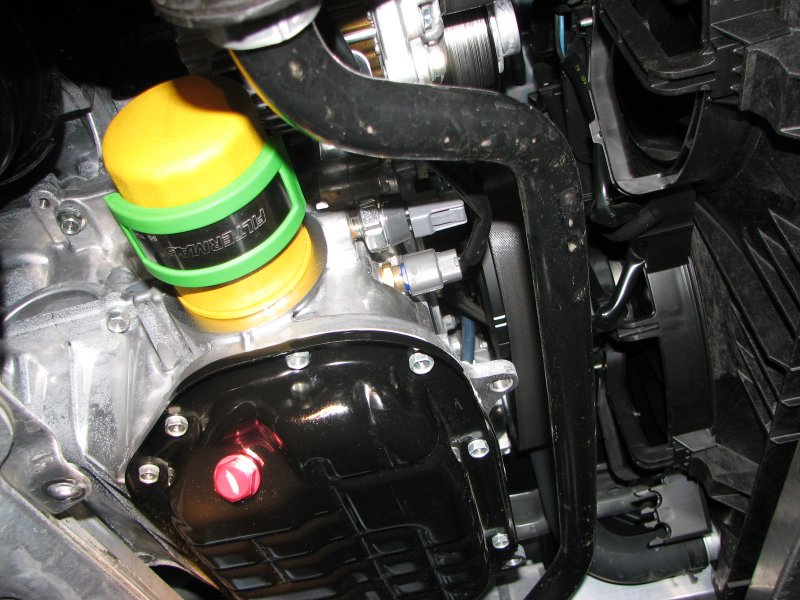 Now that phase 1 of the audio is done and the oil is changed, I'm thinking H&R 15/20 spacers will be my next project (which should make wheee! more than happy at last  ). ).
|
|
|

|
|
|
#26 (permalink) |
|
A True Z Fanatic
|
Well, its been almost 1,500 miles since my last update - taking more time to enjoy the car than making changes to it. I just finished up the latest mod today which involved DressUpBolts in the engine bay - here are some pics:
 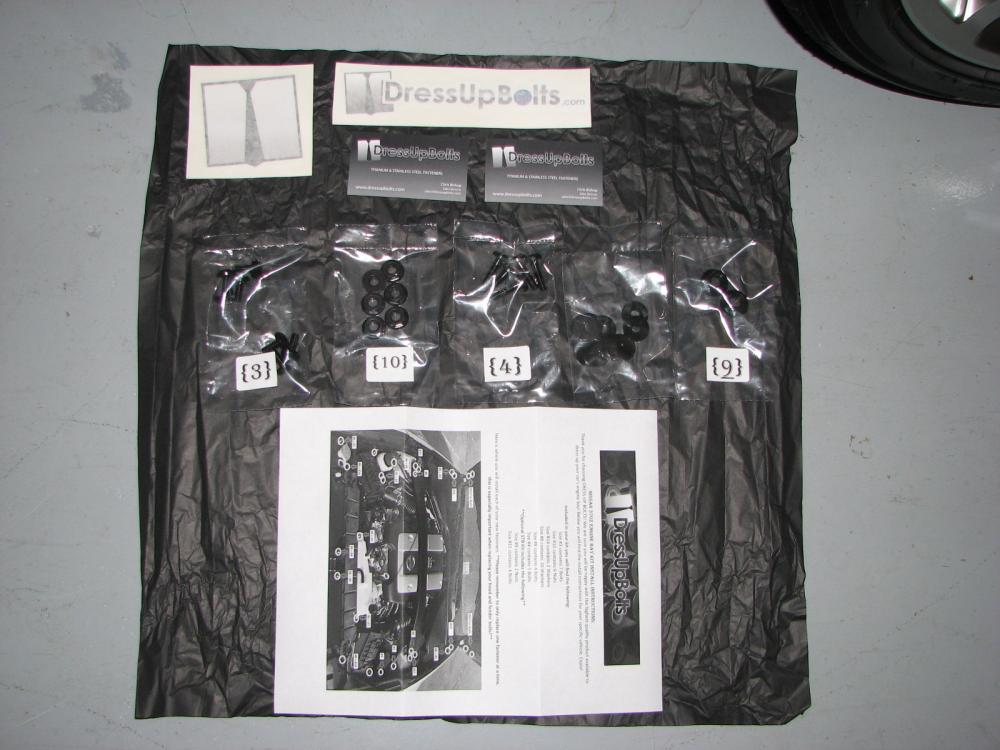 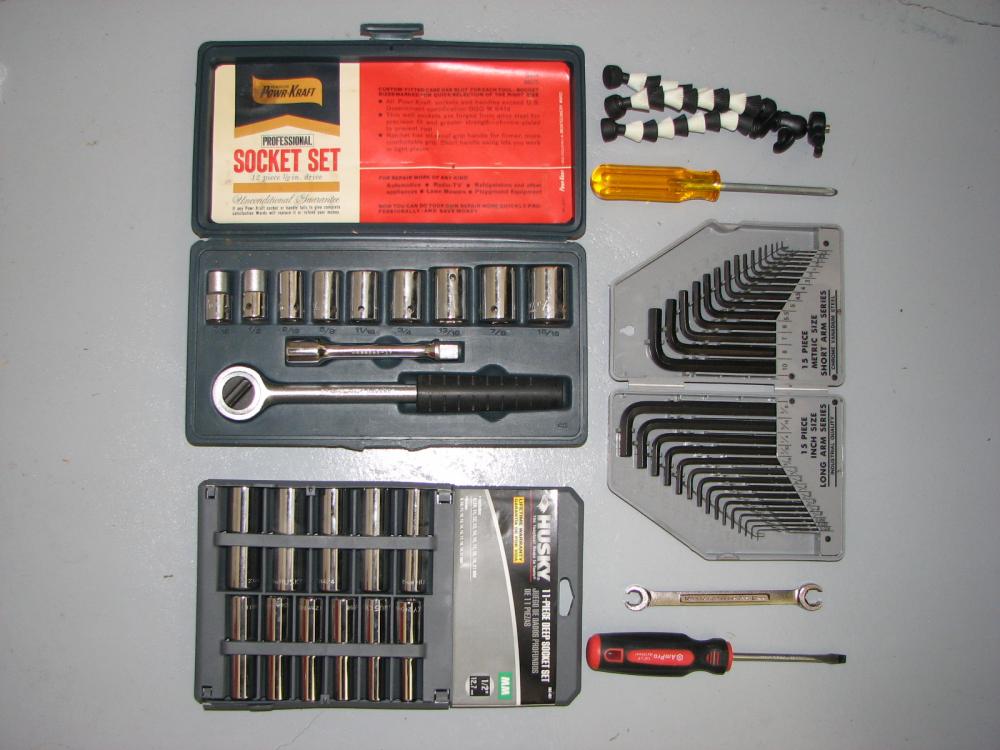 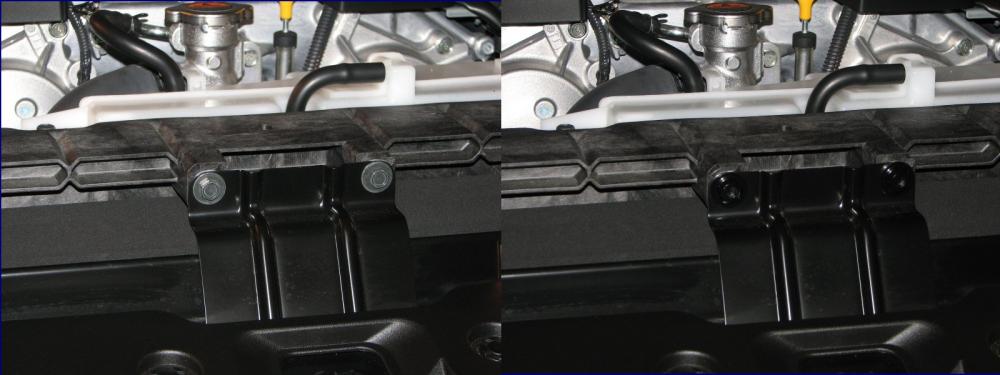 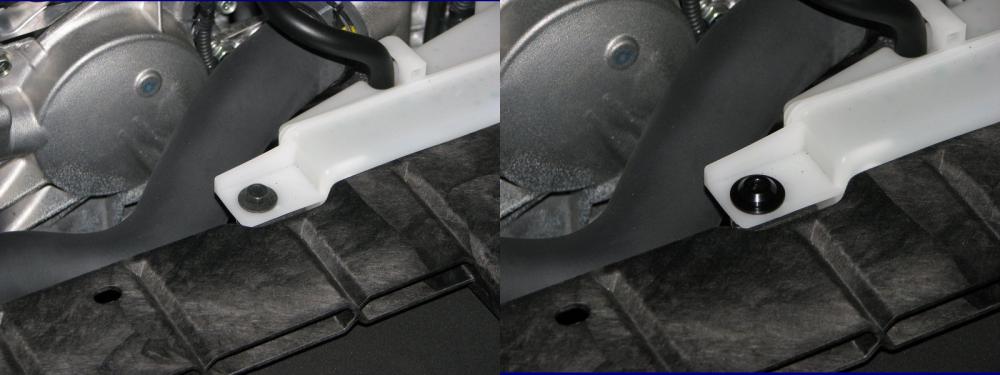 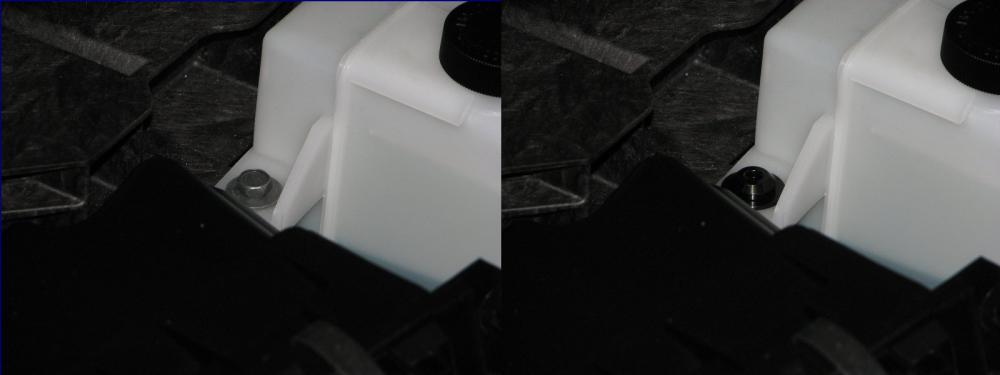 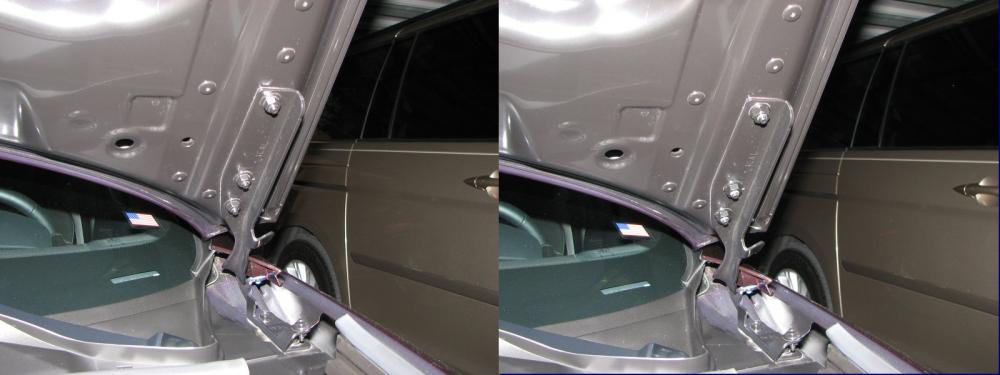 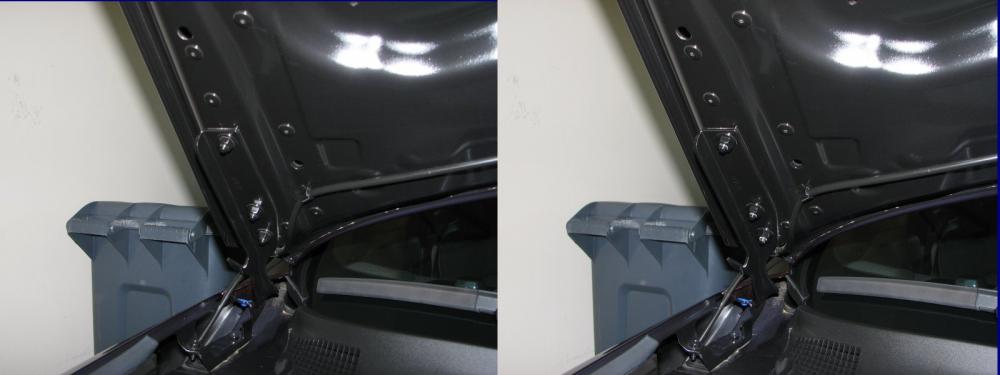 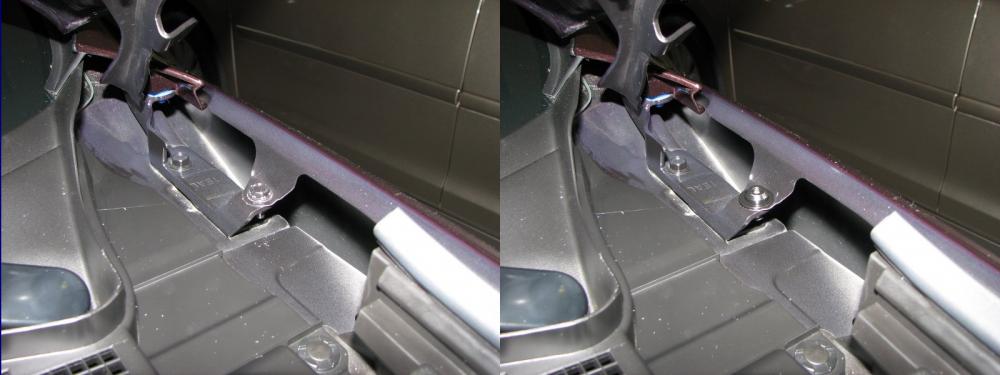 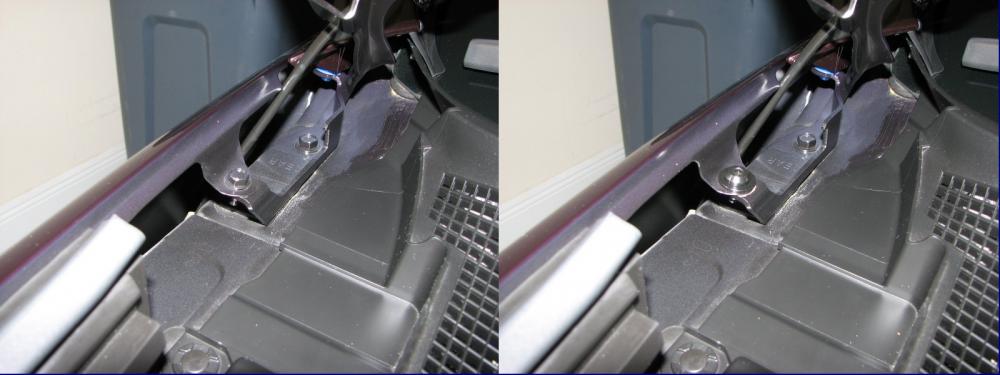 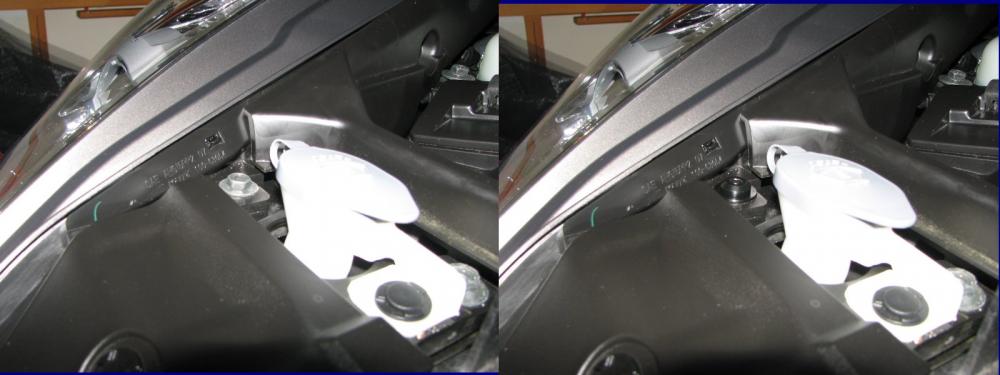 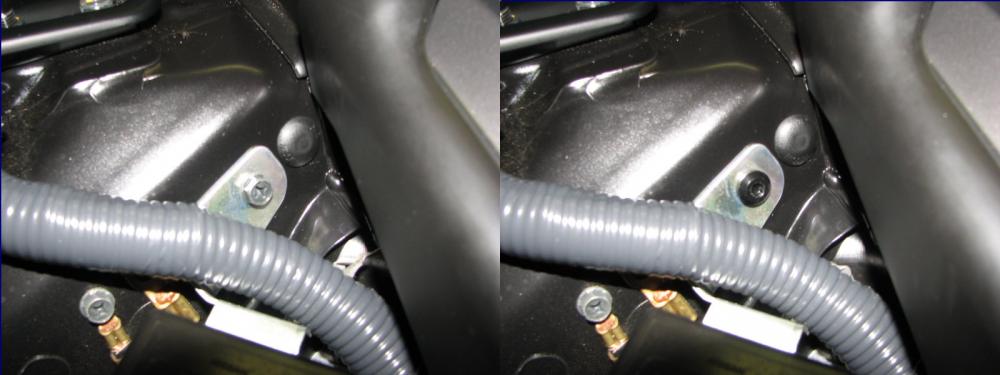 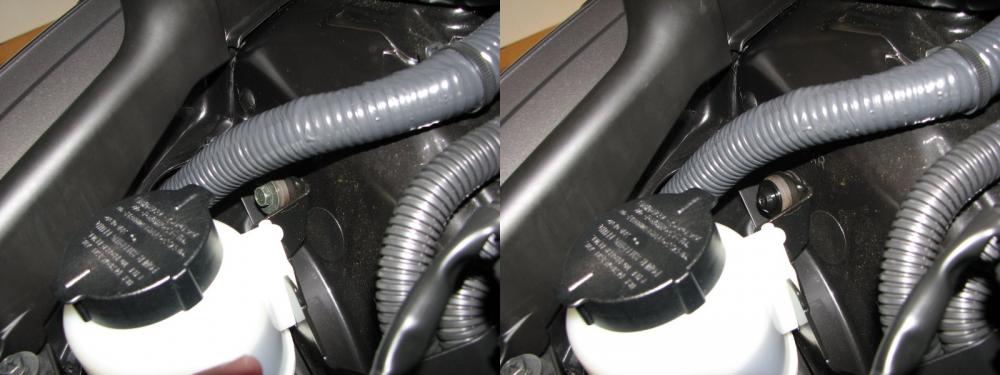 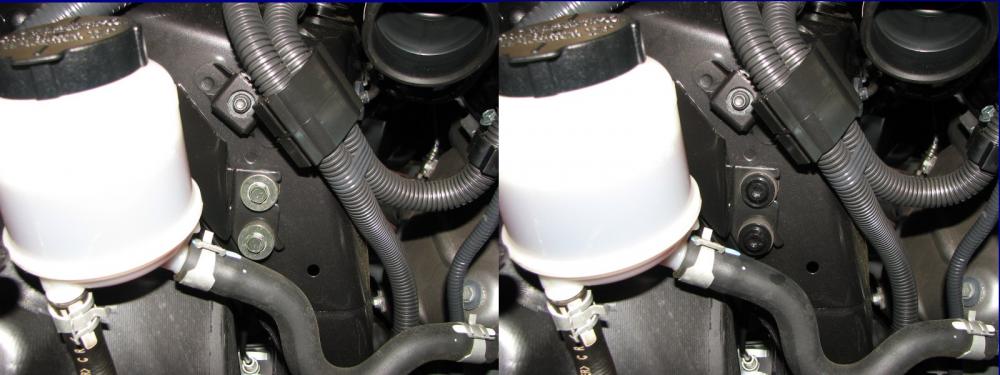 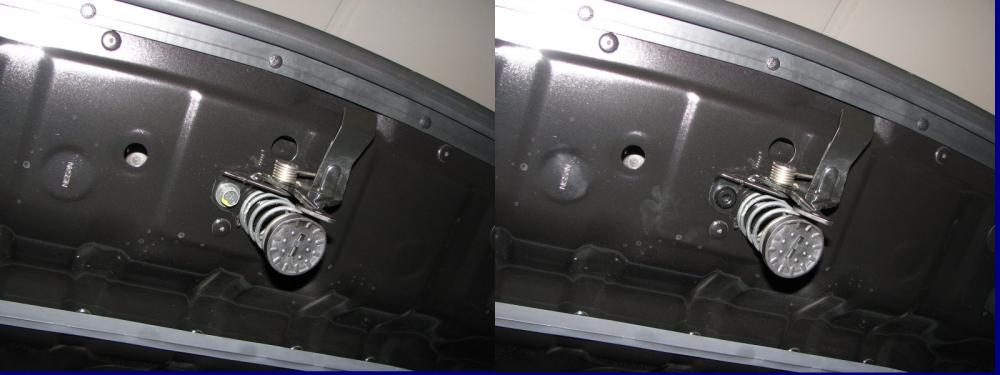 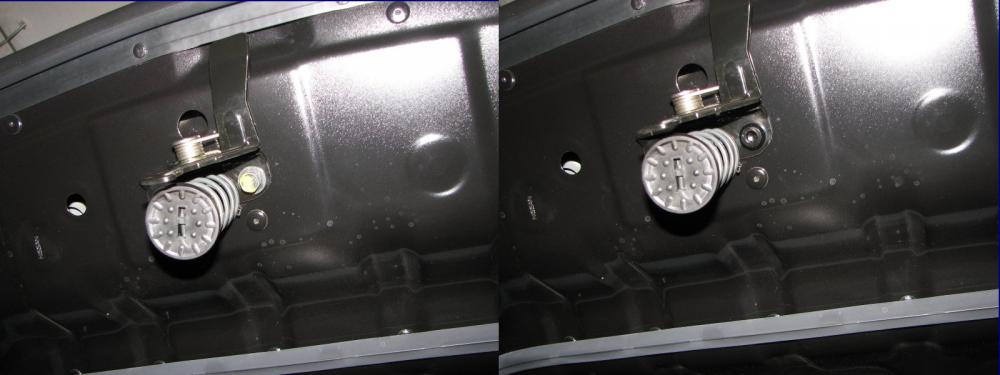 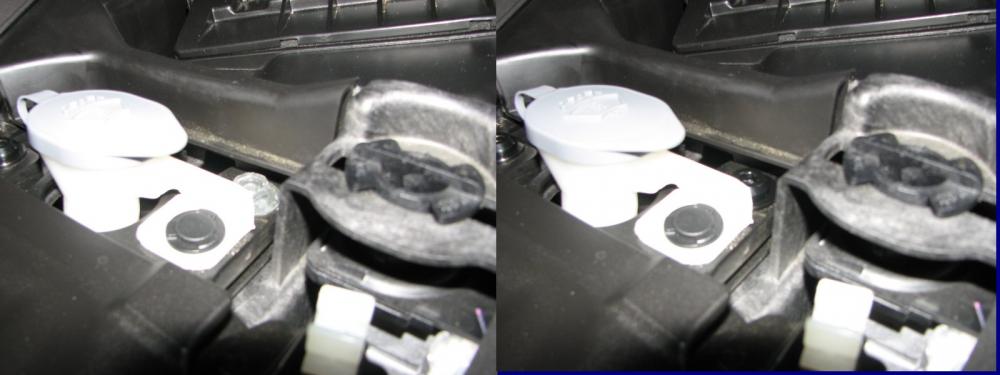 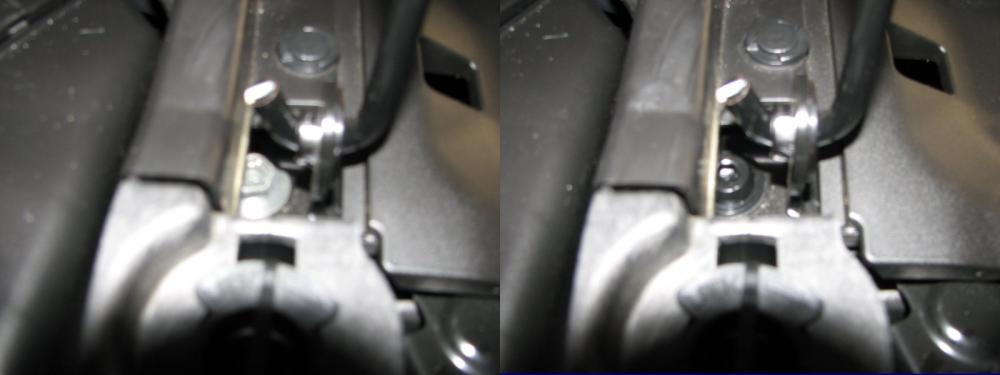 Next up will be the H&R 15mm/20mm spacers that Santa delivered last night and I plan on ordering a CBE next week to keep things moving along. Happy Holidays All! 
|
|
|

|
|
|
#28 (permalink) |
|
A True Z Fanatic
|
A few updates after this weekend - received the final set of items from Chris at DressUpBolts and installed those - here are the before/after shots:
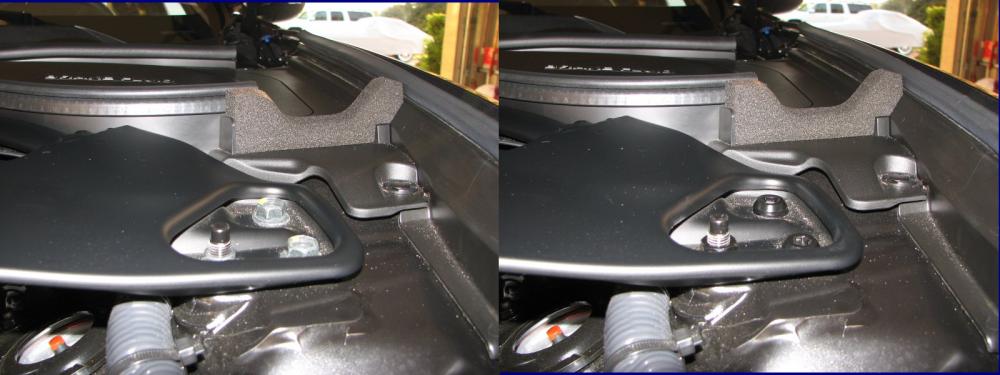  And after surviving the holiday seasons and finding a nice set of H&R 15mm/20mm spacers in my stocking, I was able to finish that install this weekend - here are a few before/after shots on those: 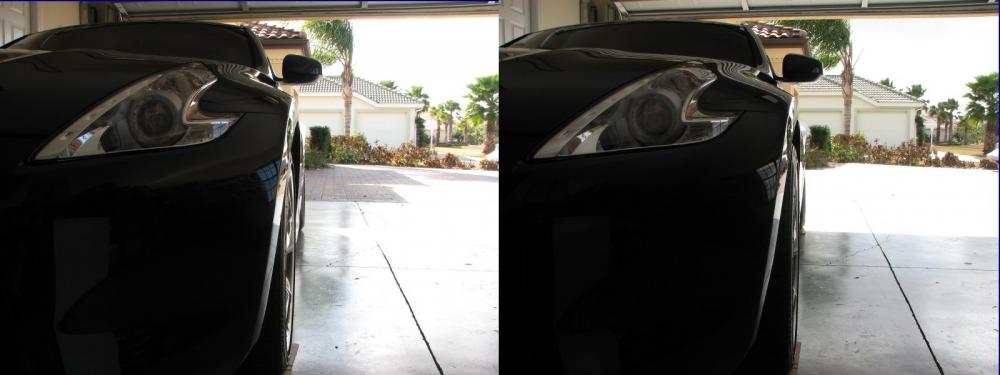 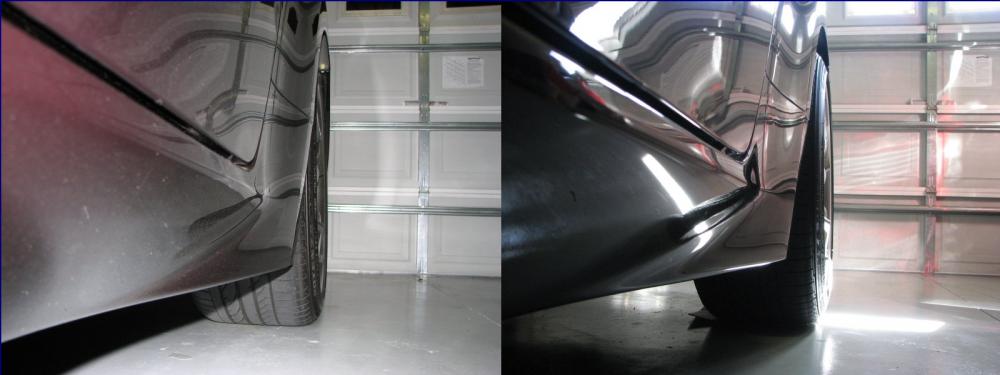 I can't say enough about how much better these make the car look and I can't say enough to thank wheee!, ChrisSlicks, rtrono, and djpathfinder for not letting me give up on the project. Now that I know what I'm doing I would guess that I could get all four spacers installed in about 2 to 3 hours given enough good liquor and music. Mega Thanks to ChrisSlicks, ModShack, and wheee! for the DIY write-ups because without those I probably wouldn't have even attempted the project in the first place. Next Up: I spoke to J.J. at Intense Power last week and my HKS Hi-Power Titanium Exhaust should ship this week - I might get it by the end of this week or early next week. Yeah Baby! 
|
|
|

|
|
|
#29 (permalink) |
|
A True Z Fanatic
|
More work this past weekend and the HKS Hi-Power Titanium Exhaust is installed - took her out on Sunday evening and of course a young man pulled up behind me in a green corvette and started rev'ing his engine - I rolled my eyes and thought what does he want. At the next intersection he got beside me, rolled his window down, and asked me to rev mine up so he could hear it. Guess he saw it and wanted the full effect - needless to say he was most impressed by the sound as am I!
First some quick shots with the spacers: 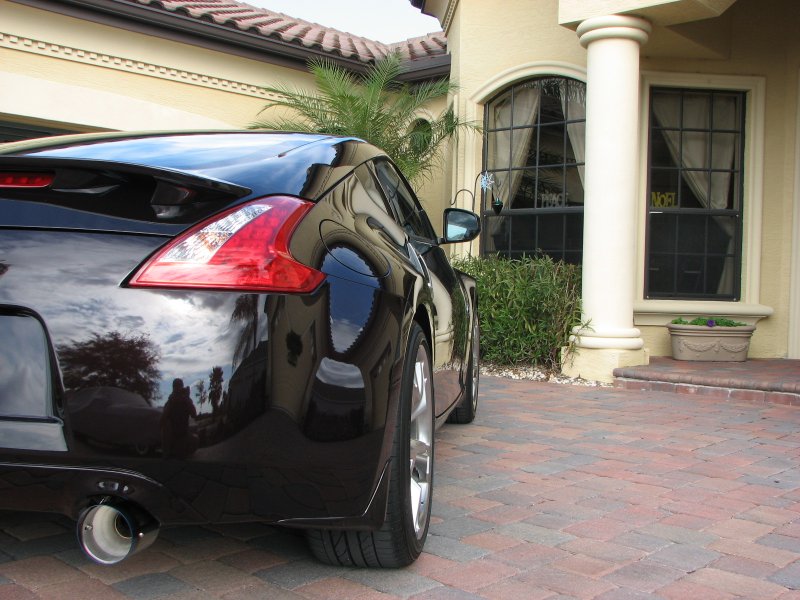 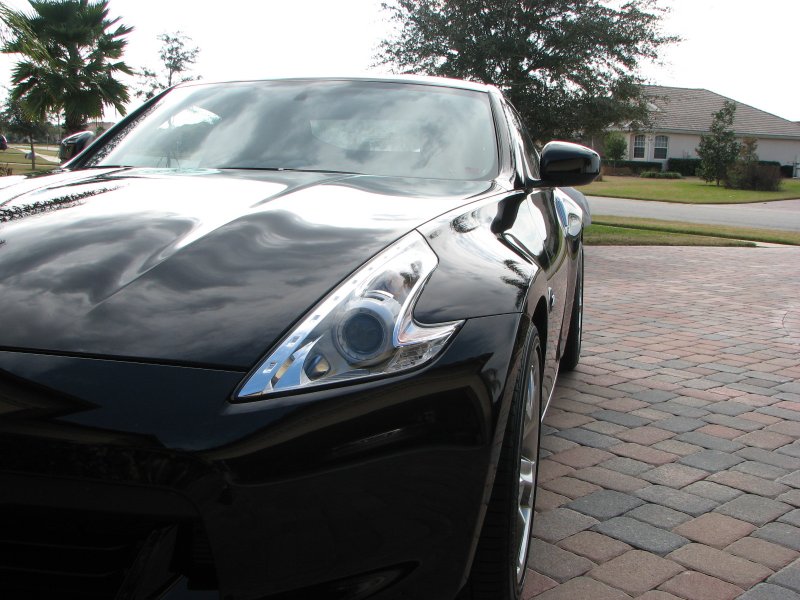 And here are some pics from the install - you can find a write-up that I did on removing the stock CBE here:           Next up will be intakes and I need to find a place to display the awesome HKS logo that came with the exhaust. 
|
|
|

|
|
|
#30 (permalink) |
|
A True Z Fanatic
Join Date: Sep 2009
Location: Mod Capital of Canada
Age: 58
Posts: 7,354
Drives: cars. lots of cars.
Rep Power: 40182            |
Put the logo on the solid crossmember on the exhaust. It's a nice subtle touch to see it there.
Like mine...! You can juuuust see it in this crappy iPhone pic... 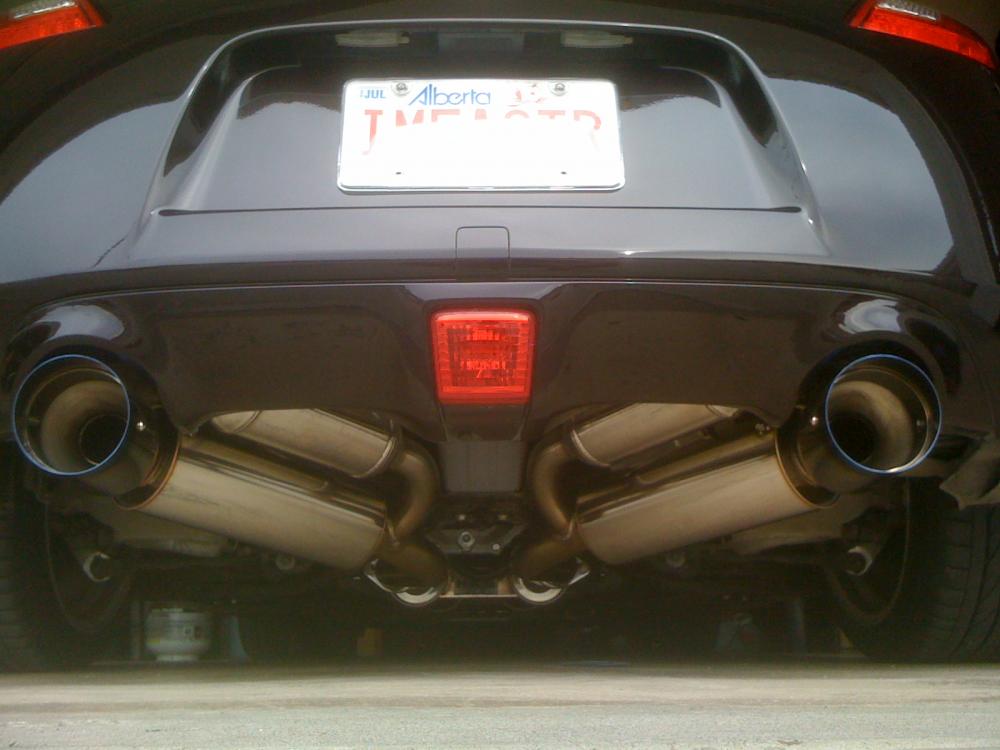
__________________
 H&R / Stillen / Berk / HKS / Swift / Michelin / UpRev / SPC / Amuse Rep / Seibon / Fringe XVO / TWM / more... My Journal |
|
|

|
 |
| Bookmarks |
|
|
 Similar Threads
|
||||
| Thread | Thread Starter | Forum | Replies | Last Post |
| RCZ's 370Z Journal. | RCZ | Member's 370Z Gallery | 1743 | 08-09-2013 11:55 PM |
| LateralG'z 370Z Journal | LateralG'z | Member's 370Z Gallery | 54 | 12-25-2010 05:27 PM |
| My 370Z Journal - The Evo Killer | EVO_Killer | Member's 370Z Gallery | 57 | 09-01-2009 09:51 AM |
| Edmonton Journal Review of the 370Z | BanningZ | Nissan 370Z General Discussions | 13 | 08-09-2009 05:44 PM |
| Imag Z journal | imag | Member's 370Z Gallery | 4 | 05-06-2009 02:05 PM |