
|
UPDATE: The people at R2C will replace the hoses and screws for any customer that had difficulties with them. Just go to their website and request it. They will also
|
|||||||
|
|
LinkBack | Thread Tools | Display Modes |
 08-20-2009, 09:47 PM
|
#1 (permalink) |
|
Lifetime Premium
 Join Date: Nov 2008
Location: Montreal
Posts: 22,357
Drives: E46 M3
Rep Power: 1765   |
UPDATE: The people at R2C will replace the hoses and screws for any customer that had difficulties with them. Just go to their website and request it. They will also include these items on all future orders from now on.
They also contacted their plating supplier about the issues i had about chrome in the holes. +1 to them for stepping up  UPDATE: I checked to see if the seal does in fact seal to hood and it does. I rolled pieces of tape and put them on the seals, all over it. Closed the hood and opened it to find out all the tape was stuck to the hood now. R2C Performance Intakes in Black Chrome NOTE: This intake system is the same one for the 370z exact ! Initial Thoughts: the intakes were properly packaged with all kinds of bubble wrap, small.. medium & large bubbles ones. the box wasn't heavy at all, so no worries about the shipping. the black chrome looks absolutely stunning and i can't get over it. there are no scratches nor any marks at all on the black chrome... love it. here are some pics of the packaging and laid out to see: 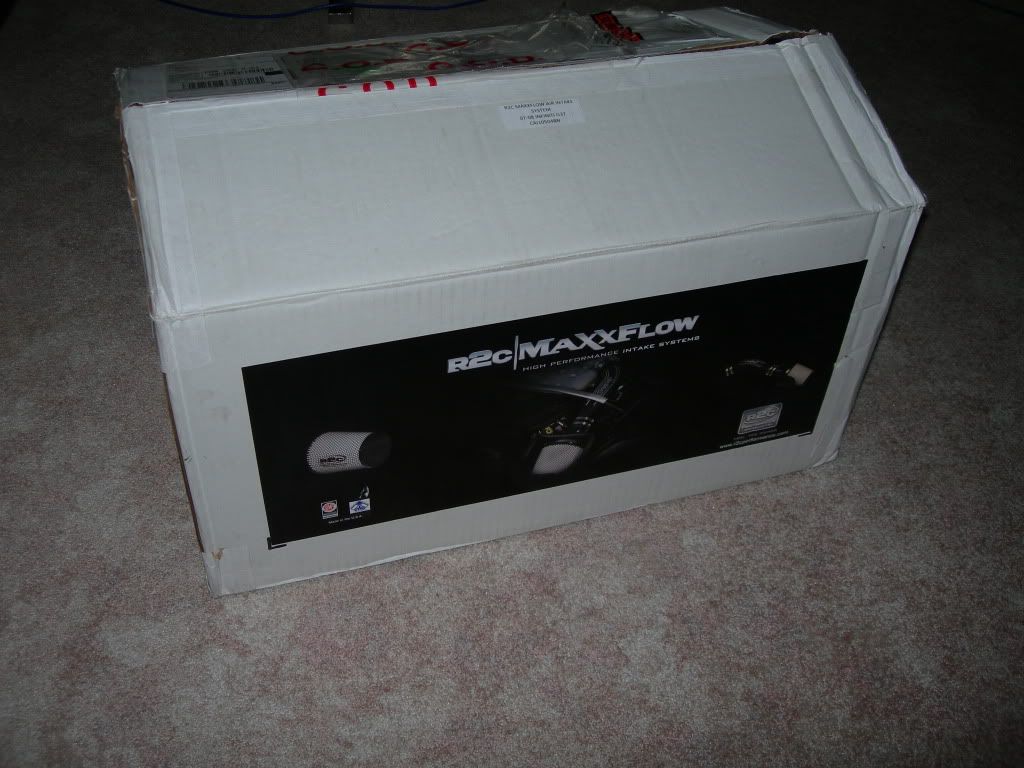 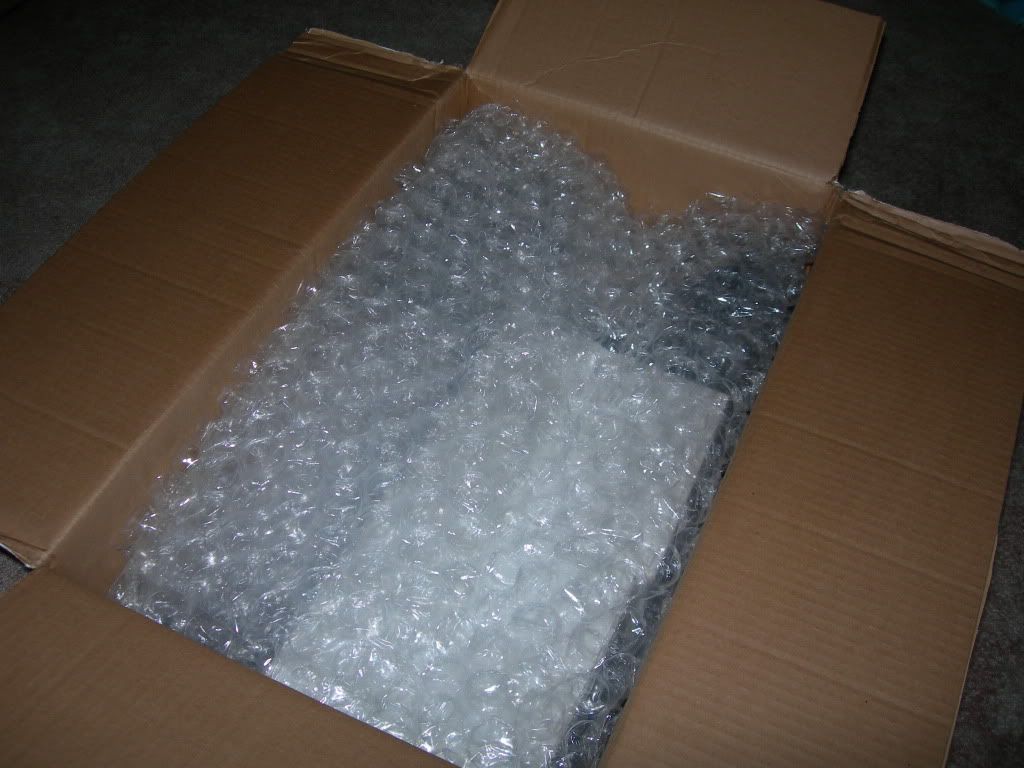 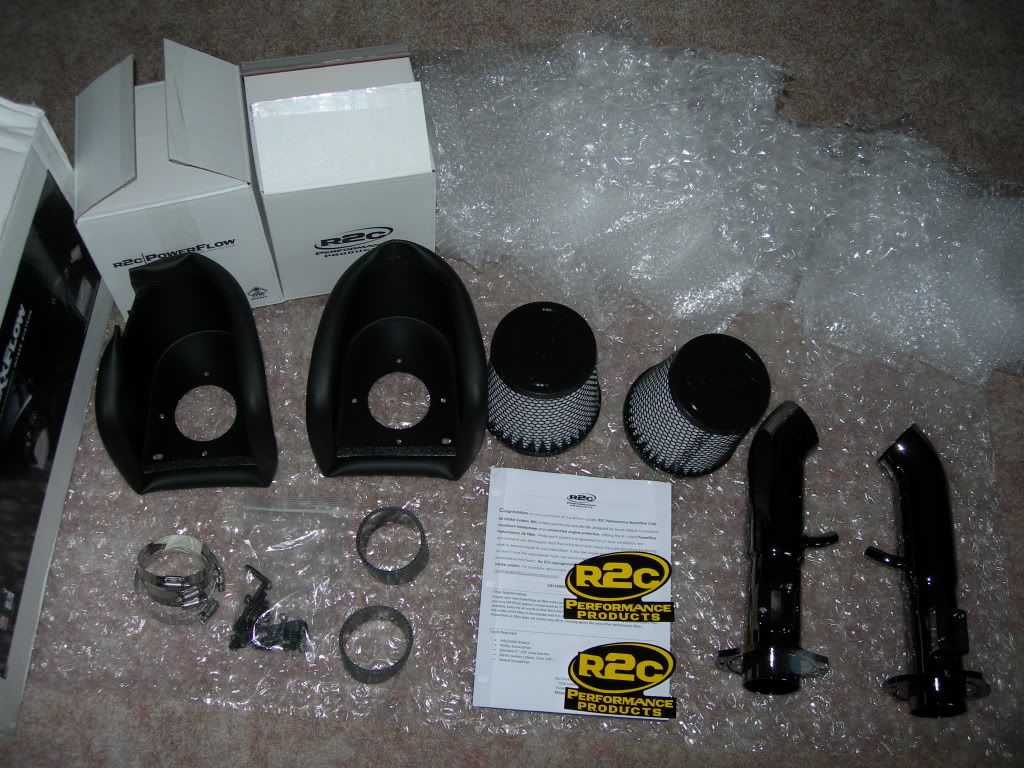 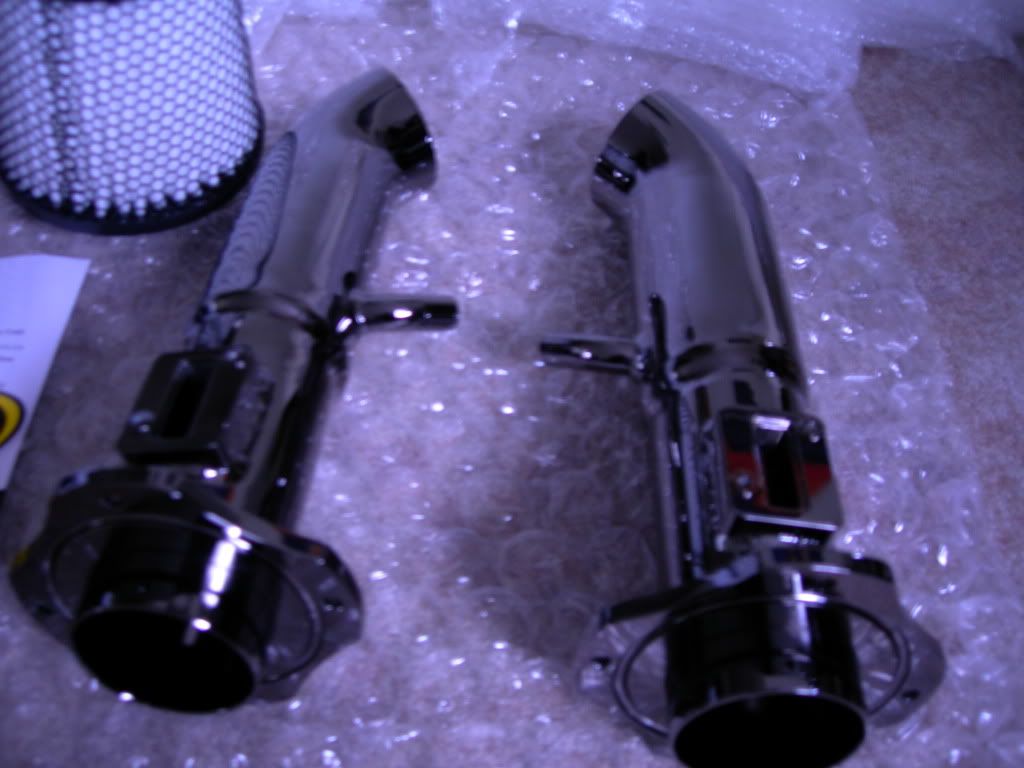 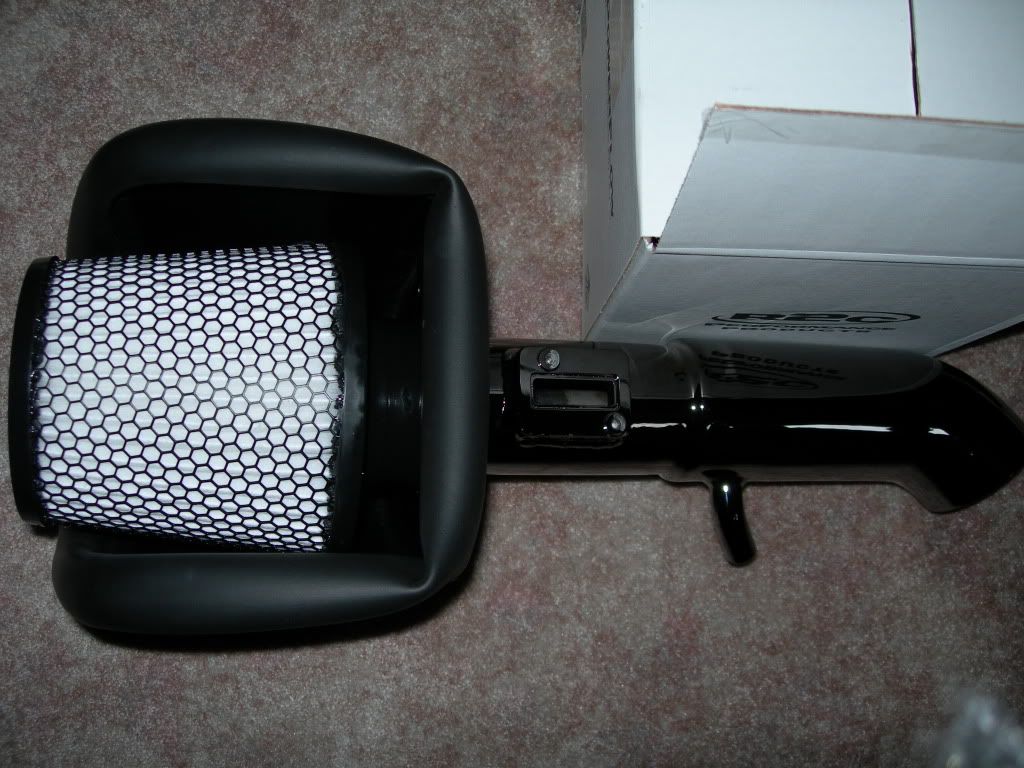 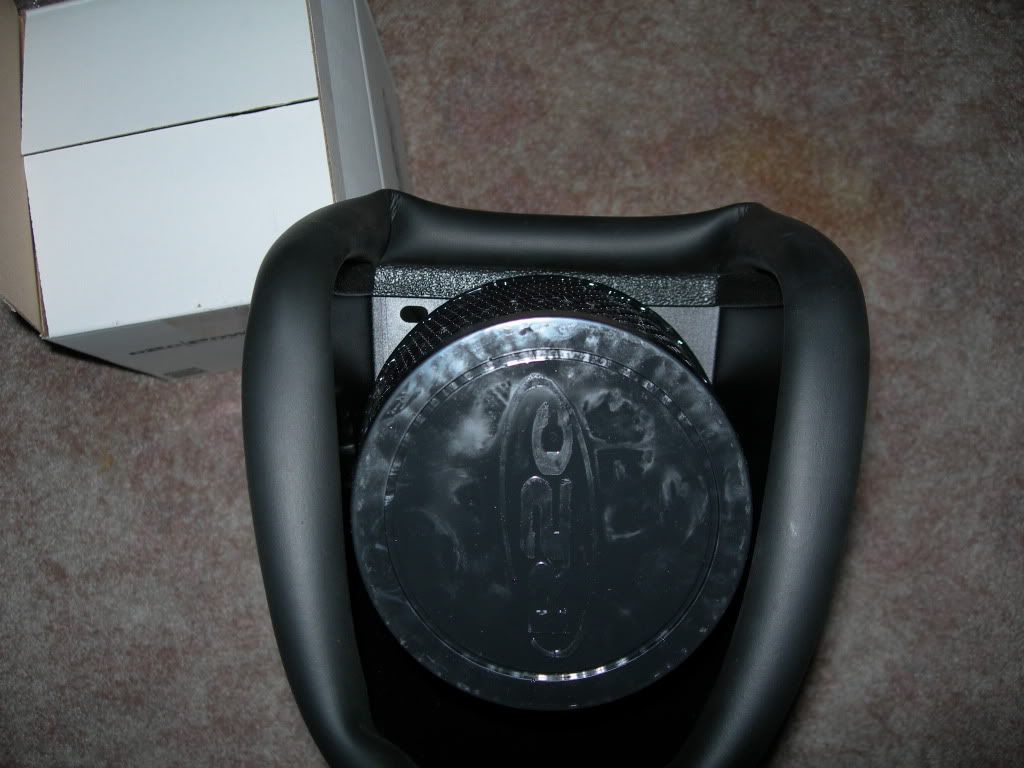 Install: the instructions given were as good as garbage and that's where it ended up.  this being my 1st intake install ever, i wasn't pleased by it at all...lol. since the G was built well and not complicated, it was easy to get the stock intake system out. this being my 1st intake install ever, i wasn't pleased by it at all...lol. since the G was built well and not complicated, it was easy to get the stock intake system out.here are some before pics: 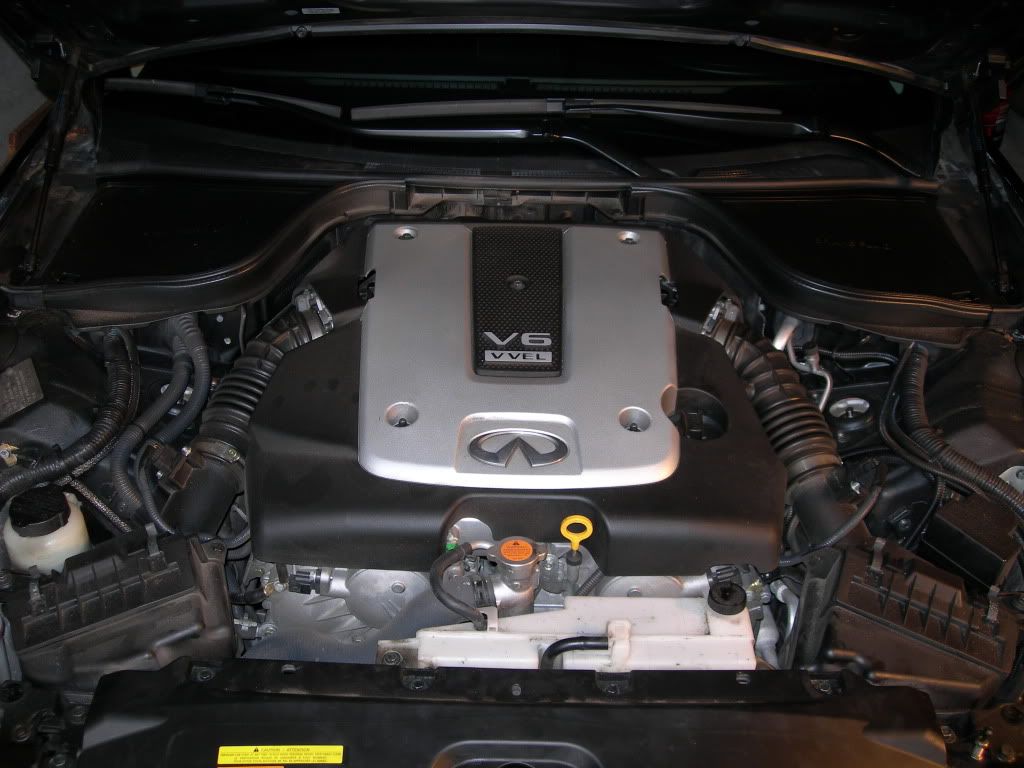 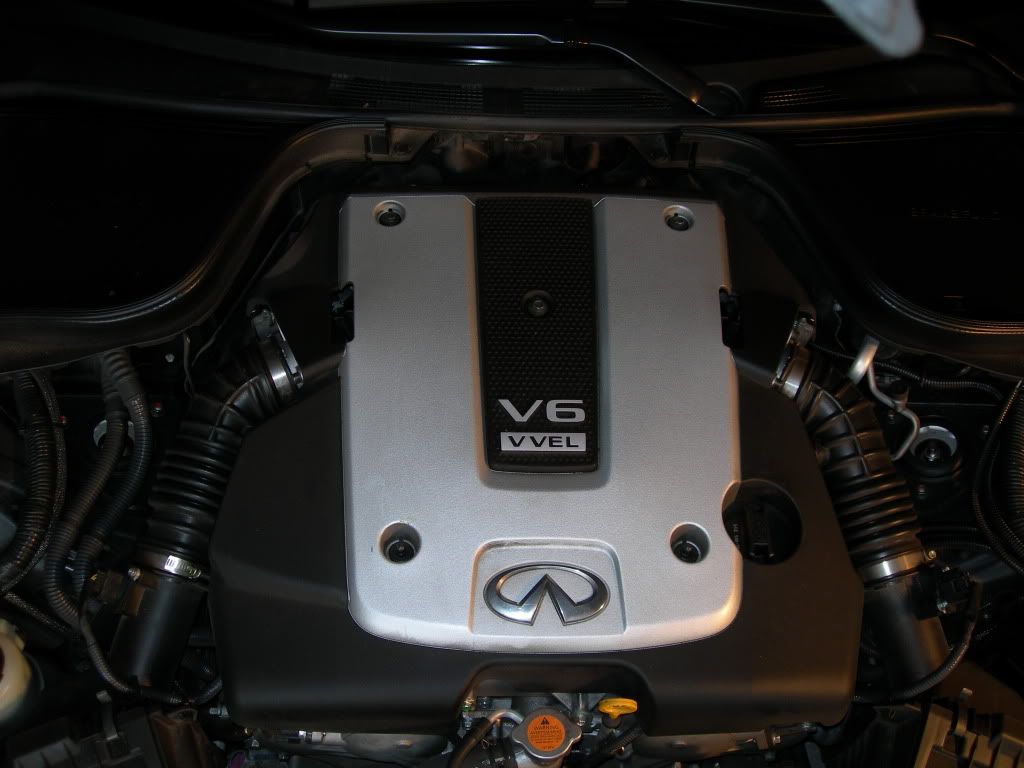 here are some pics of the stock intake system completely removed: 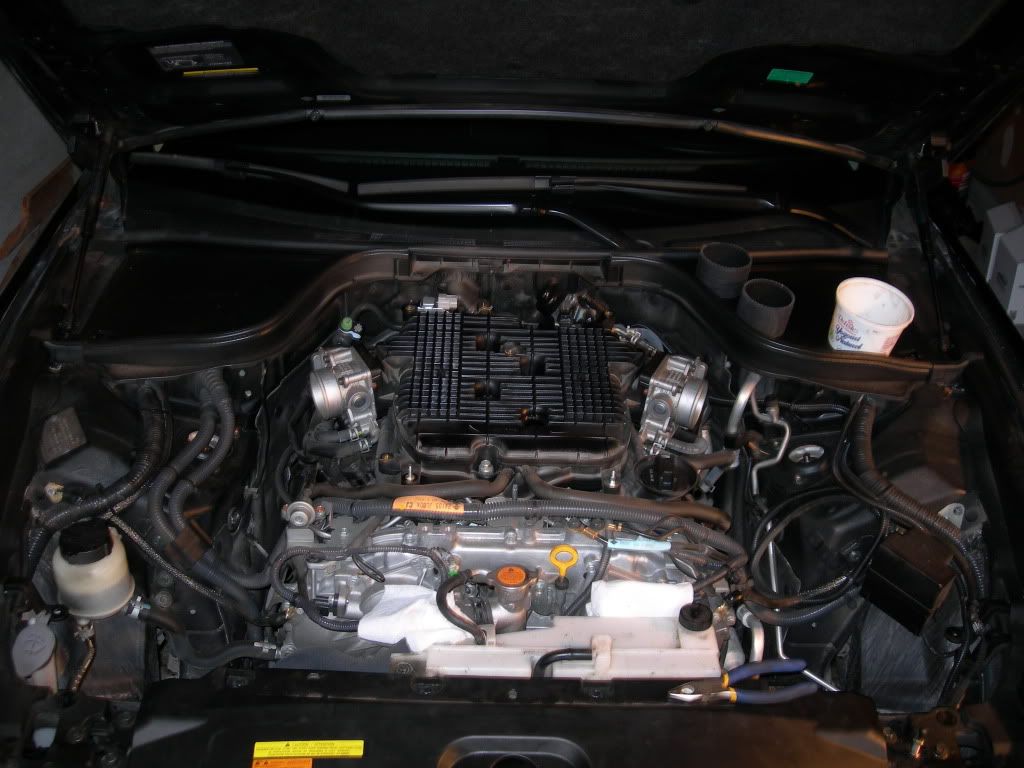 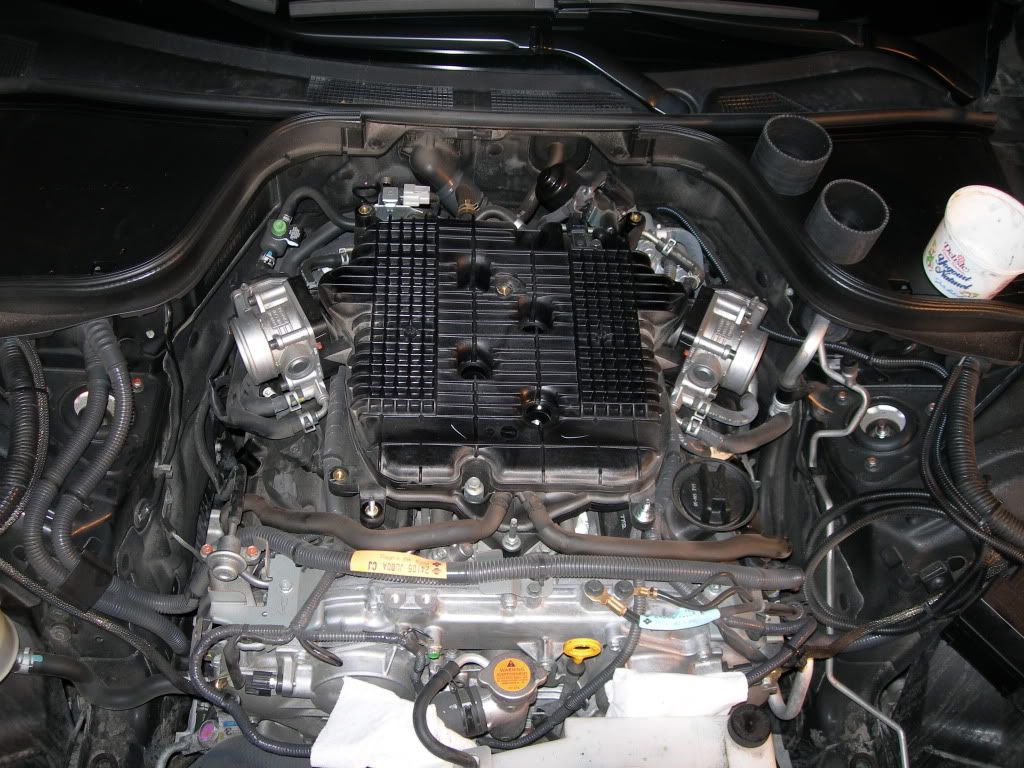  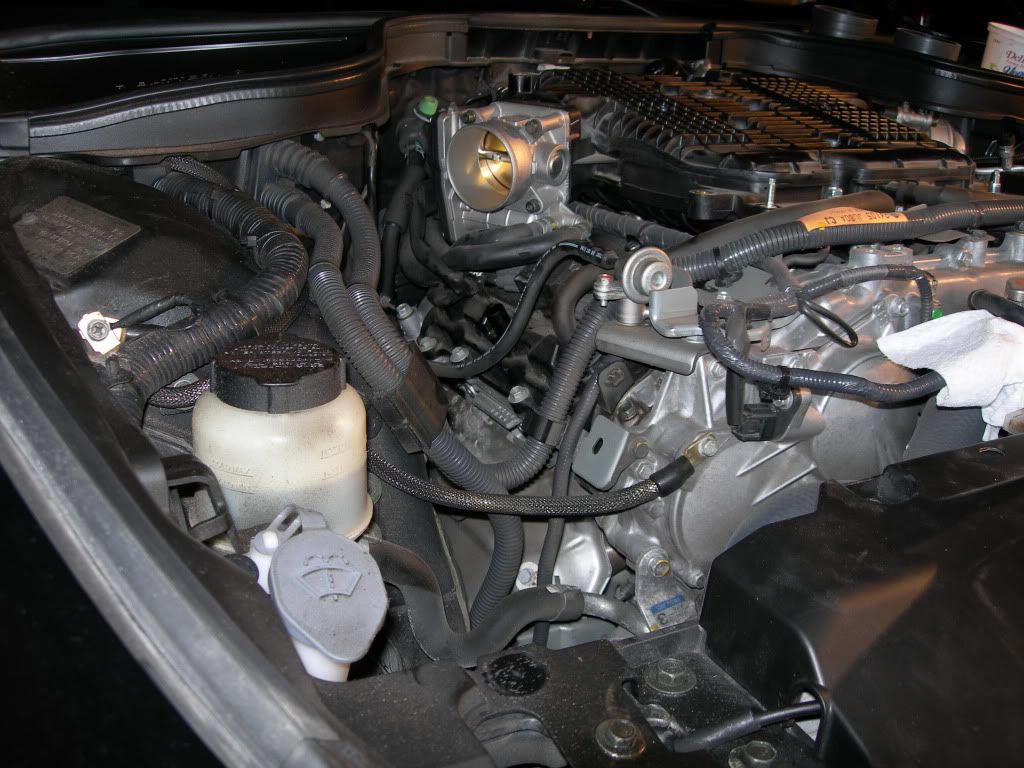 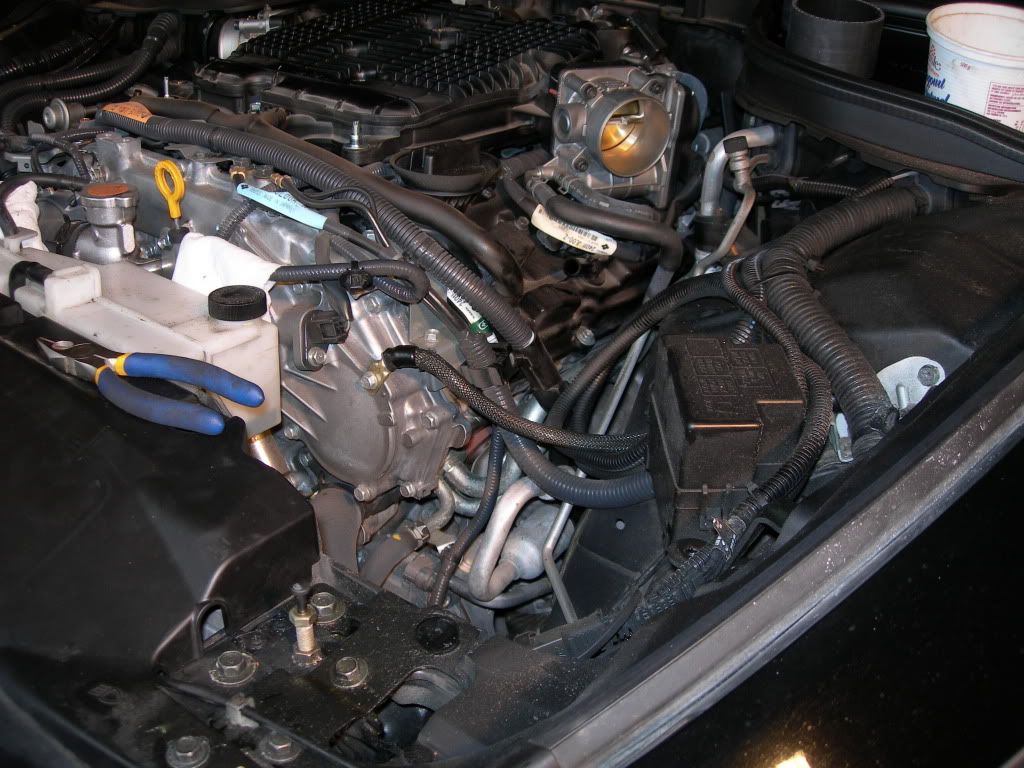 here's a random pic of my grill  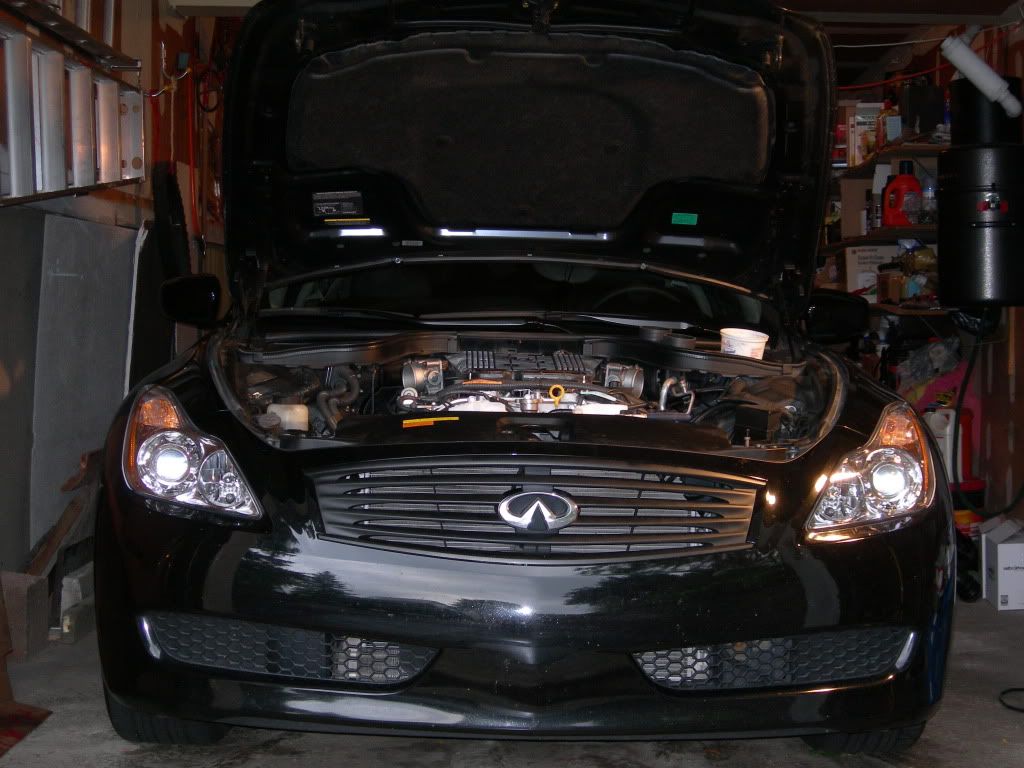 when installing the R2C intakes, you will need to keep 2 tiny hoses from the stock system. these will fit nicely and partially nicely  with the R2C's. the driver side went on easily without a hitch. that was not the same for the passenger side, the passenger side hose was a bit too big and it took some trial and error to get it to fit just right. with the R2C's. the driver side went on easily without a hitch. that was not the same for the passenger side, the passenger side hose was a bit too big and it took some trial and error to get it to fit just right.here is a pic of the driver side: 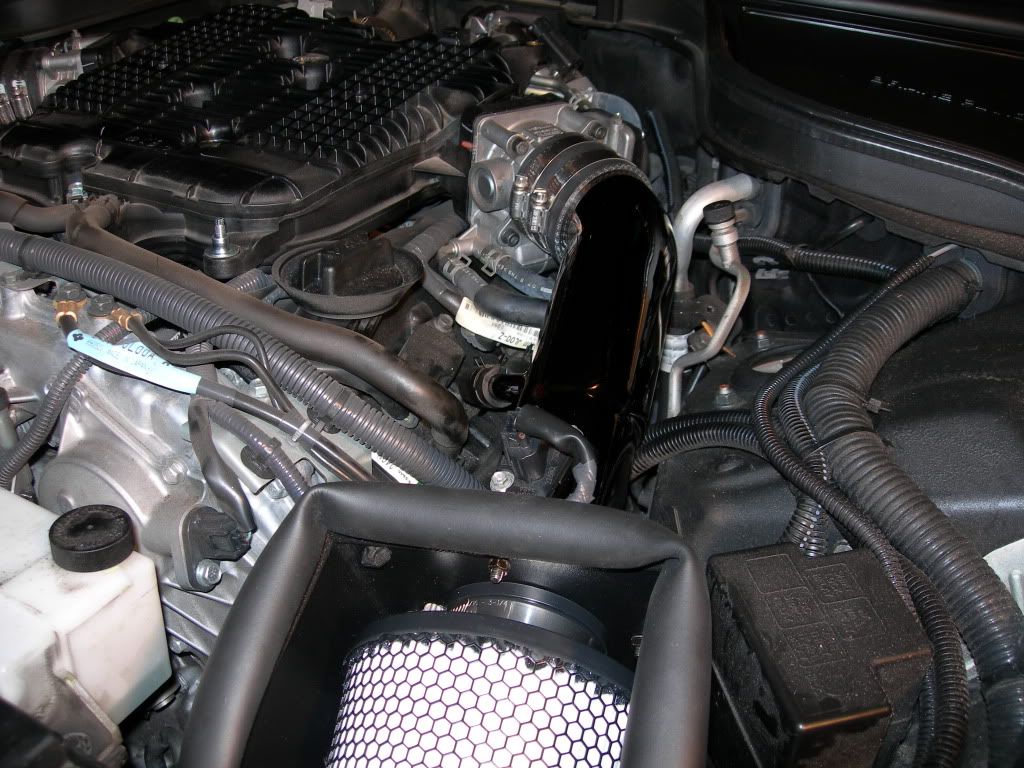 on the passenger side, i added an extra clamp because that spot on the hose is a joint between 2 hose pieces.... so i placed a clamp there just to be safe because the hose is an awkward shape and i didn't want it to split one day on me... better safe than sorry, you'll see what i mean when you install this intake. here's a pic of the passenger side: 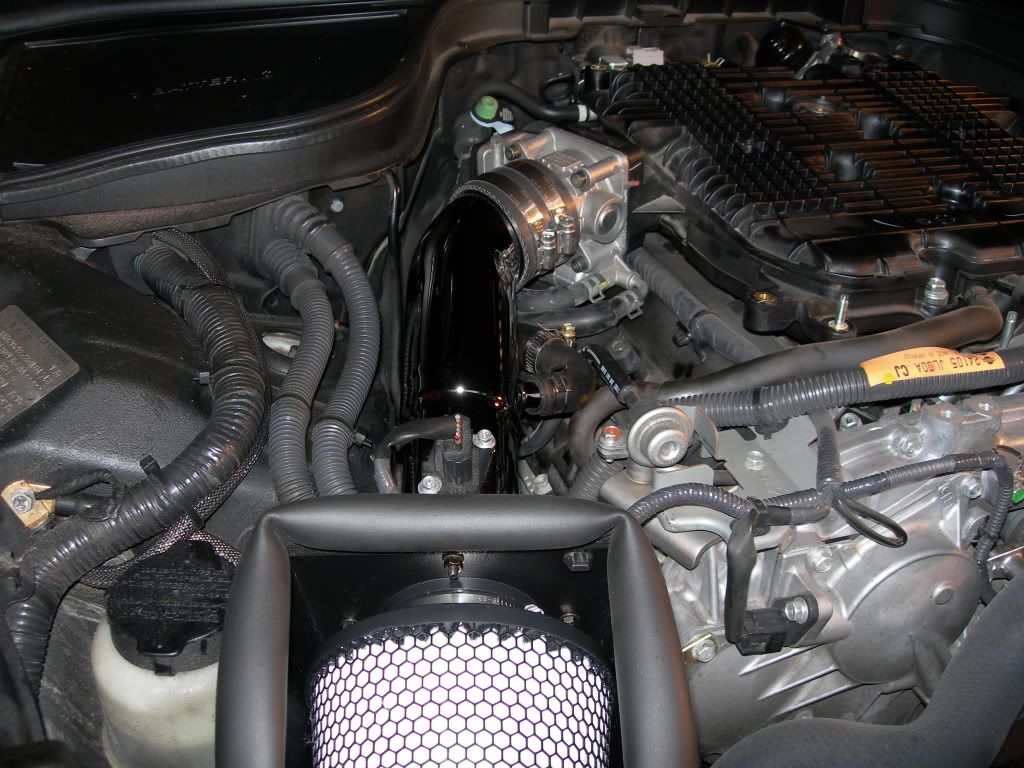 some more after pics:   A little spring cleaning on the engine cover and surroundings. 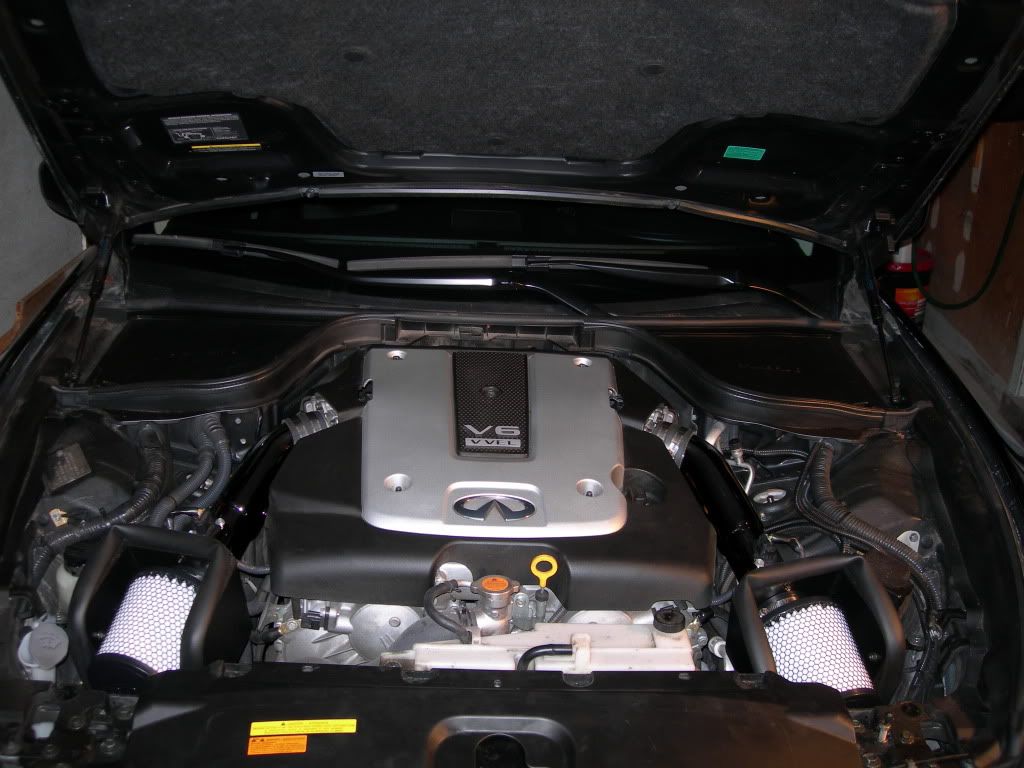 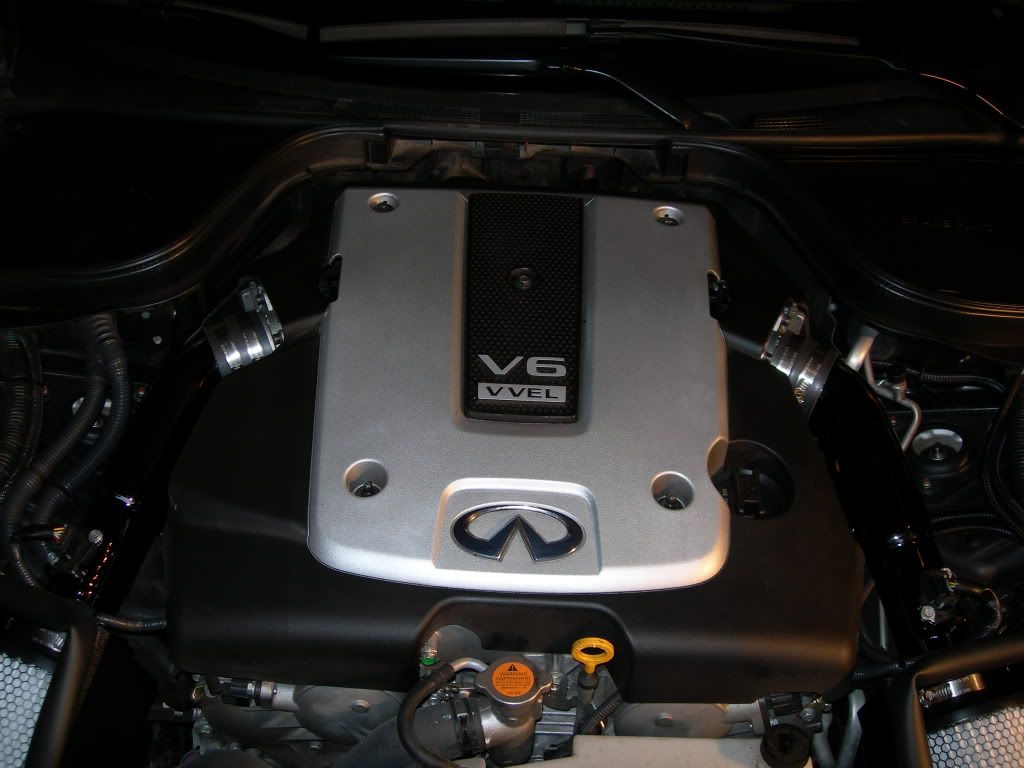 NOTE:  the one thing that really pissed me of about the intakes was installing the air sensors in the pipe. each sensor has 2 screws to be used, (use the OEM ones....that's not a problem). the problem was that the black chrome was in the screw holes and i could not turn the screw in. I spent an hour picking at the black chrome in the hole and hoping not to ruin the threads, then used the screw to crack the black chrome in the hole. the one thing that really pissed me of about the intakes was installing the air sensors in the pipe. each sensor has 2 screws to be used, (use the OEM ones....that's not a problem). the problem was that the black chrome was in the screw holes and i could not turn the screw in. I spent an hour picking at the black chrome in the hole and hoping not to ruin the threads, then used the screw to crack the black chrome in the hole.I got eventually got the screws in and was done with it.... that was a PITA i started up the G and there was no light, everything is okay. only thing is that the G is burning quite rich, which is to be expected. i might try the ecu reset without disconnecting the battery procedure tomorrow. here are some vids: is it me or does that sound loud for a cold start up...like a tractor...lol   Overall: I think it came out fine and i like the exhaust note. the screw issue is the only thing that bugged me the most. the crap instructions didn't matter because it's not hard to do the mod anyways. I'm happy with my 1st intake install Hope this helps anyone installing it, -NoGood Last edited by nogoodname; 08-22-2009 at 07:33 PM. |

|

|
| Bookmarks |
|
|
 Similar Threads
|
||||
| Thread | Thread Starter | Forum | Replies | Last Post |
| Install of Stillen G3 Intakes complete - review, etc. | semtex | Intake/Exhaust | 83 | 06-23-2010 12:19 PM |
| DIY: GT Motorsports Oil Cooler Kit Install/Review | rackley | DIY Section (Do-It-Yourself) | 28 | 03-10-2010 10:38 AM |
| Short ram intake install help? | Diversion | Intake/Exhaust | 5 | 07-04-2009 04:42 PM |


 Threaded Mode

