
 |
(Supposed to be THREAD not THREAT LOL, I cant seem to change the title) Hi 370z forum, Rather a new member to this particular forum here and have spent numerous
|
|||||||
 |
|
|
LinkBack | Thread Tools | Display Modes |
|
|
#1 (permalink) |
|
Base Member
Join Date: Dec 2015
Location: Hawaii
Posts: 192
Drives: 2012 370z sport
Rep Power: 10       |
(Supposed to be THREAD not THREAT LOL, I cant seem to change the title)
Hi 370z forum, Rather a new member to this particular forum here and have spent numerous time browsing this forum, can definitely see who the most active members are. Second kit I've purchased from Shine Auto (previous was 350z) and wanted to just give credit where good credit is due. Just got the kit today and everything was packed perfectly well and arrived rather quick considering I live in Oahu. Ken from Shine Auto was really helpful and responded to my emails rather quick. Estimates were accurate and he kept me updated during the entire transaction from the time of inquiry to purchase to delivery. Not sure why some people always have a hard time getting in touch with them. Interestingly, I don't have my 370z yet and just grabbing all the part I need so once I get the car I can put it all together. Pics are always helpful so ive added more pics for future customers and enthusiast to have a better idea. I am aware there is already the post that CoolToy user put together which was of great help. Enjoy the pics. Diffuser is not from Shine but rather from Fujimura. Amuse rep front, amuse rep skirts, and NOT the amuse rep rear but rather the spats attachments (not sure who the original producer is). 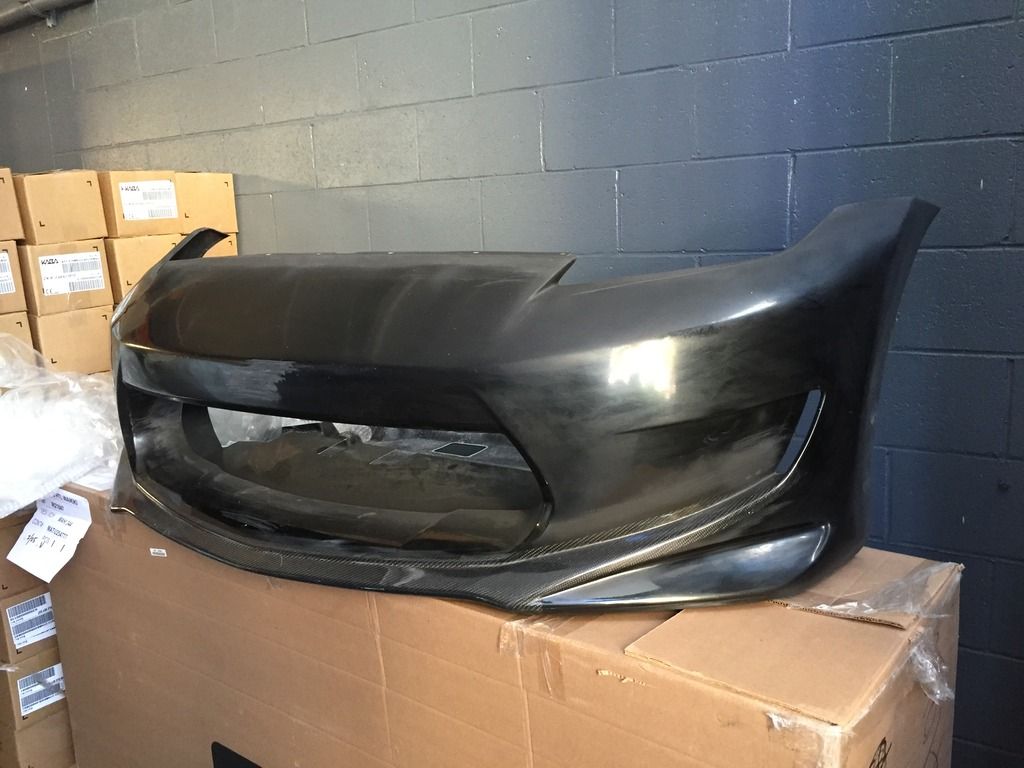 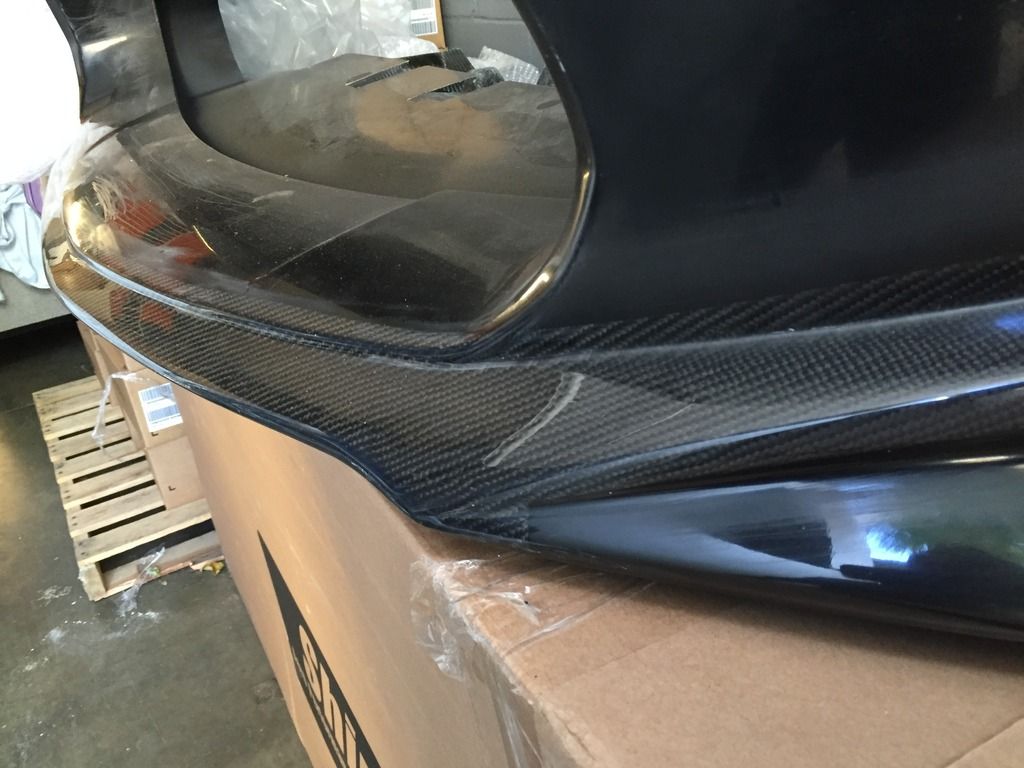 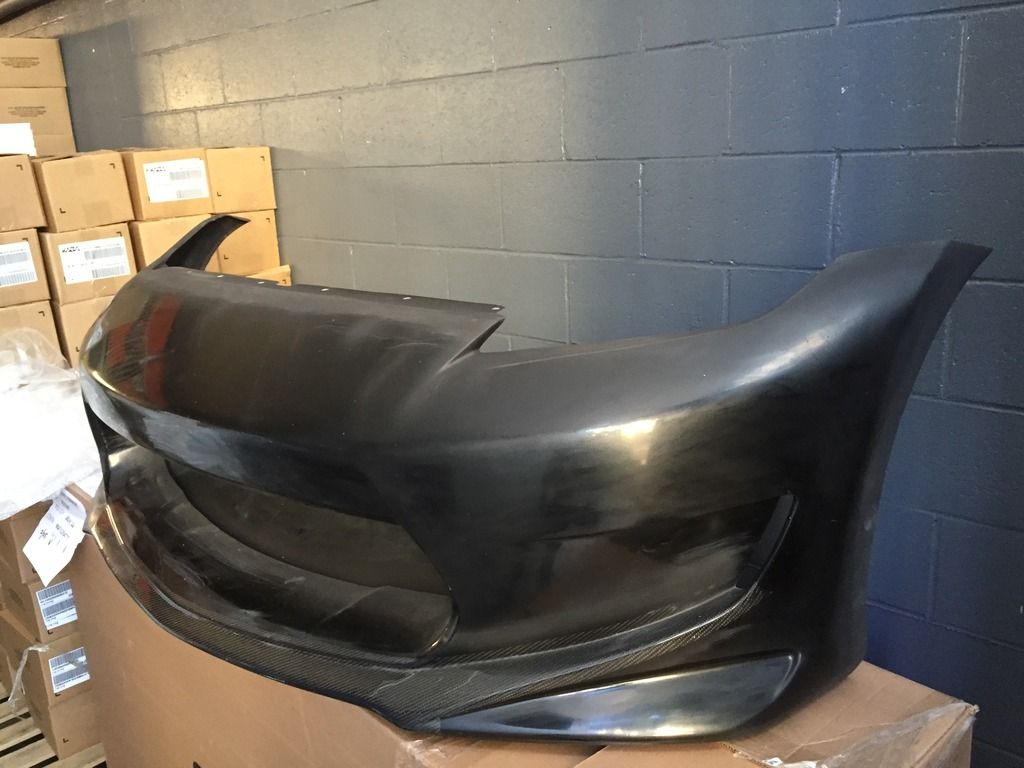 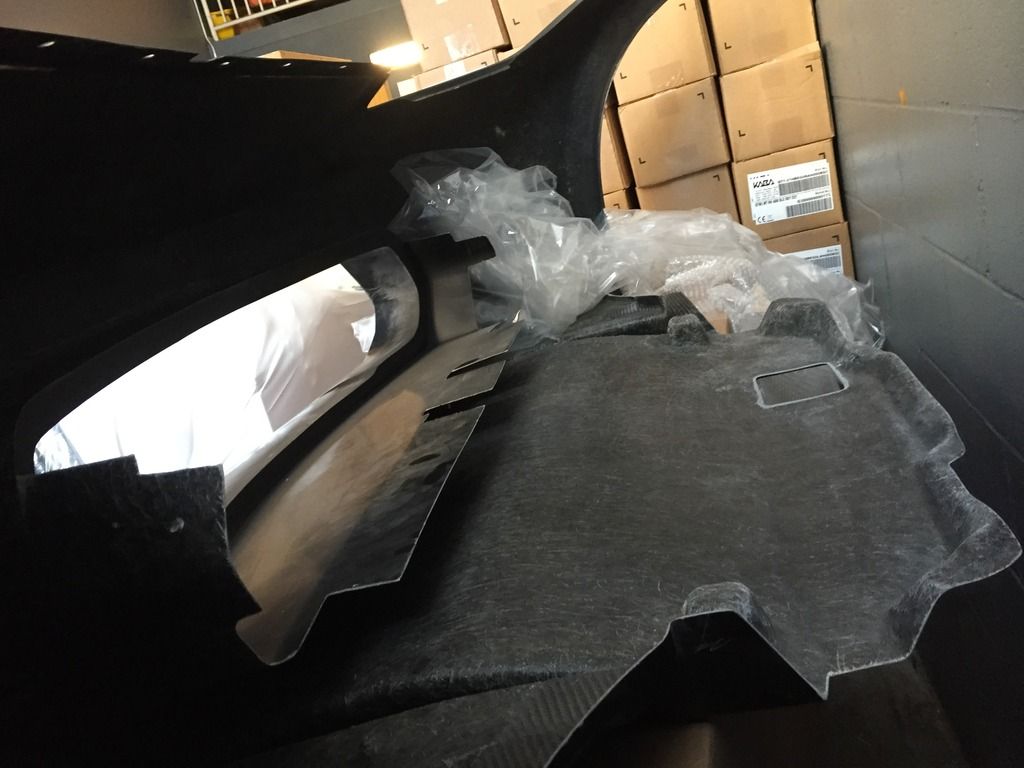
Last edited by Daniel123588; 02-27-2016 at 01:10 AM. |
|
|

|
|
|
#7 (permalink) |
|
A True Z Fanatic
Join Date: Oct 2010
Location: SA, TX
Posts: 1,035
Drives: 10 Nissan 370z PG MT
Rep Power: 193            |
i should have gone with shine auto sigh...
__________________
 KWV3/Eibach/StillenG3/FI CBE+LTH+34Row/Uprev/SPL/SouthBendSS/QuaifeLSD/4.08/TommyKaira/Status/VolkZE40/AP Radical BBK/Seibon/Amuse/VIS/Sparco/WorksBellGTC/RJM/Nismo |
|
|

|
|
|
#8 (permalink) |
|
Base Member
Join Date: Dec 2015
Location: Hawaii
Posts: 192
Drives: 2012 370z sport
Rep Power: 10       |
For those of you interested in grill mounting options with the Powerhouse amuse.
1. Order grill. I got it from customcargrill.com in diamond mesh with black powder coat. Please dont go on telling me about painting, its not the same as powder coat, trust me, especially with wheels. 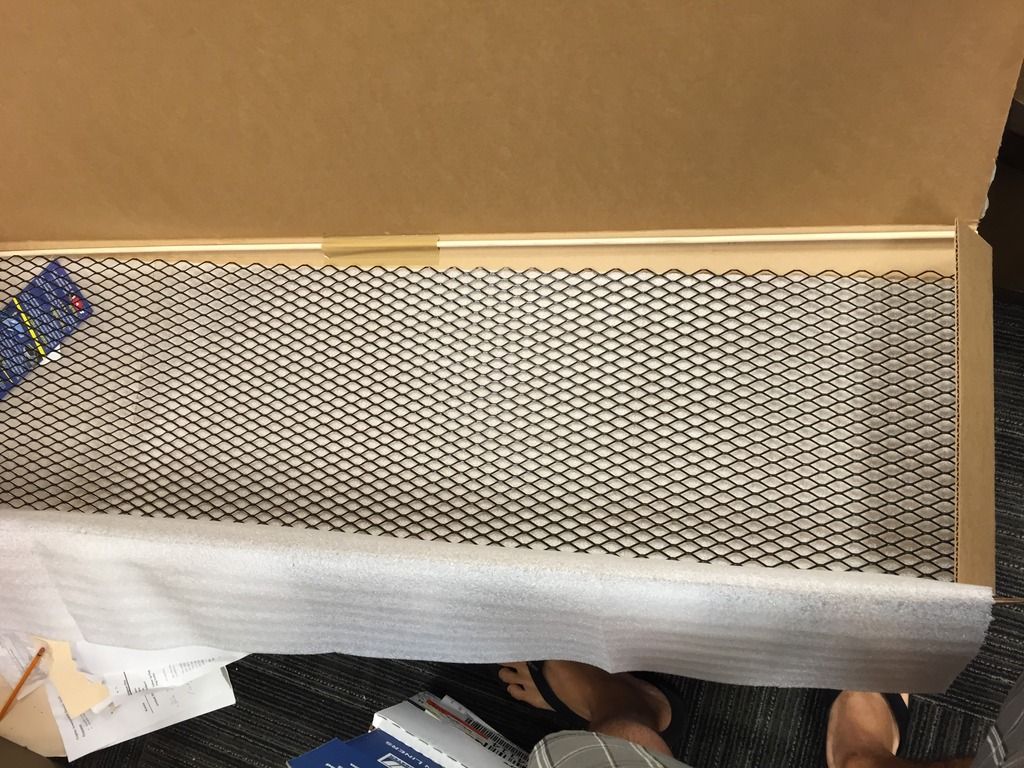  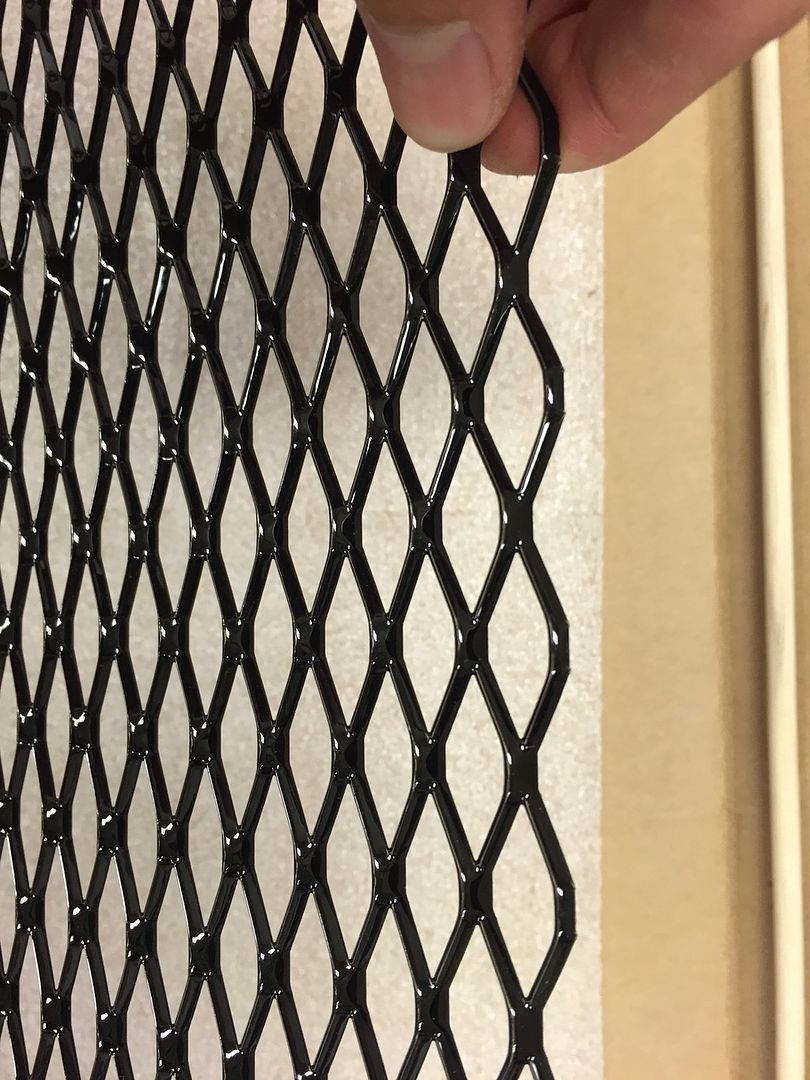 2. Make your template and cut it out. 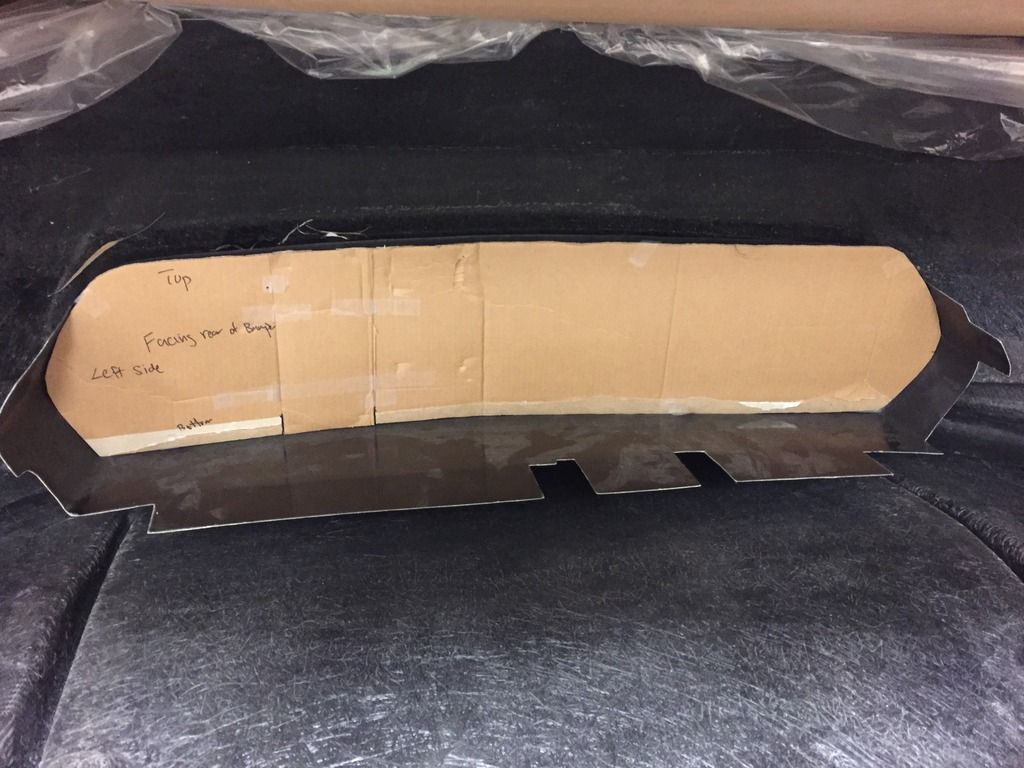 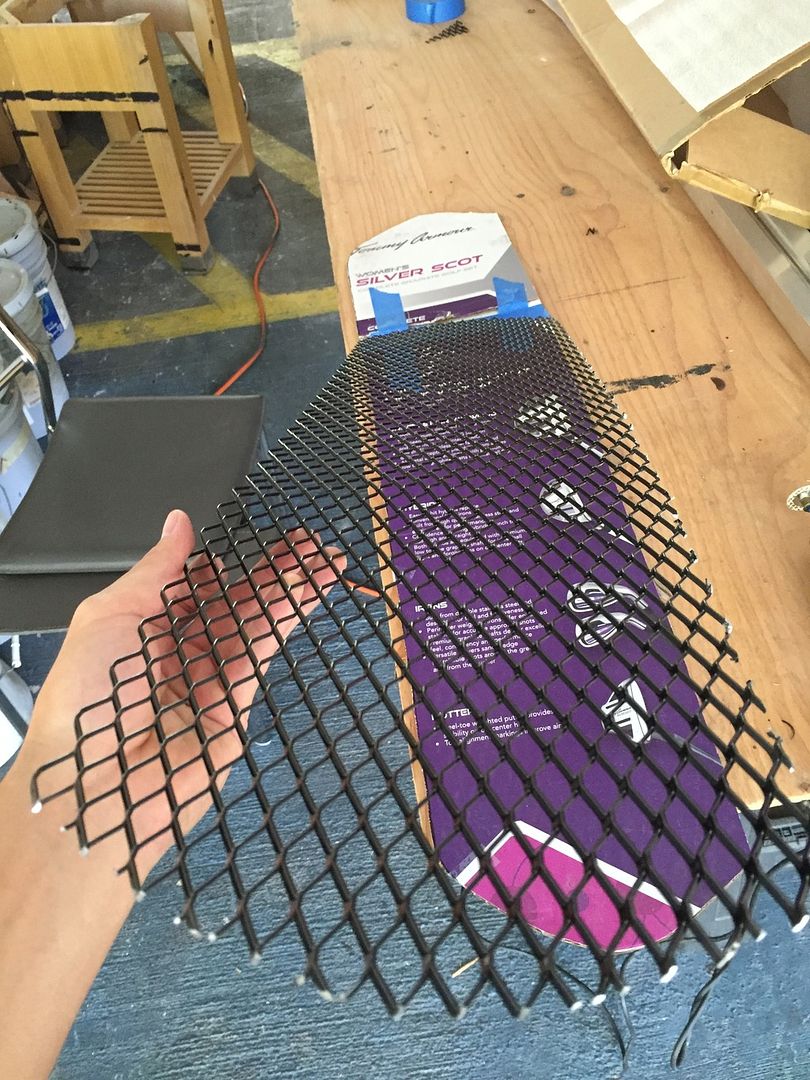 3. Test fit and mount. I forgot what they call these types of nut but they work perfect for the top part of the bumper. There is a nice lip all around to mount the grill quite easily. Make sure to use stainless steel so nothing rusts. My local hardware store had such a small limited stainless steel bolts and screw selection is was so sad. 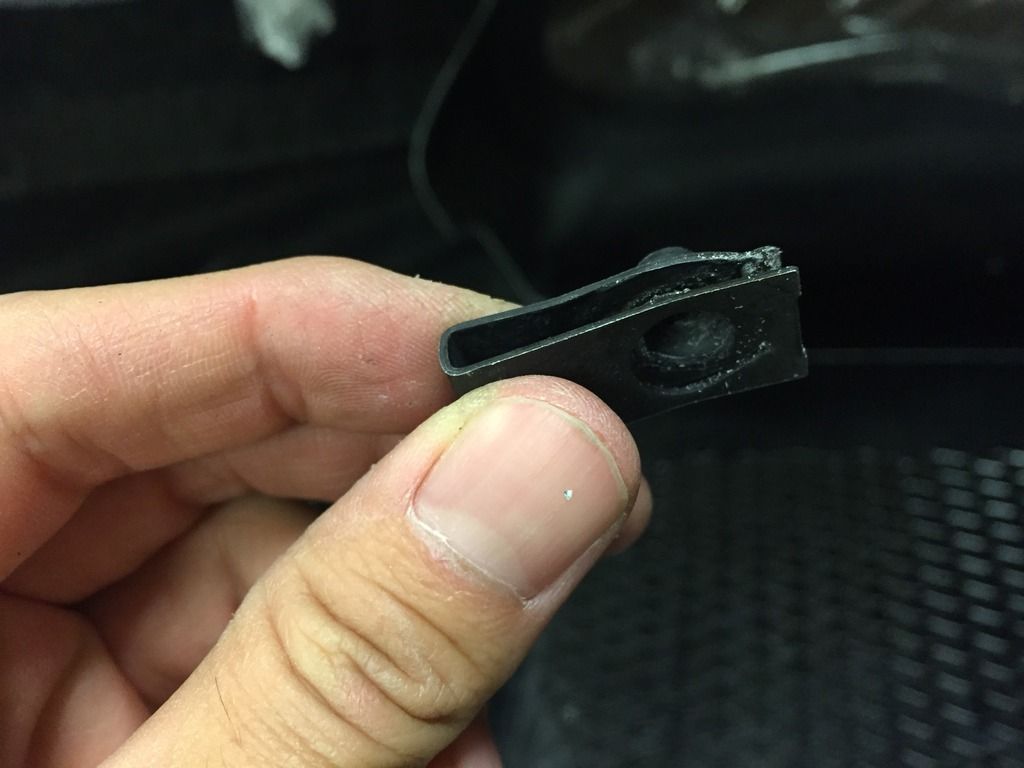 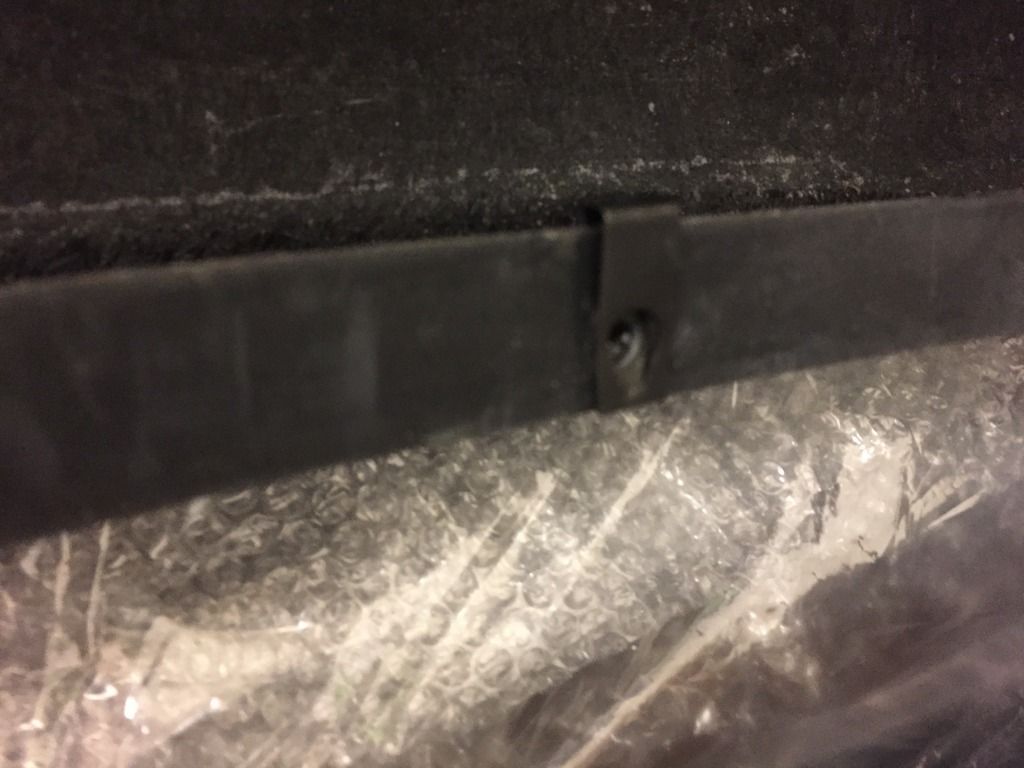 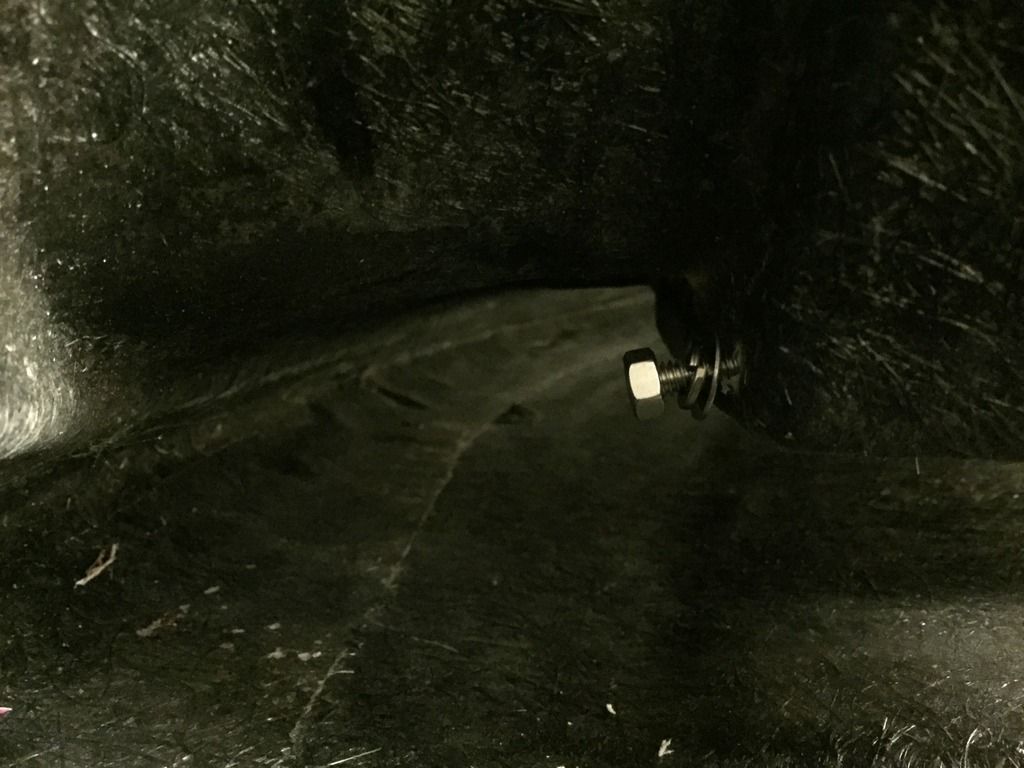
Last edited by Daniel123588; 03-08-2016 at 01:21 AM. |
|
|

|
|
|
#9 (permalink) |
|
Base Member
Join Date: Dec 2015
Location: Hawaii
Posts: 192
Drives: 2012 370z sport
Rep Power: 10       |
4. drill all your holes and mount everything up. I used 5 mounting points and its perfect, i didnt need another mounting point in the middle on the bottom, its very solid.
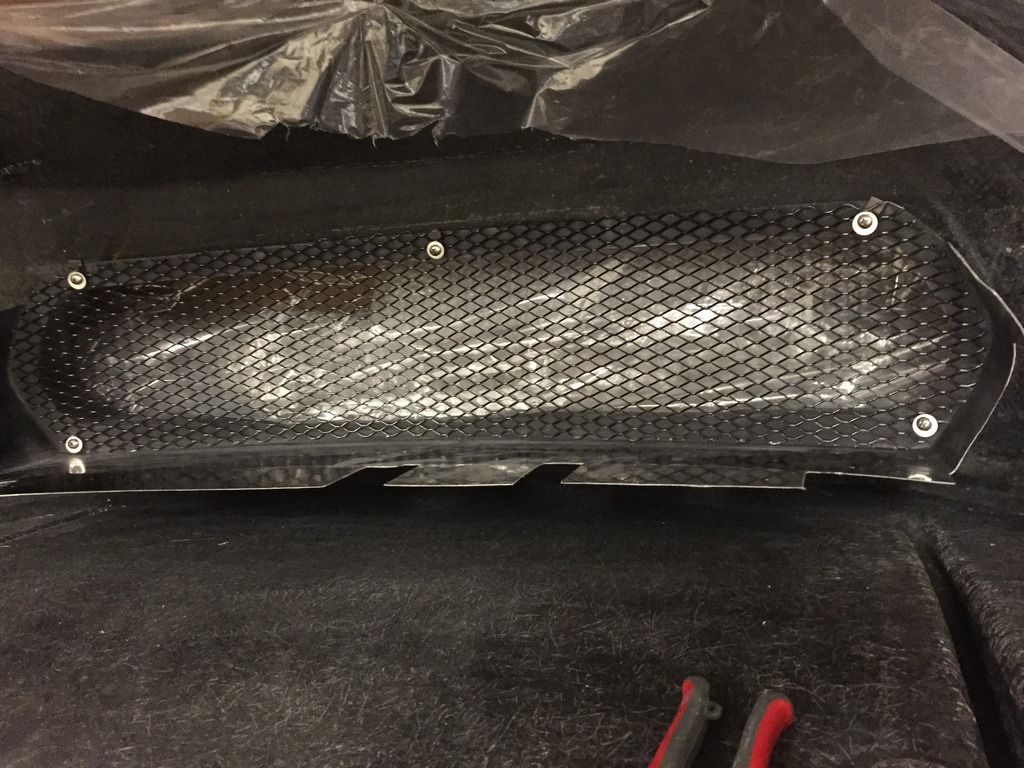 5. Sit back and admire your hard work. 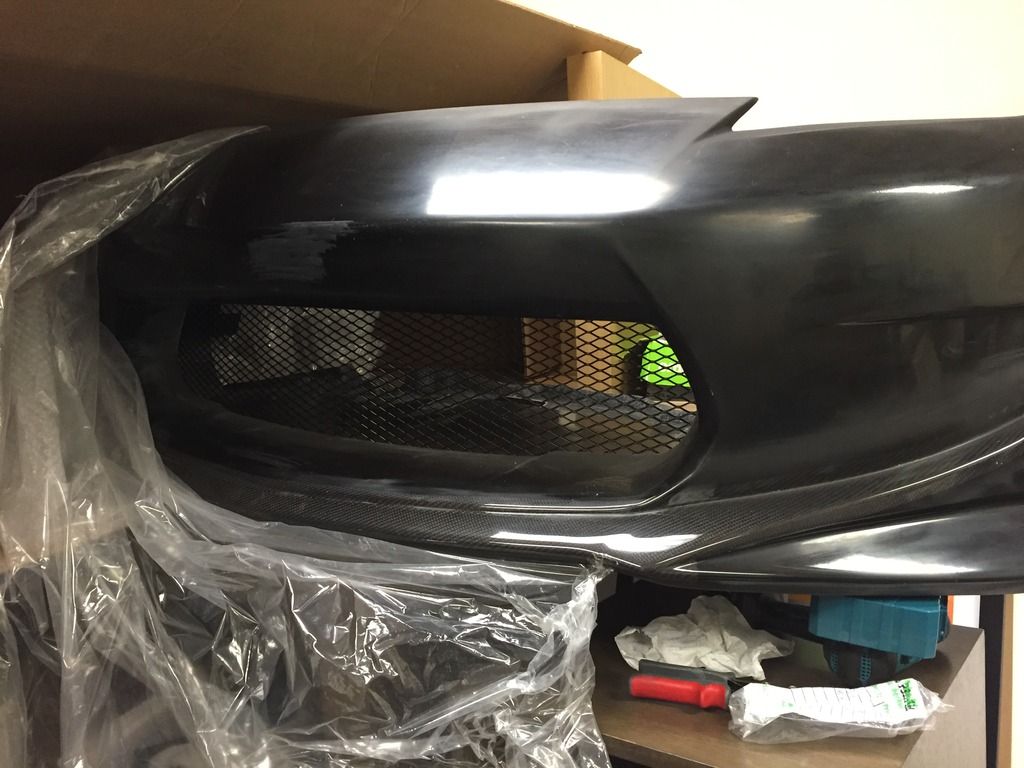 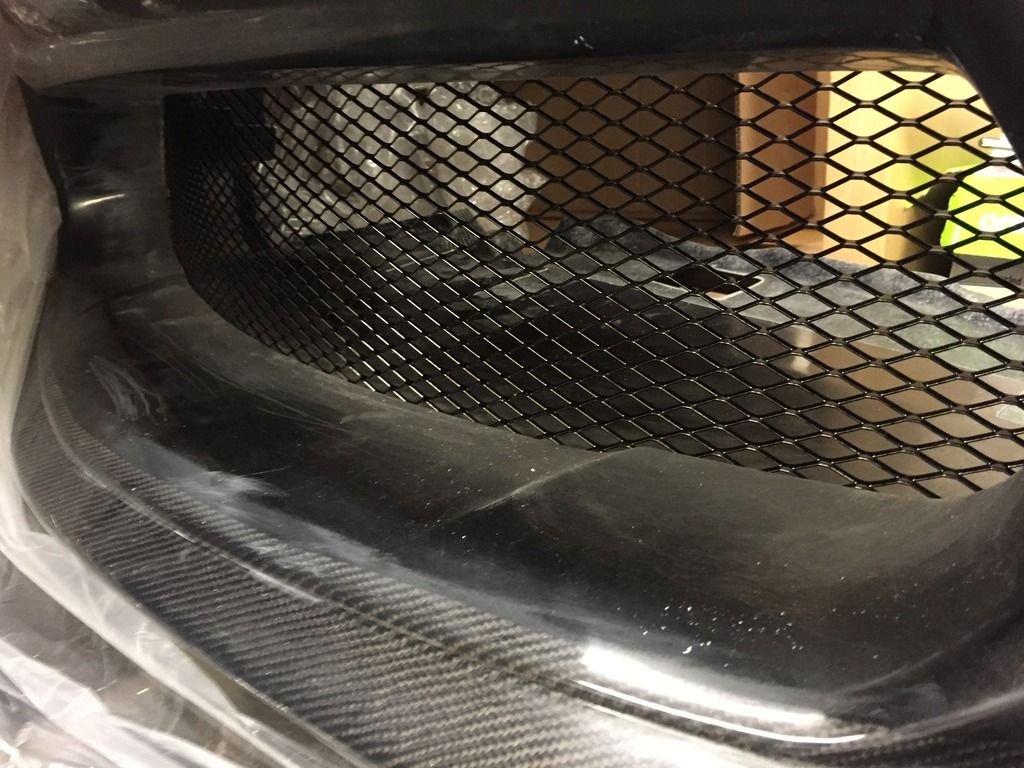 Next up is the opening on the sides of the front bumper w/a LED. Grill piece is done for the sides but the mounting is a bit challenging. Will update later in the week when i have time to work on it. Hope this helps. I dont have any pics mounted on the car as i dont even have the car yet lol. Waiting for all my parts before i buy the car. |
|
|

|
|
|
#10 (permalink) |
|
Elite Member
 Join Date: Jun 2012
Location: Calgary
Posts: 13,985
Drives: 14 PW 370Z S/T MT
Rep Power: 243722            |
Keep up the journal. This will be very helpful to many people.
I would recommend increasing the size of the hole for the oil change area for easier access later.
__________________
 Member of kenchan's "photoshopped mods" and "proper offsets" gang.
|
|
|

|
|
|
#11 (permalink) |
|
Base Member
Join Date: Dec 2015
Location: Hawaii
Posts: 192
Drives: 2012 370z sport
Rep Power: 10       |
Hello,
Just a small update. So mounting the side grill was a little bit of a challenge. I found some aluminum (rust resisitant, they didn't have stainless steel) L brackets that seem to work out pretty well. They did require some bending but i didnt have a vice grip bench so i had to use two pliers, hence the somewhat poor bends. Still was able to achieve the job, if this was visible, i would do a much more aesthetically pleasing job despite not being visible... like tie strapping the center grill... not this time. So, step one. Buy some L brackets and bend it accordingly to make sure it mounts to the grill you made. Sand it down with low grit as i had to us JB weld paste to mount it on. Sand down the bumper mounting point with low grit as well. Wipe down with rubbing alcohol after and wear gloves. 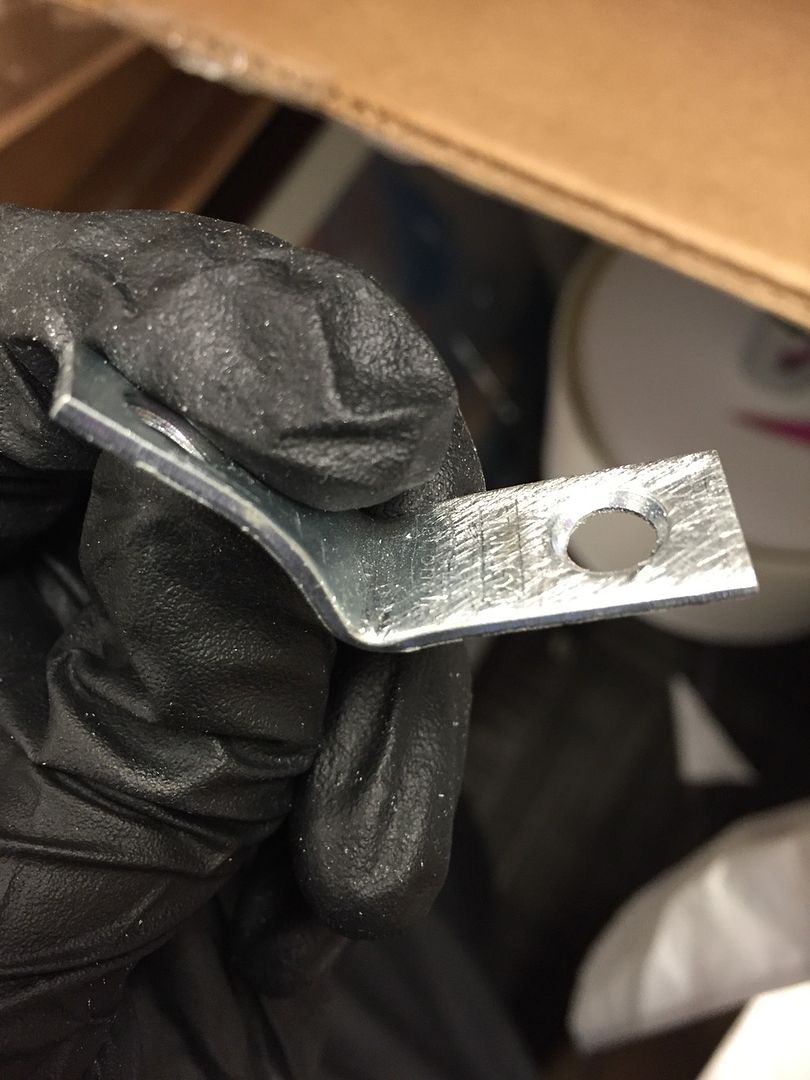 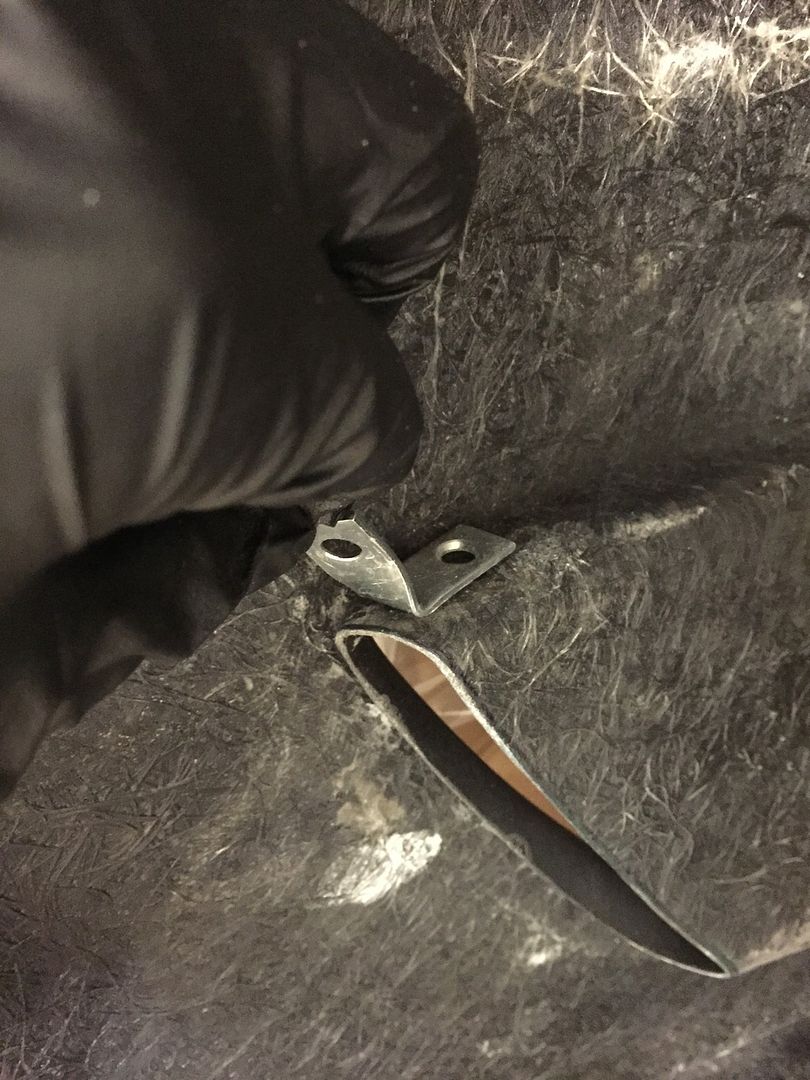 2. Do the top. let it dry, mount the bottom, let it dry. 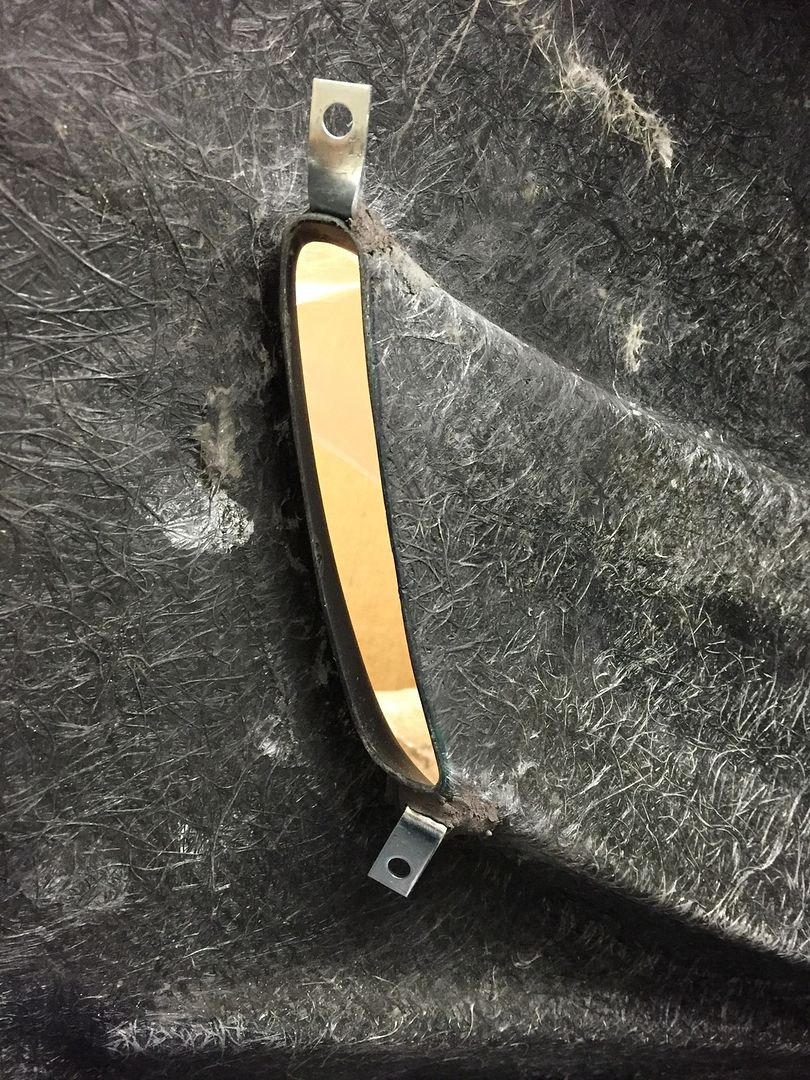 3. Mount the bolts, lock washer should be used in my opinion. 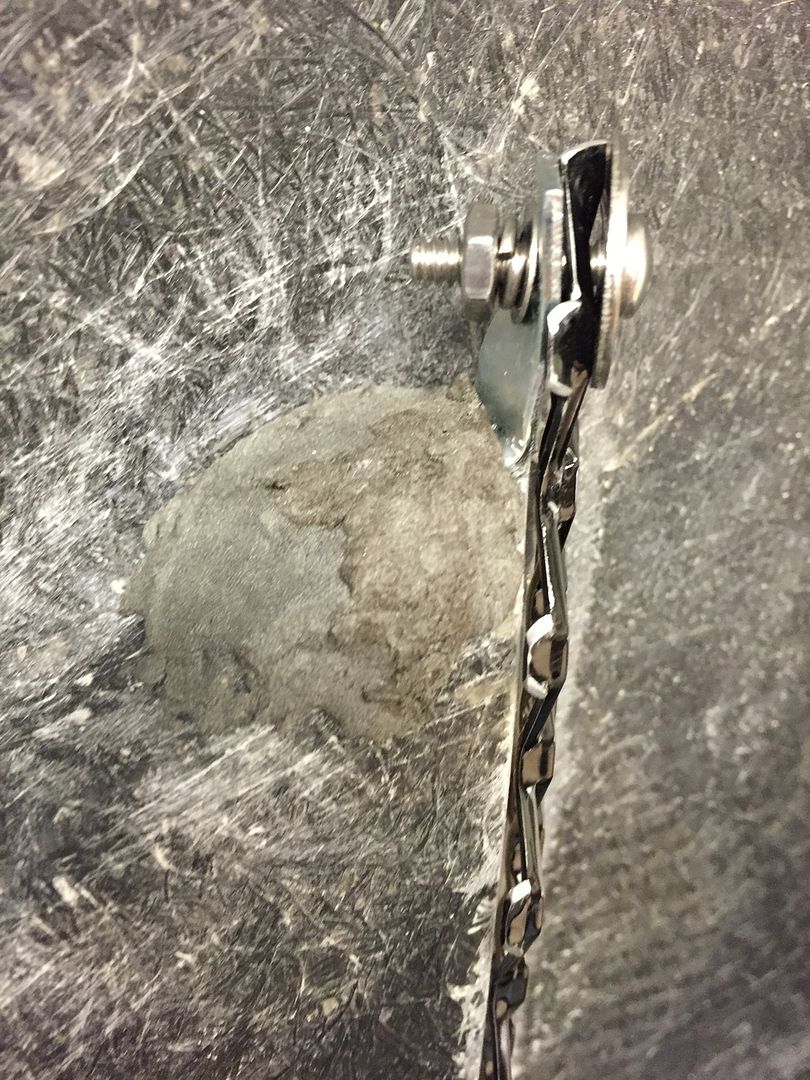 4. Bolt up the nuts and bolts. 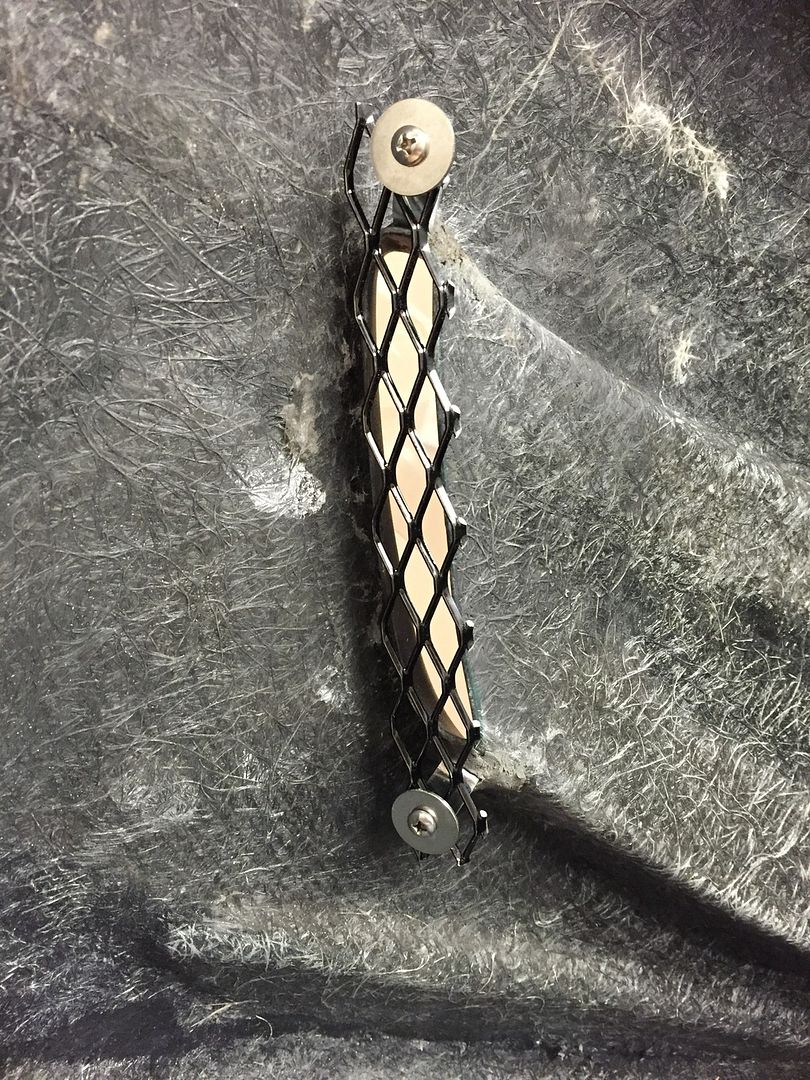 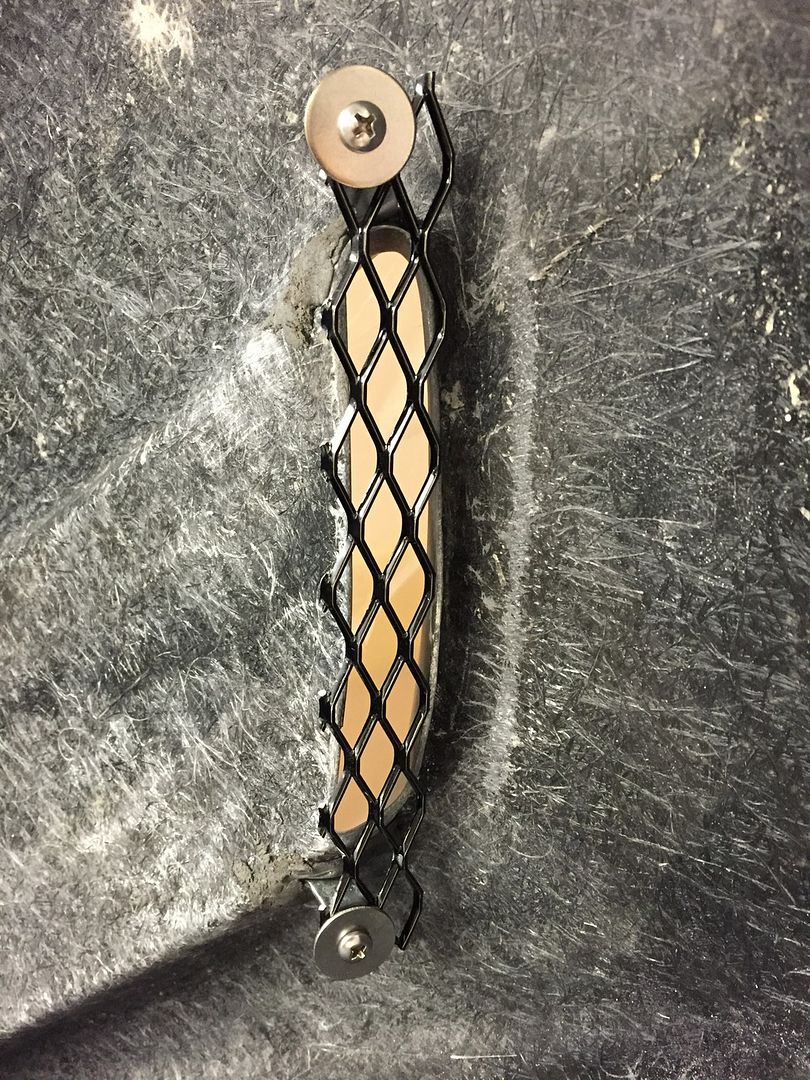 5. Make sure it looks fine from up front. 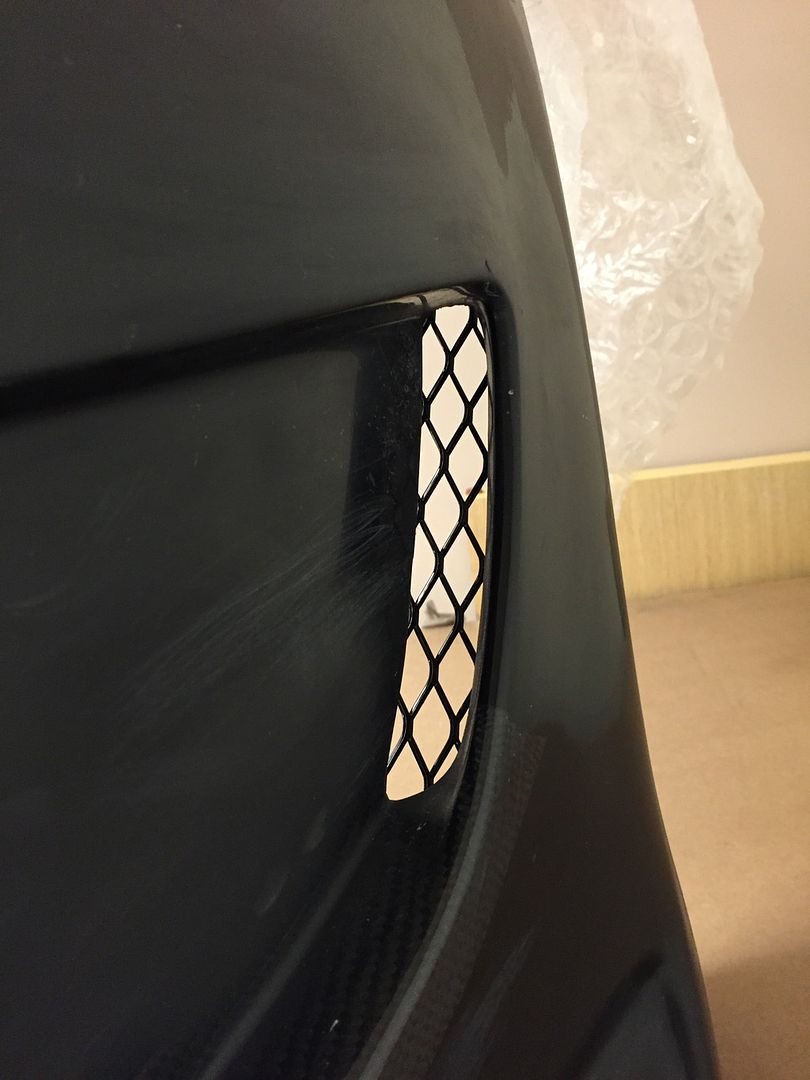 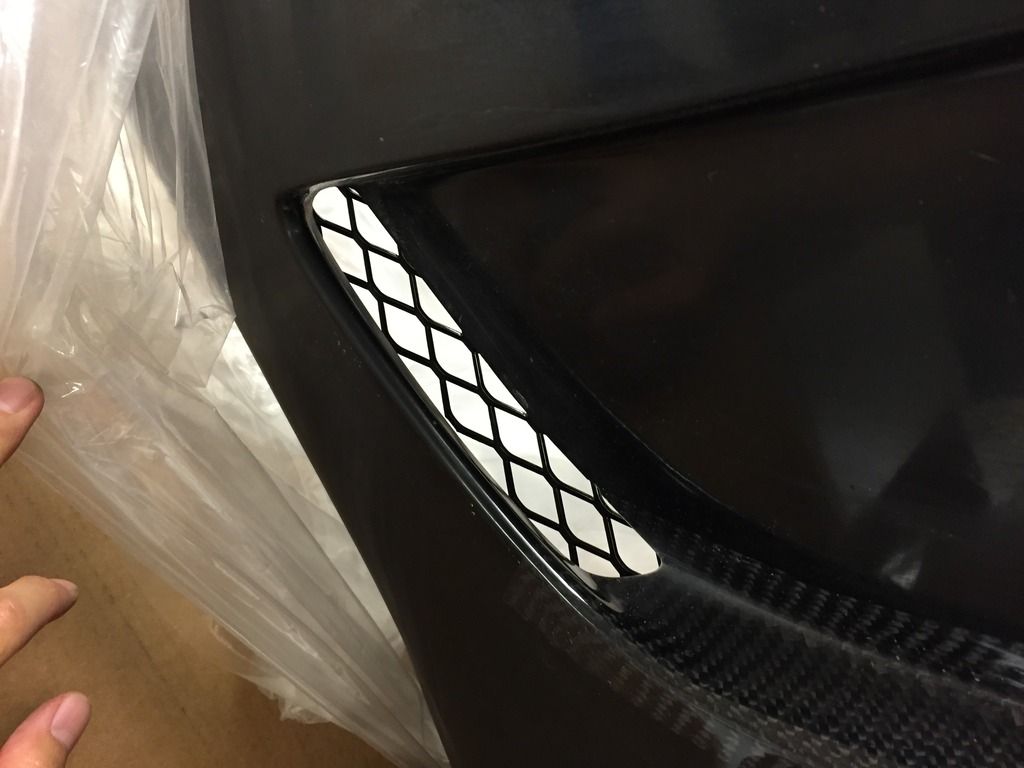 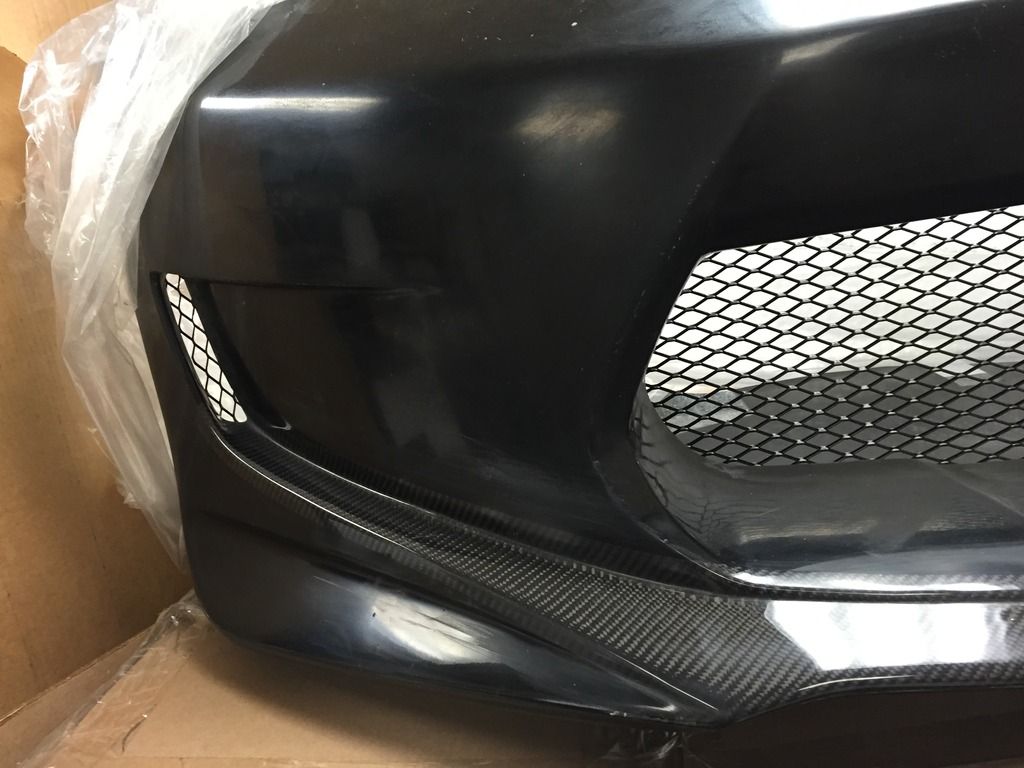
|
|
|

|
|
|
#12 (permalink) |
|
Base Member
Join Date: Dec 2015
Location: Hawaii
Posts: 192
Drives: 2012 370z sport
Rep Power: 10       |
My intention is to mount some LED's on each side so i will need to remake the mesh grill as mounting it on to the current mesh grill wont work too well.
Ill update later but hope this helps others. CoolToy, yes, i intend to open the oil change opening but its so hard to know where to cut when i don't have the car. All i can use is the other pictures you posted which i will go off of. I will probably add a cover to the opening so it doesn't lose its rigidity structure. Stay tuned...if you interested, if not, whatever. Shoots brah! |
|
|

|
|
|
#13 (permalink) |
|
Elite Member
 Join Date: Jun 2012
Location: Calgary
Posts: 13,985
Drives: 14 PW 370Z S/T MT
Rep Power: 243722            |
I am thinking of making an aluminum door on a swivel to cover the whole I make, so dirt an rocks stay out of there. Not sure how durable that would be.
__________________
 Member of kenchan's "photoshopped mods" and "proper offsets" gang.
|
|
|

|
|
|
#15 (permalink) |
|
Base Member
Join Date: Dec 2015
Location: Hawaii
Posts: 192
Drives: 2012 370z sport
Rep Power: 10       |
Howzhit my braddahs and sistas! Dis stay how we talk in da kine Hawaii bu.
Some people post comments like that on our local newspaper comment section and its quite embarassing as it makes the local people seem slightly uneducated and people get the wrong idea. That was the fun fact of the day! Moving on. So i had some time today to mount just one side of the flush mount white LED i bought. Photos make the LED look blue as usual as its just a iphone camera so just letting you know. So i tried various methods including mounting it straight on the mesh but it looked really ghetto not to mention it was difficult to make it bolt flush on to the mesh. Then i tried mounting it on the top part of the vent, it was hard to see it so i decided mounting it on the bottom would be the best option. 1. Buy your LED. This LED i bought is quite powerful. Although the website didn't notate lumens in the specs, i already had an idea what i was buying. The beauty of this one is that its extremely flush and is VERY powerful. 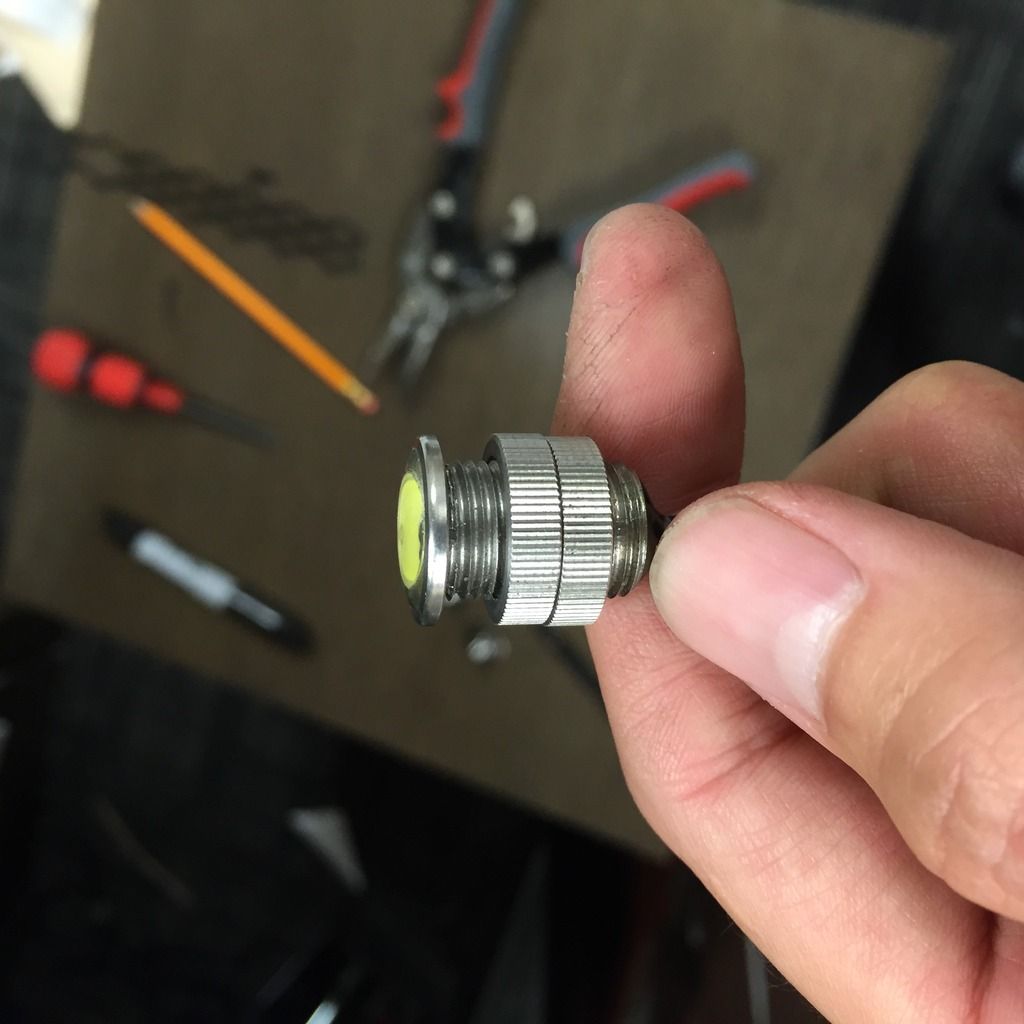 2. Start working on your template. I used cardstock and bolted it on the bracket on the bottom. After your template is made, trace it on a aluminum sheet. The pic shows me test fitting on the top but i made another template as i decided to mount on the bottom. Dont cut too much until the end. 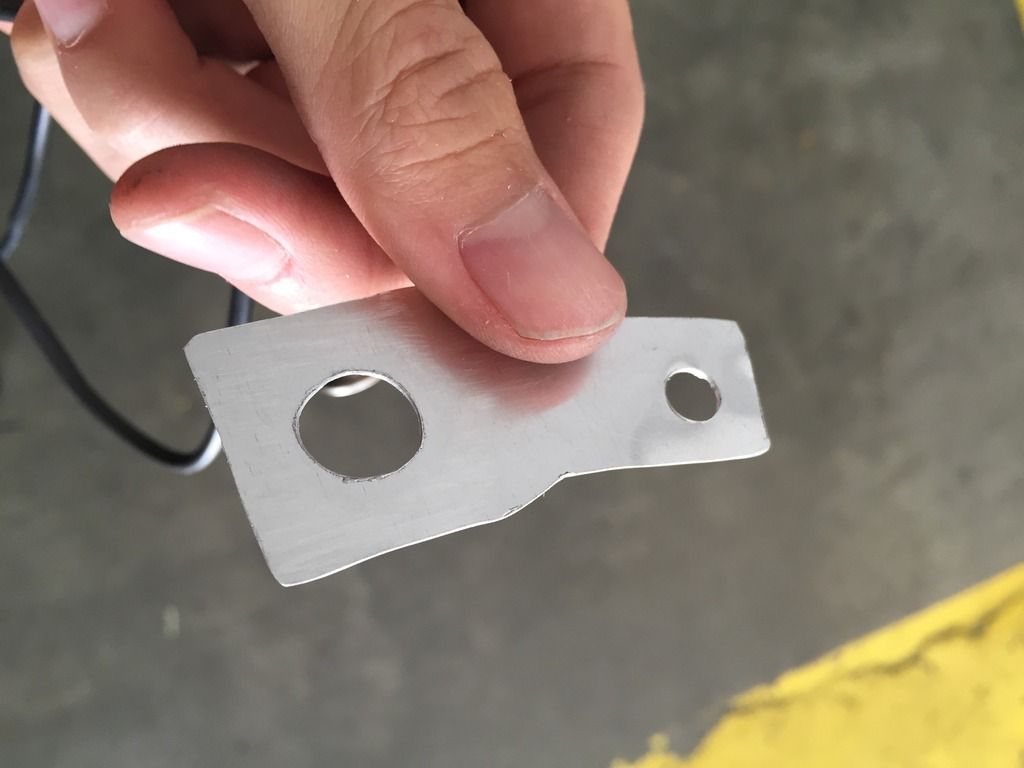 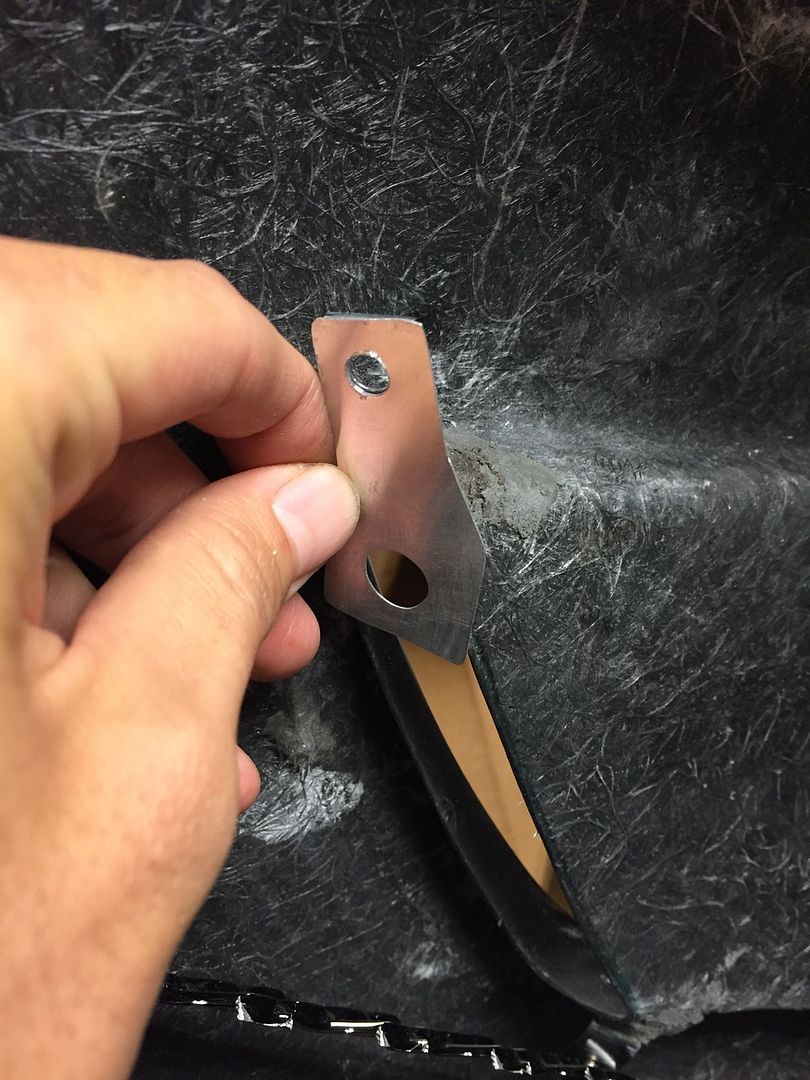 3. Start to test fit and make proper adjustment. This was almost the complete product but the fact that the top of the aluminum plate is flat made it look out of place. 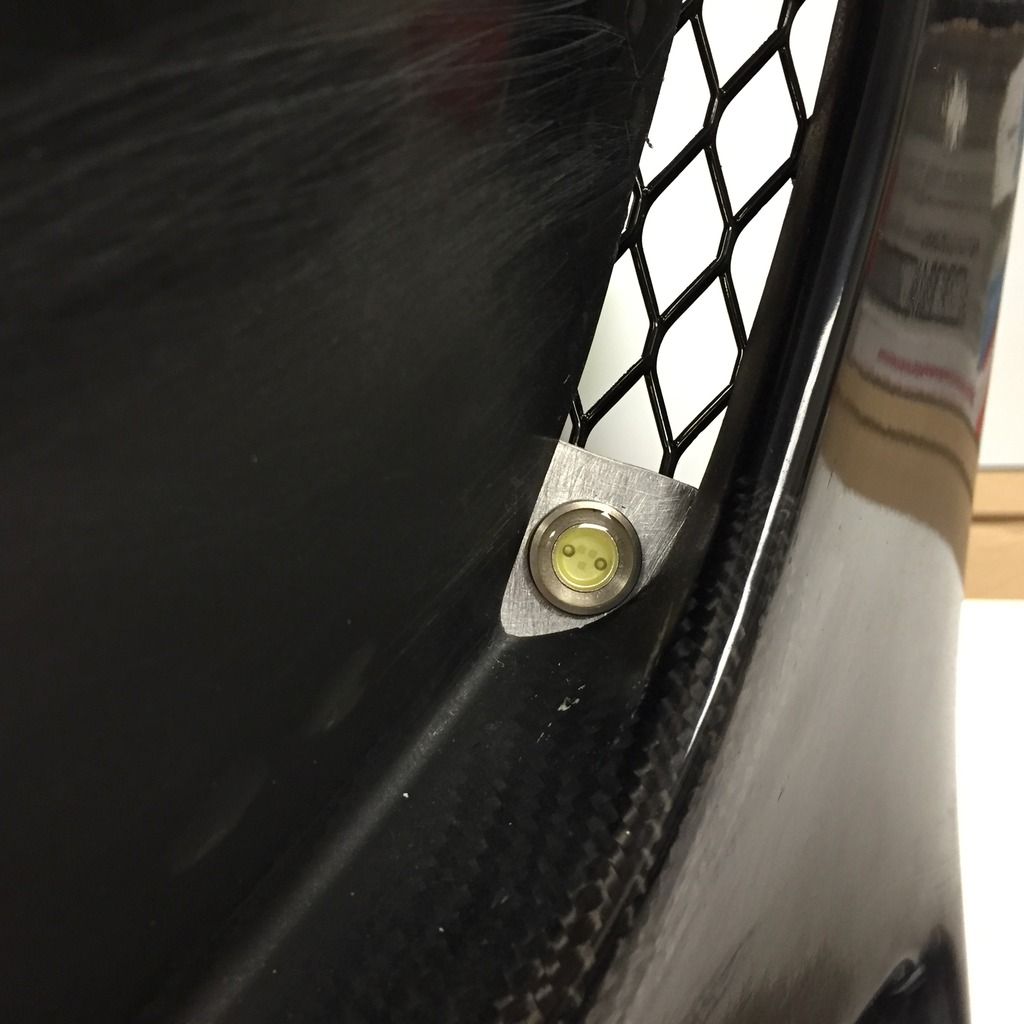 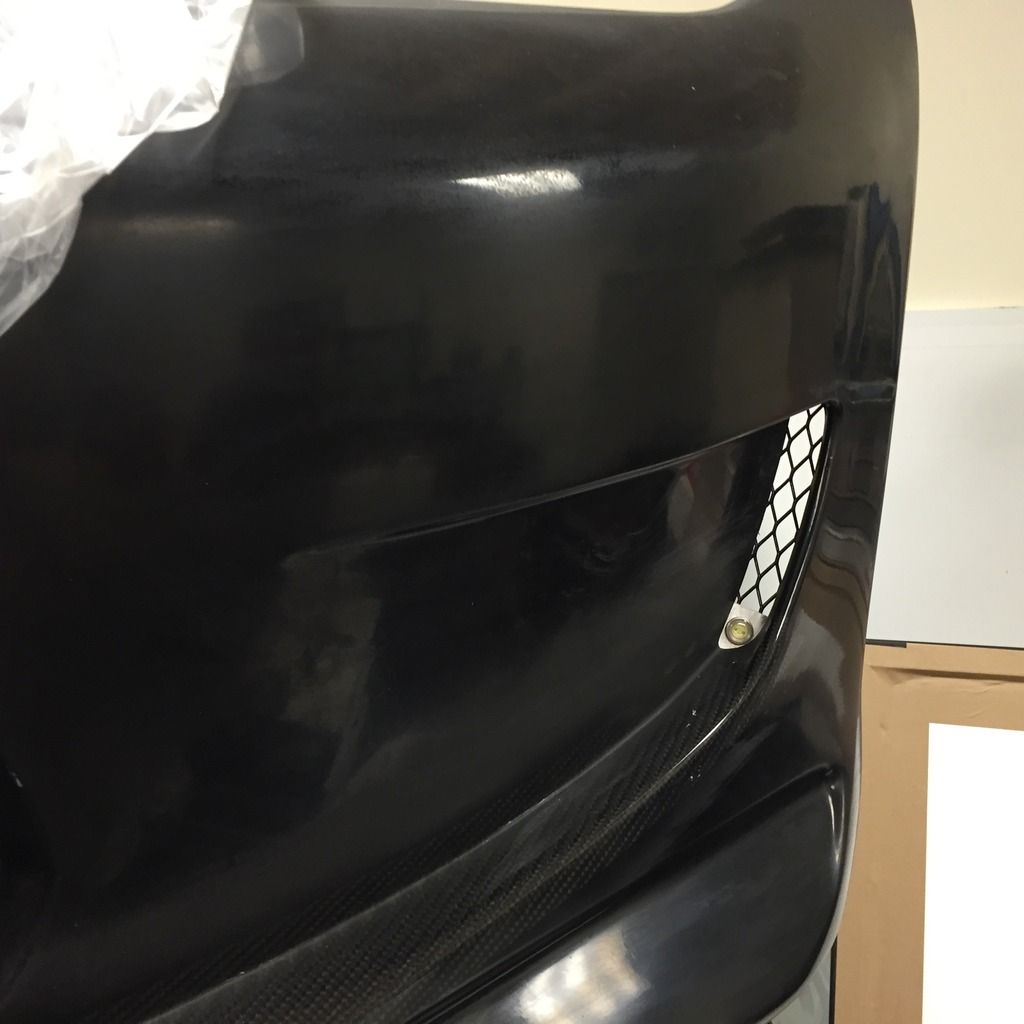 4. Some fine tuning by making it rounded. Looks better in my opinion. 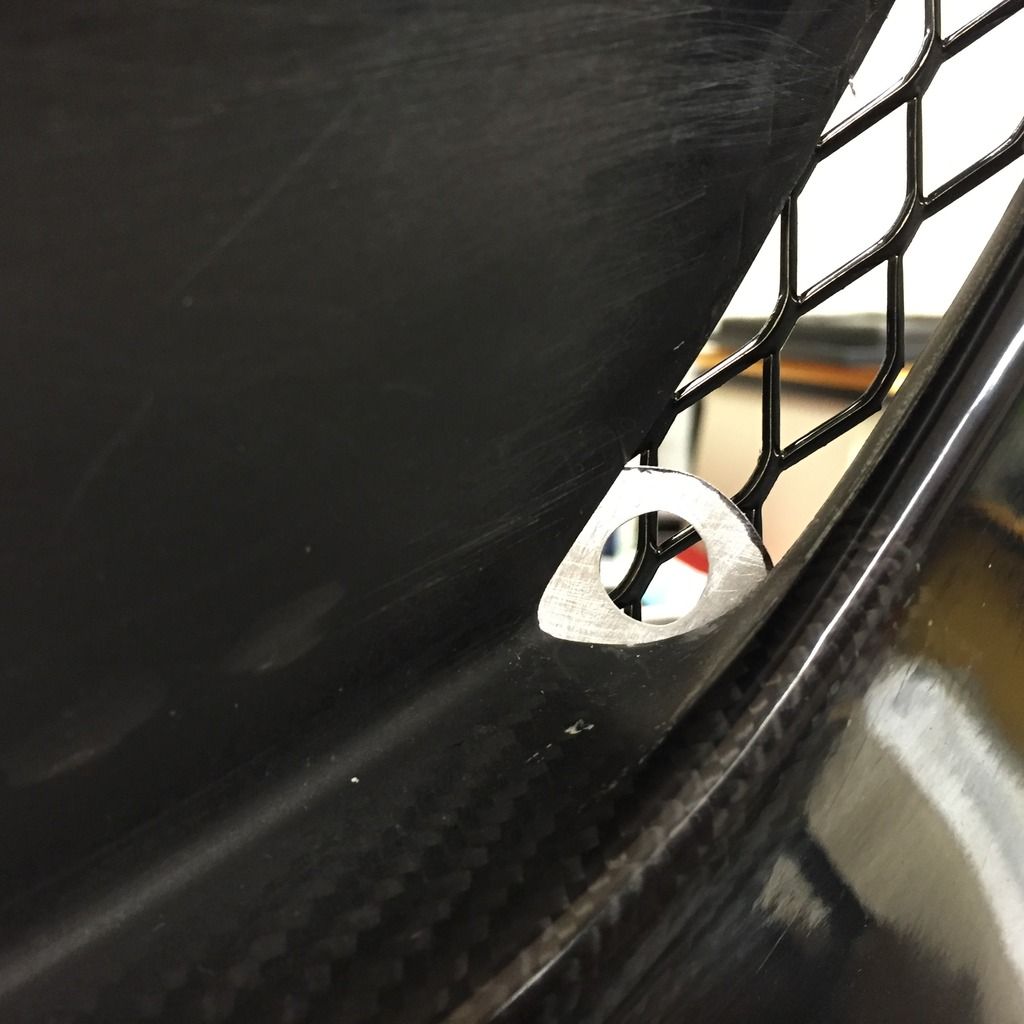 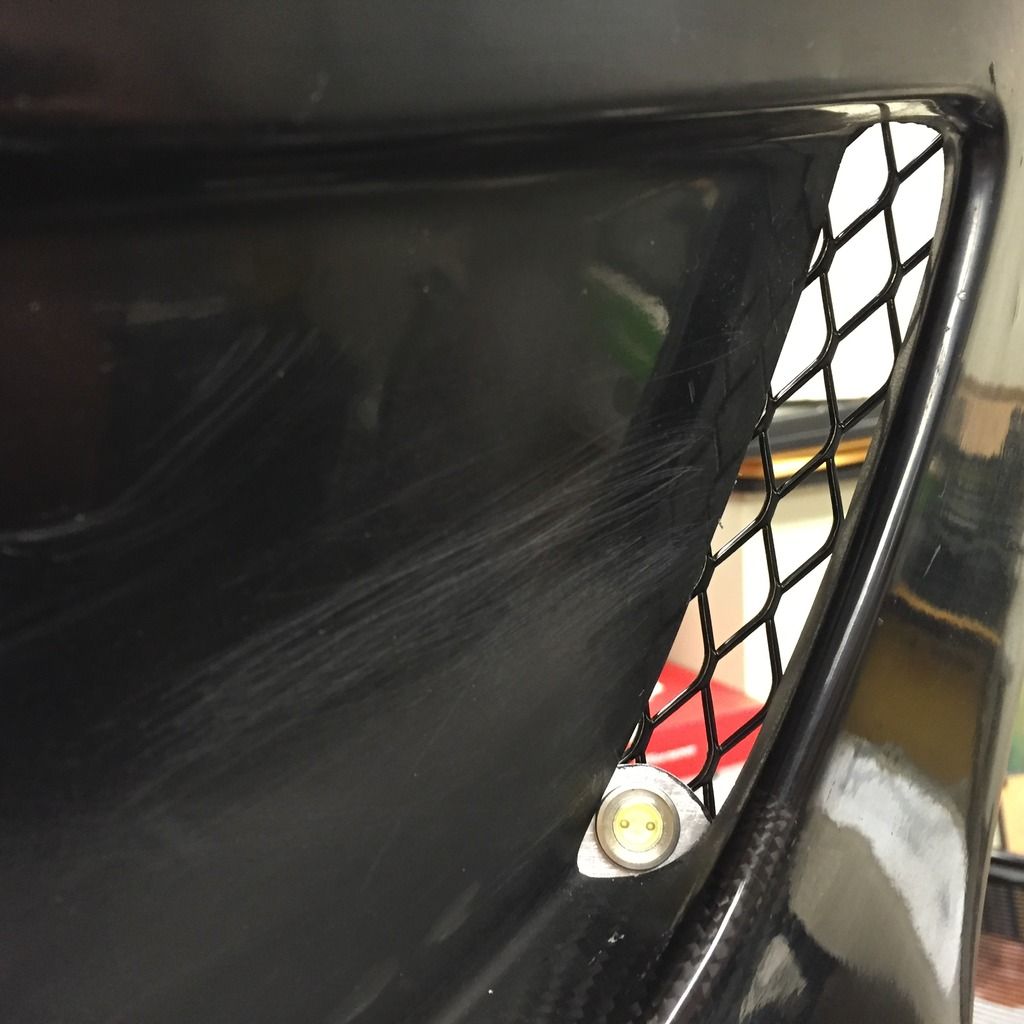 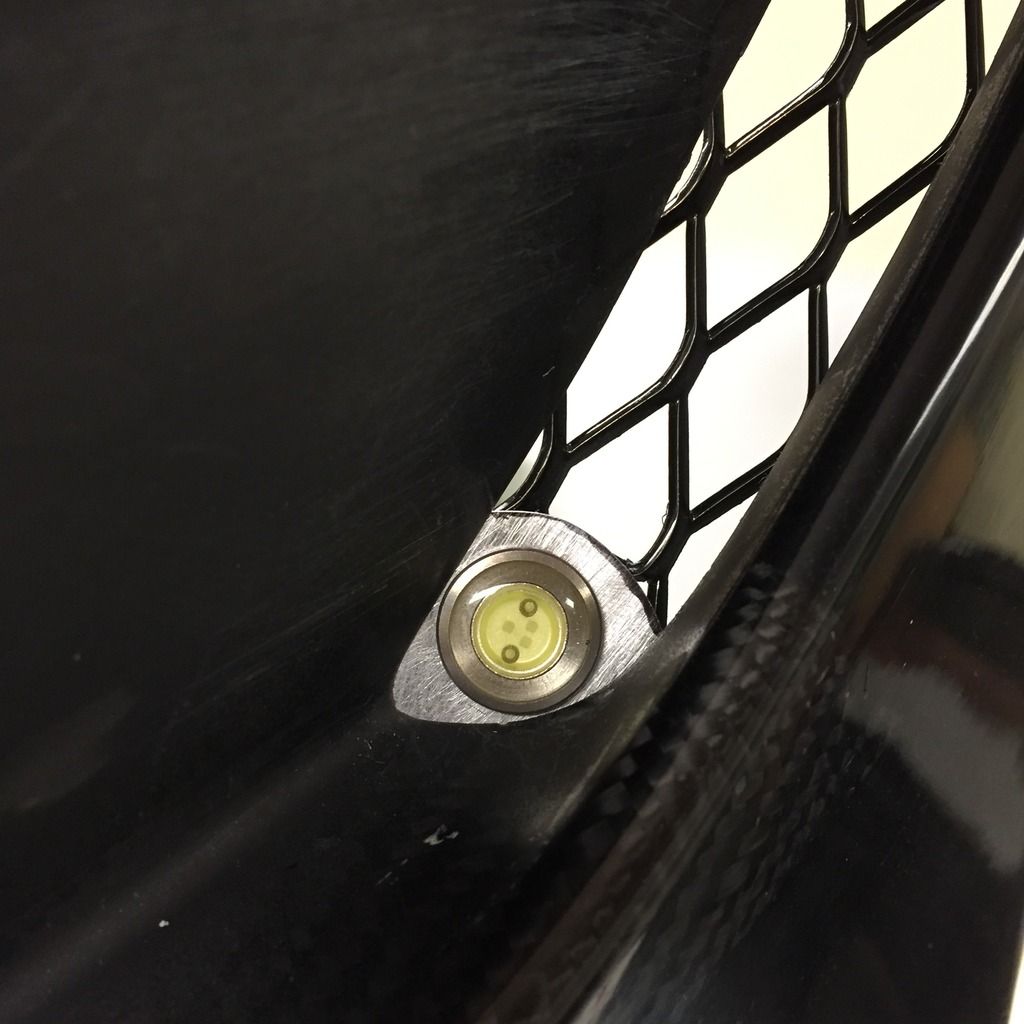 5. Pic to show how flush it is. 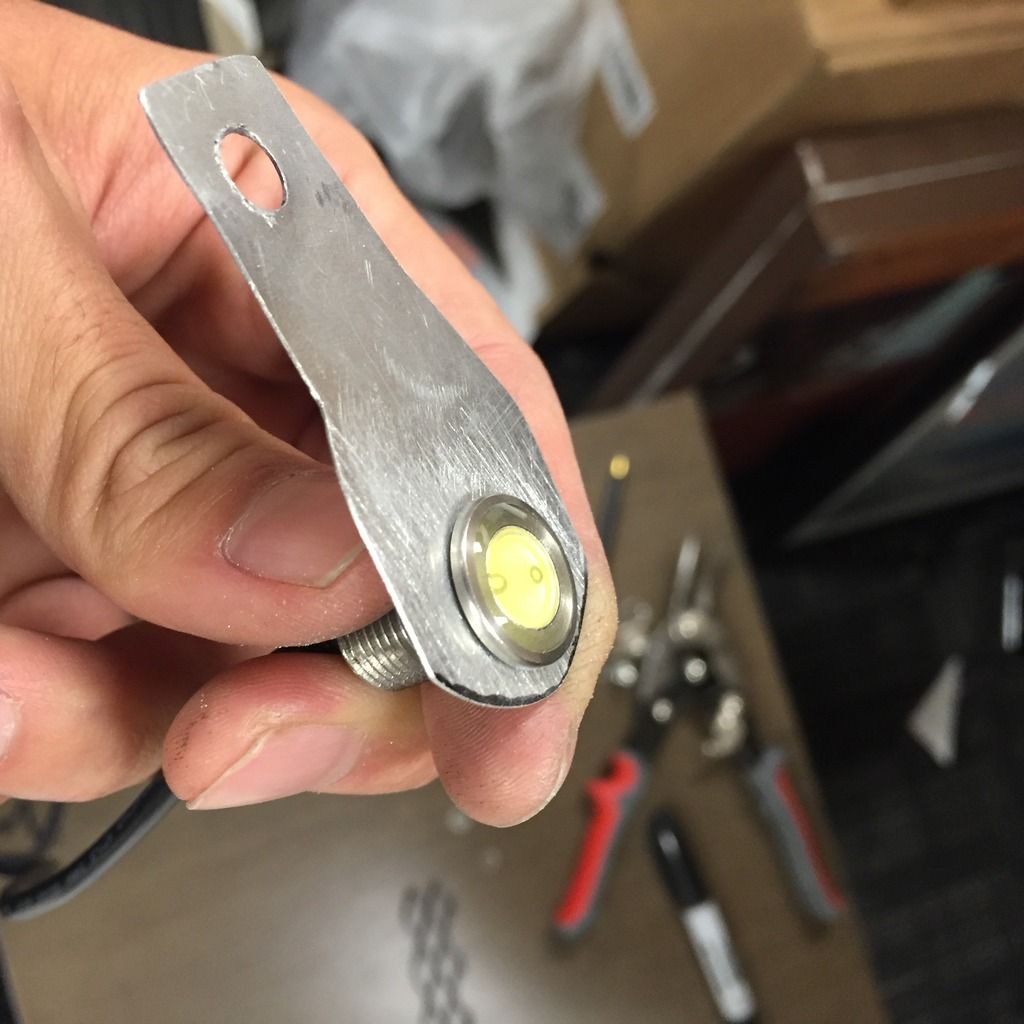
Last edited by Daniel123588; 03-11-2016 at 01:03 AM. |
|
|

|
 |
| Bookmarks |
|
|
 Similar Threads
|
||||
| Thread | Thread Starter | Forum | Replies | Last Post |
| [FOR SALE] New Shine Amuse rear bumper | raffenblackma | Parts for sale (Private Classifieds) | 24 | 03-01-2016 04:57 AM |
| Fly1 or Shine Amuse? | amusez34 | Exterior & Interior | 8 | 12-16-2014 07:59 AM |
| [FOR SALE] Amuse rear (shine auto) | jewnbug | Parts for sale (Private Classifieds) | 7 | 07-05-2014 10:09 AM |
| [WTB] WTB Shine/Aerojacket Amuse rear | TonyZ34 | Parts for sale (Private Classifieds) | 16 | 01-23-2014 04:44 PM |
| Shine Amuse style body kit. | LCR Autowerks | Body Interior/Exterior | 78 | 03-15-2013 09:10 AM |