
 |
6. fire it up and make sure its good. Also just FYI, the aluminum piece is going to be painted gloss black when the bumper gets painted so try to
|
|||||||
 |
|
|
LinkBack | Thread Tools | Display Modes |
|
|
#16 (permalink) |
|
Base Member
Join Date: Dec 2015
Location: Hawaii
Posts: 192
Drives: 2012 370z sport
Rep Power: 10       |
6. fire it up and make sure its good.
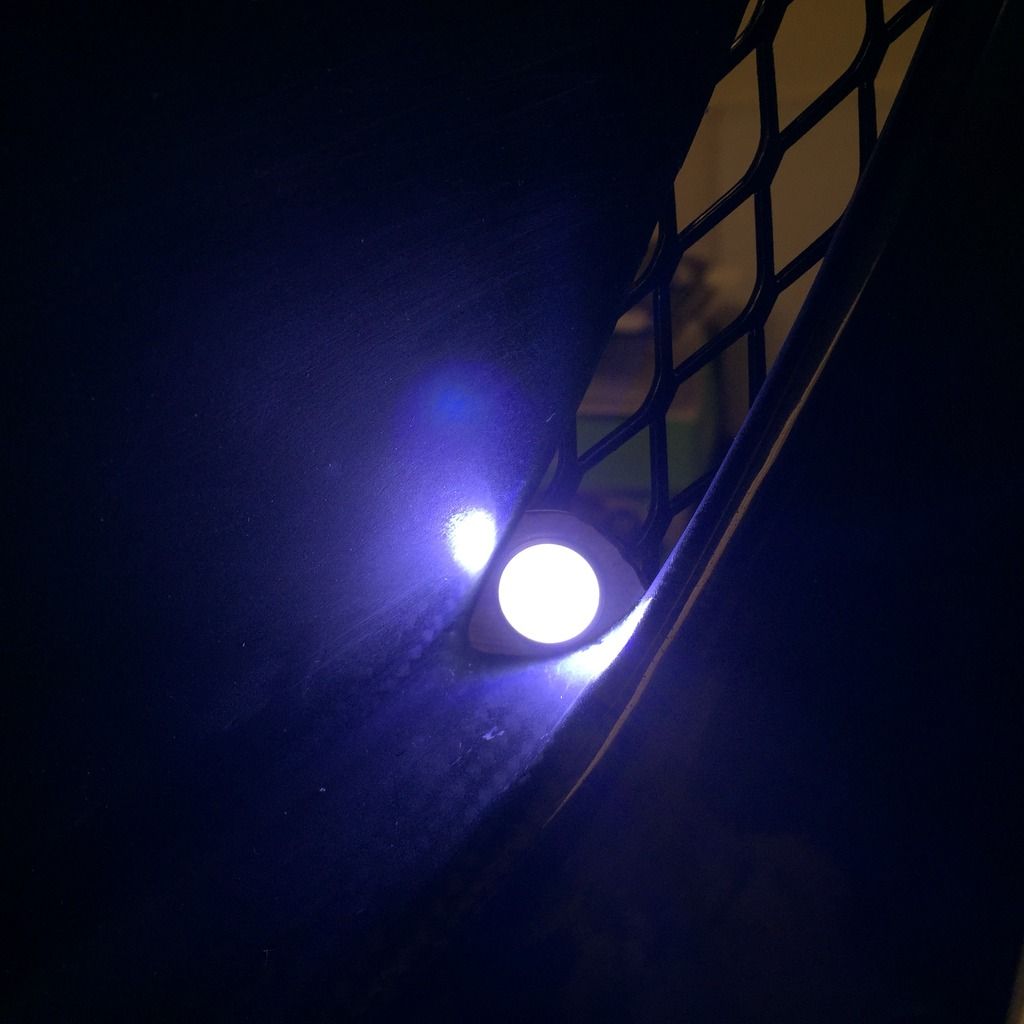 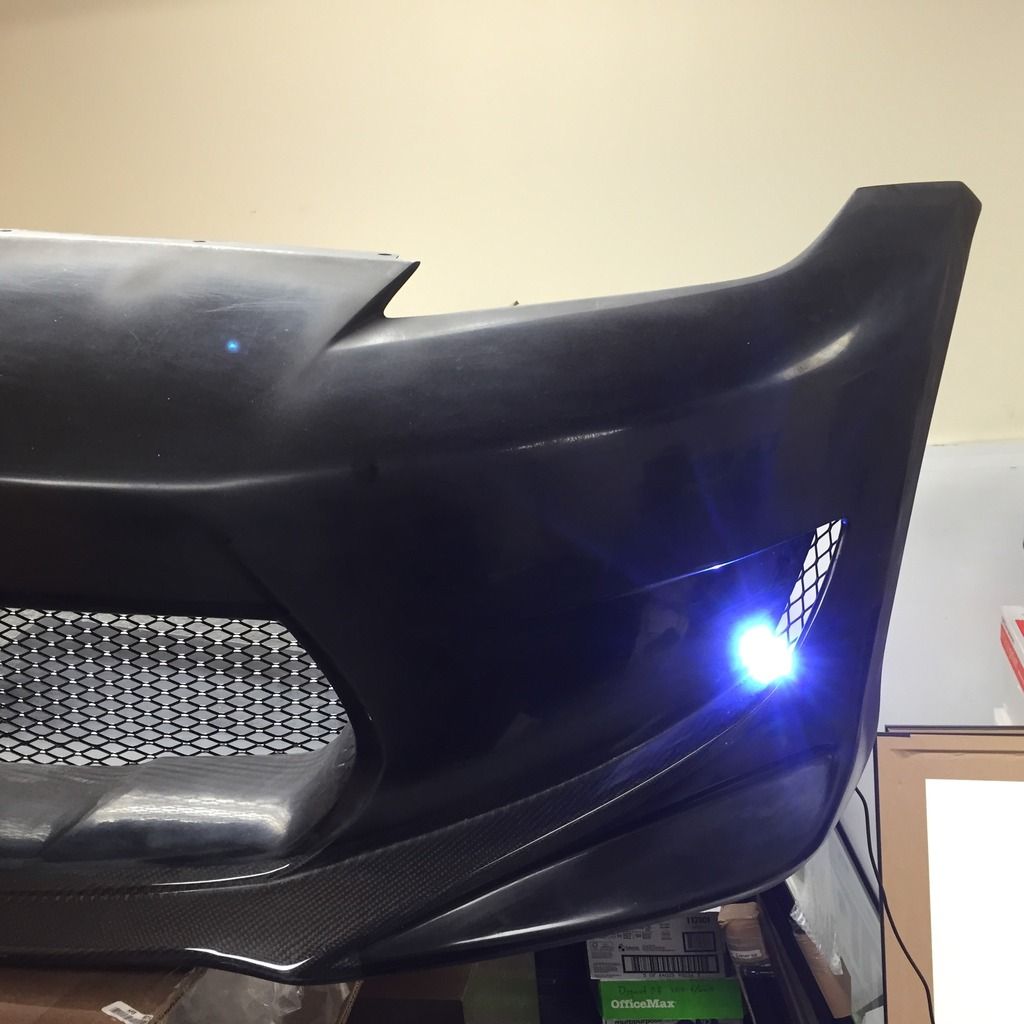 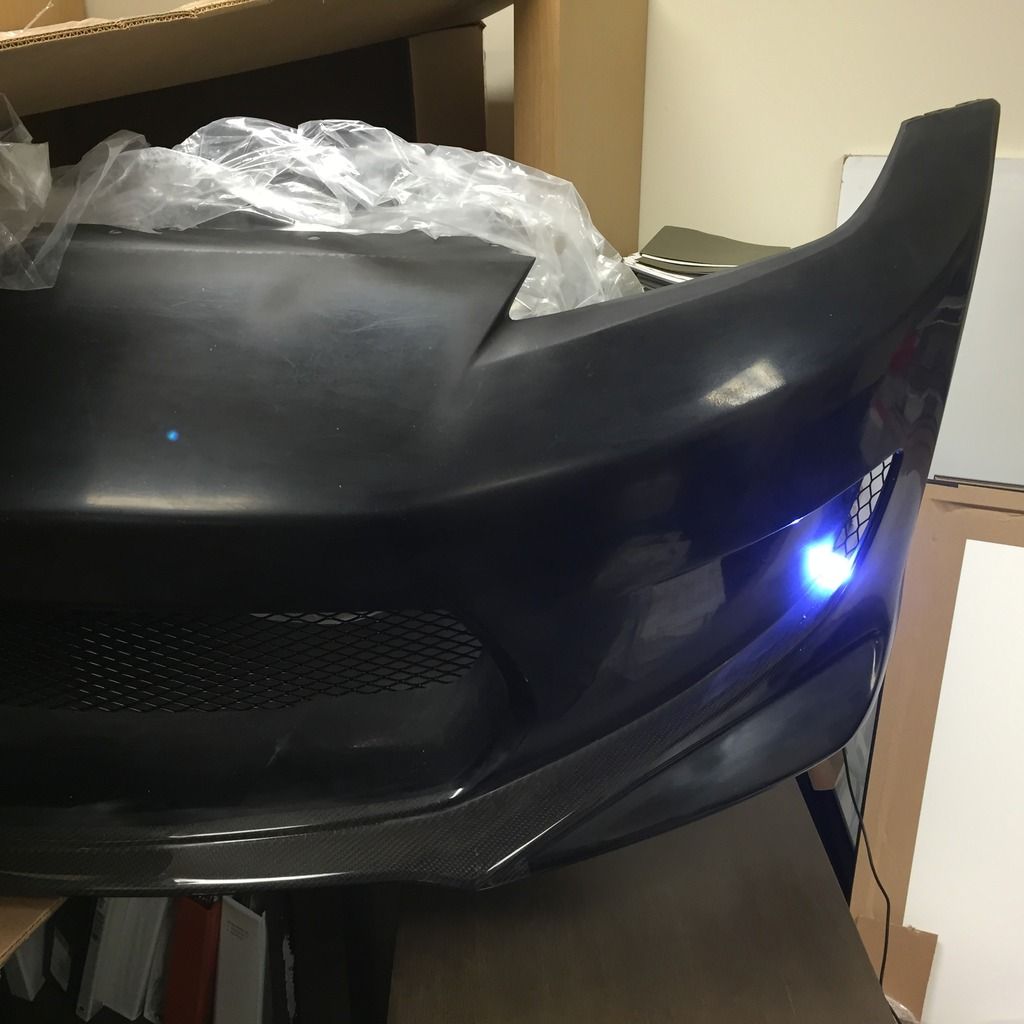 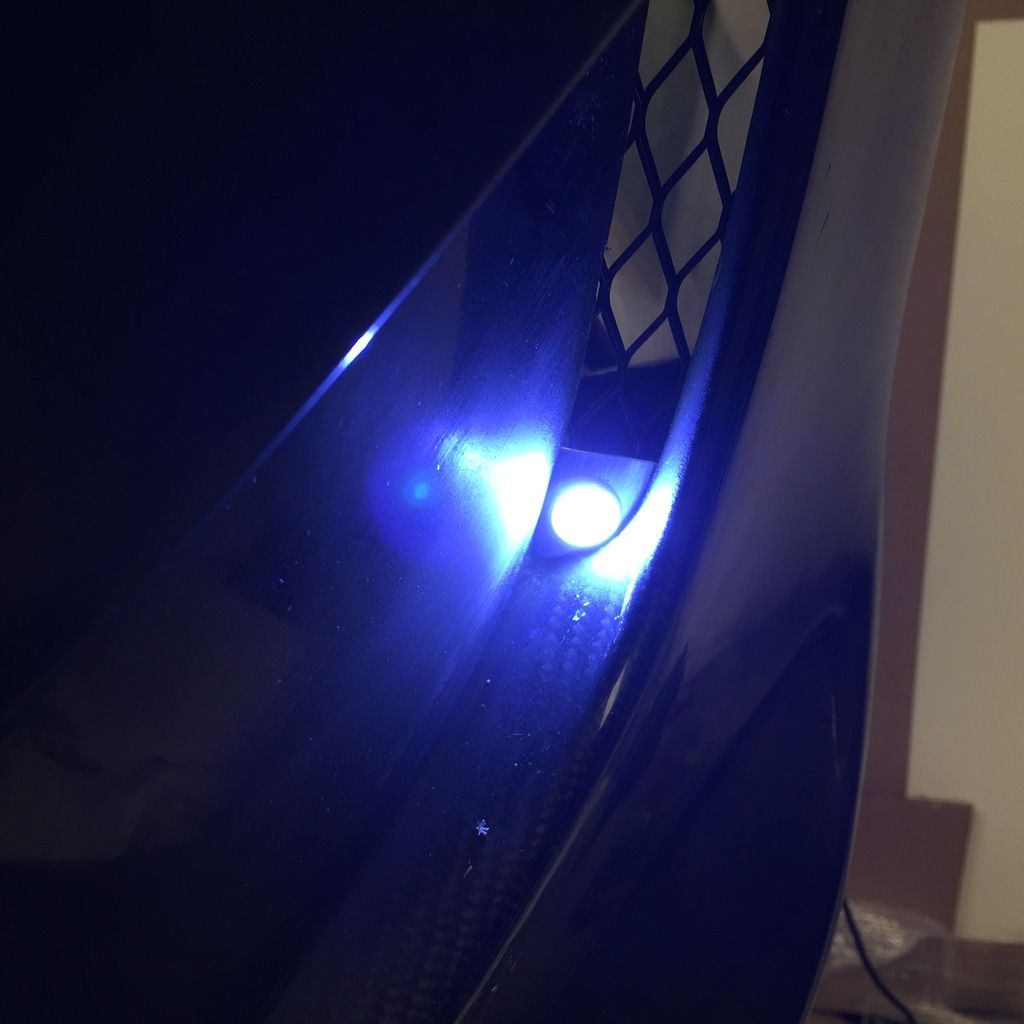 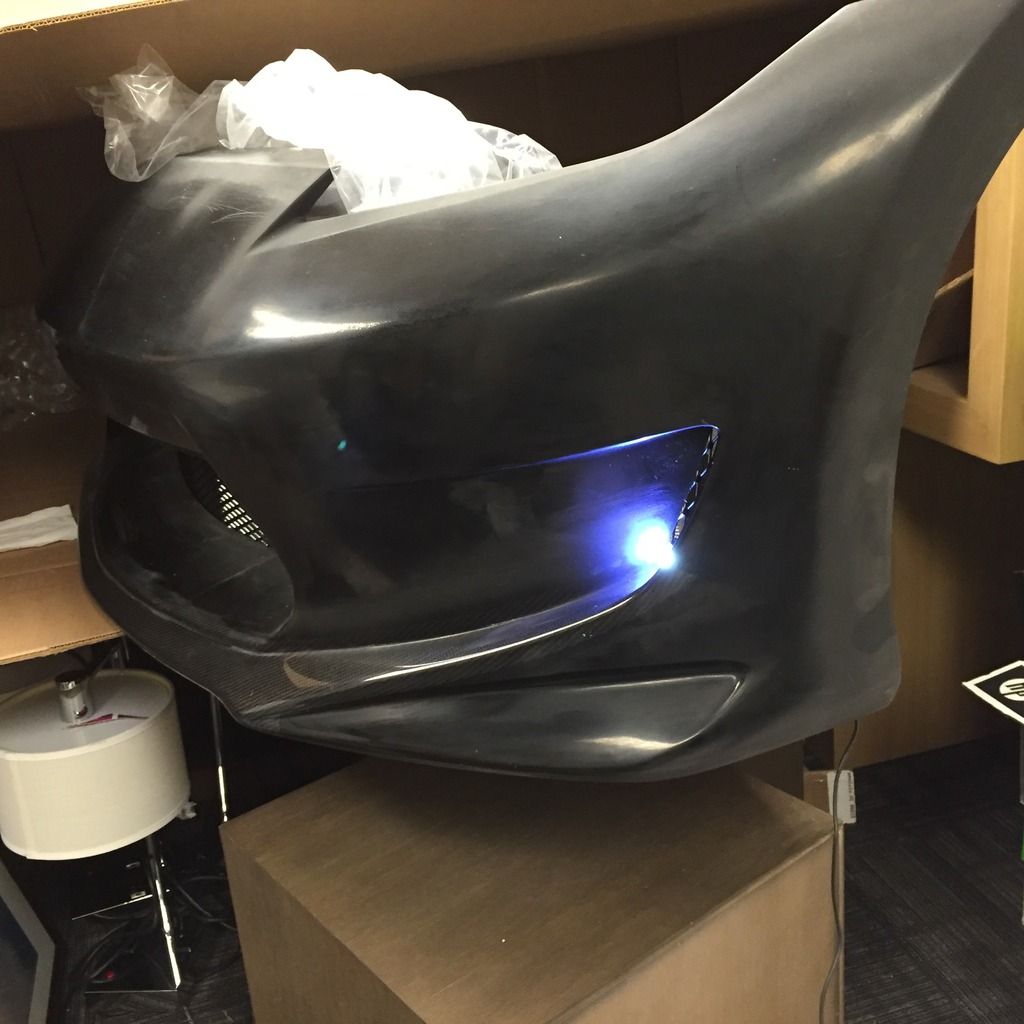 Also just FYI, the aluminum piece is going to be painted gloss black when the bumper gets painted so try to pretend its black. THe second to the last pic is still when the aluminum was still straight, its actually rounded now like the other pics. I come from building lexus's and i really like the yellow fog look. I bought some yellow vinyl film that i may put over these LED's. My intention is to leave these LED's on whenever the car is on, including the headlight. Believe it or not, this crap took about 3 hours to do... only because the kit is at work and i had to bring all my tools over to my workplace. But anyhow hope this helps. |
|
|

|
|
|
#17 (permalink) |
|
A True Z Fanatic
Join Date: Mar 2013
Location: Massachusetts
Posts: 1,400
Drives: 09 370Z MT6
Rep Power: 666            |
Nice work, customcargrills is the shiz

__________________
fujimura ≠ abbeyRoadCompany ≠ fastIntentions ≠ motordyne ≠ avantGarde ≠ ecutek ≠ nismo ≠ stillen ≠ stoptech ≠ gtm ≠ spl ≠ carbonfiberelement ≠ stance™
|
|
|

|
|
|
#18 (permalink) |
|
Elite Member
 Join Date: Jun 2012
Location: Calgary
Posts: 13,973
Drives: 14 PW 370Z S/T MT
Rep Power: 243722            |
Did you consider mounting behind the mesh to make the mesh visible, and to allow the mesh to protect the light?
__________________
 Member of kenchan's "photoshopped mods" and "proper offsets" gang.
|
|
|

|
|
|
#19 (permalink) |
|
Base Member
Join Date: Dec 2015
Location: Hawaii
Posts: 192
Drives: 2012 370z sport
Rep Power: 10       |
I wanted the led to be visible. But mounting it behind the mesh would be easier but thicker aluminum would need to be used.
The LED also has a epoxy coating on it for protection along with completely being water proof to the point where it can be submerged in water. Thanks! |
|
|

|
|
|
#20 (permalink) |
|
Base Member
Join Date: Dec 2015
Location: Hawaii
Posts: 192
Drives: 2012 370z sport
Rep Power: 10       |
Actually I think you mean placing it behind WHILE cutting out an area just around the LED in the mesh? That might be a clean look. Hmmmm do I want to do it all over again... And buy another thicker aluminum sheet? Hmmmmmmmm not even done with the other side yet damn.
|
|
|

|
|
|
#21 (permalink) |
|
Elite Member
 Join Date: Jun 2012
Location: Calgary
Posts: 13,973
Drives: 14 PW 370Z S/T MT
Rep Power: 243722            |
I was not thinking of cutting the mesh, but that is an option.
I am going to place my OEM 2014 LED's in there, but behind the mesh.
__________________
 Member of kenchan's "photoshopped mods" and "proper offsets" gang.
|
|
|

|
|
|
#22 (permalink) |
|
Base Member
Join Date: Dec 2015
Location: Hawaii
Posts: 192
Drives: 2012 370z sport
Rep Power: 10       |
Fun Fact: Humuhumunukunukuapua'a.....that is the name of our state fish!
Finished the other side. These pictures might make it look a little tacky but its quite clean in person, in my opinion at least. Trying to steer away from LED strips/bars as thats the norm with OEM manufacturing these days. I used painters tape and sharpied it black to give a better idea of what the outcome would look like once its painted. Next up is cutting the oil change opening and adding a cover....swivel....hmmm maybe. Again my local hardware store doesn't have much selection. 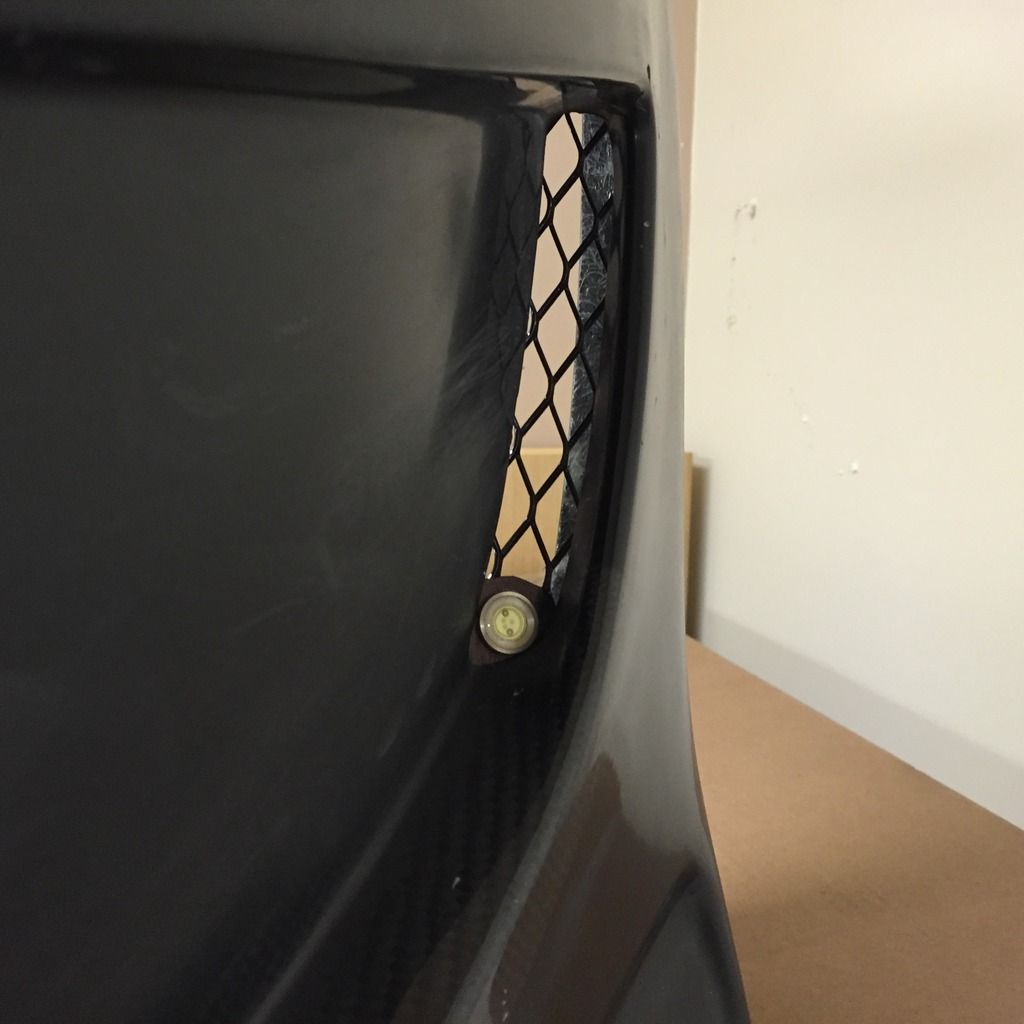 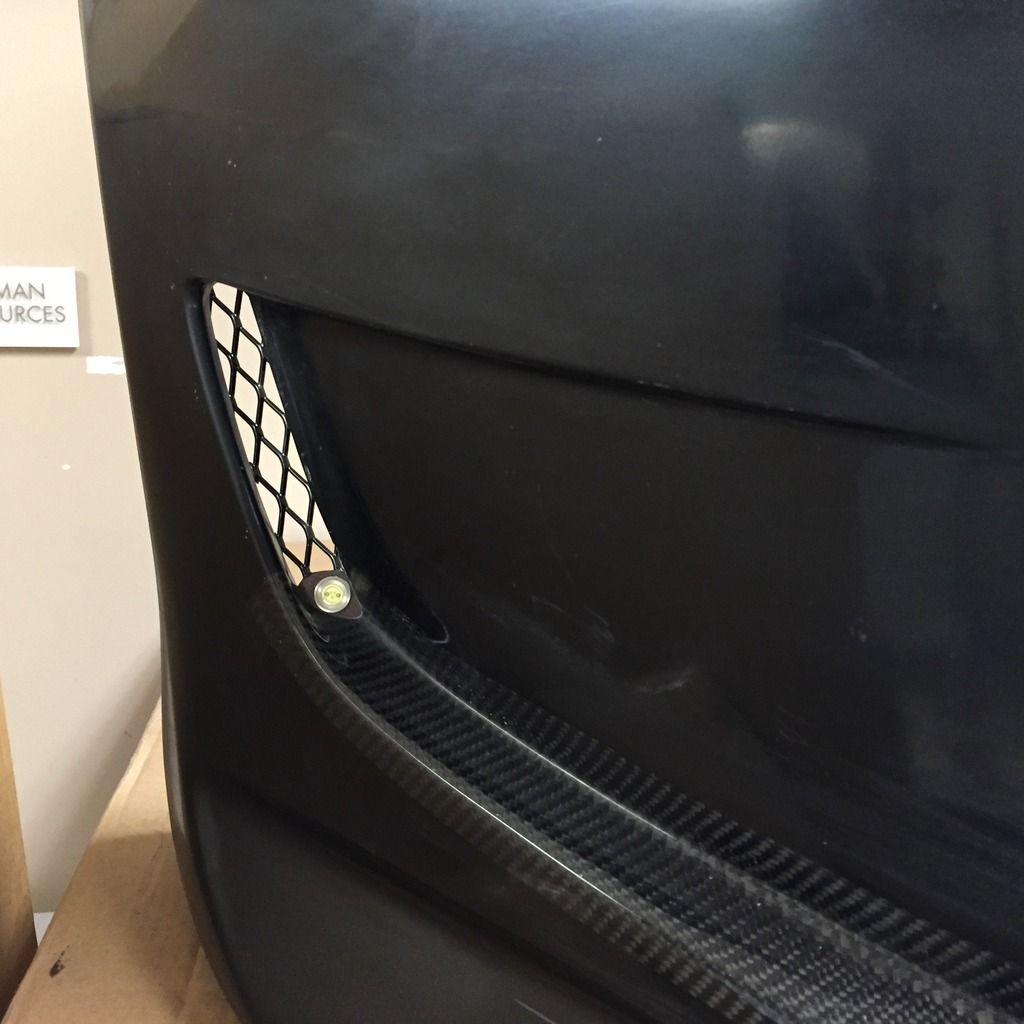 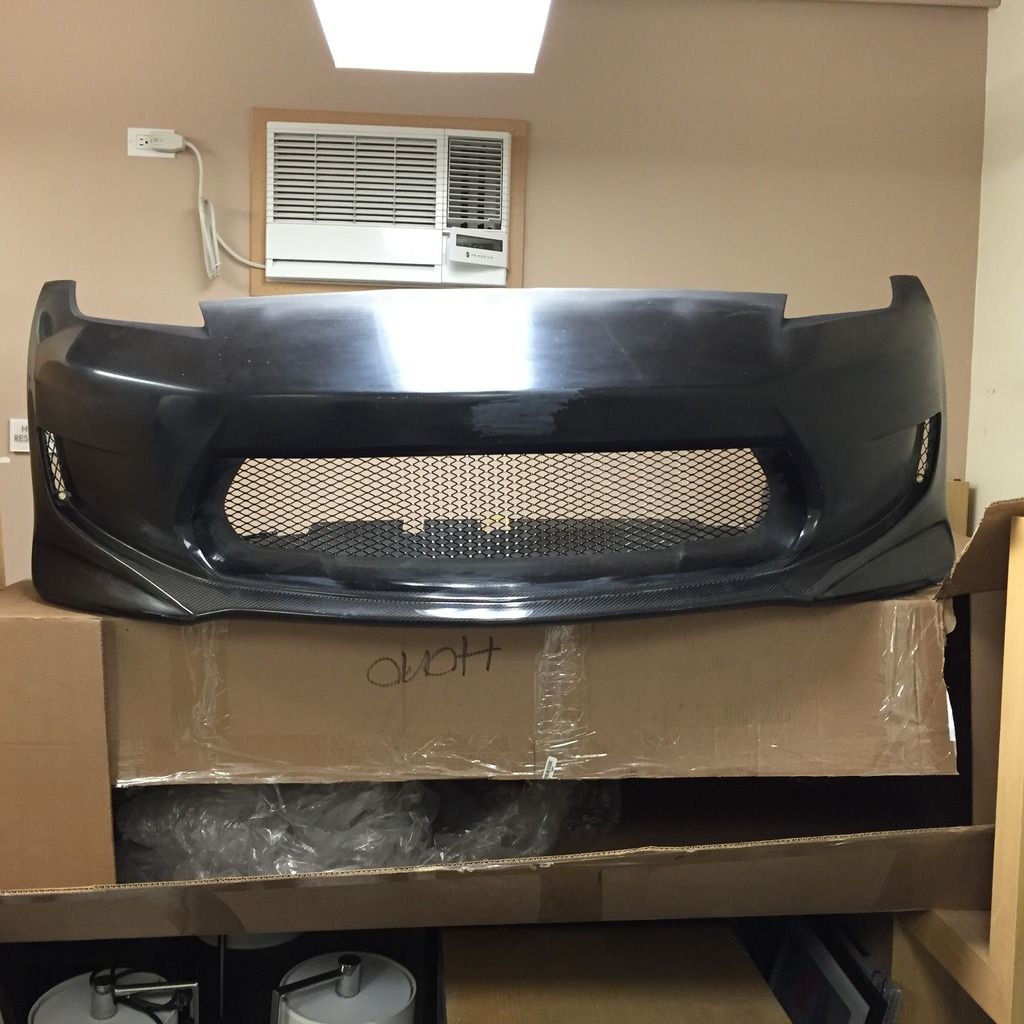 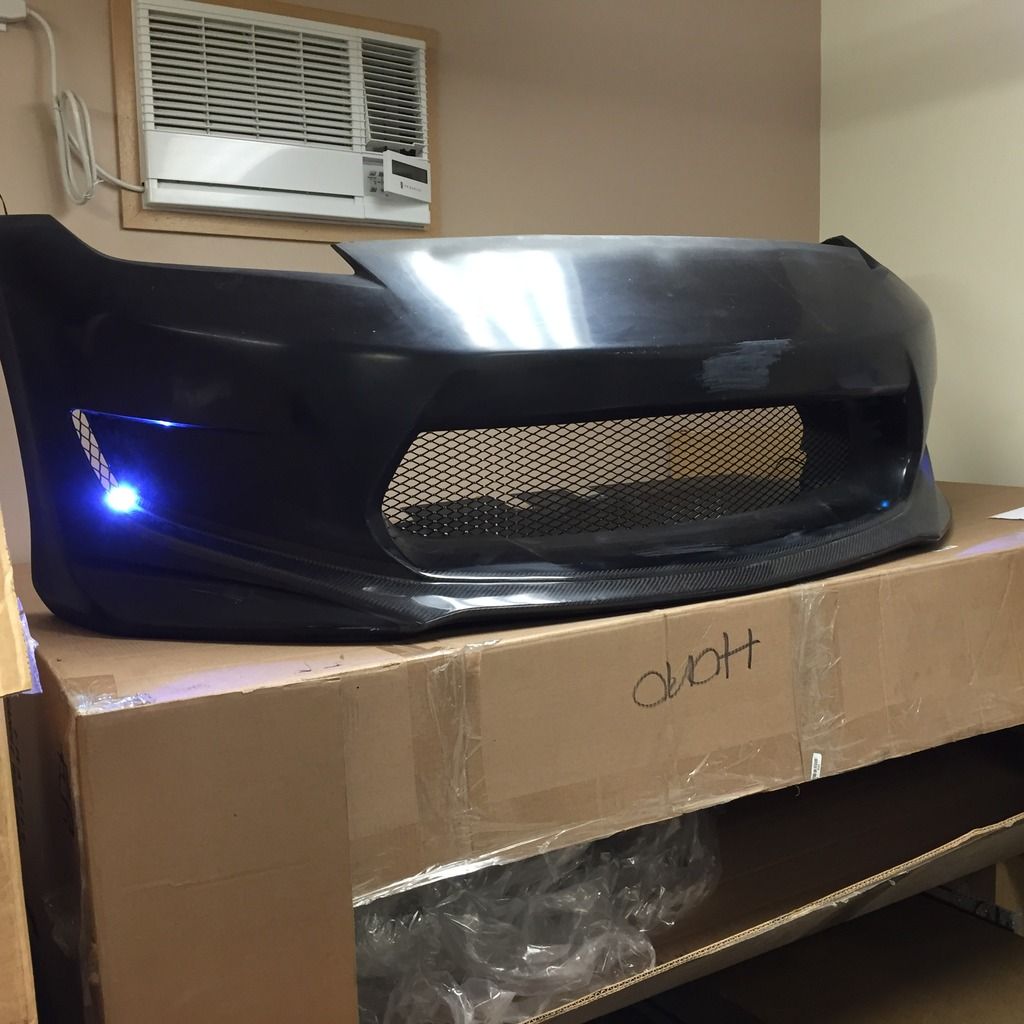 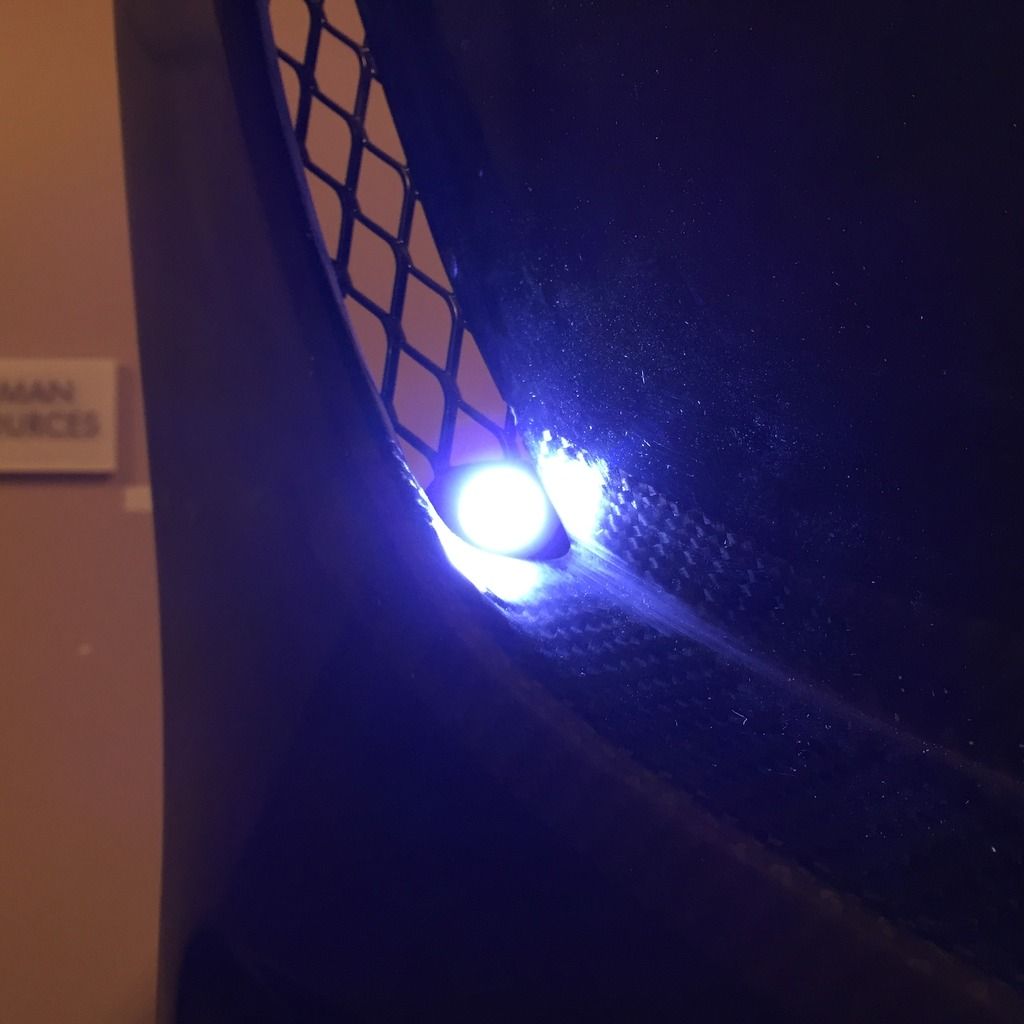 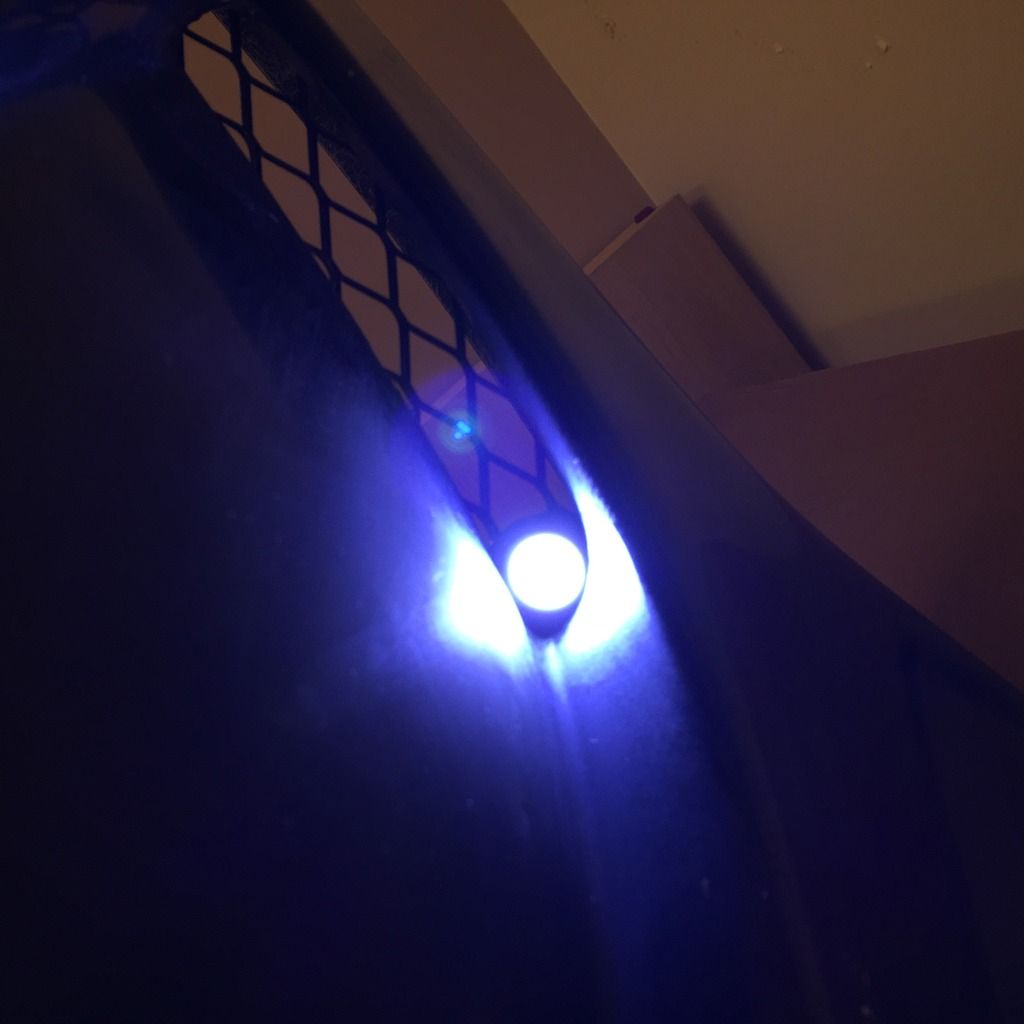 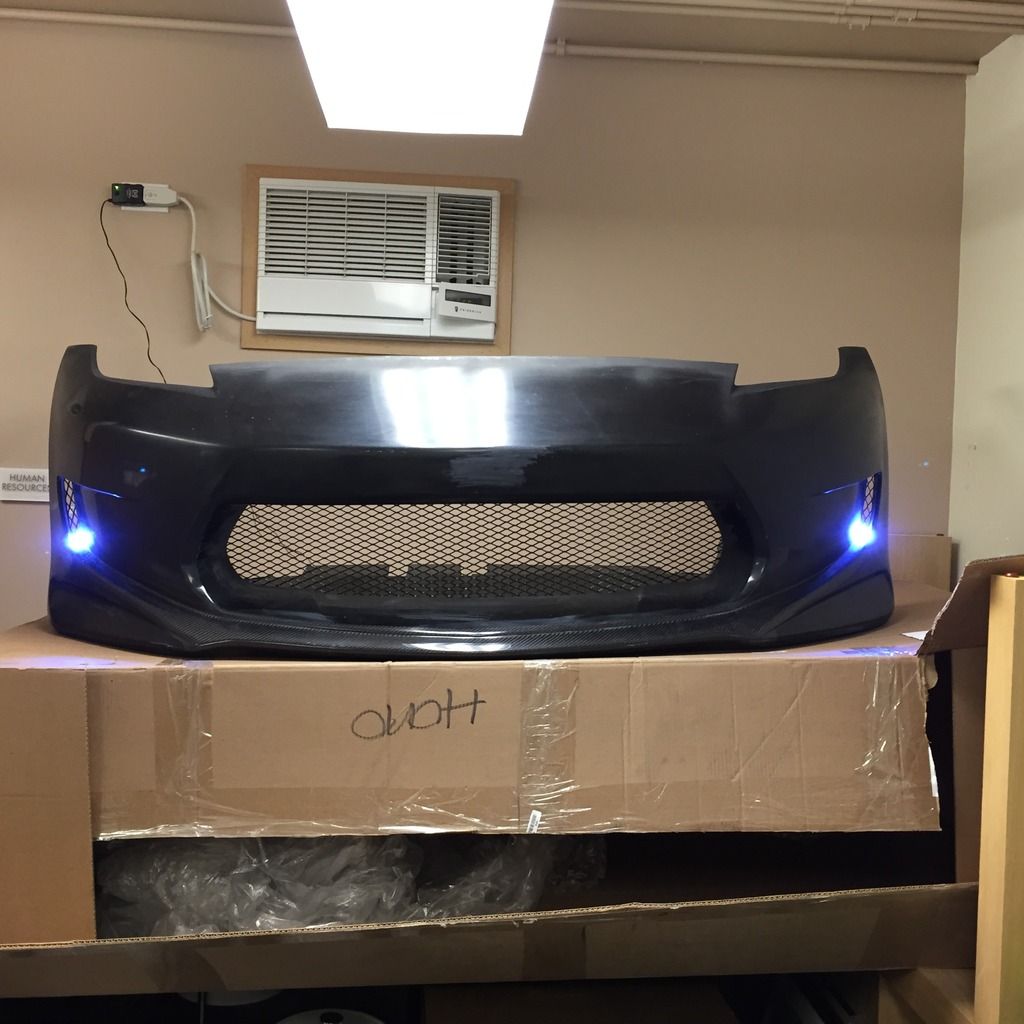
|
|
|

|
|
|
#23 (permalink) |
|
Base Member
Join Date: Dec 2015
Location: Hawaii
Posts: 192
Drives: 2012 370z sport
Rep Power: 10       |
Ho Brah howzhit bu, everyone stay chillin or wat?
Alrighty, pics are always helpful arent they? I happened to grab a 370z and starting to work on getting my kit on. Hope people find this helpful when deciding which kit to buy. The skirts are probably the easiest piece to work on. All the holes need to be drilled but Shine Auto has little dimples to give you a very close idea where to drill. While some people may just drill it without mounting, i highly suggest test mounting and then to start drilling so its close as possible. For those people that are not extremely anal about fitment, these skirts fit extremely well. areas inside the door jam, while not visible, do require a little bit of work for perfectionist. I am not one to just drill new holes into the chassis because it exposes bare metal and without coating rust protection, it will eventually rust. Heres some pics with just test mounting with tape, it was late and i just finished work so taking the skirts off and test mounting with fitment and some sanding what all i did today. 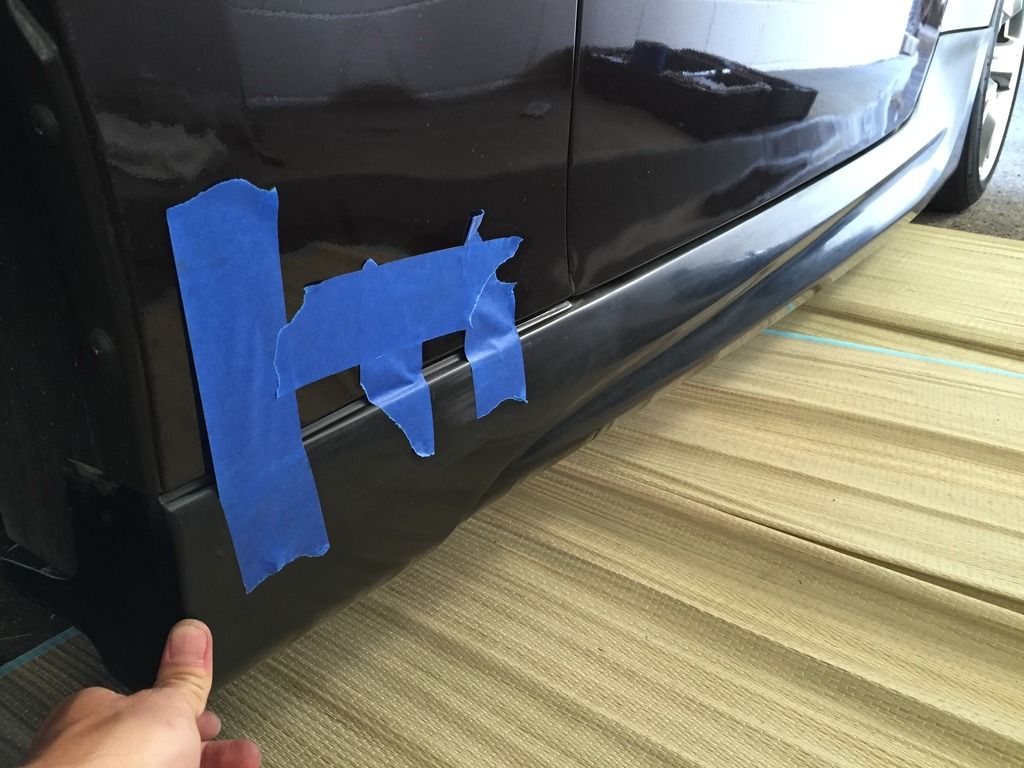 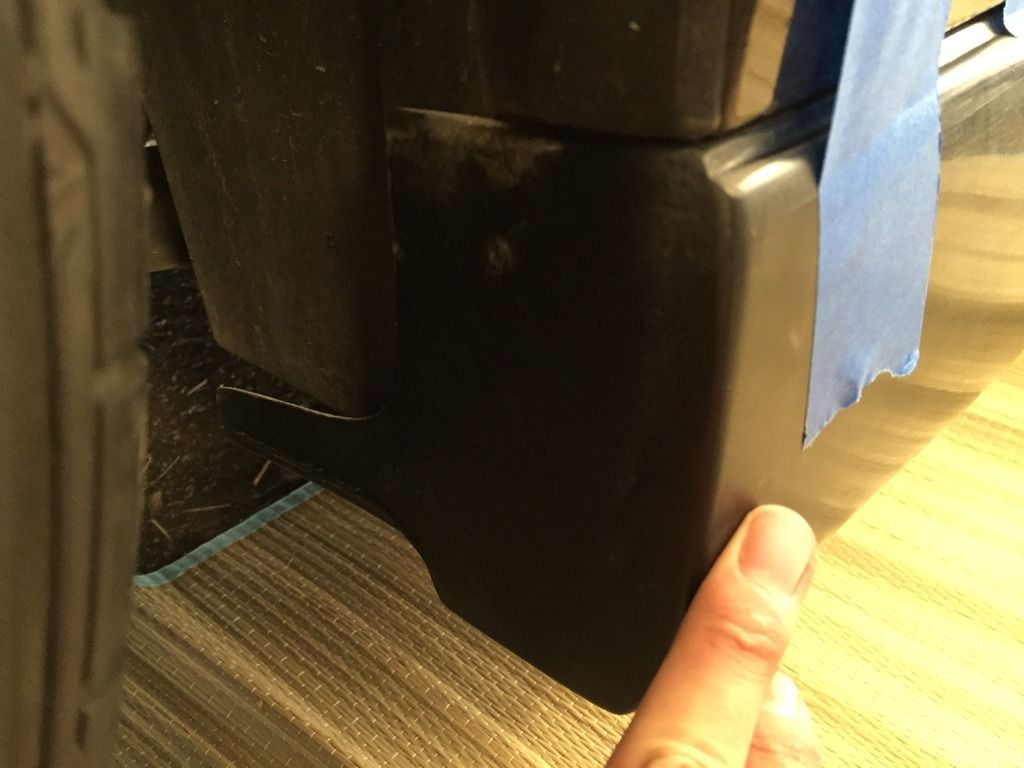 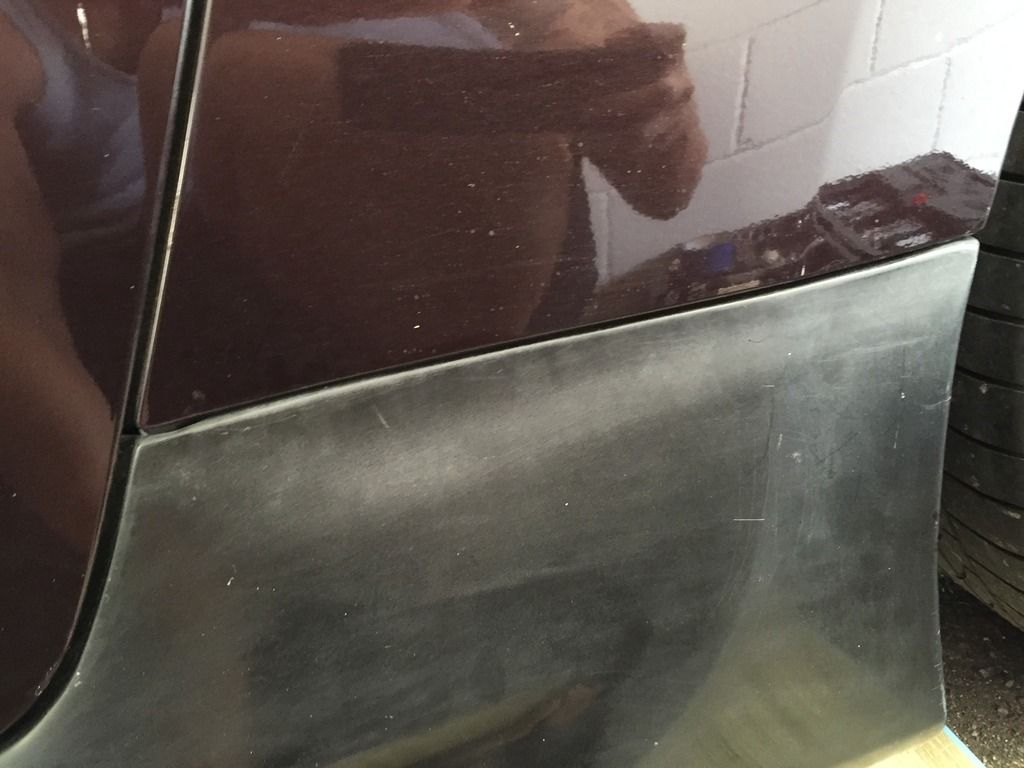 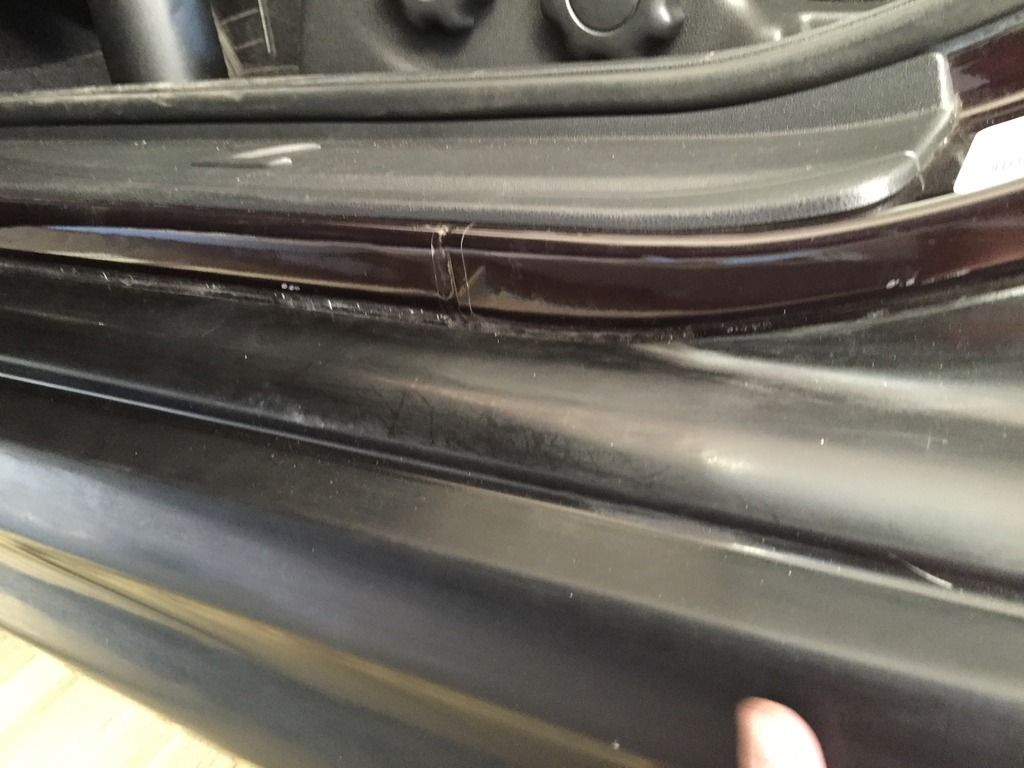 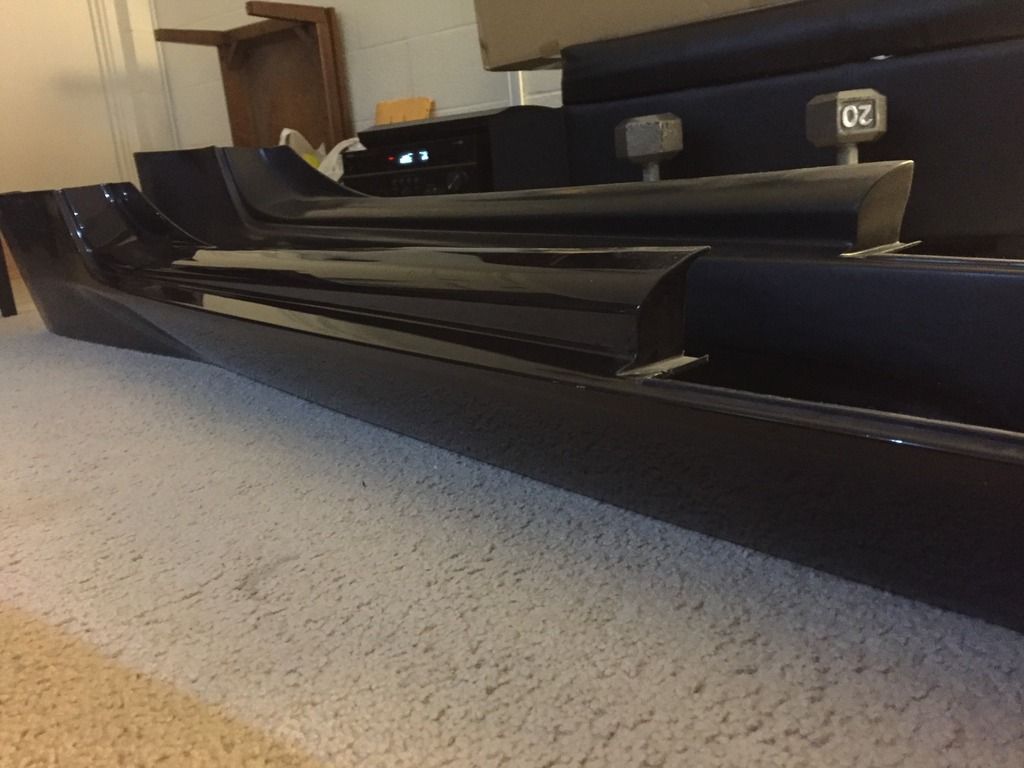 This is one push clip thing i will try to mount as shown in the picture on to the new side skirt so i can use all the existing OEM holes. 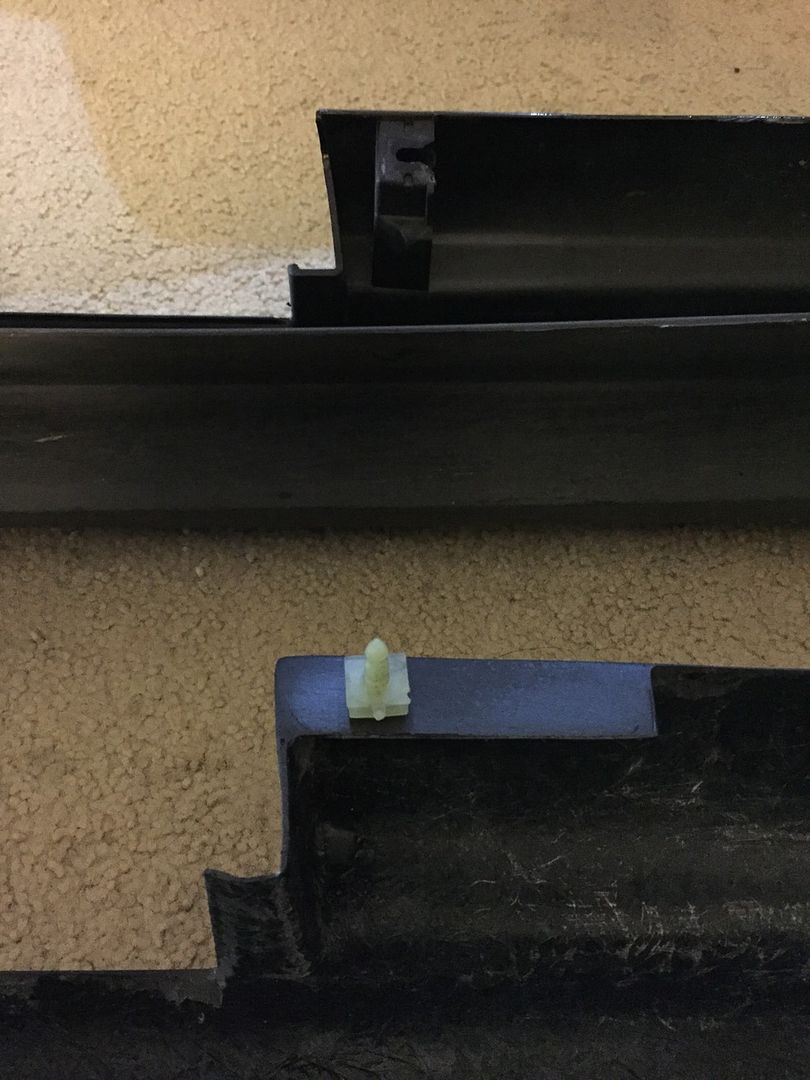
|
|
|

|
|
|
#24 (permalink) |
|
Base Member
Join Date: Dec 2015
Location: Hawaii
Posts: 192
Drives: 2012 370z sport
Rep Power: 10       |
Did you know?! a gallon of milk here in Hawaii cost about $8-$10 dollars when its not on sale. Quite a price we pay for the milk of a cow...sounds gross. ok ok here some updates and pics.
Skirt fitment again is prettty good. By far the easiest piece to mount and drill. The dimples are extremely close to the actual holes. 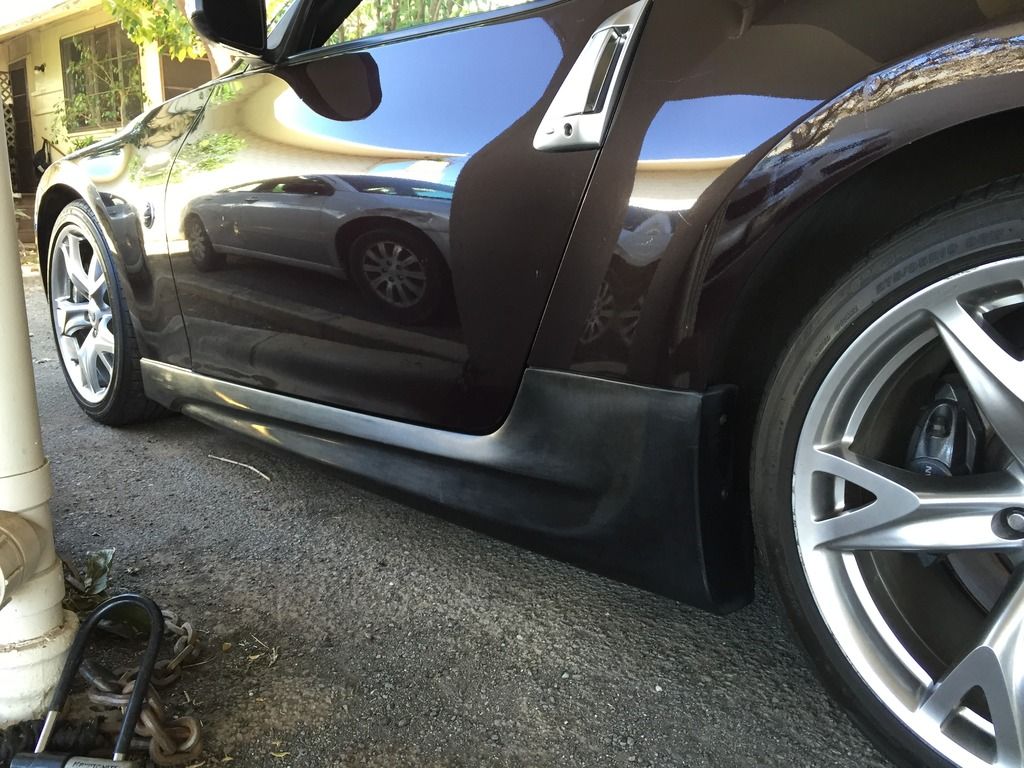 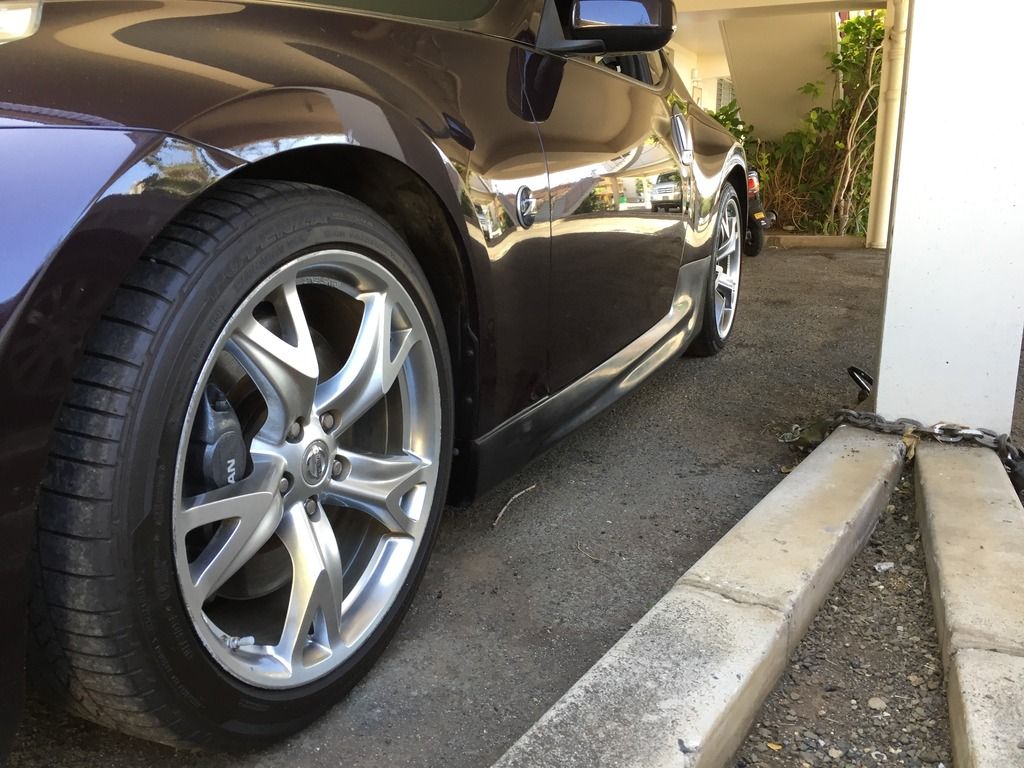 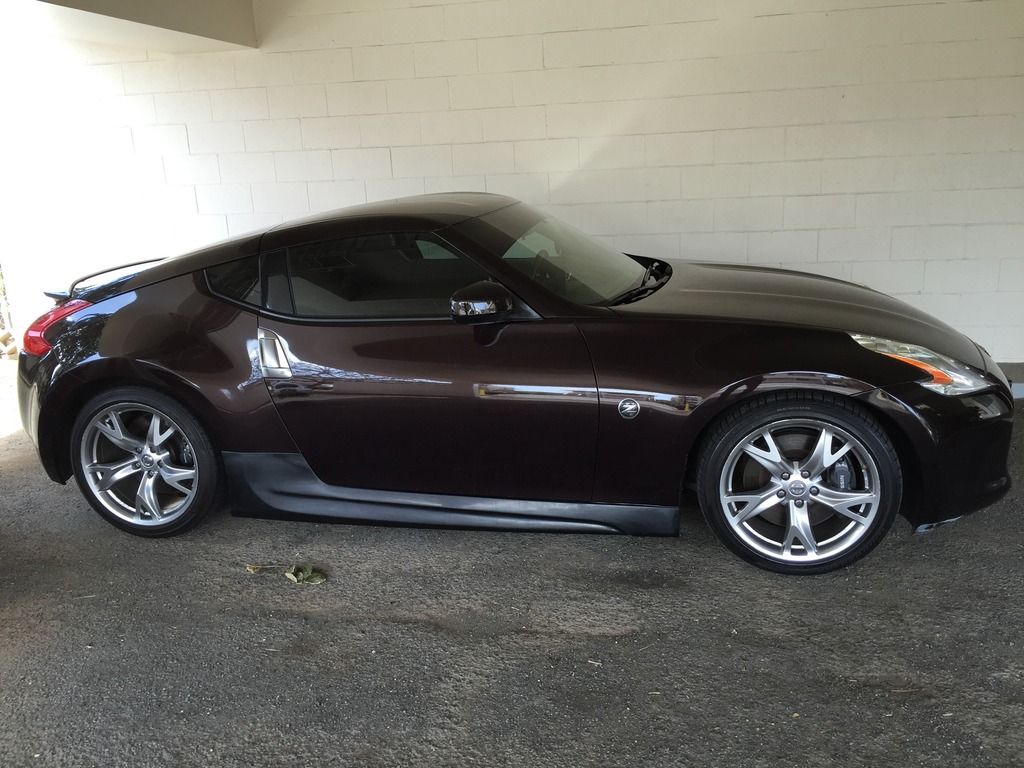
|
|
|

|
|
|
#25 (permalink) |
|
Base Member
Join Date: Dec 2015
Location: Hawaii
Posts: 192
Drives: 2012 370z sport
Rep Power: 10       |
Some bumper work today. frickin tired. Didnt get around to making license plate brackets, currnetly its just tie strapped on the grill... yes yes kind of ghetto, it doesnt actually look that bad even in person but i was way too tired already.
Foam bumper support needs to be taken out for this amuse rep, unless you could actually shave it down but i dont have tools to do such a thing. 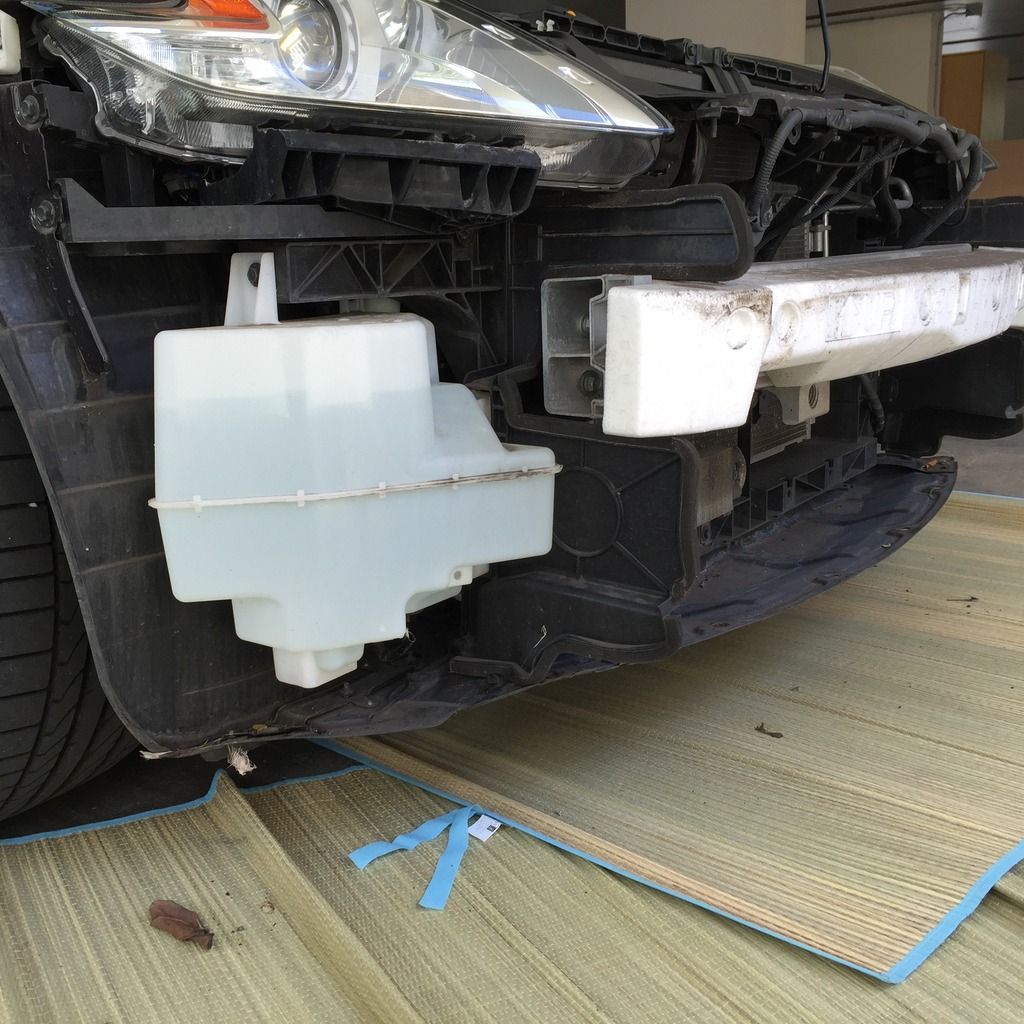 the mouth of bumper, this area i had to cut out a little more as it was hitting the bracket. 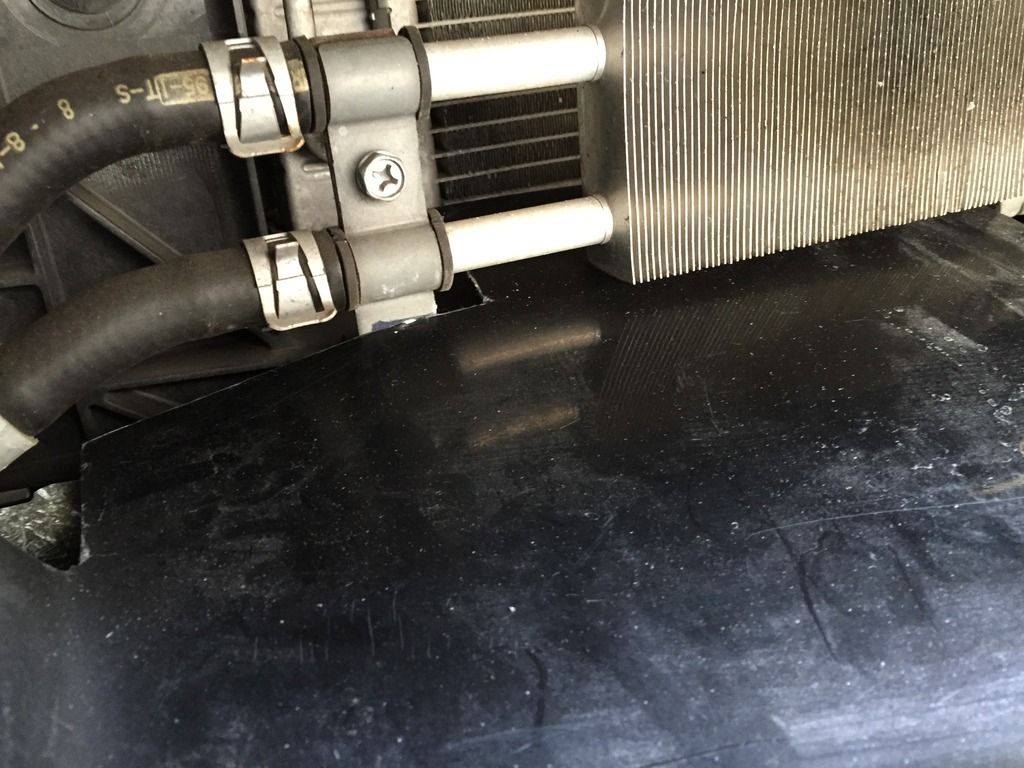 Unfortuntely, have to take out the liner to do the install. this piece has to be trimmed as well as its tool long on this new bumper. 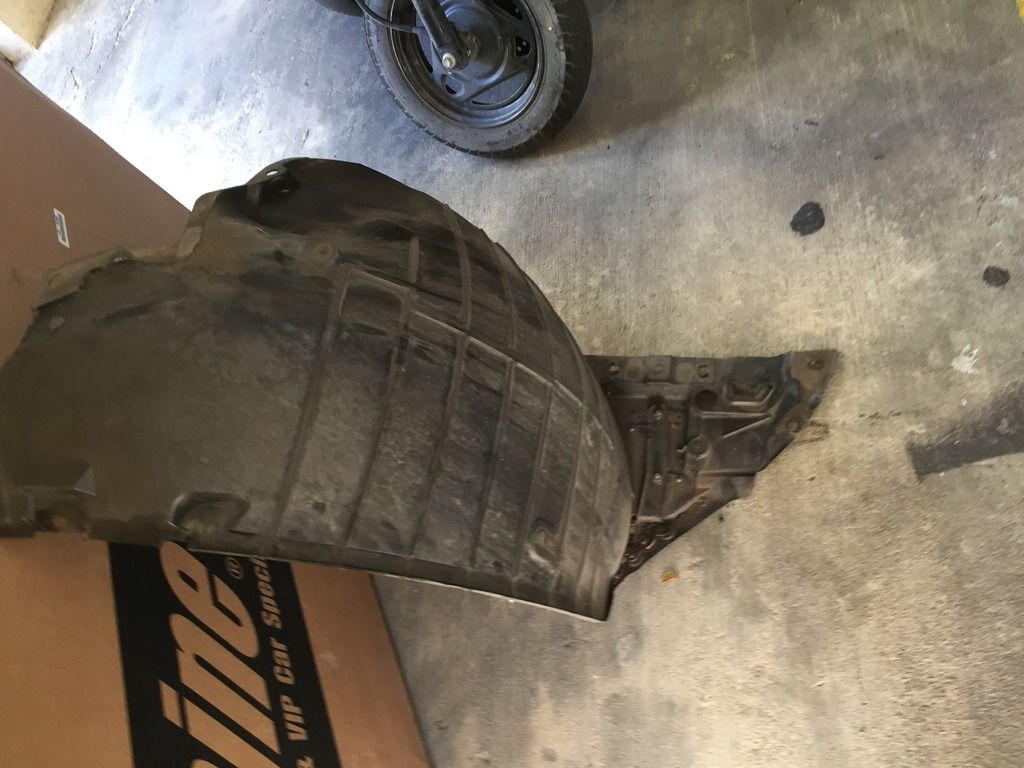 HEres the length you need to gauge and cut. 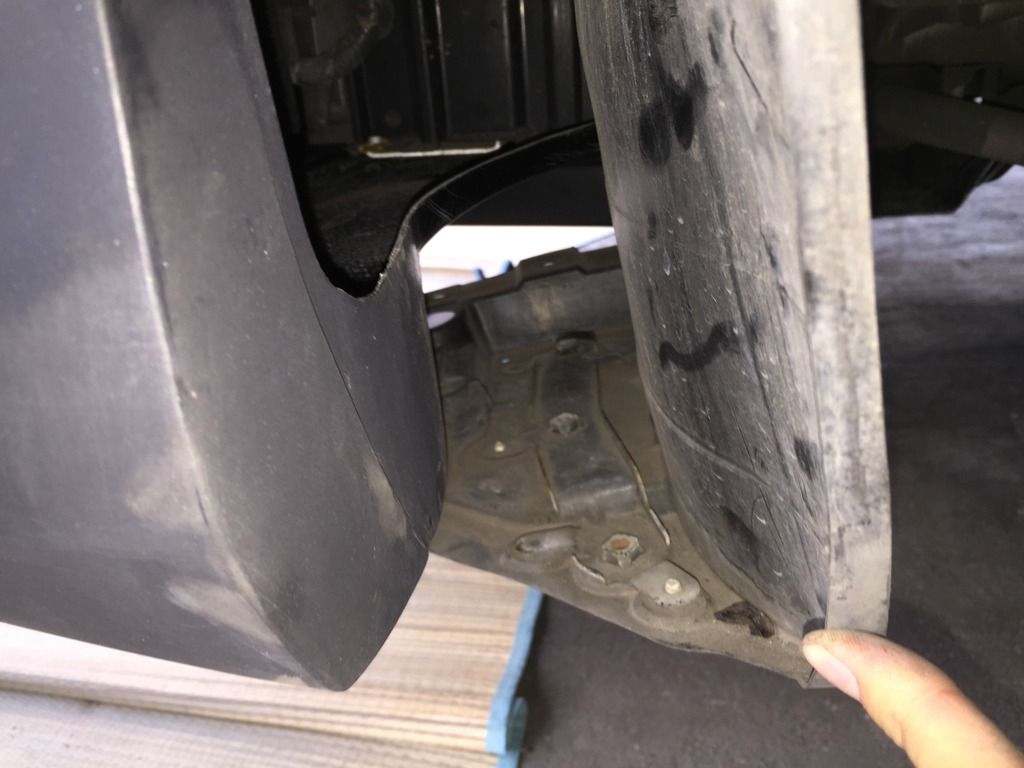 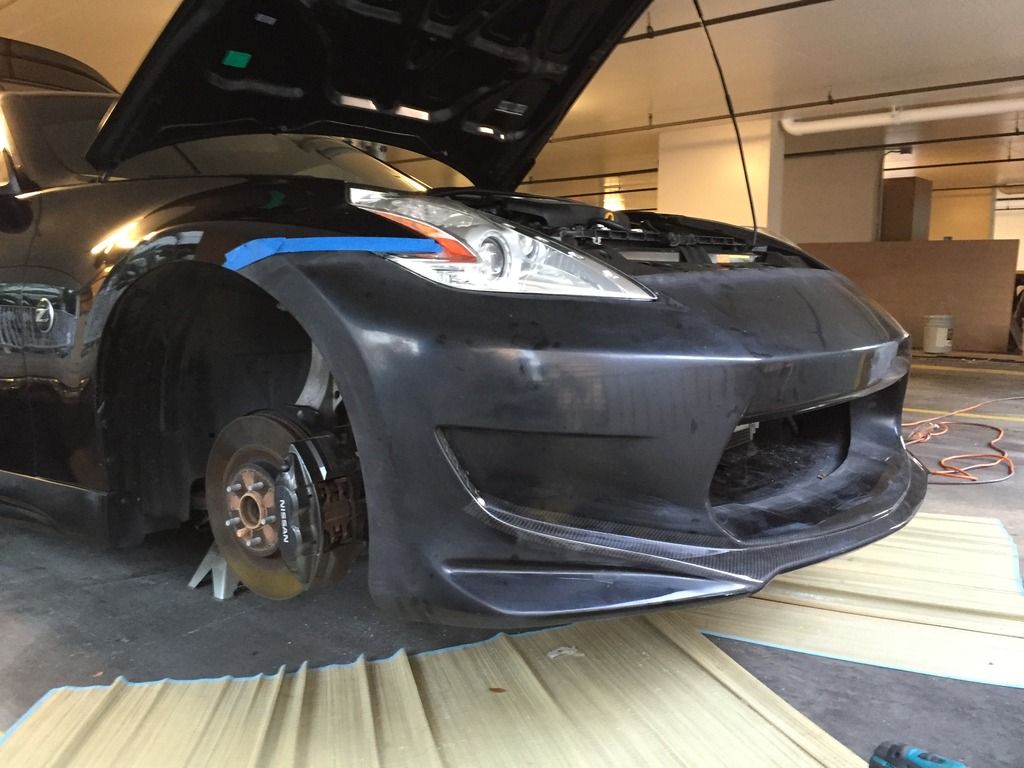 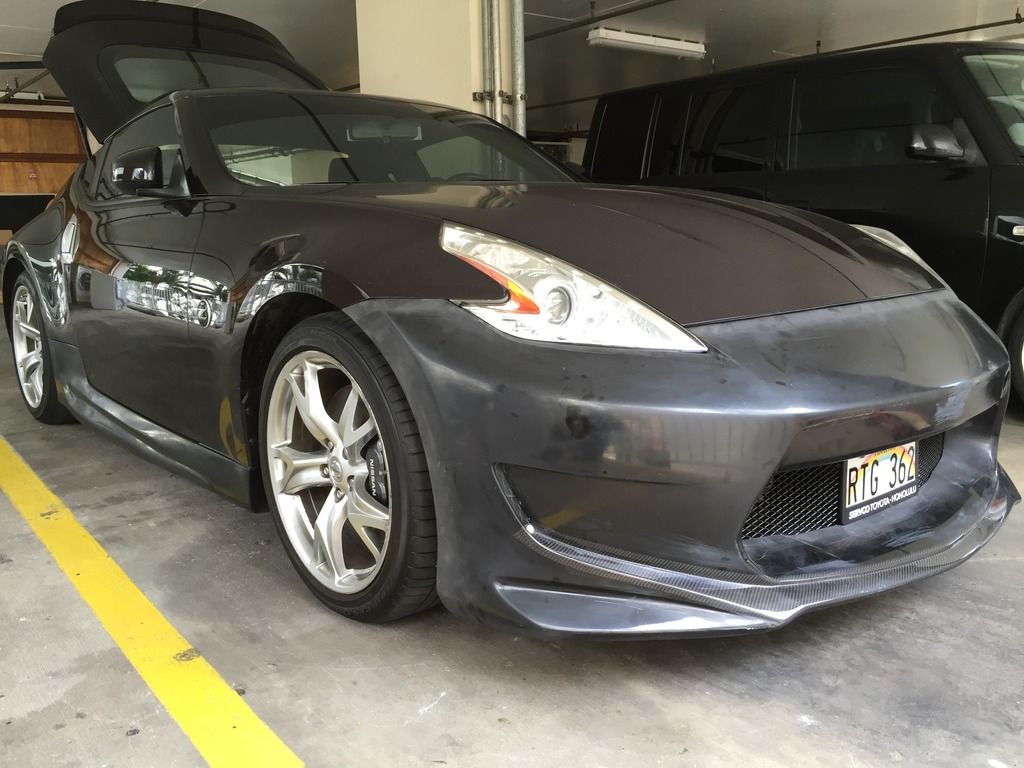 The bad news but should already be expected with any brand: 1. The holes along the center top that are held in with clips are pre drilled. i had to bore them out with a dremel to make them all fit good. Clips cover the entire hole so its all good. 2. Drilling the holes on the mounting locations on the underside below is a bit difficult. Screwing the bolts in was often a challenge to. 3. Doing testing and fitting by yourself is bad news, if you have a fellow friend, you should def ask. i have no friends so it was just myself. 4. The center mouth opening had to be trimmed, see above post about hitting bracket. 4.5: Cutting fender liner, while easy i didnt have to do that on my 350z Shine kit. oh well. 5. And the most irritating of all is having no low profile jack,Ugh. Almost forgot the good: 1. Fitment on area where bumper meets fender is excellent! The pre drilled square holes mount perfect, the main one hole with the screw that goes into the fender had to be enlarged a little bit but wasnt a big deal. The quality of the fit was very impressive. 2. Gaps along headlights, hood, fender is quite well. not 100% but very close. Perfection can be accomplished with patience and sanding but i was satisfied so didnt have to do any sanding. 3. Again the bumper has dimples in the mounting locations to give you an idea roughly where to drill. While these marks are not 100% perfect, it pretty daaaamn close. Very satisfied especially for the price as i cant afford authentic. Brah i stay broke, ai sus. Last edited by Daniel123588; 04-02-2016 at 01:32 AM. |
|
|

|
|
|
#27 (permalink) |
|
Base Member
Join Date: Dec 2015
Location: Hawaii
Posts: 192
Drives: 2012 370z sport
Rep Power: 10       |
Have had better days at work......had to handle the leak of the Panama Papers and the offshore accounts...damn.
Anyway, had some time to get a head start before i work on it tom. Couldn't find any really good bumper removal DIY surprisingly (than again all cars are generally the same). Here a simple walk through. 0.5. Take off the hatch rubber seal halfway to the top. 1. Take the interior panels off. See that one nut, its an 8mm, remove this. Hold the HL. 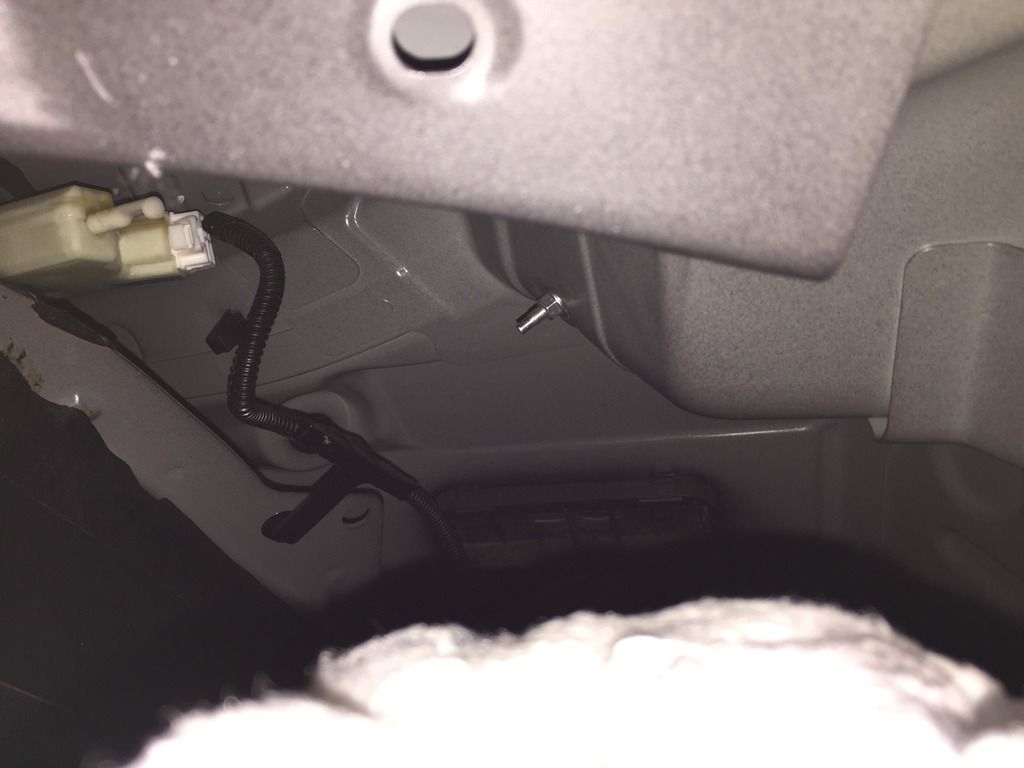 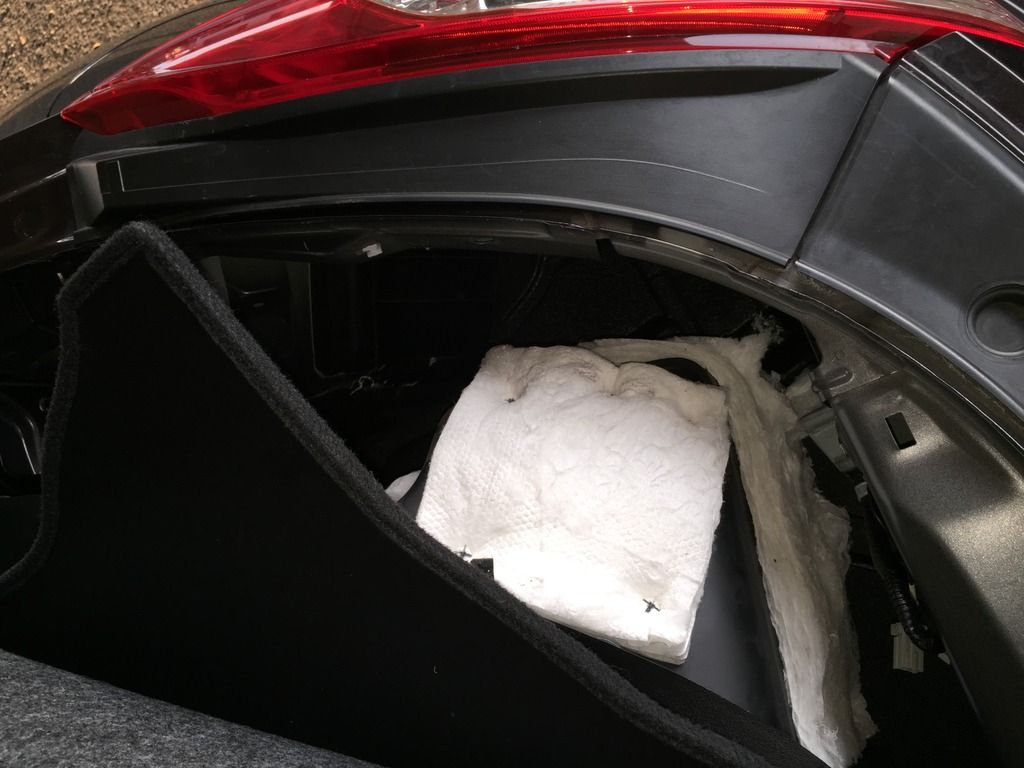 2. Take off the trim cover on the headlight. Take off the two 10 mm. 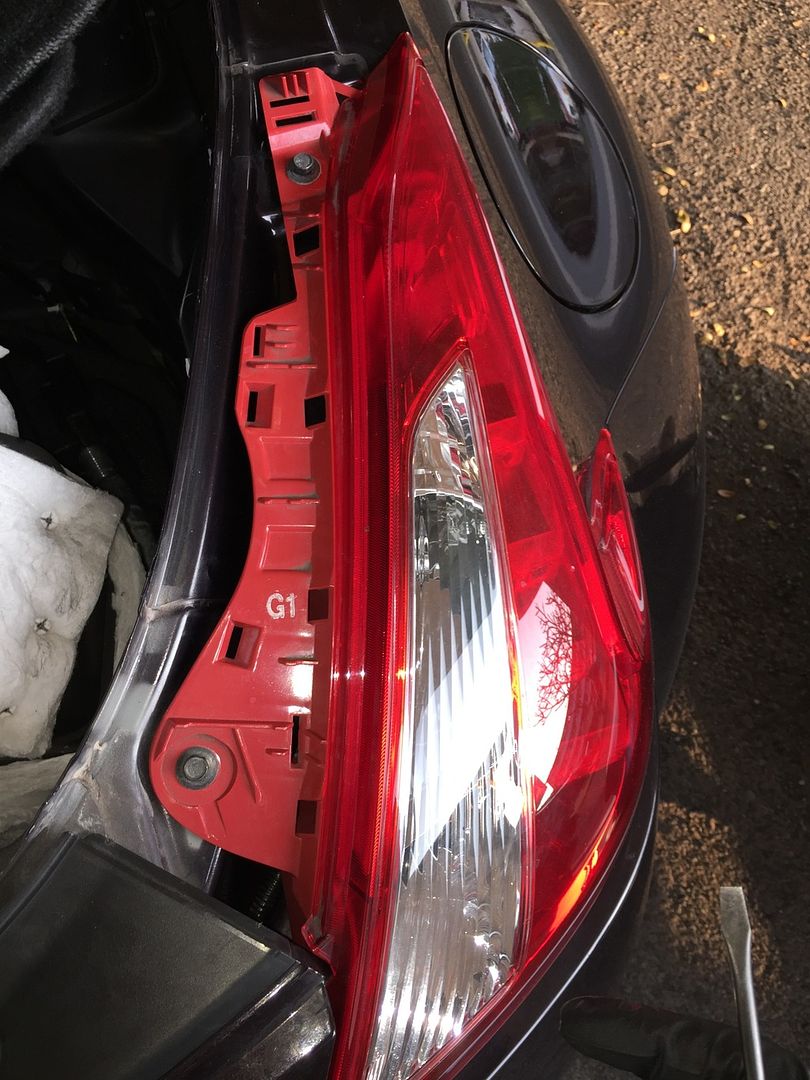 3. At this point you can take off the HL. You have to pull towards the rear of the car, there are two male plastic plugs. see pic. 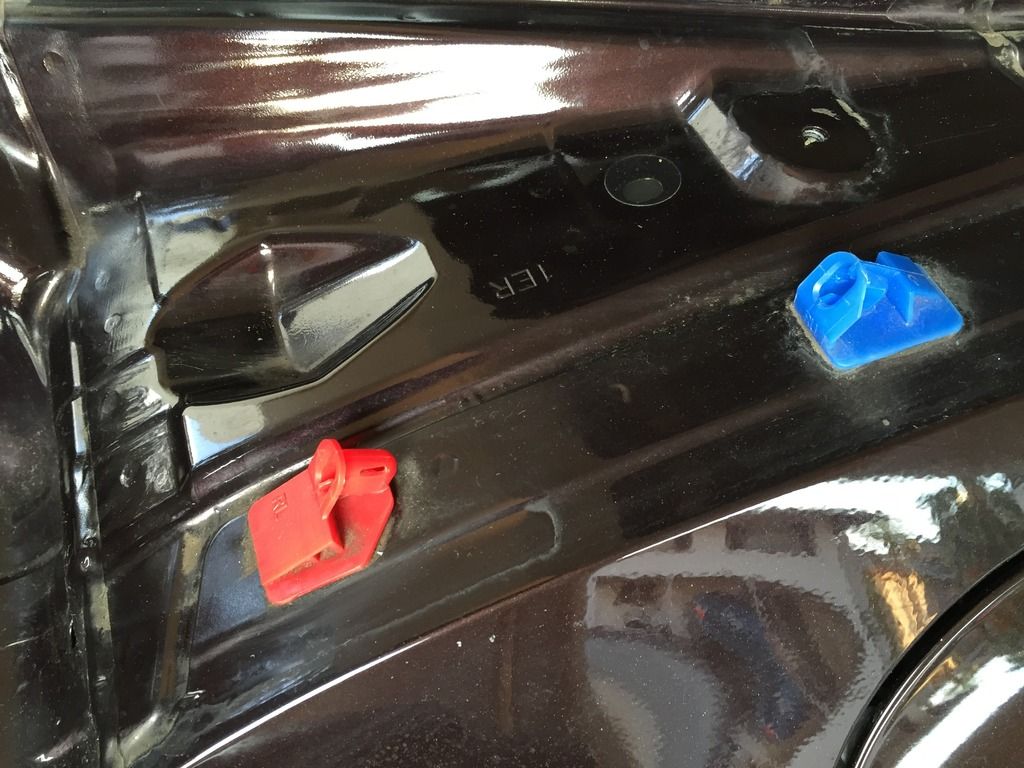 4. Take off there two black plastic clips. Holds the bumper. Others on the bottom right of the pic. Kind of cut off. I circled it with my hand. 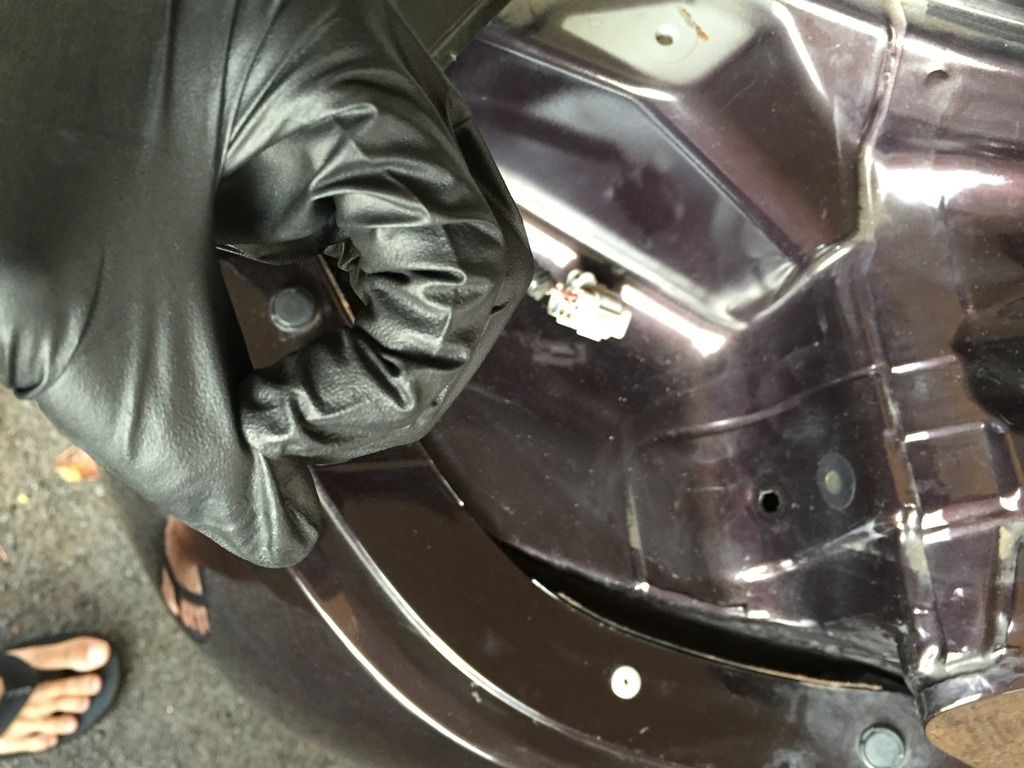
|
|
|

|
|
|
#28 (permalink) |
|
Base Member
Join Date: Dec 2015
Location: Hawaii
Posts: 192
Drives: 2012 370z sport
Rep Power: 10       |
Forgot what step already....blind....lol.
Remove this one 10mm under the bumper. Daaaaamn! look at those sexy hairy legs! 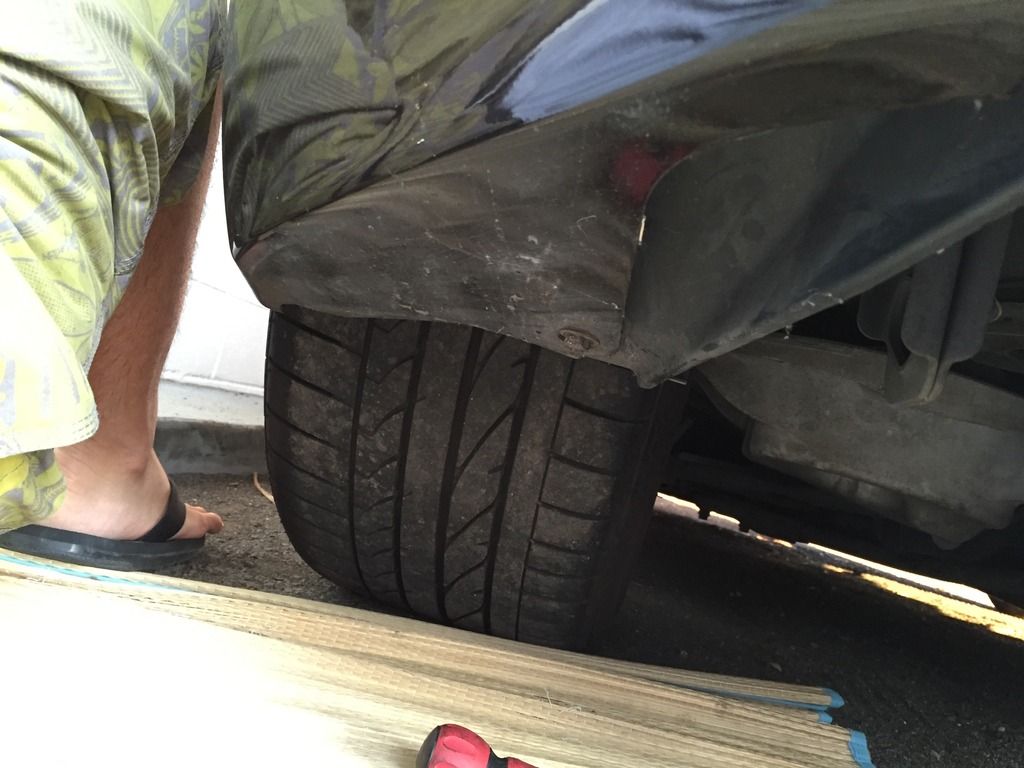 Take off this plastic clip. 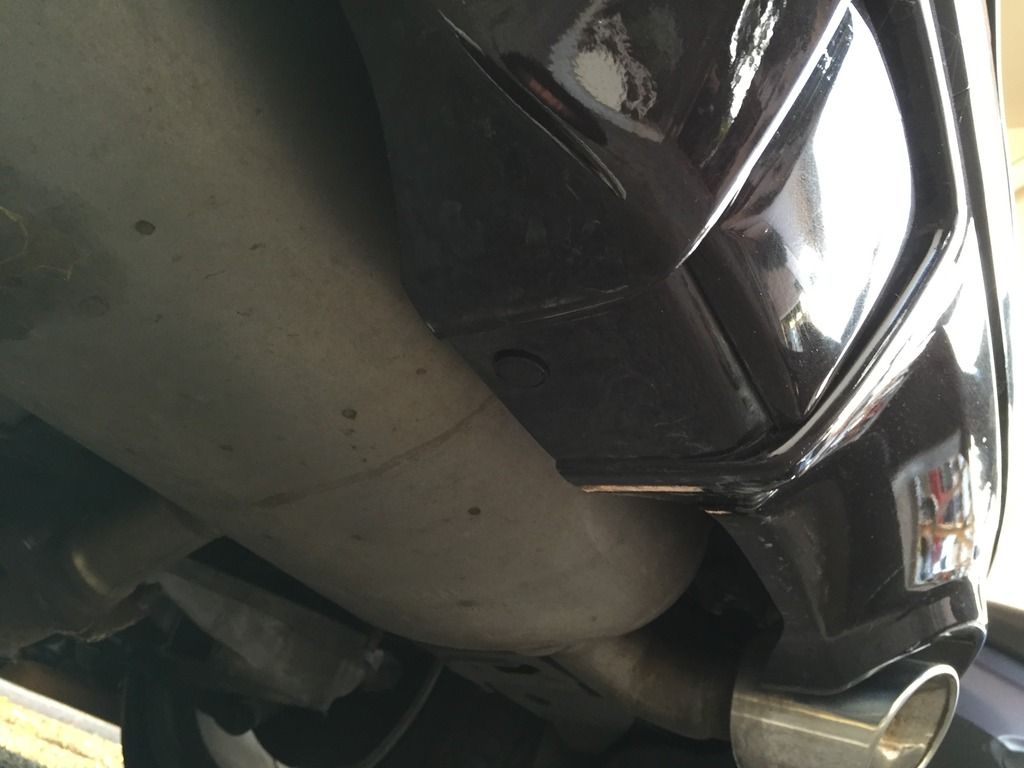 Now do everything you just did on the other wise of the bumper. Tail light, bumper clips and the 10mm under the car. The bumper has 2 last screws on the corner where they meet the quarter panel. Pull the fender liner by the rear tires (pulls super easy at this point) and you will see the screw on the corner. 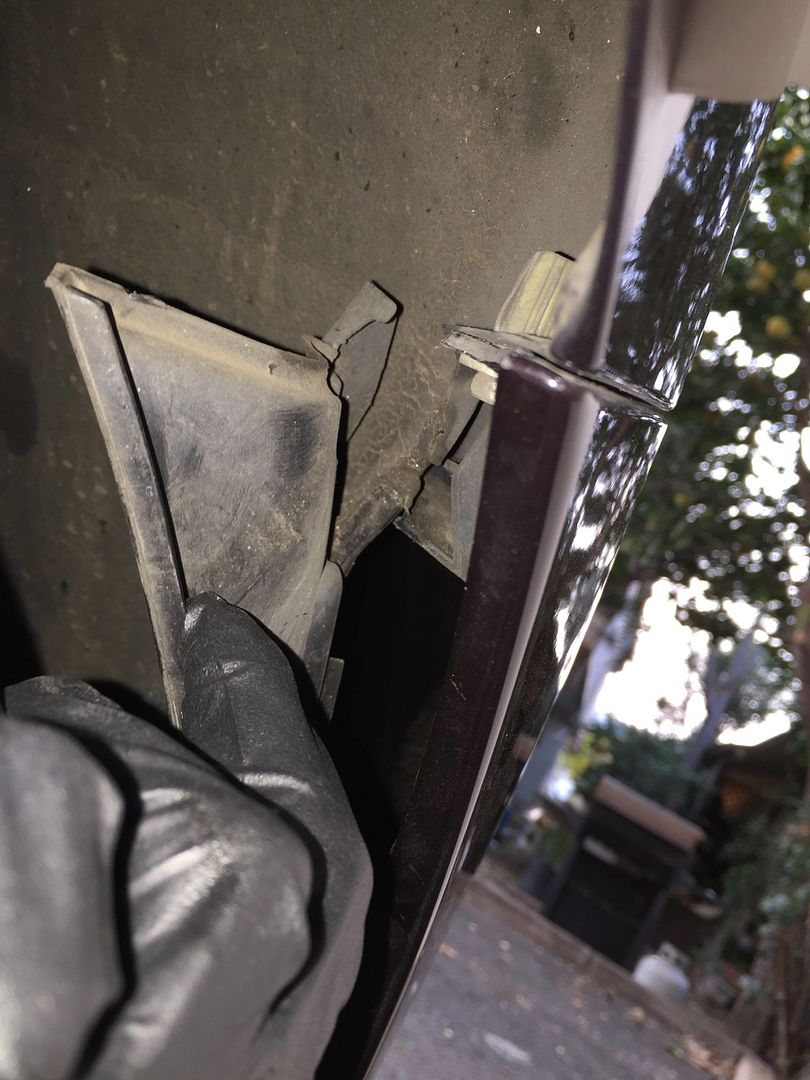 Do the same on the other side. Bumper is ready to be pulled off. Pull on the corners gently and it will pull out. See pic. 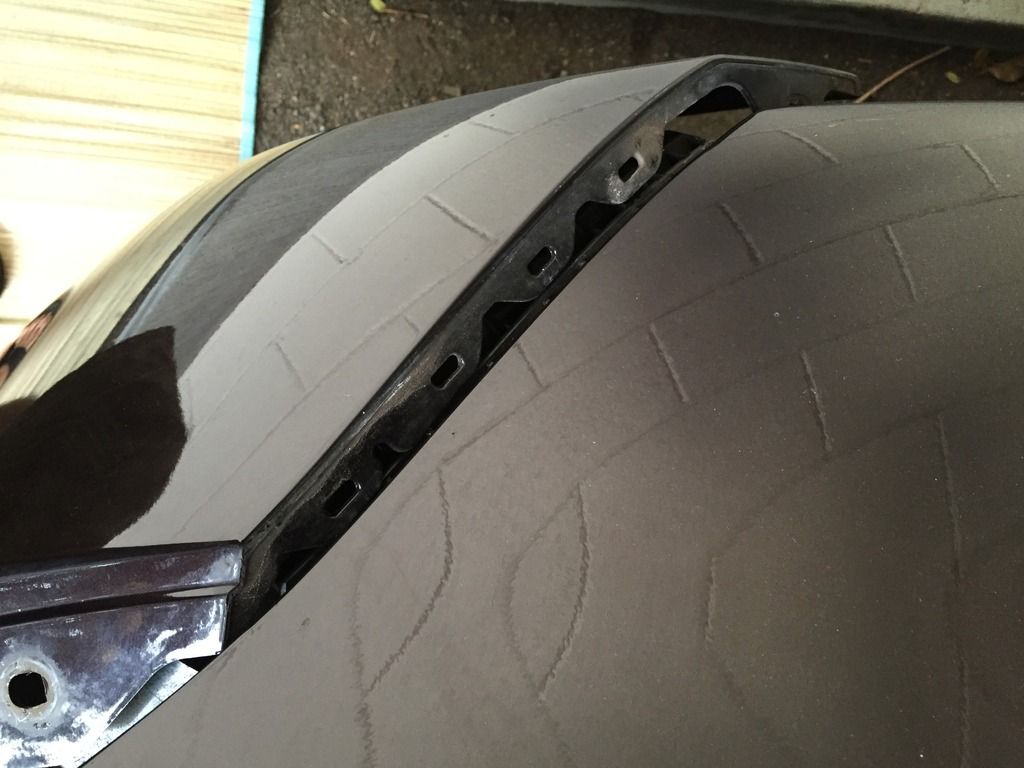 Take off the harnesses. I have a extra wire as i mounted a back up cam. I had to take off the center piece housing thats held on by 5 screws as its attached to bumper. 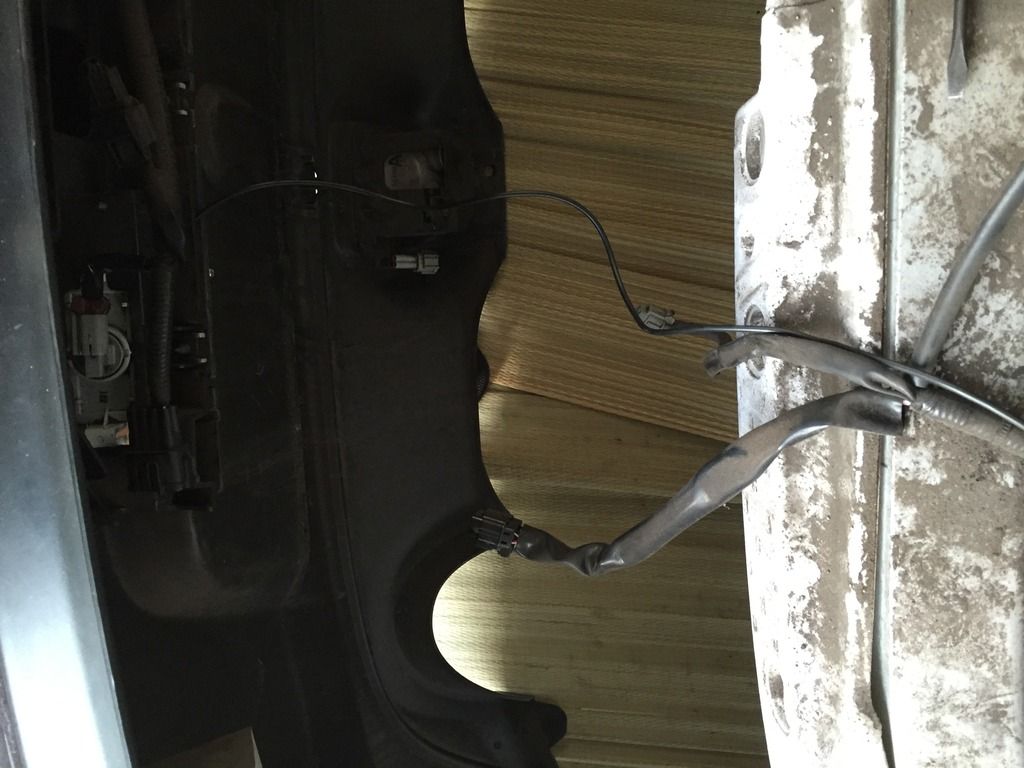 Heres the spat for test fitting. I already fitted and sanded this a few days ago before doing my side skirts to realize i need to take the bumper off to work better. It already sat pretty flush but i need it to be flush as possible. It fits pretty good even without sanding. 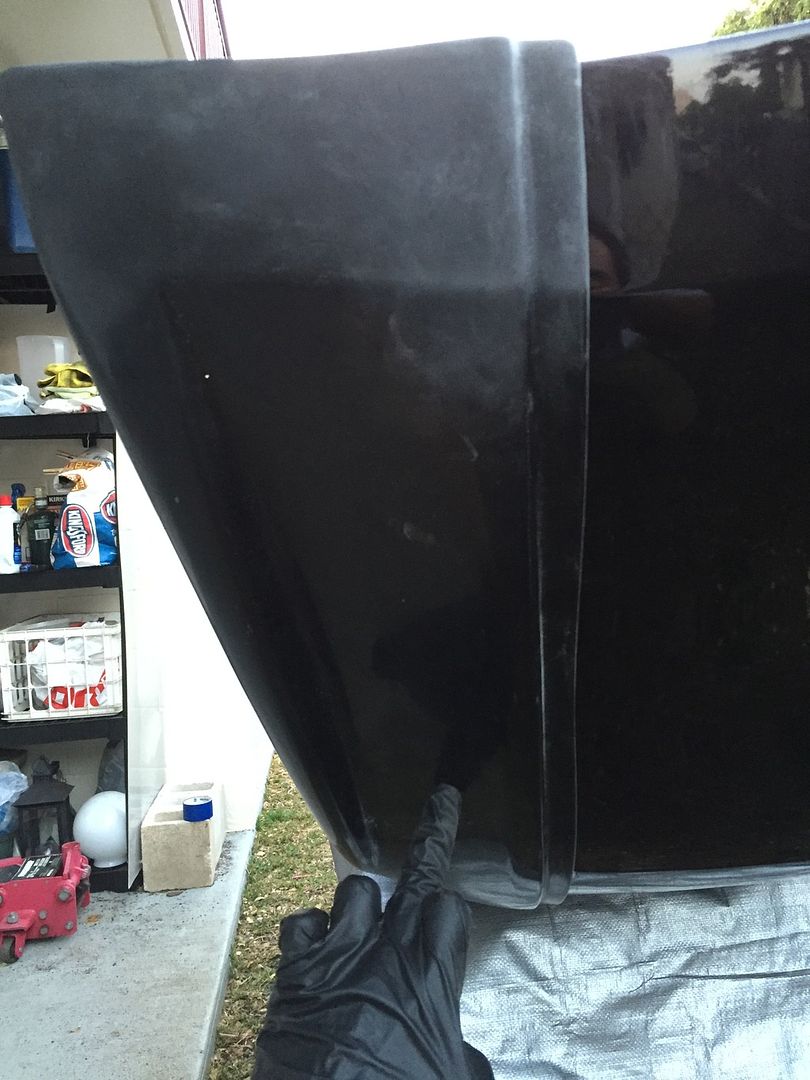
Last edited by Daniel123588; 04-05-2016 at 03:09 AM. |
|
|

|
|
|
#29 (permalink) |
|
Base Member
Join Date: Dec 2015
Location: Hawaii
Posts: 192
Drives: 2012 370z sport
Rep Power: 10       |
This is the area you need to make that bracket (if you want) as a mounting support.
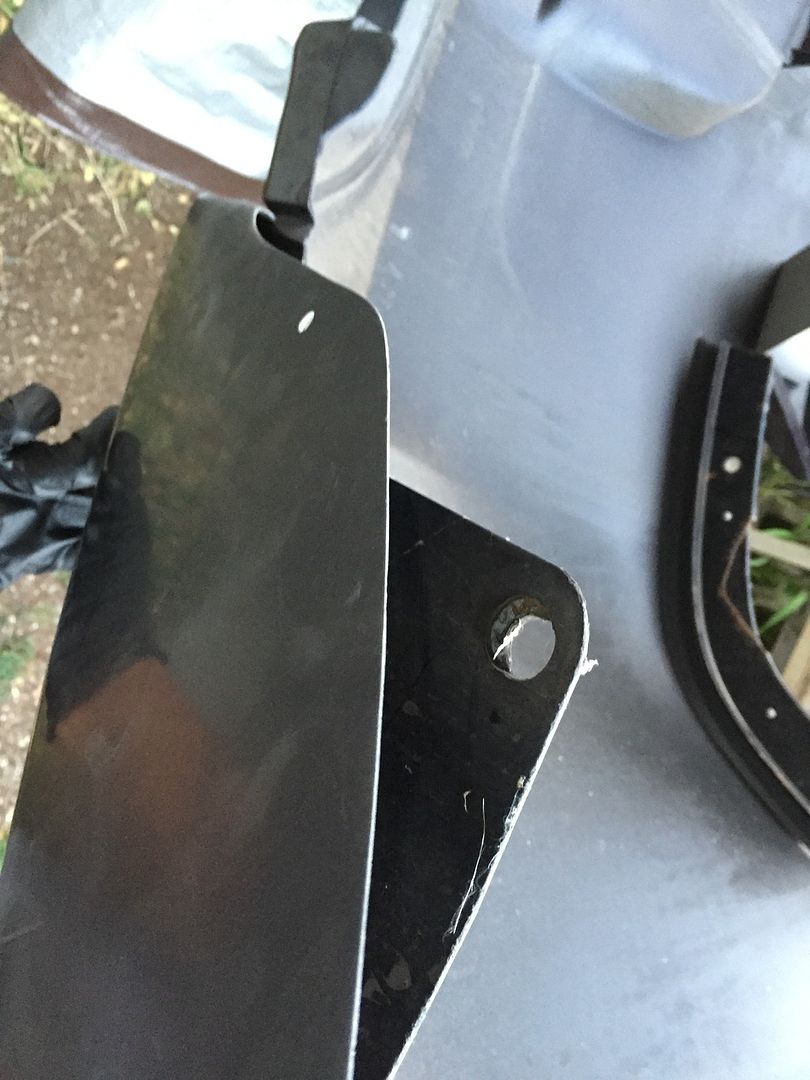 The wheelwell area. 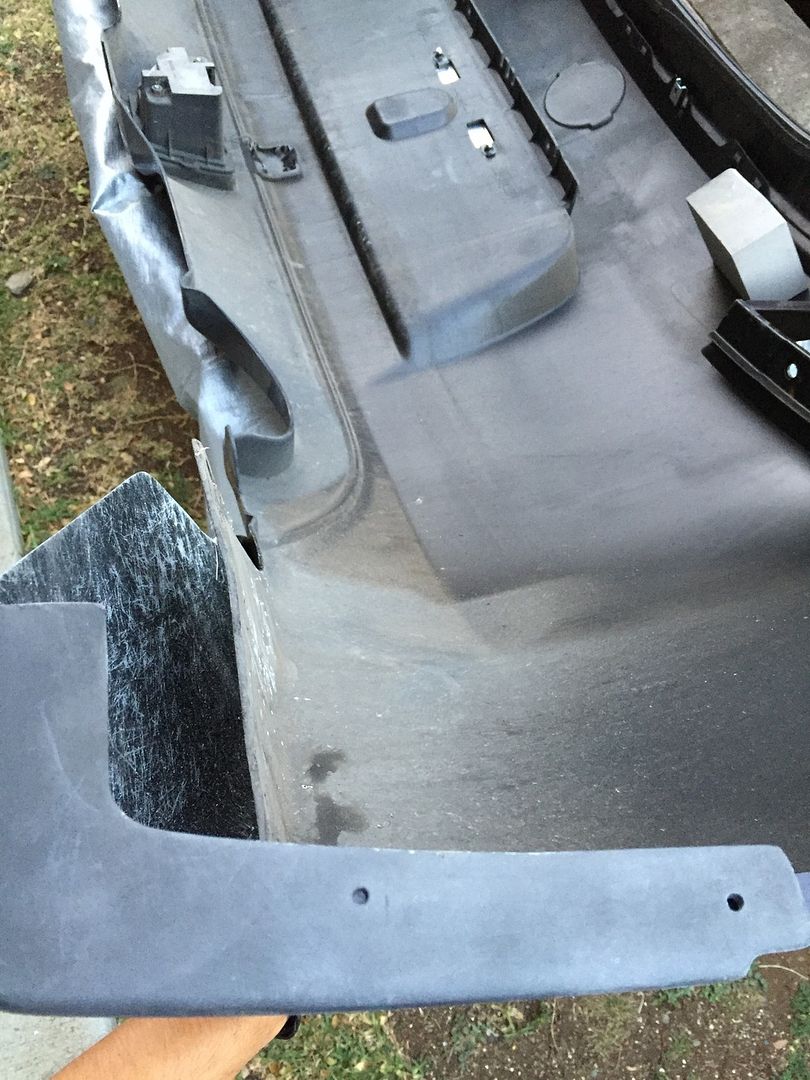 Da da di di diffuser. Fujimura too but the fitment is just OK, not perfect, i really feel i got a dud for some reason. Anyhow the reason why peoples diffusers start coming off even with a decent quality tape is it needs some sanding to sit more flush without having to press so hard to make it flush. This pic is diffuser just resting on top. I need to make sure to get the spats to match close as possible 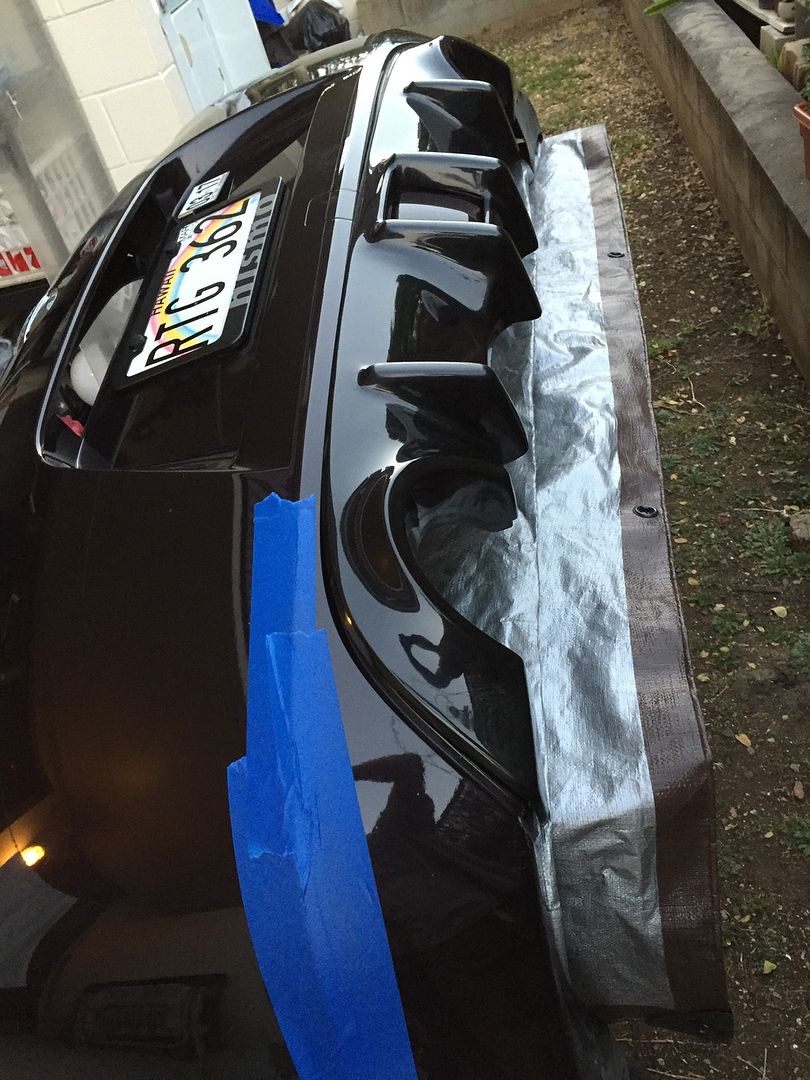 Speed screws to mount just one hole of the two to fiddle aroundwith fitment. Its surprisingly a bit difficult to get it exactly how you want it due to the curves. Pretty flush but its so dark outside already LOL i have a forehead flashlight. 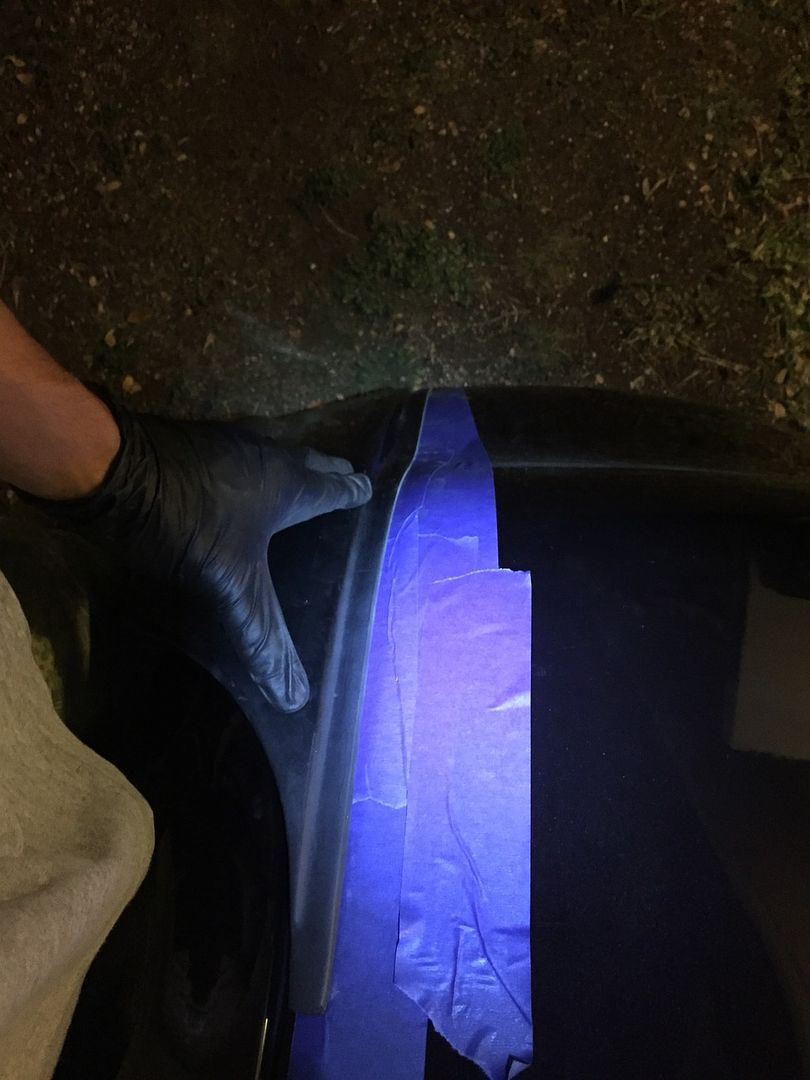 well thats it for tonight. ZzZzzzzzz |
|
|

|
|
|
#30 (permalink) |
|
A True Z Fanatic
Join Date: Apr 2012
Location: SoCal
Posts: 6,236
Drives: WELL ZED PW 6MT
Rep Power: 53241            |
Nice work documenting this for those who will be doing this in the future. I recommend using a u-spring nut to mount the mesh. Makes the job easier. It would also work nicely with the access door to the oil filter and plug. Cut out an Al frame to reinforce the fiberglass and hold it in place using silicone and the u spring nut onto the undertray . Make another Al cutout to cover the access door secured by 4 u spring nuts and bolts. Hope this suggestion is clear.
__________________
 >MyZ's Album< NISMO Convert/ECUTEK/Takeda CAI/F.I. HFC NR CB Carbon/F.I. 34 Row Oil Cooler/4.08 Final Drive /Powertrix+Swifts/Hotchkis/SPL/Whiteline/TWM/Zoom Engineering/EVO-R/AeroJacket Vented CF Fenders + CF Spoiler/Avant Garde-WORK/NST/Morimoto Halo/STi Clear Lenses/Carbon Signal Automotive/RJM Performance/ZSpeed Clutch Flywheel CSC delete
|
|
|

|
 |
| Bookmarks |
|
|
 Similar Threads
|
||||
| Thread | Thread Starter | Forum | Replies | Last Post |
| [FOR SALE] New Shine Amuse rear bumper | raffenblackma | Parts for sale (Private Classifieds) | 24 | 03-01-2016 05:57 AM |
| Fly1 or Shine Amuse? | amusez34 | Exterior & Interior | 8 | 12-16-2014 08:59 AM |
| [FOR SALE] Amuse rear (shine auto) | jewnbug | Parts for sale (Private Classifieds) | 7 | 07-05-2014 11:09 AM |
| [WTB] WTB Shine/Aerojacket Amuse rear | TonyZ34 | Parts for sale (Private Classifieds) | 16 | 01-23-2014 05:44 PM |
| Shine Amuse style body kit. | LCR Autowerks | Body Interior/Exterior | 78 | 03-15-2013 10:10 AM |