
|
This applies to the oil cooler supplement for the GTM Supercharger kit where the oil cooler is mounted in the driver side of the front bumper. This does NOT apply
|
|||||||
|
|
LinkBack | Thread Tools | Display Modes |
 04-18-2012, 10:19 AM
|
#1 (permalink) |
|
Enthusiast Member
Join Date: Apr 2011
Location: The 49th State
Posts: 296
Drives: NISMOSIS
Rep Power: 15   |
This applies to the oil cooler supplement for the GTM Supercharger kit where the oil cooler is mounted in the driver side of the front bumper. This does NOT apply to those who are not FI'ed and have their oil cooler mounted in front of the radiator. This DIY is for those who have a FMIC and had to put their oil cooler in a less than desirable mounting location.
This DIY adds a fan to force additional air flow over the oil cooler. I had already vented the fender liner so the hot air can escape. Since I installed a louvered section, the exiting air is forced downward rather than directly towards the tire. GTM also sells a vented fender lining as well, but it does not fit the NISMO version unless they have started selling a NISMO version. EDIT GTM does have a NISMO version, you just request it in the notes on the order. As with all DIY installs, you are responsible for your own work. This one is not that hard but does involve wiring and the battery. I am not responsible for damage to yourself or your vehicle. As with everything, there are multiple ways of accomplishing the same goal. This is just how I installed mine and is just a rough DIY. Parts Required
Fan mounting brackets and fan strap kit Fan control temperature switch rather than a rocker switch Flex nylon wire loom Various size heat shrink tubing / heat gun Wiring for the relay (4 wires)
Wiring for Fan (2 wires)
Wiring for the Rocker Switch (2 wires)
Short directions Jack up the car and put on jack stands Remove the driver side wheel, fender lining, and engine undertray Remove the front bumper. I did not but would have given me a lot more room to work. Mount the fan using your choice of brackets Find a good spot and mount the relay Wire up the relay including a rocker switch or temperature switch Test the fan control Pictures Picture of the SPAL 6.5" fan 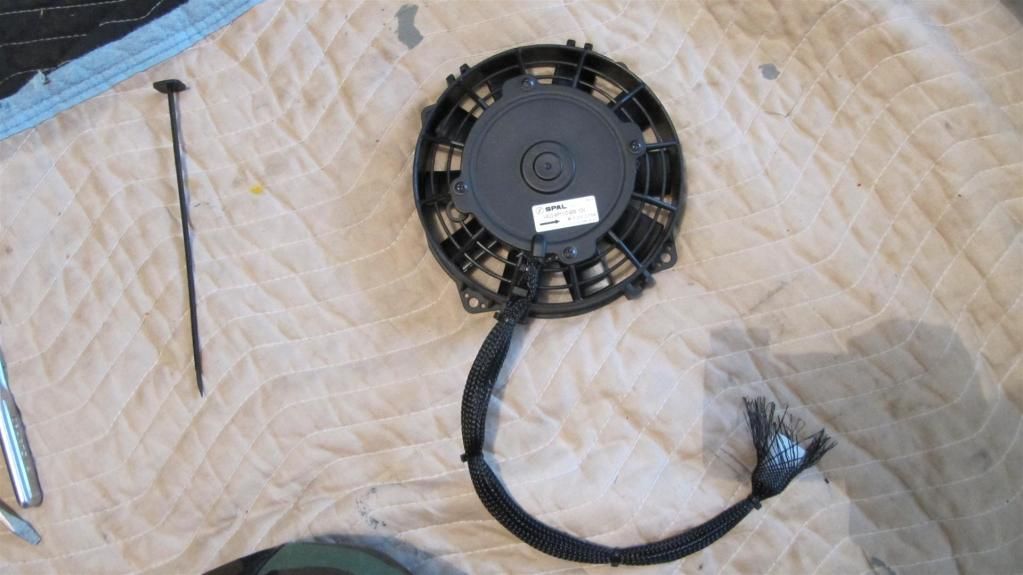 Or you can use the 7.5" version. Comparison of 6.5" and 7.5"  This is the front of the oil cooler and mount spot 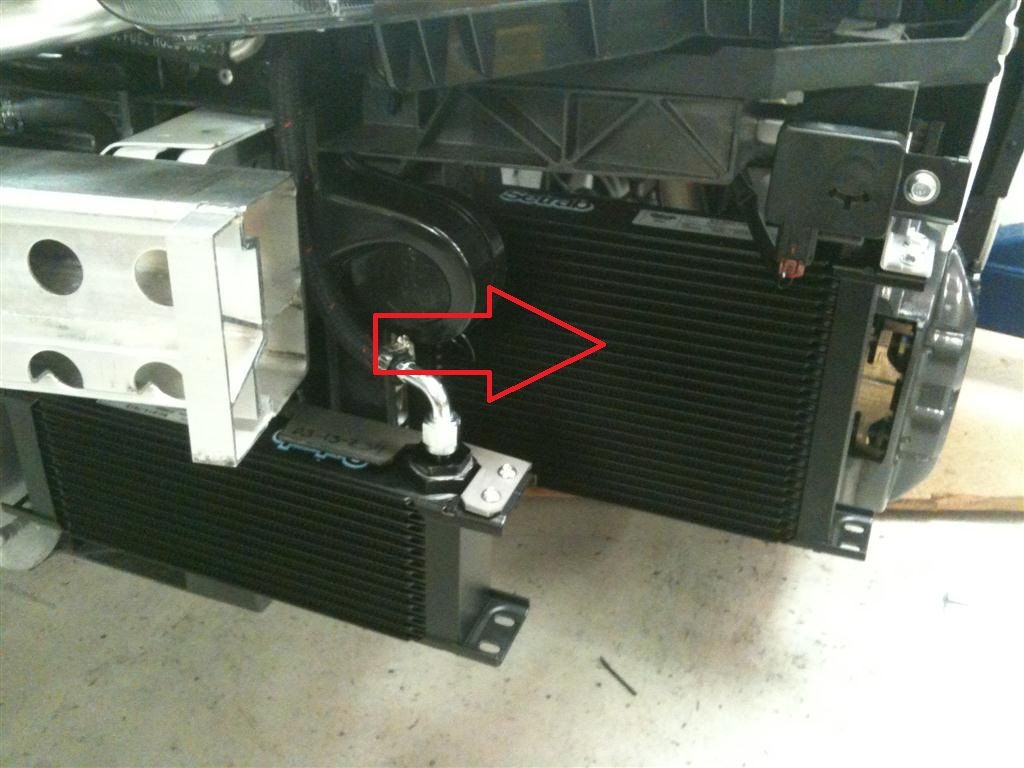 EDIT I replaced my original 6.5" with the 7.5" version  This is the back of the oil cooler 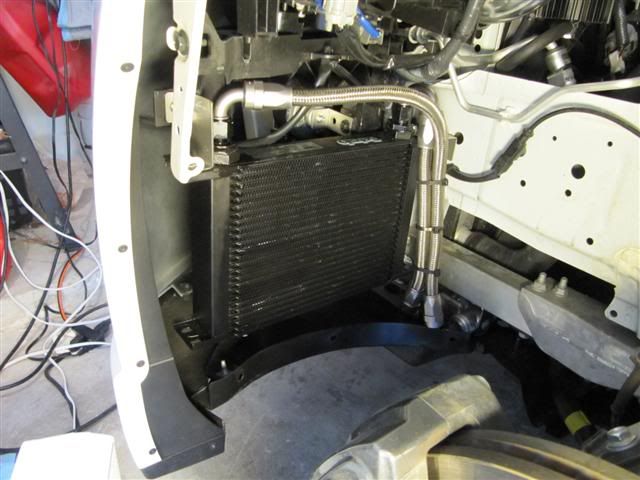 Picture for the relay and wire colors 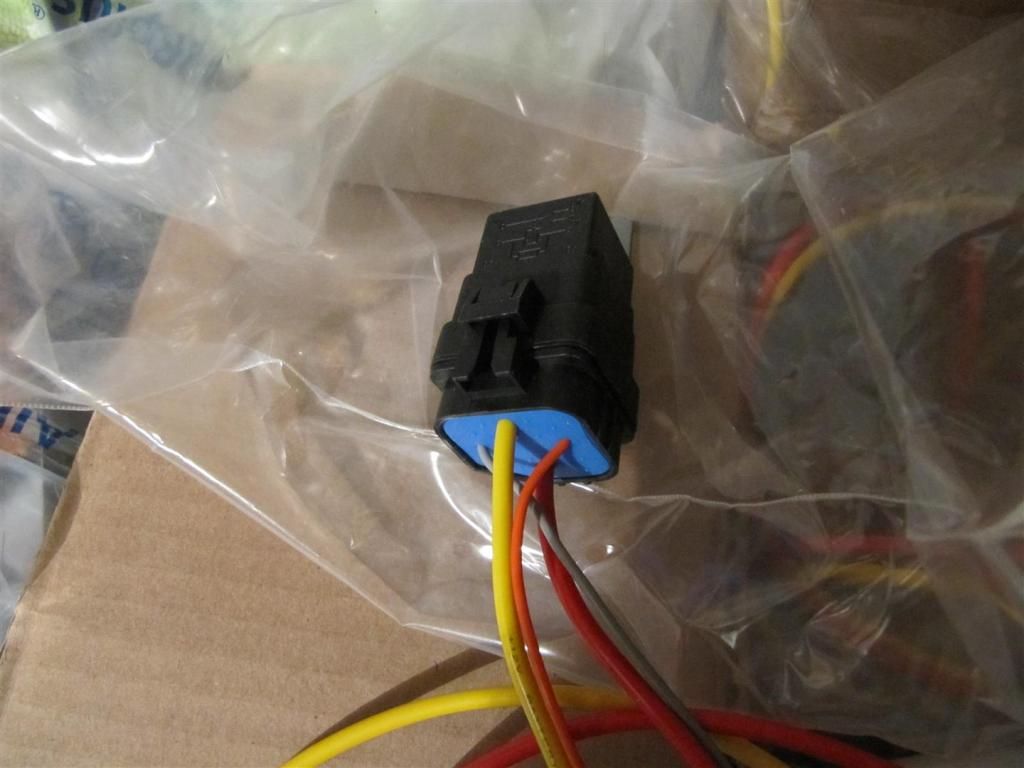 Photo from Zat_Zuma shows how the fan looks mounted. I could not get a picture because I did not remove the bumper. 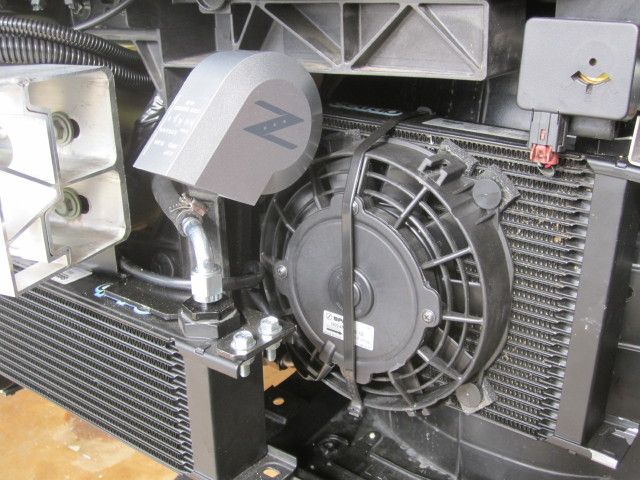 Picture showing the rocker switch 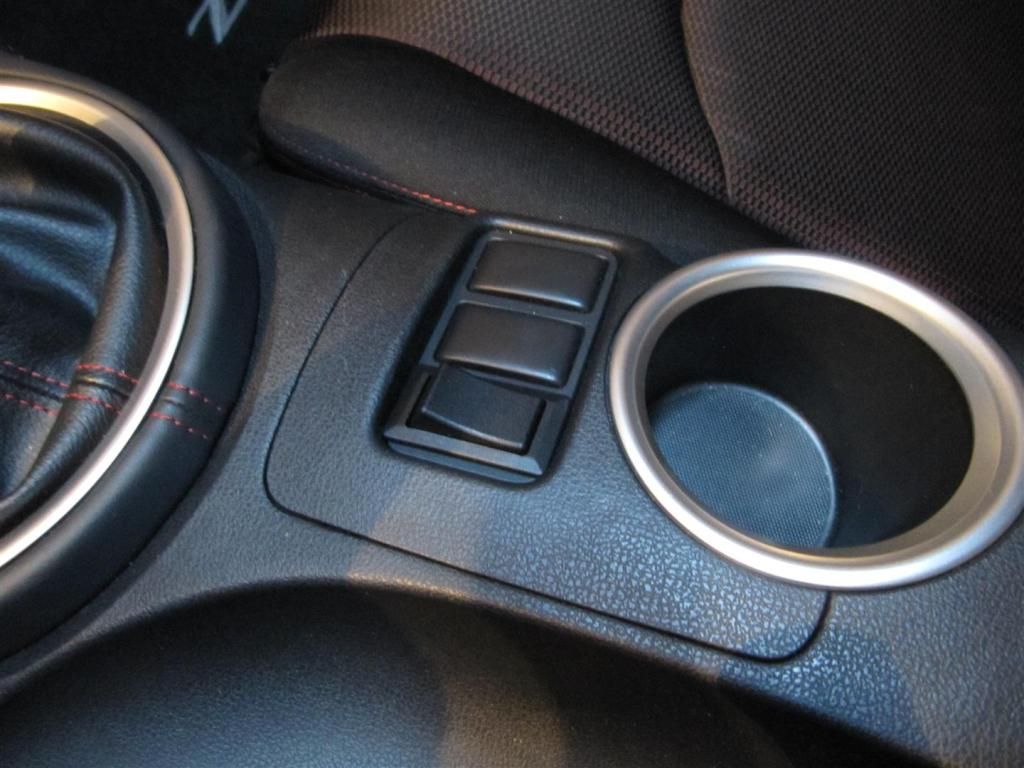 Photo of my vented fender lining, here is my DIY on that mod. You can also buy a vented fender lining from GTM now. 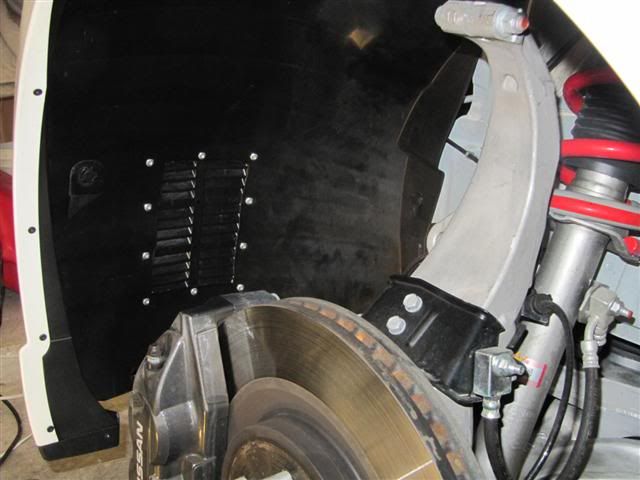 Misc I know that Baer383 used a fan switch from Summit Racing to control his fan. 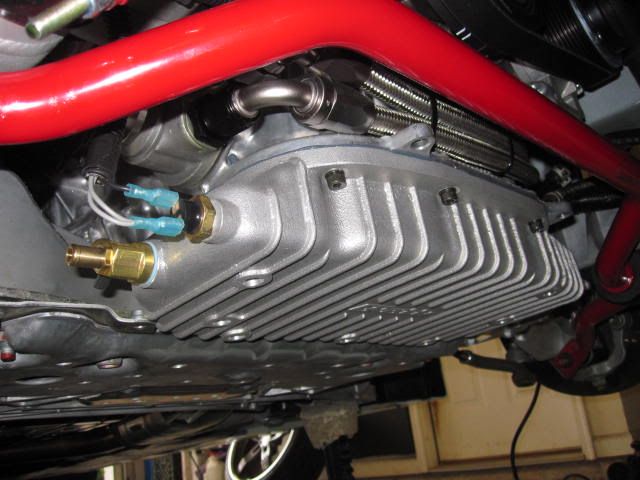 I bought these pucks and they work perfectly on the Z. 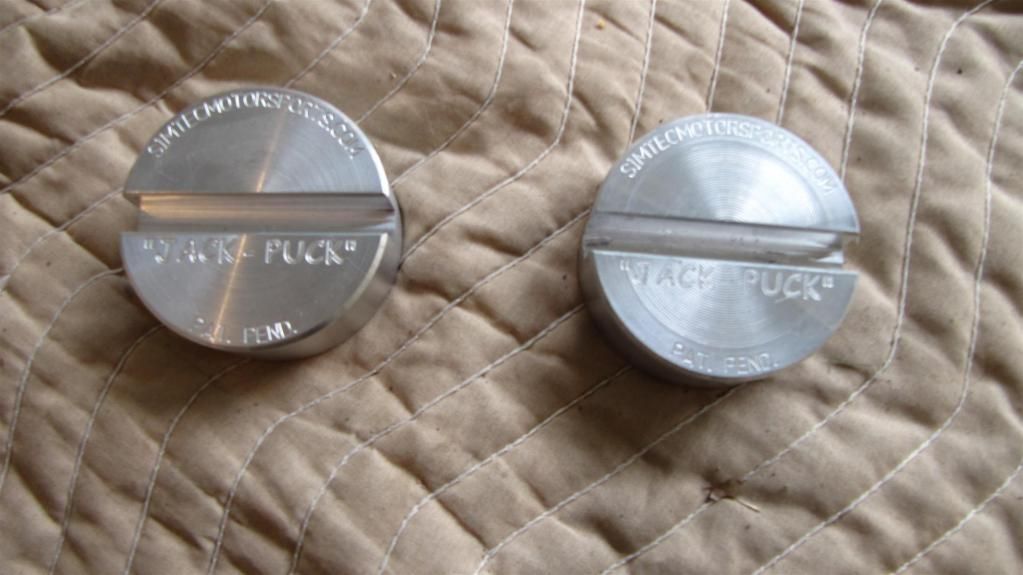 I have not really had a lot driving time to rate the fan but it does push a lot of air over the cooler. Oil cooling efforts so far:
Hopefully someone will find this helpful. Thanks to Zat_Zuma and Baer383 for the tips, help, and some of the pictures. Last edited by wind.zero; 04-20-2013 at 03:35 PM. Reason: Updated with larger fan option |

|

|
| Bookmarks |
|
|
 Similar Threads
|
||||
| Thread | Thread Starter | Forum | Replies | Last Post |
| [FOR SALE] 1 Tpms from 09, iphone proclip mount and Escort stealth cord and mirror mount | Danny3.7 | Parts for sale (Private Classifieds) | 5 | 12-02-2012 11:13 AM |
| DIY: Fender Lining Vent for Oil Cooler GTM Supercharger Stage 1 on NISMO | wind.zero | DIY Section (Do-It-Yourself) | 14 | 04-19-2012 02:49 PM |
| [FOR SALE] Setrab Oil Cooler Mount | MattP725 | Parts for sale (Private Classifieds) | 12 | 03-18-2012 07:43 PM |
| Xoom Mount: Ram Mount Review. | AdobePhil | Exterior & Interior | 14 | 02-02-2012 05:30 PM |
| VPP 4.3% Off Invoice plus additional $1,000 off? | 370Z JT | Nissan 370Z Pricing / Ordering Discussions | 18 | 03-24-2010 11:58 PM |


 1Likes


 Threaded Mode

