
 |
OK... hey everyone since quite a few of you requested this ill write it up... alright here goes... BEFORE AFTER FIRST off i just want to let everyone know... opening
|
|||||||
 |
|
|
LinkBack | Thread Tools | Display Modes |
|
|
#1 (permalink) |
|
A True Z Fanatic
 Join Date: May 2009
Location: Dededo, Guam
Posts: 6,642
Drives: solid red 370z 6mt
Rep Power: 405            |
OK... hey everyone since quite a few of you requested this ill write it up... alright here goes...
BEFORE  AFTER 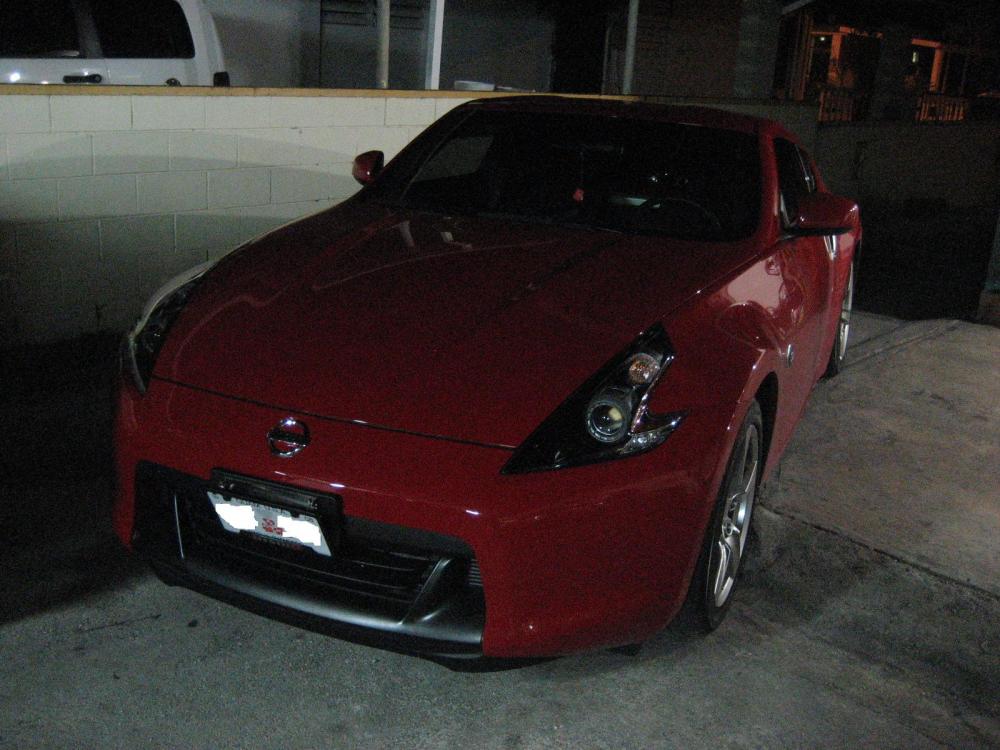 FIRST off i just want to let everyone know... opening your headlights is really really scary if your not patient enough and you pry it to soon ull damage ur headlight.... This is actually my first time using the heat gun method on opening headlights so if i can do it you can do it... I usually use the boiling water technique really great!!! you dont warps on the plastic and its more clean.... the reason why i didnt do this technique is cuz well... i dont have a pot that huge... that technique is good for hondas cuz there headlights are tiny ok anyways.... the advantage of heat gun method? you dont have to remove the harnesses if you dont want to.. and the heat is directed only to were u point the heat gun... my friends do the oven technique also and it works great too but... i was super clueless in this technique thats why i didnt do it this way... The tools you will need is as follows... HEAT GUN SILICON SEALER FLAT HEAD SCREW DRIVER CAN of satin black KRYLON FUSION!!!! (highly recomended no sanding!!! or prep) and color you wish to paint your accents... you can color match your body if you want... Before anything first remove your headlamp... below is a link to the removal of your headlights... created by digitonium DIY: Headlight Removal please note: due to frustration and fatigue... i sort of didnt take a lot of pics during the process... soo this is mainly gonna be a write up... i only have a couple pics... STEP 1 SEPERATING the lense from the housing (hardest part) after you remove your headlights.... remove the phillip screws in the back of it holding it together.... now carefully start heating up the sealant on the headlight... now when its hot enough try carefully sticking your flat head in between the gap and prying slowly... if it moves just a lil then your doing it right... if not... then its proly not hot enough so heat that sucker good... ok when you are prying... first start prying from the bottom of the headlamp...then work your way around your headlamp... breaking the seal is the hardest part.... but once u hear that crispy glue sound and u see u have a gap then ur life gets a whole lot easier... please note do the boomerang area LAST the reason for this is that the ample amounts of sealant is mainly on the top and on the bottom... the boomerang area has very little.... so you guy get the idea... HEAT it up pry PRY PRY PRY keep prying... dont rush or else u might crack ur headlamp lense... once ur able to separate the housing from the lense... there will be 3 phillip small screws holding the lense and the chrome housing together... unscrew them and pull the chrome housing up and away from the lense.... STEP 2 Take apart the chrome housing.... Now that you have the chrome housing out... begin to remove all of these things... 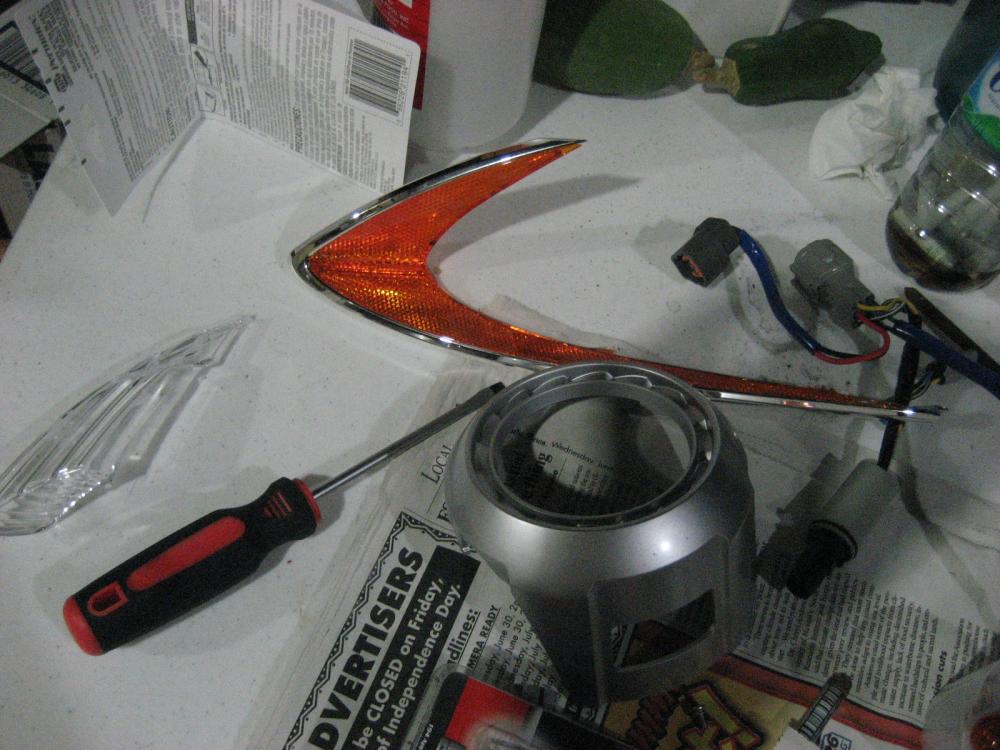 unscrew all the screws in the back of the and pop everything out... the order to take it out is take out the clear lense below the amber reflector first... then the amber reflector... (u will the tab of the amber reflector if you try to take it out b4 u take out the clear lense....)then the big round silver thing and then the turn signal lense cover.... Step 3 Painting the housing Now i recommend KRYON FUSION satin but you can choose any color u want... but just make sure u use the brand krylon fusion this is because its meant for painting plastics... if you use any other spraypaint it may not stick and peel off.... Do 3 coats of the satin black on your headlights.... WAIT!!!! 10 mins in between coats!!!! u dont want the paint to be wet inside then when u touch it when ur putting back ur headlights together ull have a ugly fingerprint on it... 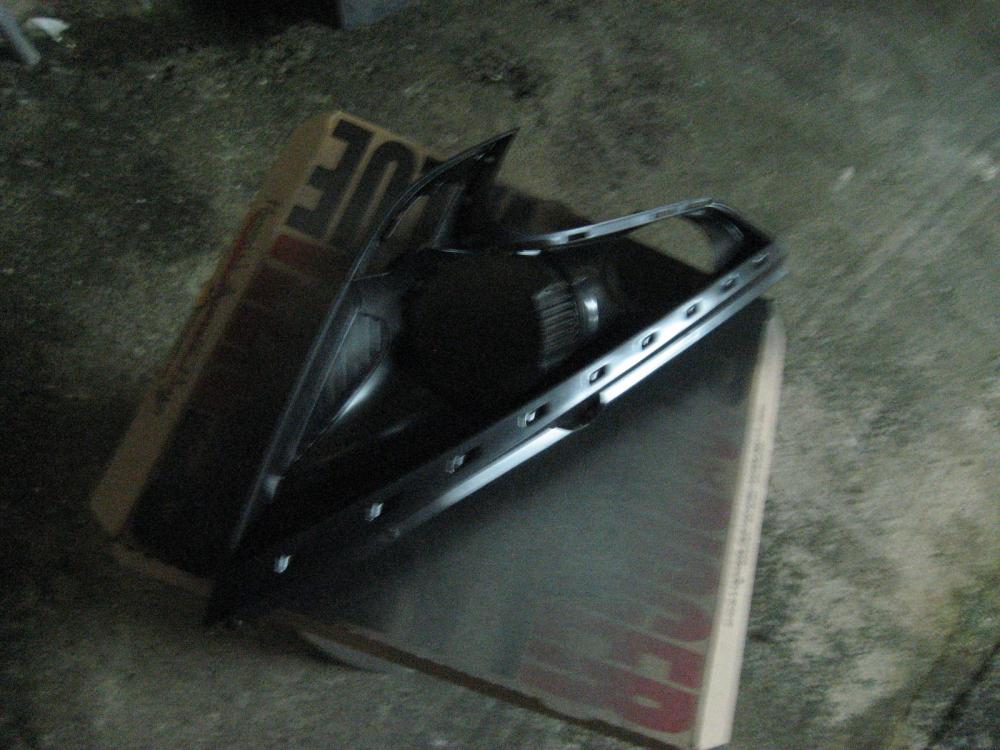 now for the accent pieces the two silver peices u can color match it to ur car or leave it silver... the way i did mine was i actually painted it a gun metal so it woudnt be so brite silver... i was tempted to color match but im thinking long term what happens if you change the color of ur ride... ur gonna have a green car with red accents on the headlight? lol yuck  Be creative and paint ur housings the way u want to... when your done wait till the parts are fully dry and put everything back together.... PLEASE NOTE!!!! and i cant stress this enough WHEN YOU ARE PUTTING THE HOUSING U PAINTED BACK WITH THE LENSE MAKE SURE THERE IS NO FINGER PRINTS ON THE INSIDE OF THE LENSE OR ELSE THEYLL BE THERE FOREVER... Step 4 Resealing your headlights... When everything is done and put back together its now time to reseal ur headlights... this is the most CRUCIAL part.... if you do this part wrong ull have moisture in ur lights and over time it will be a swimming pool in ur headlight so be very tedious when doing this part... ATTENTION to DETAIL...... first scrape off the old sealant.... and clean the passages of where the new sealant is going to be applied.... 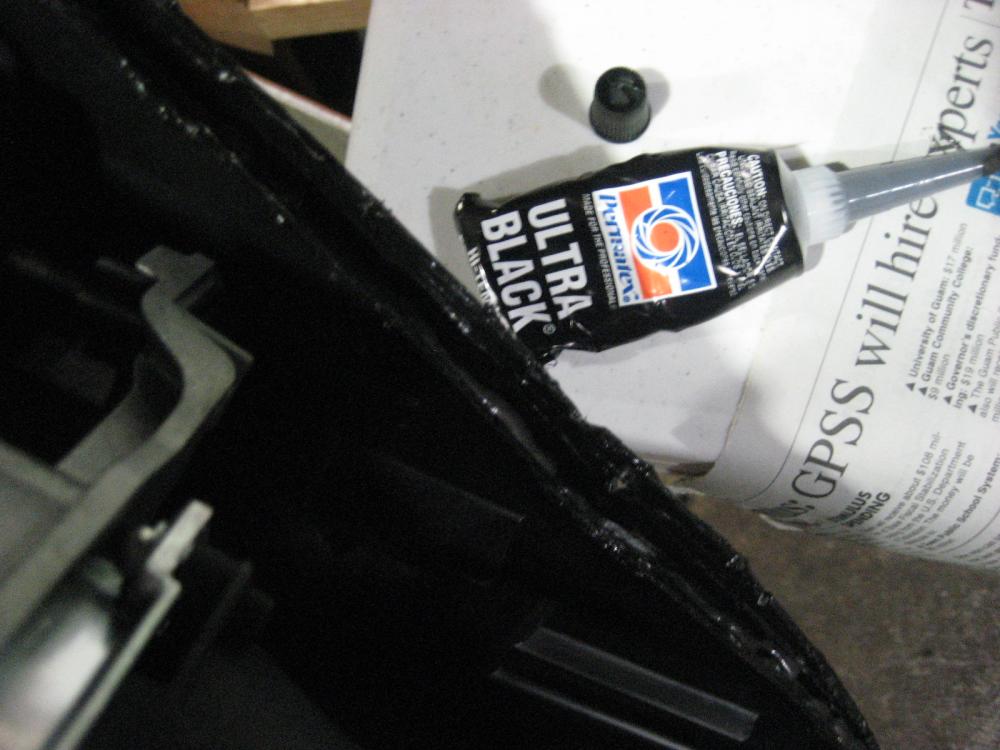 now apply ur silicon in ample amounts DONT BE SHY jam that sucker with alot of it... 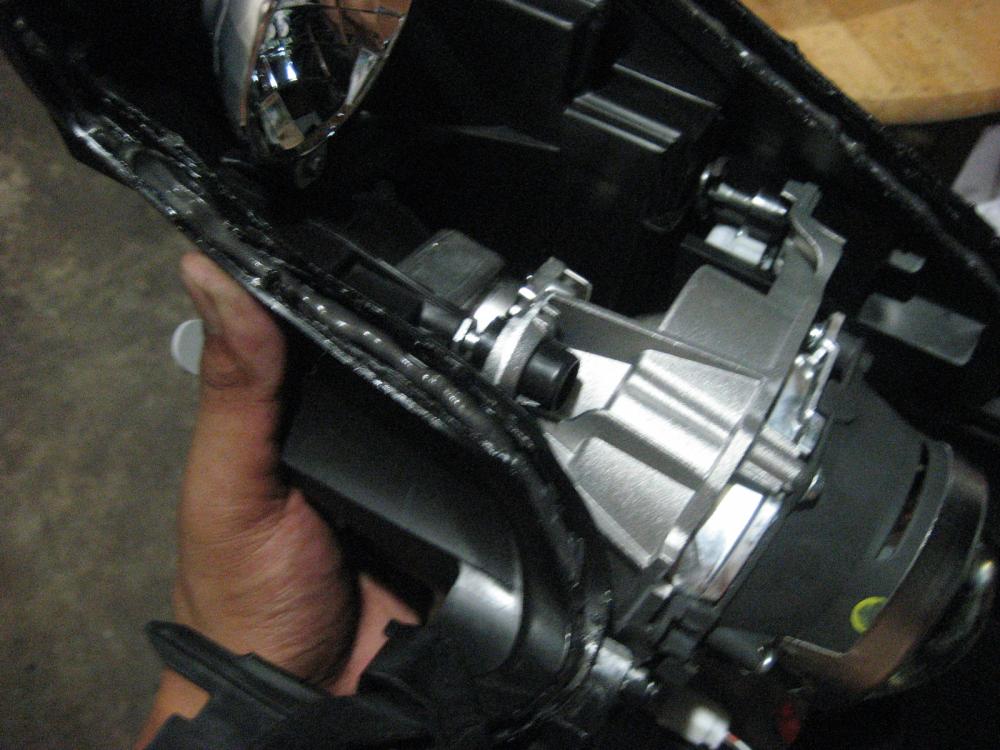 now press ur headlight together and reinstall the screws... wipe of excess amounts of silicon... let it dry... now reapply a second coat of silicon around the headlight to INSURE no leaks will occur or even possible... let it dry and sit for 30 mins until dry... then reinstall everything.... and do it to the other headlight and ur done...  NOTES: please please please be patient when ur doing this... dont RUSH or else u might break something... this mod took about 6 hours to do from start to finish.. removal of bumper healights and black housing the headlights.... and remember the more silicon u use... the less u worry about moisture... and last but not least i swear to god ull do a  when ur done with this mod cuz ull feel so accomplished... and u can have a when ur done with this mod cuz ull feel so accomplished... and u can have a  stroll around the city to show off ur sexy new headlights... stroll around the city to show off ur sexy new headlights...  GOOD LUCK TO ALL P.S i am not responsible for any broken headlights that occur this DIY is a guideline only!!! it is ur choice to try it out or not.... |
|
|

|
|
|
#2 (permalink) |
|
Lifetime Premium
 Join Date: Nov 2008
Location: Montreal
Posts: 22,357
Drives: E46 M3
Rep Power: 1765            |
If mine breaks I blame you .....lol
Nice DIY. Good details and notes Also, that's good to have no prep. Sanding all the chrome off would be a pain. Last edited by nogoodname; 06-25-2009 at 10:40 AM. |
|
|

|
|
|
#3 (permalink) |
|
A True Z Fanatic
 Join Date: May 2009
Location: Dededo, Guam
Posts: 6,642
Drives: solid red 370z 6mt
Rep Power: 405            |
haha.... dont worry it wont break... yah dude seriously sanding all that ******* chrome ugh... wat a pain in the ***... krylon fusion is the best though haha
|
|
|

|
|
|
#4 (permalink) |
|
Lifetime Premium
 Join Date: Nov 2008
Location: Montreal
Posts: 22,357
Drives: E46 M3
Rep Power: 1765            |
On my G. I got a chrome lip spoiler on the trunk.
Could I use that paint directly on it and then clear coat it?? And the front grille chrome is a major pain to sand also. |
|
|

|
|
|
#8 (permalink) |
|
A True Z Fanatic
Join Date: Apr 2009
Location: CA
Age: 39
Posts: 9,513
Drives: Scoobaroo
Rep Power: 3406            |
Exactly the look I wanted. simota1, your car and mine will be twins living in different parts of the world...

Last edited by phelan; 06-25-2009 at 04:46 PM. Reason: grammar idiocy |
|
|

|
|
|
#10 (permalink) | |
|
A True Z Fanatic
 Join Date: May 2009
Location: Dededo, Guam
Posts: 6,642
Drives: solid red 370z 6mt
Rep Power: 405            |
Quote:
 thatll be awesome that ill have a twin in cali... thatll be awesome that ill have a twin in cali...  ill teach my car how to swim so i can go there and stroll haha... ill teach my car how to swim so i can go there and stroll haha...
|
|
|
|

|
|
|
#12 (permalink) |
|
Track Member
Join Date: Dec 2008
Location: CA
Posts: 704
Drives: 370
Rep Power: 260            |
hhaha thats exactly how i feel.. ! you think its easier if theres two ppl and one is slowly prying while the other is continually heating?
Last edited by DJcuetip; 06-25-2009 at 11:10 PM. |
|
|

|
|
|
#13 (permalink) |
|
A True Z Fanatic
 Join Date: May 2009
Location: Dededo, Guam
Posts: 6,642
Drives: solid red 370z 6mt
Rep Power: 405            |
Bro its a whole lot easier!!!! duude lol my boi was helping me out for the first headlight he was heating it up and i was slowly prying it... but he split
|
|
|

|
|
|
#14 (permalink) |
|
Base Member
Join Date: Mar 2009
Location: Houston
Posts: 67
Drives: 04 RSX
Rep Power: 272            |
Is there any kind of lip on teh headlights to use high pressure clamps all around to get that hulk tight seal?? what about heating up the silicone again when you're re-sealing so it gets all mushy and you know it's all melting together vs gunking new silicone on top of old?
using an oven with conservative times and temps followed by a heat gun (if necessary) would probably be the easiest in terms of opening to cut the time and hassle down to about 30 minutes or less... great write up btw........can't wait to try it.... |
|
|

|
|
|
#15 (permalink) |
|
I shake Caravans
 Join Date: Apr 2009
Location: north Dallas
Posts: 9,517
Drives: everyone crazy
Rep Power: 42            |
I believe he mentioned in there that he cleaned out all of the old silicone to make way for the new silicone for a better seal. I will be doing it with an oven, and also re-heating when I put the lens back on as well.
I tested my LED's tonight and got a full string wired up and connected it to my battery to test my resistors. looked fantastic, and got me excited to start this project this weekend! |
|
|

|
 |
| Bookmarks |
|
|
 Similar Threads
|
||||
| Thread | Thread Starter | Forum | Replies | Last Post |
| [FOR SALE] your oem headlights plus $200 for my black housing | im89 | Parts for sale (Private Classifieds) | 35 | 02-27-2012 01:54 PM |
| Housing headlights in vancouver area | hyunsoo1803 | Canada | 9 | 01-21-2012 05:06 AM |
| Looking to get headlights housing black out near Baltimore Area | tonybui | Exterior & Interior | 0 | 09-26-2011 11:40 PM |
| Black housing headlights | im89 | North East Region | 5 | 08-31-2011 08:04 AM |
| SO i finally had the balls to do it.... $20 black housing headlights!!!! | simota1 | Exterior & Interior | 53 | 06-29-2009 12:14 AM |