
 |
I recently bought a TWM Short Shifter and TWM leather shifter boot for my Z. Here is a DIY write-up for installation. Rep's are appreciated if you like the write-up.
|
|||||||
 |
|
|
LinkBack | Thread Tools | Display Modes |
|
|
#1 (permalink) |
|
A True Z Fanatic
 Join Date: Aug 2011
Location: Ontario, Canada
Posts: 21,749
Drives: Varis Arising II
Rep Power: 51865            |
I recently bought a TWM Short Shifter and TWM leather shifter boot for my Z.
Here is a DIY write-up for installation. Rep's are appreciated if you like the write-up. Fancy packaging from TWM 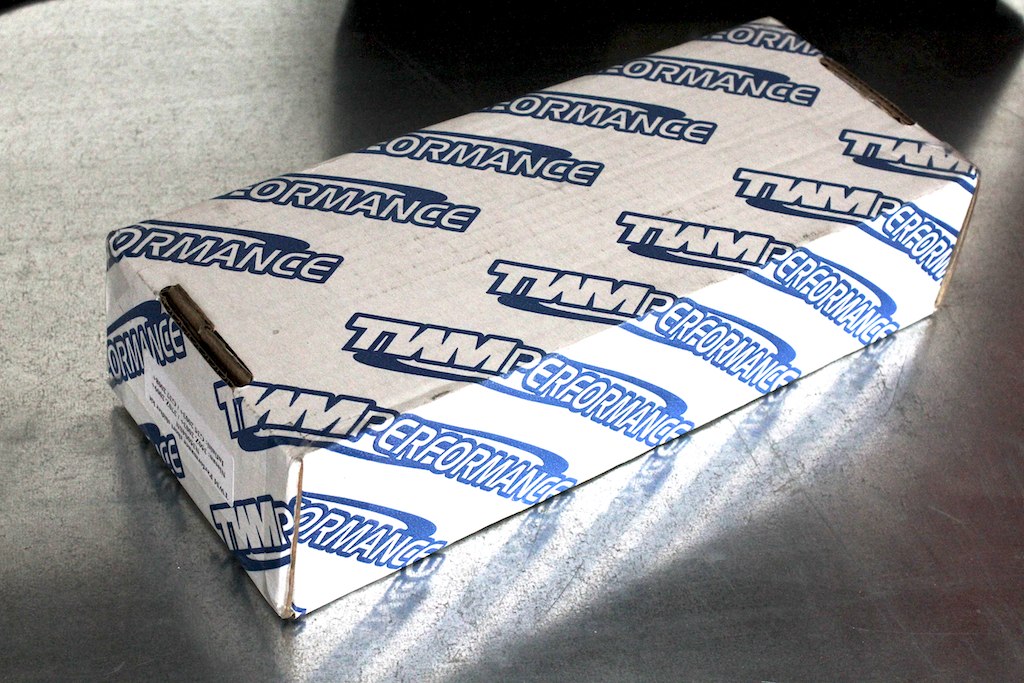 IMG_4309 by J M Gale, on Flickr A peek at what is inside 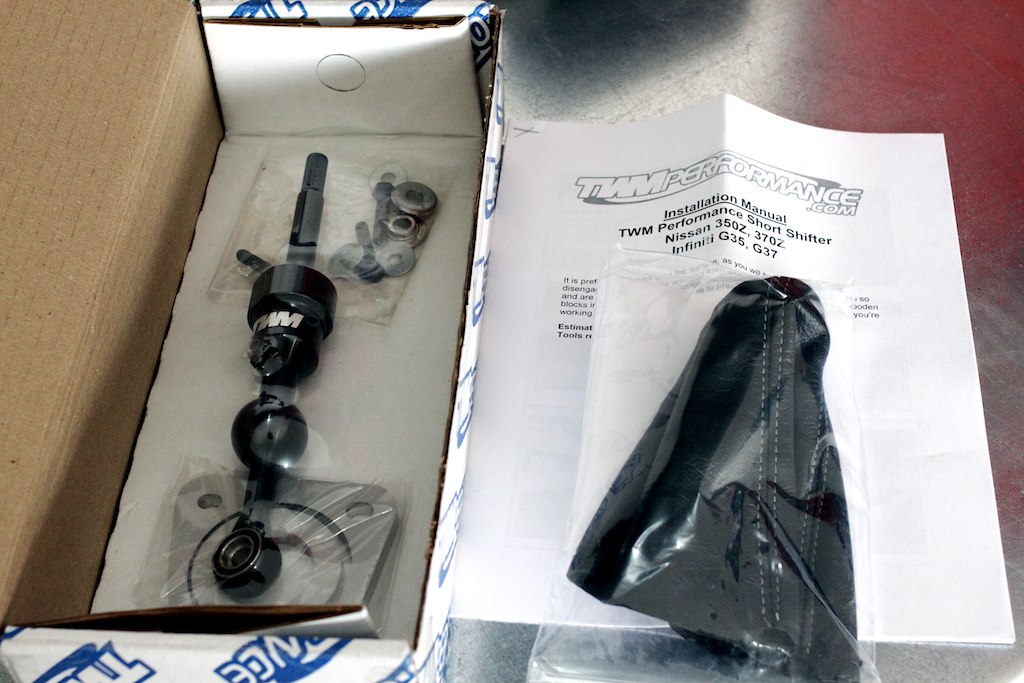 IMG_4310 by J M Gale, on Flickr Before, stock set-up 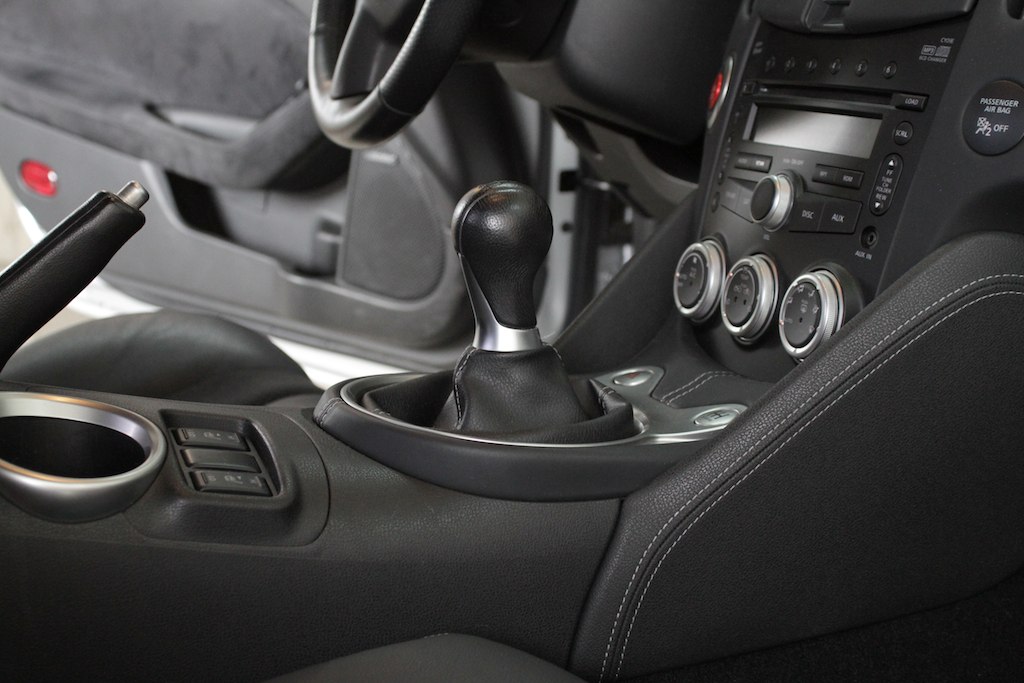 IMG_4304 by J M Gale, on Flickr Removal of the stock shifter knob. I'm using a strap wrench, you could also use a piece of radiator hose with vice grips. I think Nissan used a whole bottle of glue to secure my factory shifter knob. 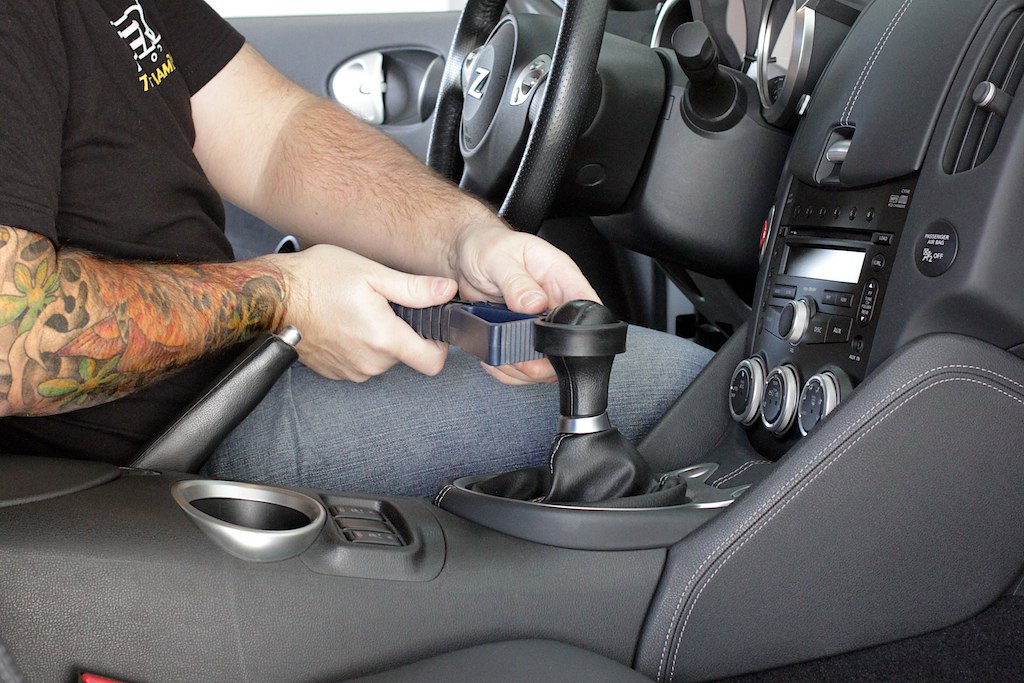 IMG_4315 by J M Gale, on Flickr Stock shifter knob removed in mint condition, 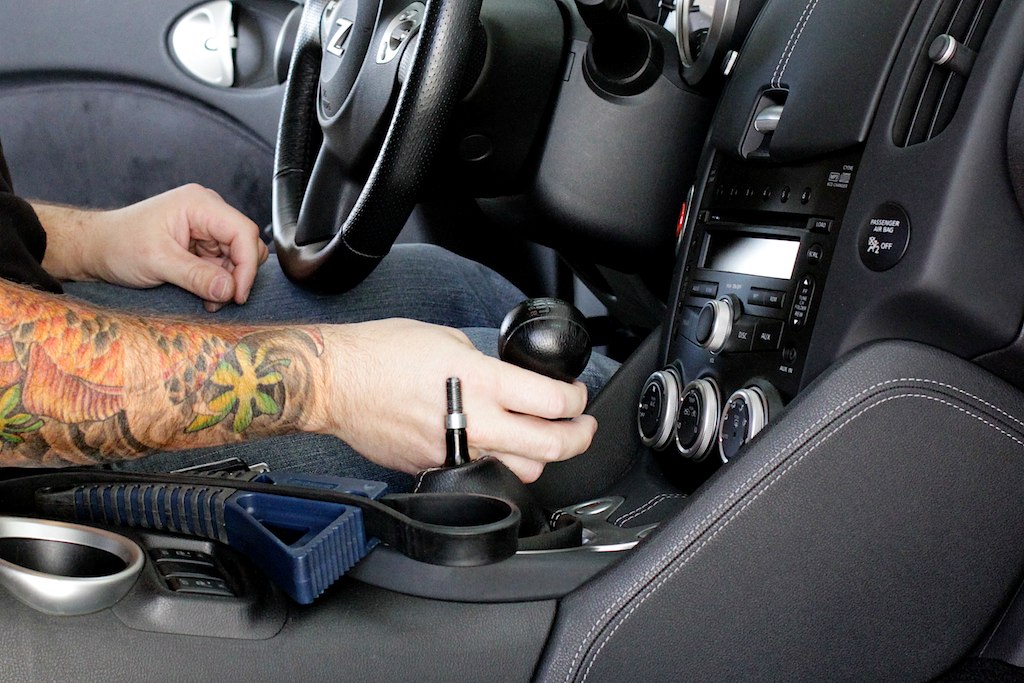 IMG_4316 by J M Gale, on Flickr Pull up the rear of the trim around the shifter to remove, 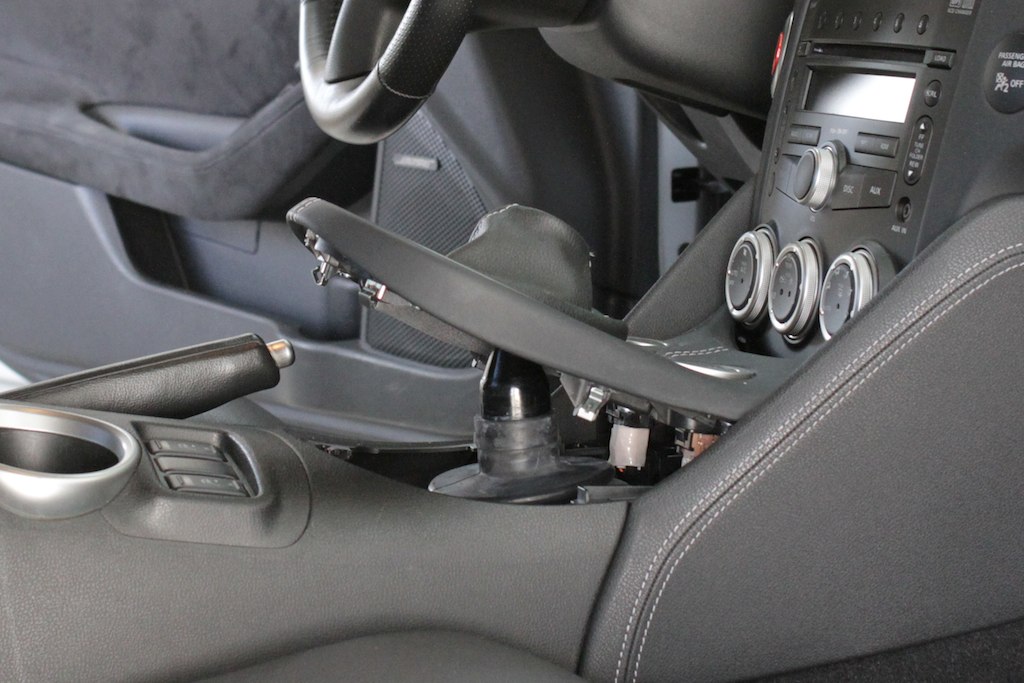 IMG_4317 by J M Gale, on Flickr Use a small screwdriver to unplug wire harness, 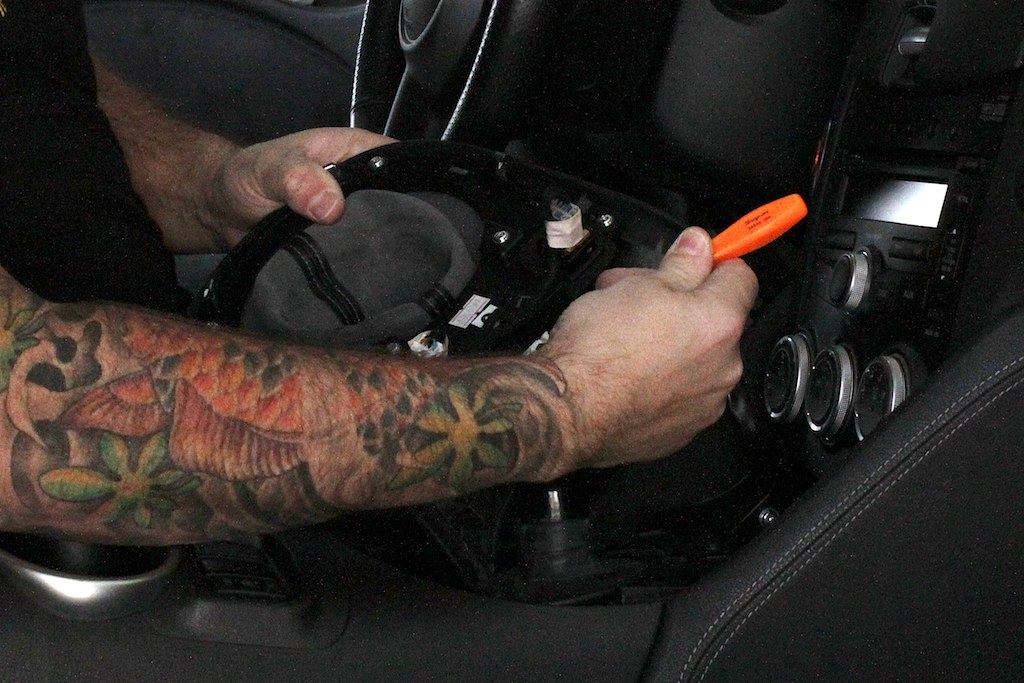 IMG_4318 by J M Gale, on Flickr Remove these two screws then pull on side knee pads to remove, 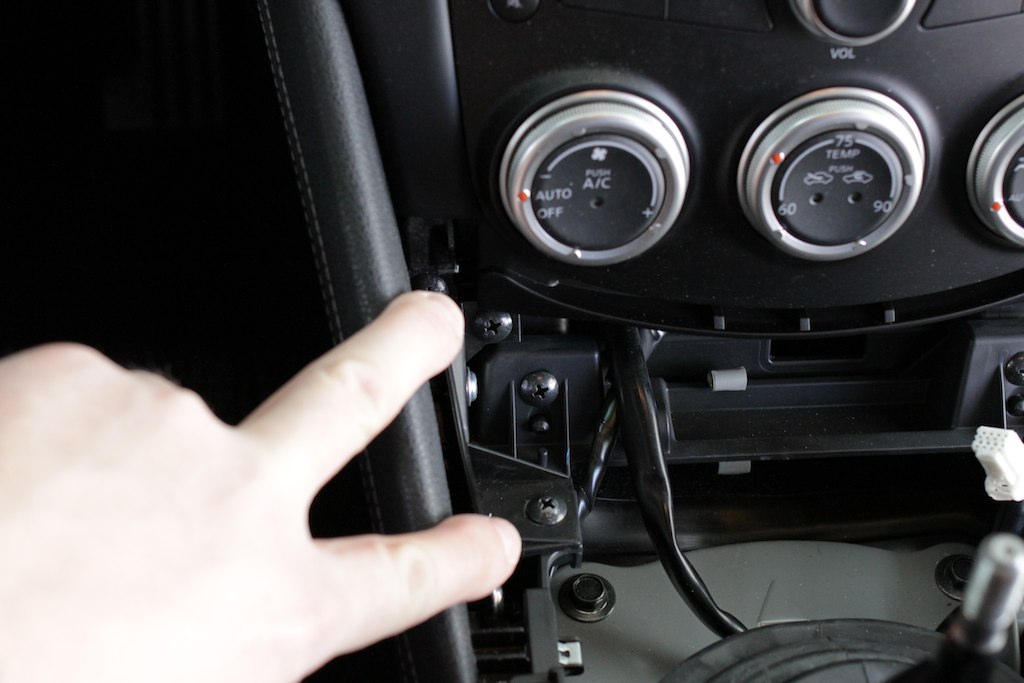 IMG_4320 by J M Gale, on Flickr 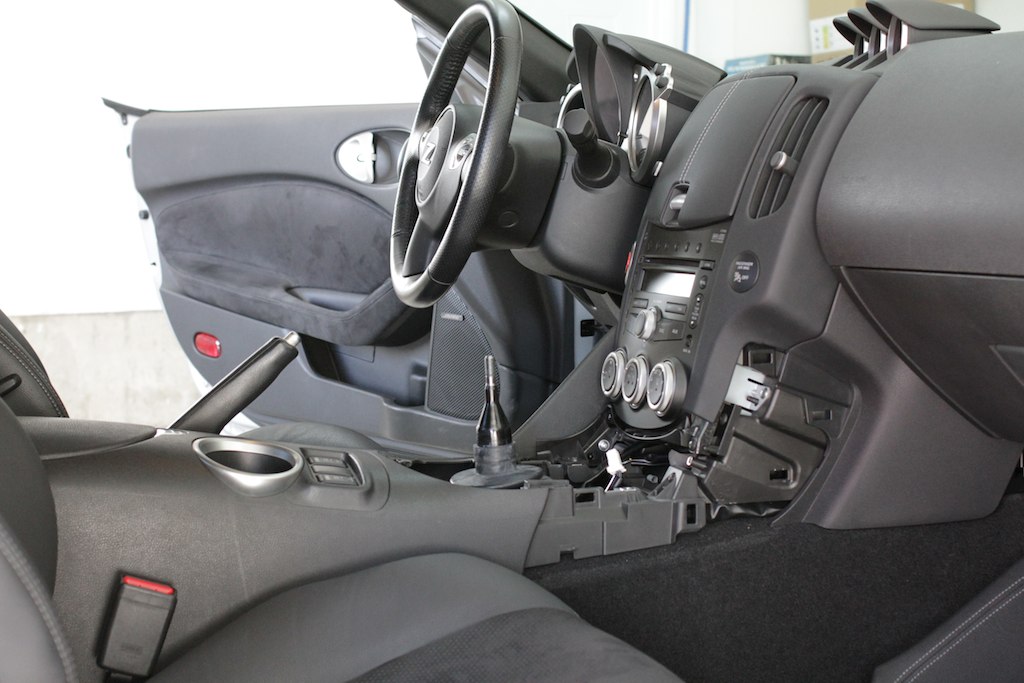 IMG_4319 by J M Gale, on Flickr Remove 2 screws to loosen the front of the console, 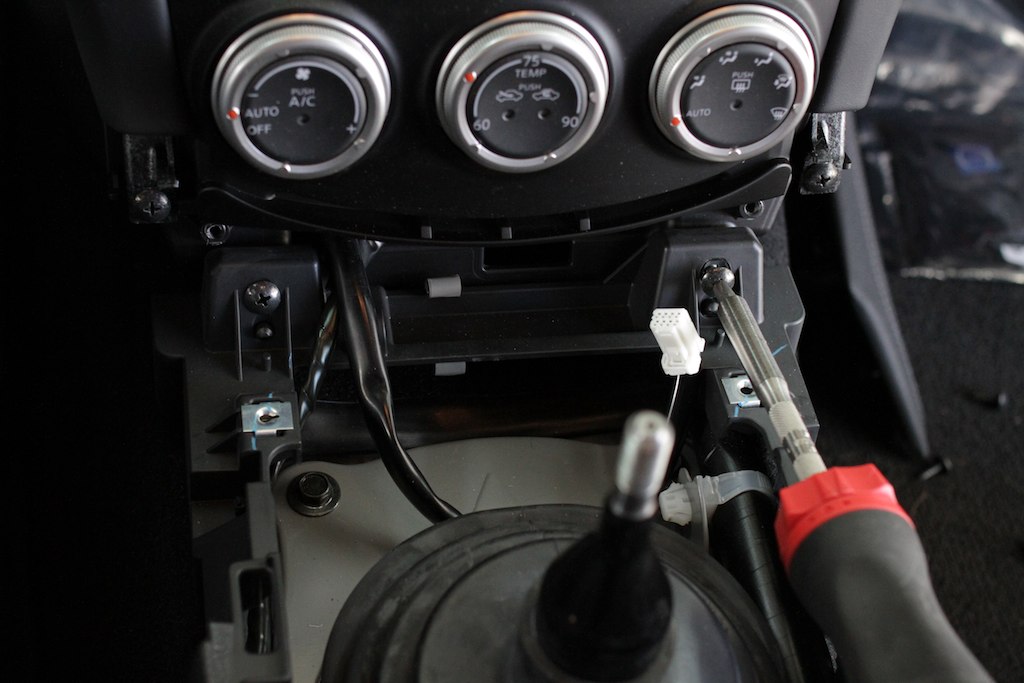 IMG_4323 by J M Gale, on Flickr Remove two screws (one on each side) at rear of console so console can be pushed back to access bolts of metal shifter surround, 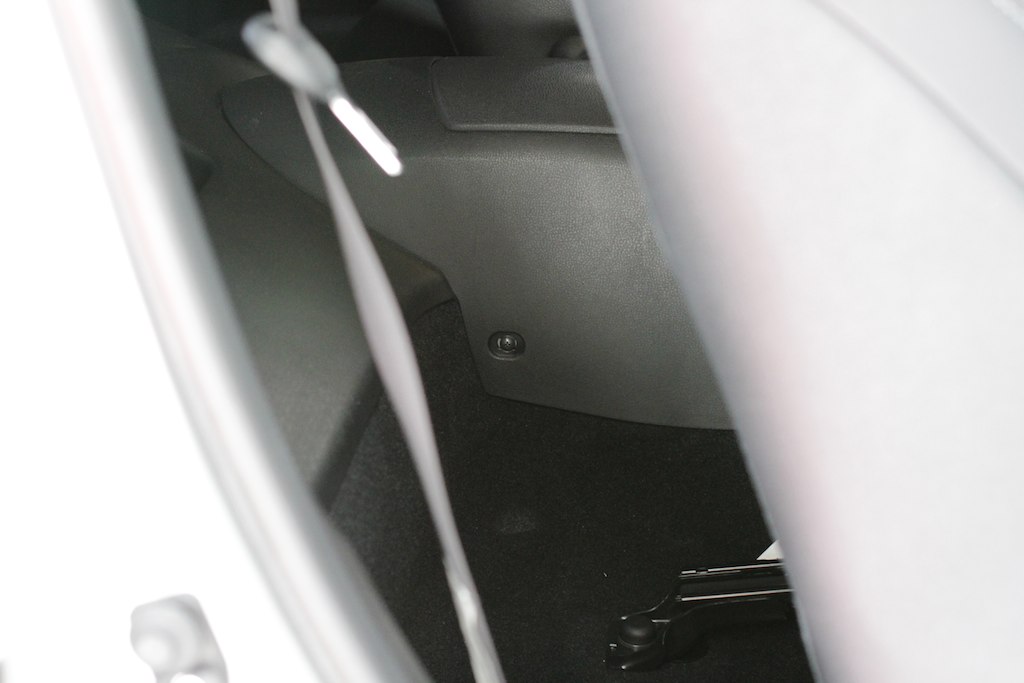 IMG_4322 by J M Gale, on Flickr Remove 4 bolts to remove metal shifter surround, 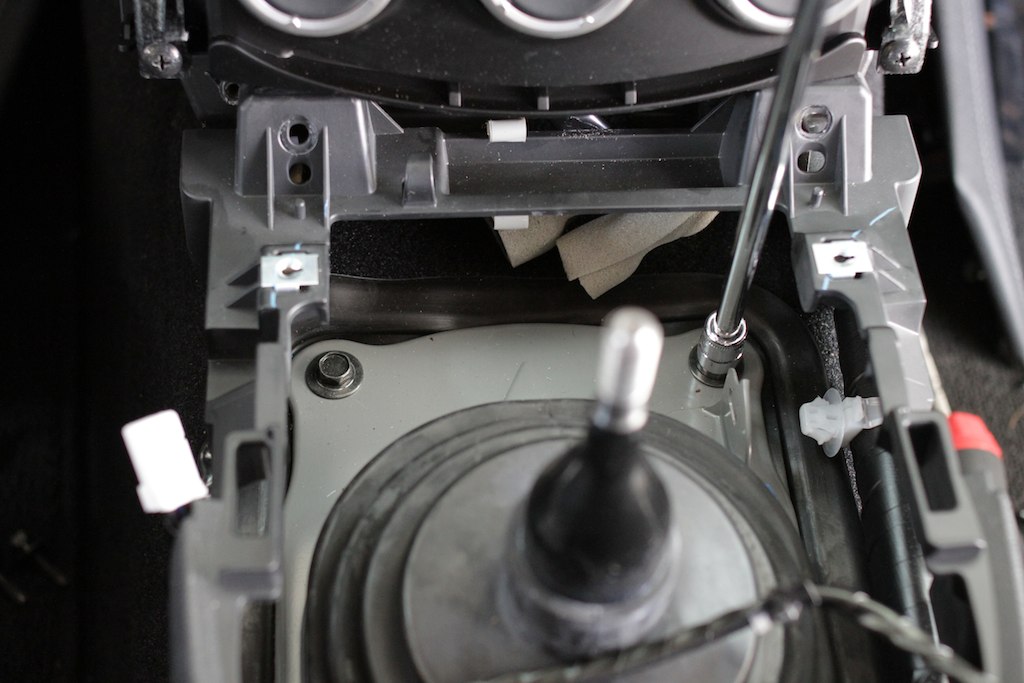 IMG_4325 by J M Gale, on Flickr 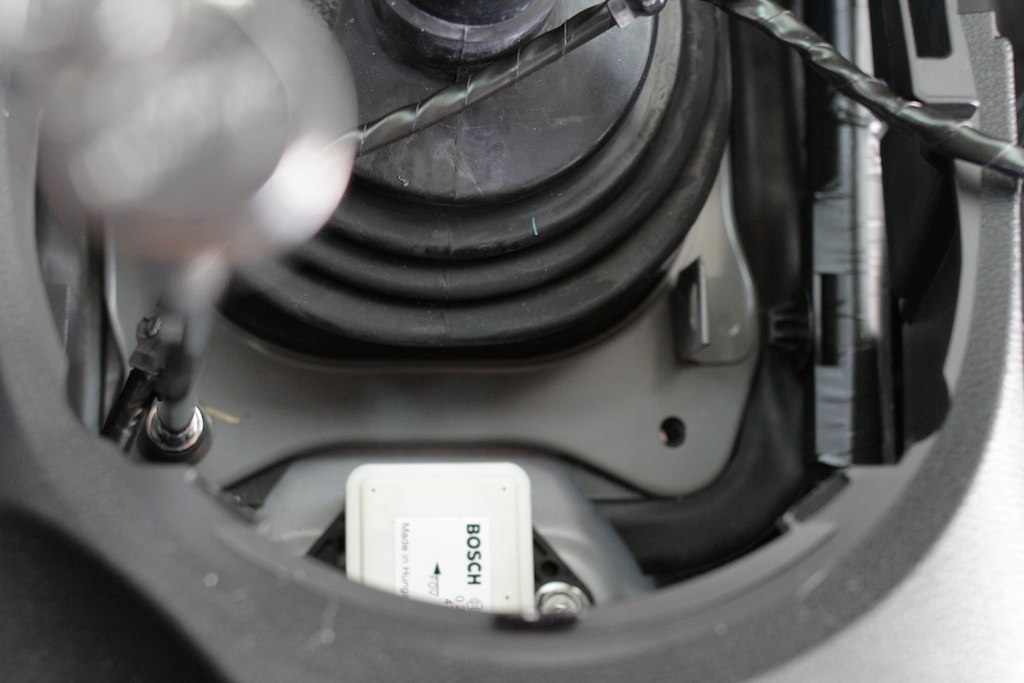 IMG_4324 by J M Gale, on Flickr Metal surround is removed, next remove rubber, 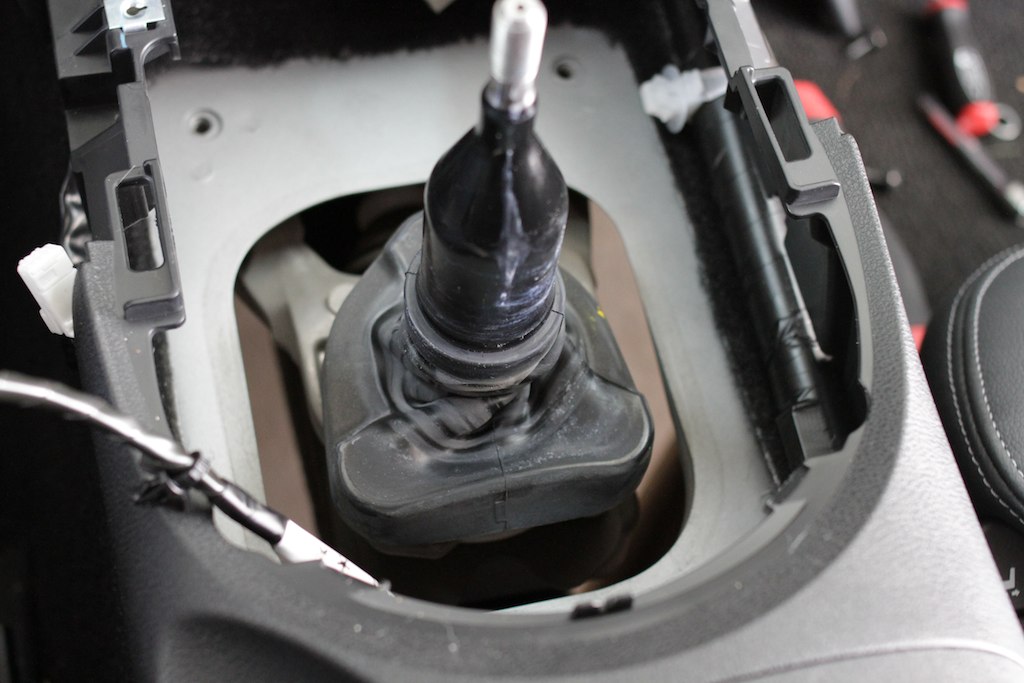 IMG_4326 by J M Gale, on Flickr 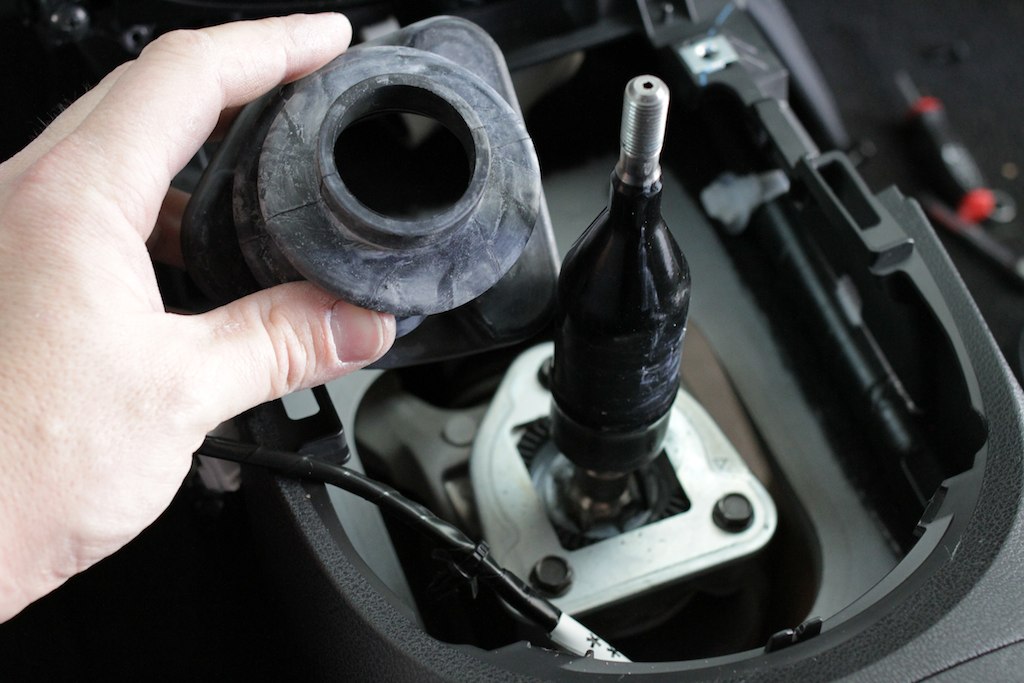 IMG_4328 by J M Gale, on Flickr Reverse lock-out plate, time to remove three bolts that hold this on, 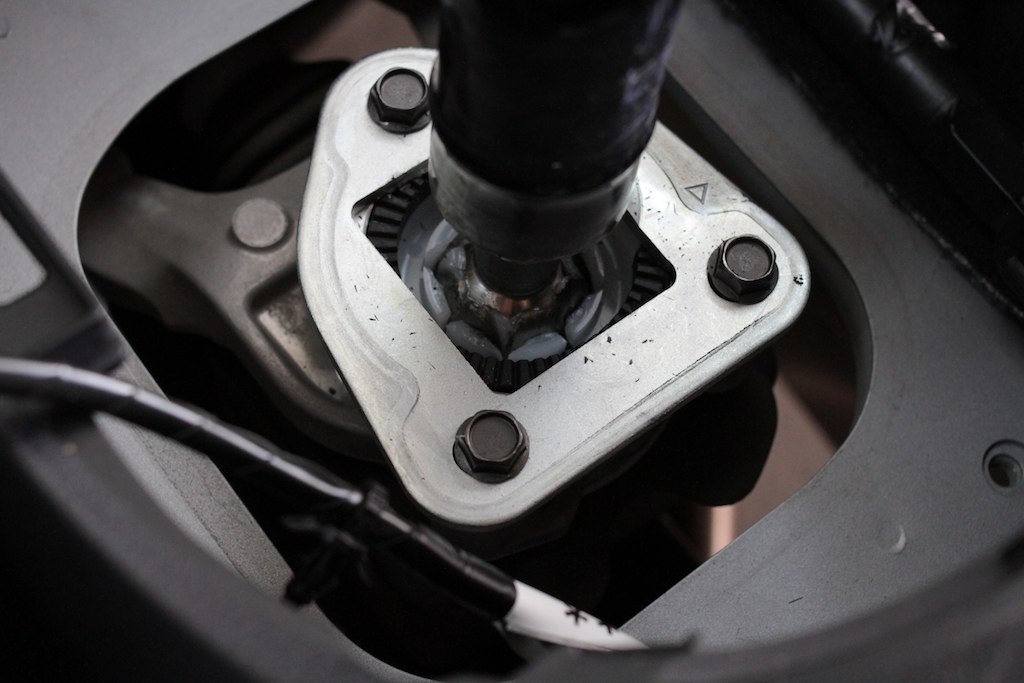 IMG_4330 by J M Gale, on Flickr 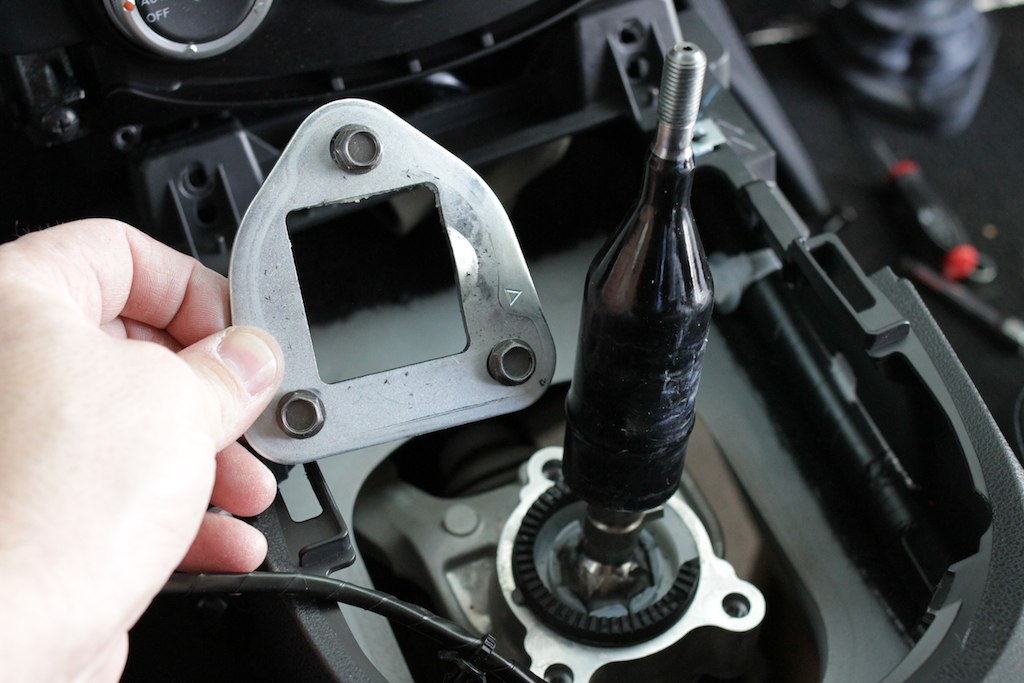 IMG_4332 by J M Gale, on Flickr Place the shifter in 5th gear. Crawl under car, move rubber dust boot to access 12mm bolt holding the shifter linkage and shifter together, 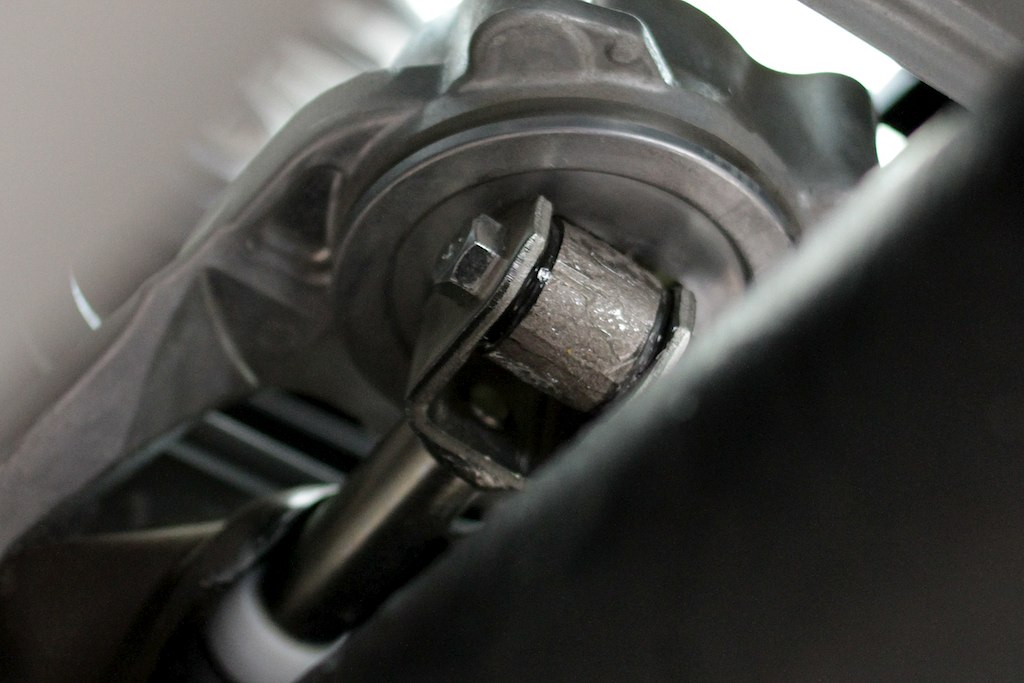 IMG_4333 by J M Gale, on Flickr Stock shifter is out, 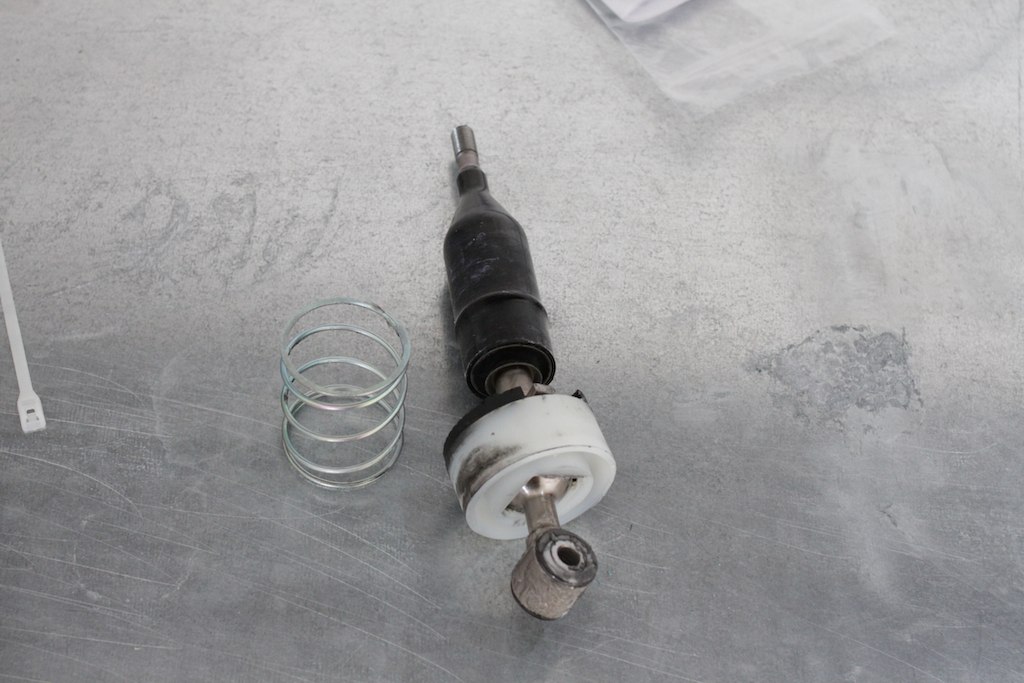 IMG_4335 by J M Gale, on Flickr This is what you're left with in the car, waiting for new shifter, 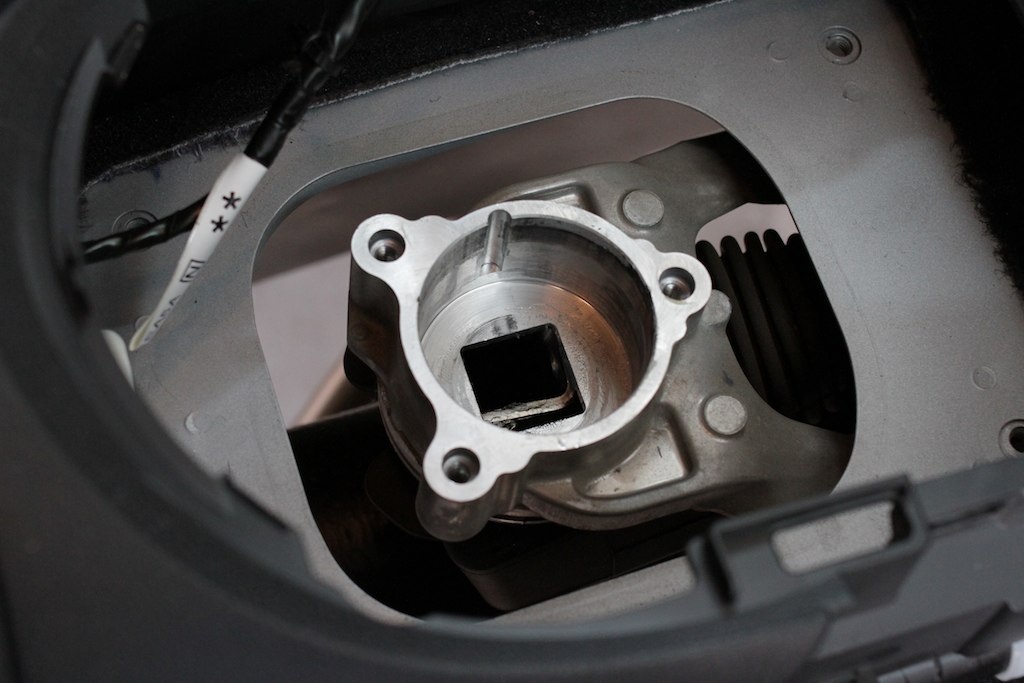 IMG_4334 by J M Gale, on Flickr Comparison, TWM left, stock right, 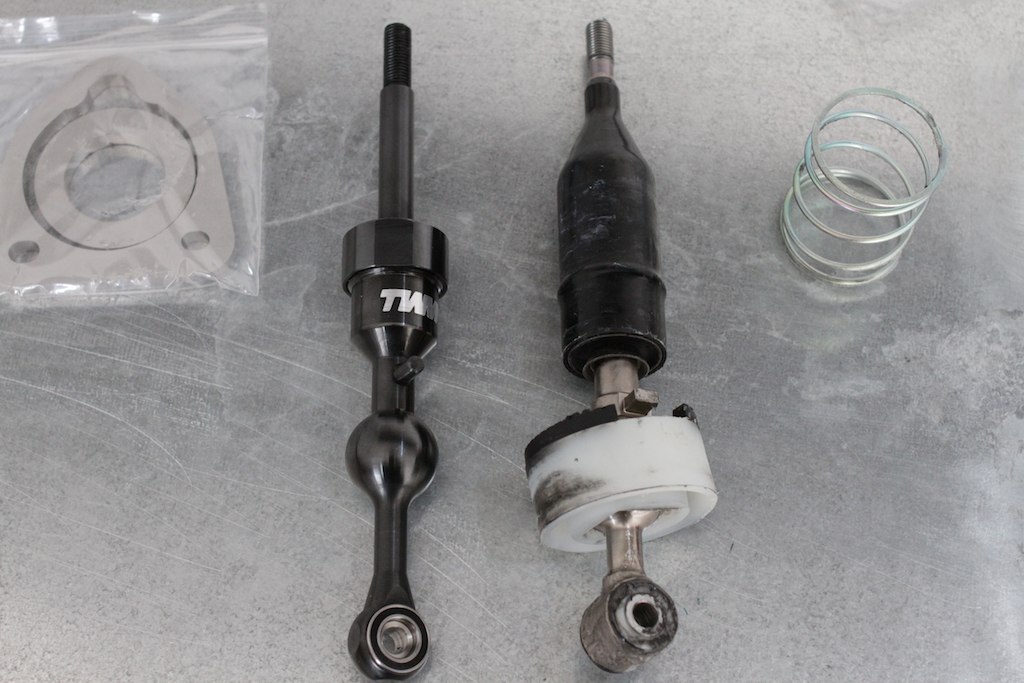 IMG_4337 by J M Gale, on Flickr 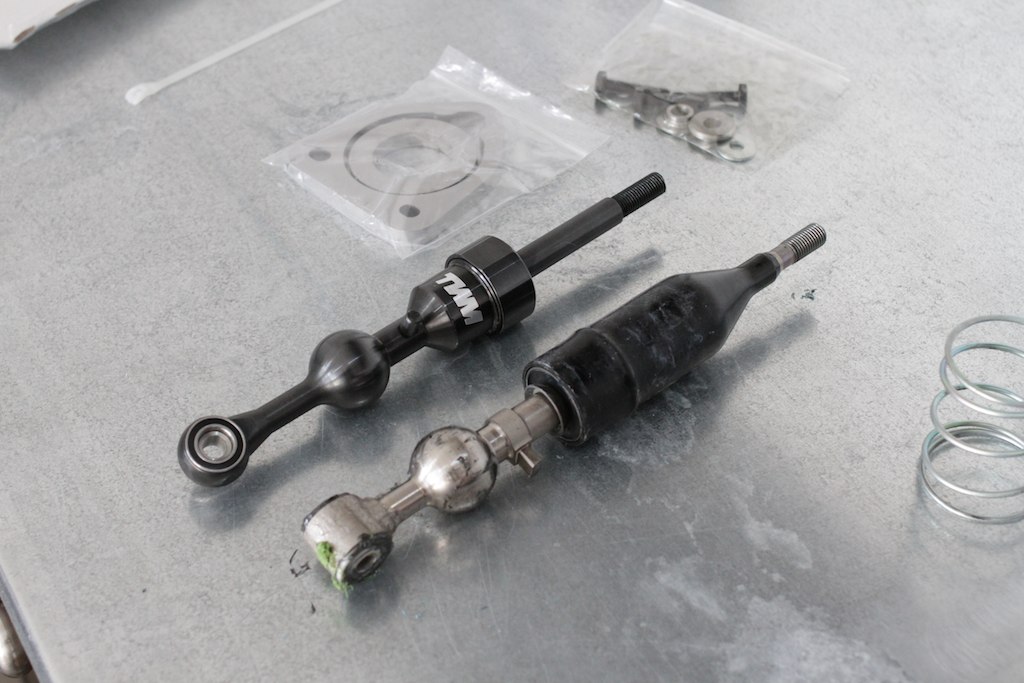 IMG_4341 by J M Gale, on Flickr Use a vice and a dead blow hammer to remove stock shifter from plastic cup, 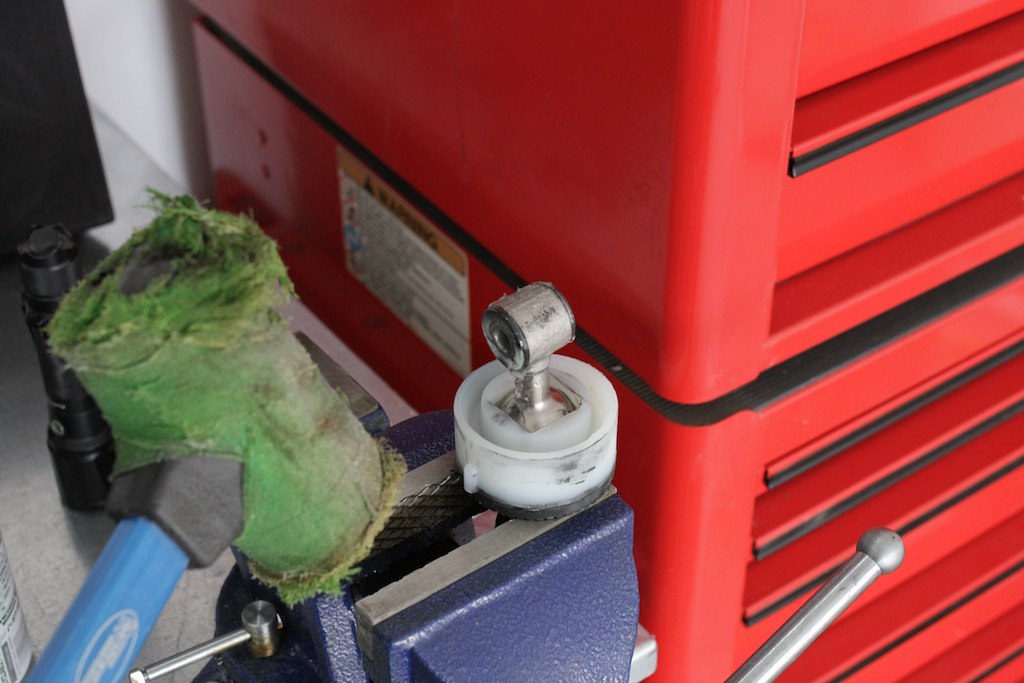 IMG_4340 by J M Gale, on Flickr Grease new shifter and re-grease plastic cup, 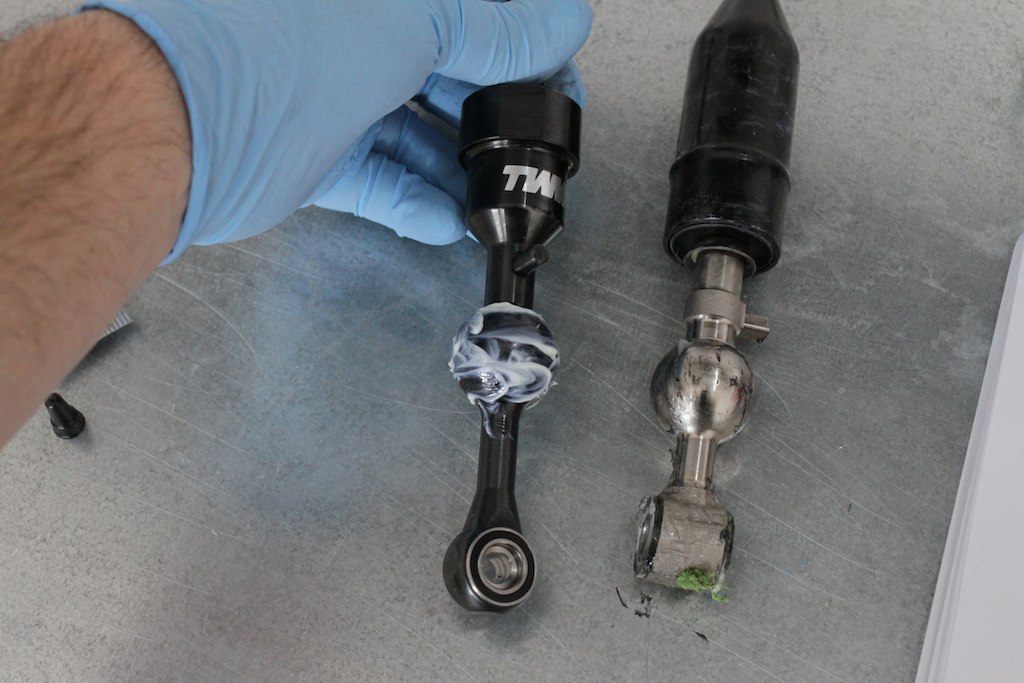 IMG_4342 by J M Gale, on Flickr  IMG_4343 by J M Gale, on Flickr Push new shifter into plastic cup, 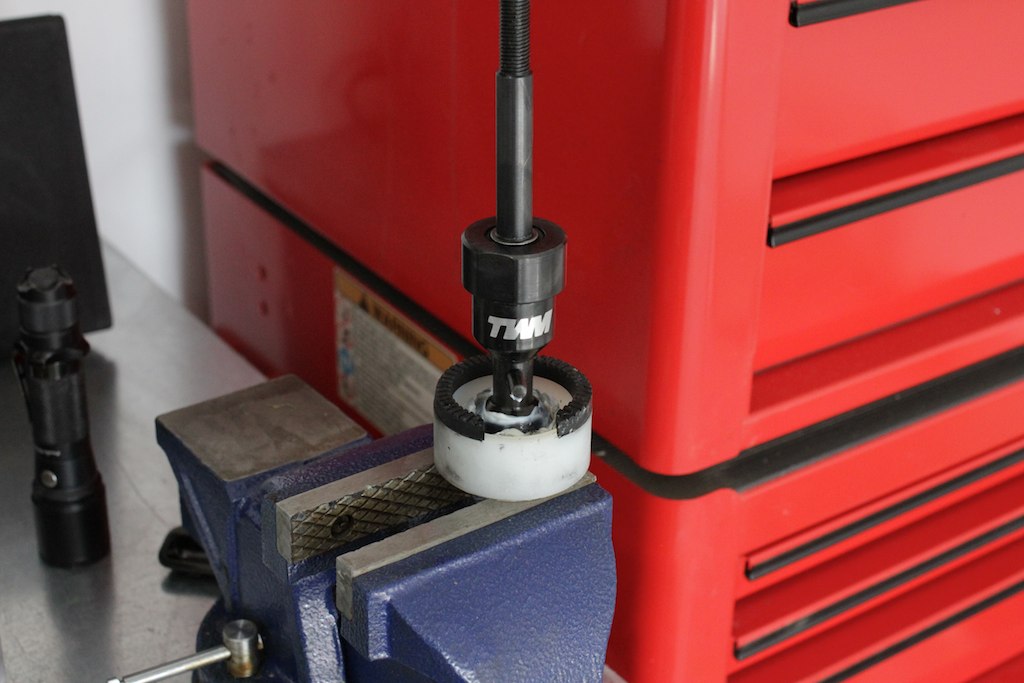 IMG_4344 by J M Gale, on Flickr Burr on spacer, 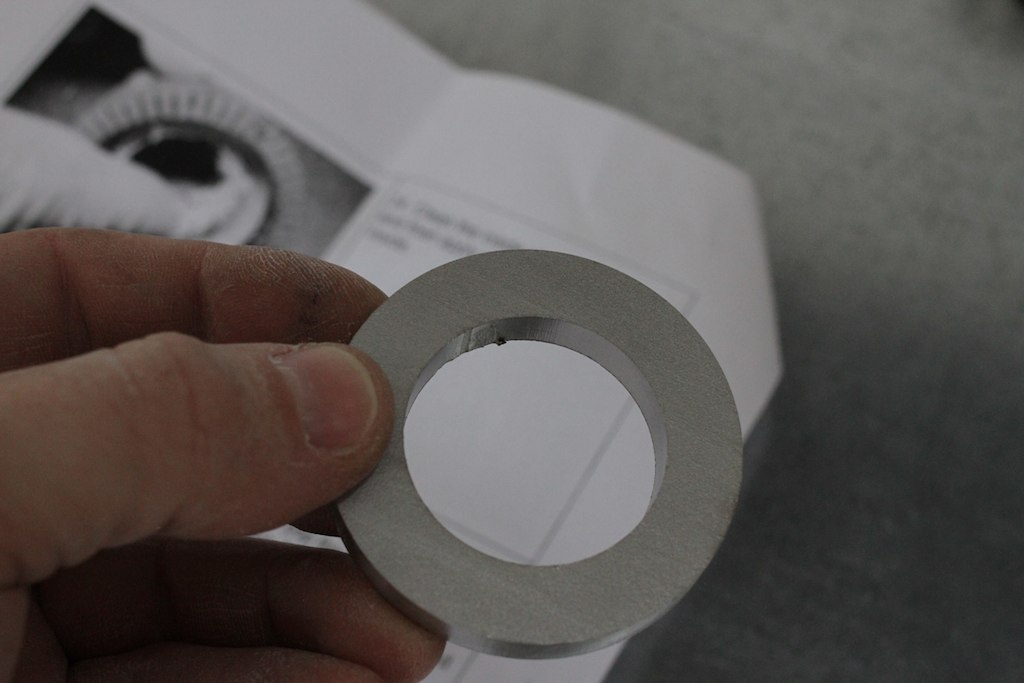 IMG_4346 by J M Gale, on Flickr Burr removed, 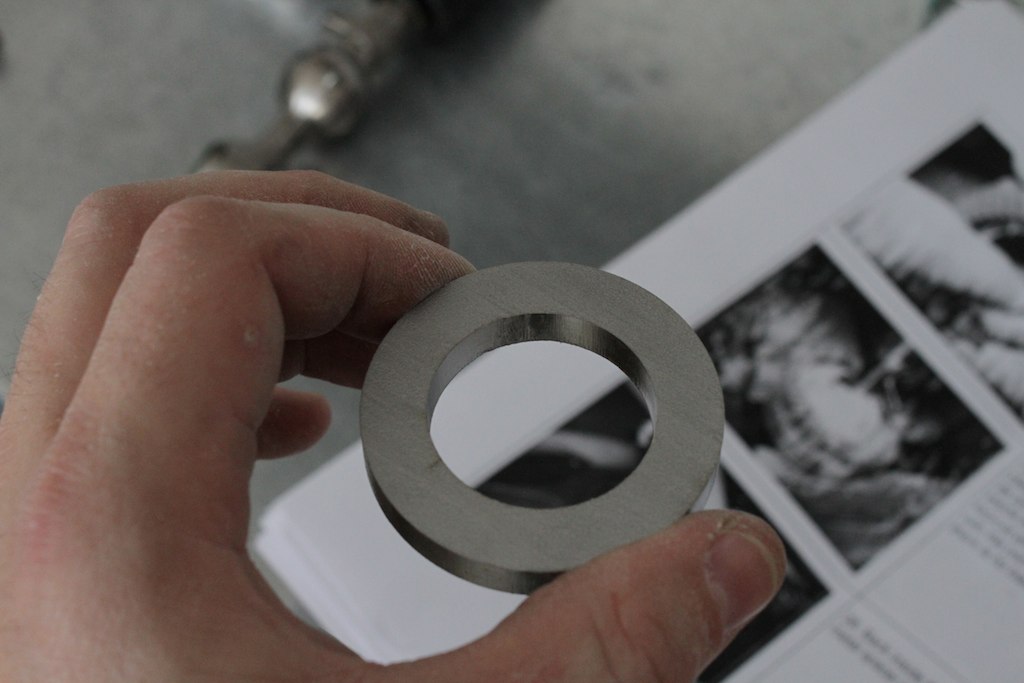 IMG_4347 by J M Gale, on Flickr Install spacer, 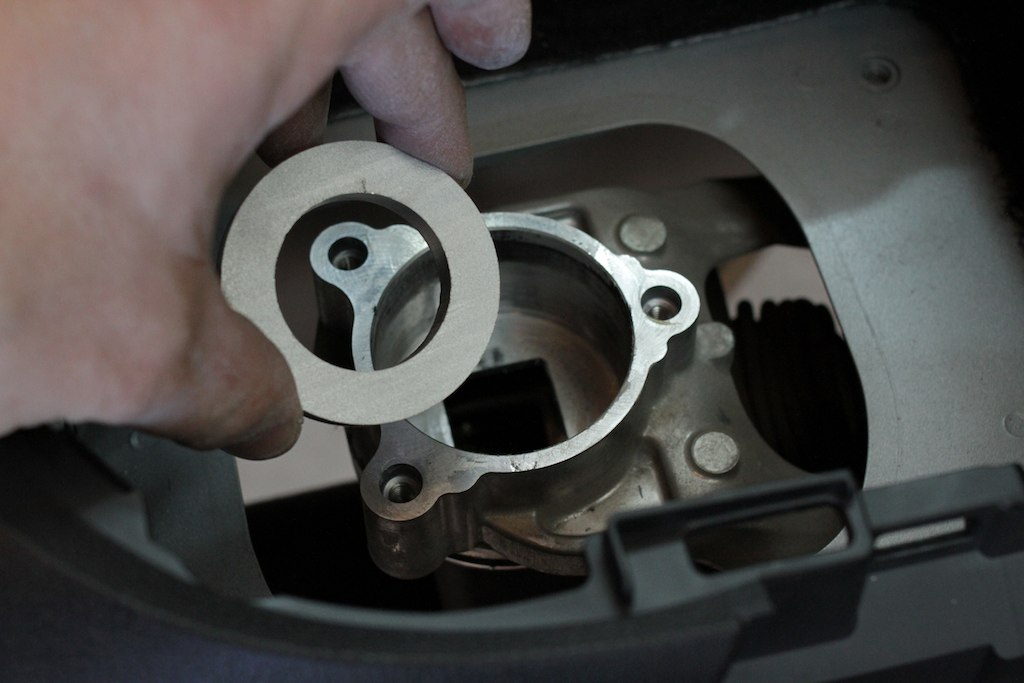 IMG_4348 by J M Gale, on Flickr 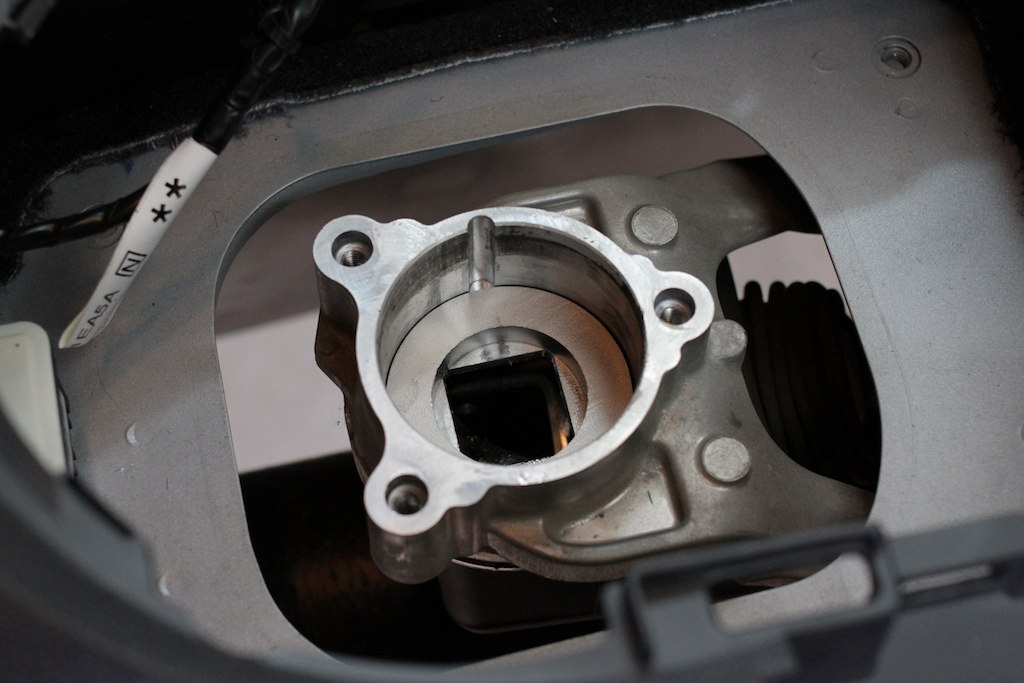 IMG_4349 by J M Gale, on Flickr Reinstall spring, 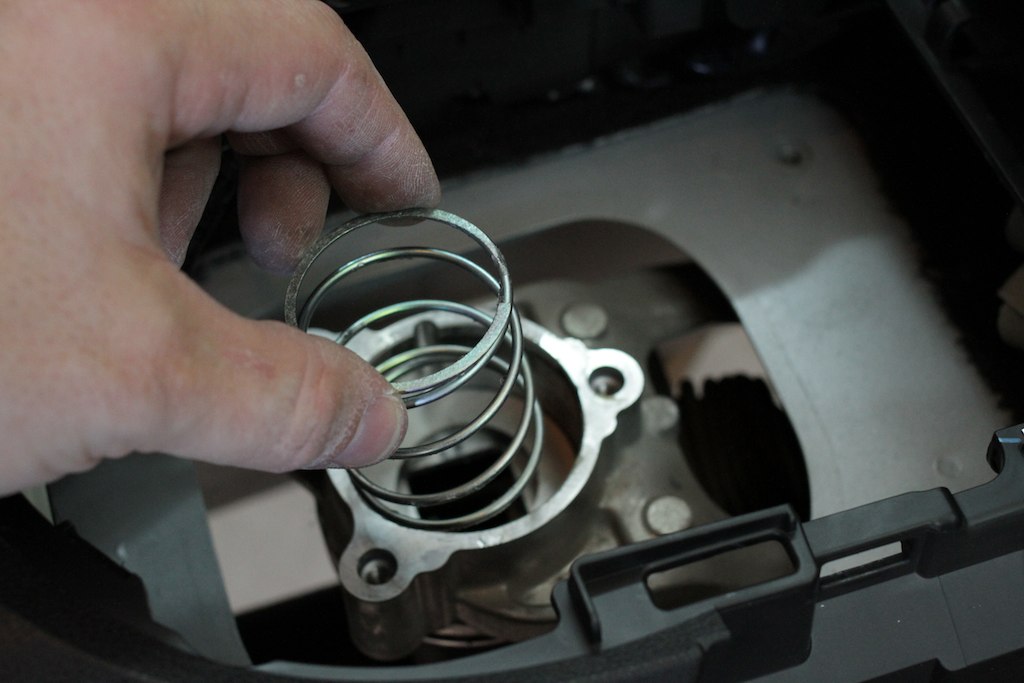 IMG_4350 by J M Gale, on Flickr  IMG_4351 by J M Gale, on Flickr Install top spacer, 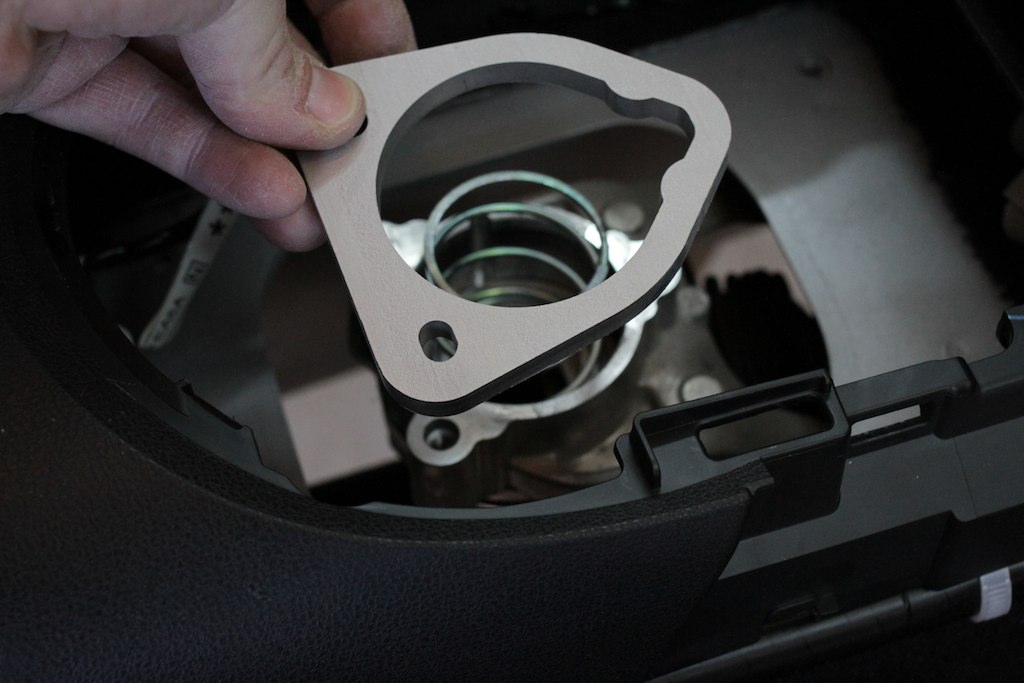 IMG_4352 by J M Gale, on Flickr 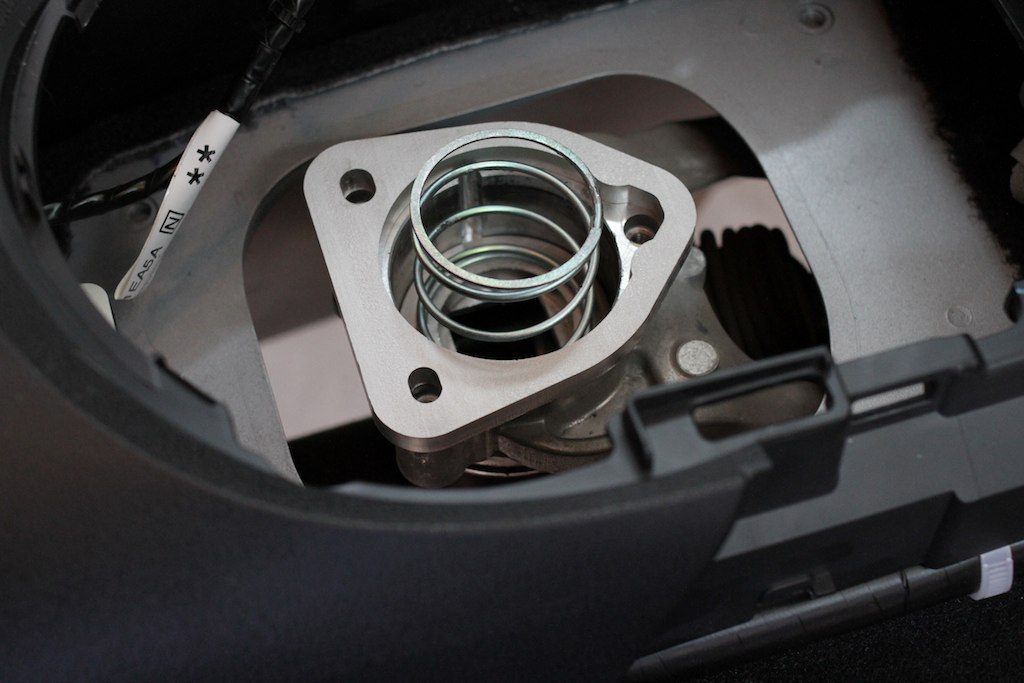 IMG_4353 by J M Gale, on Flickr Place shifter assembly in car, 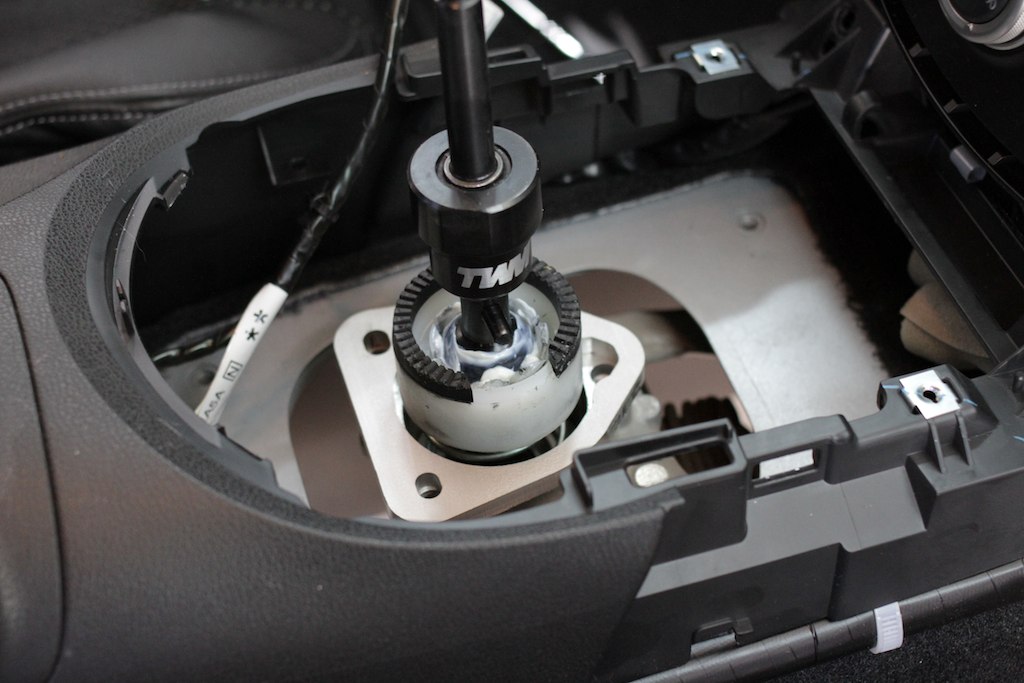 IMG_4354 by J M Gale, on Flickr Reinstall reverse lock-out plate, make sure to leave bolts loose so you can make adjustments later, 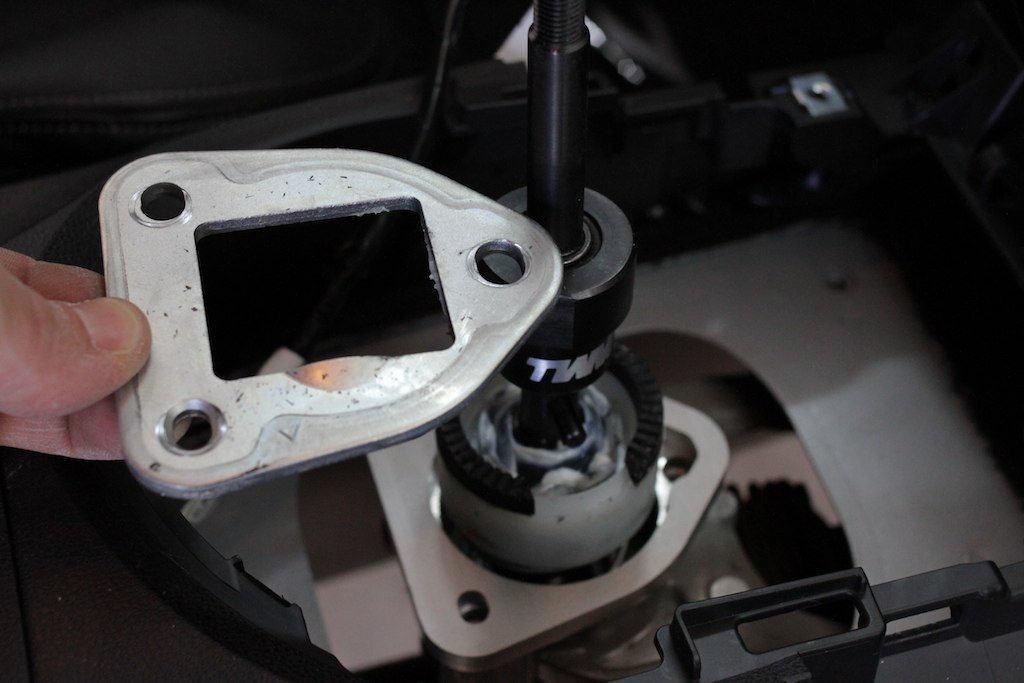 IMG_4355 by J M Gale, on Flickr 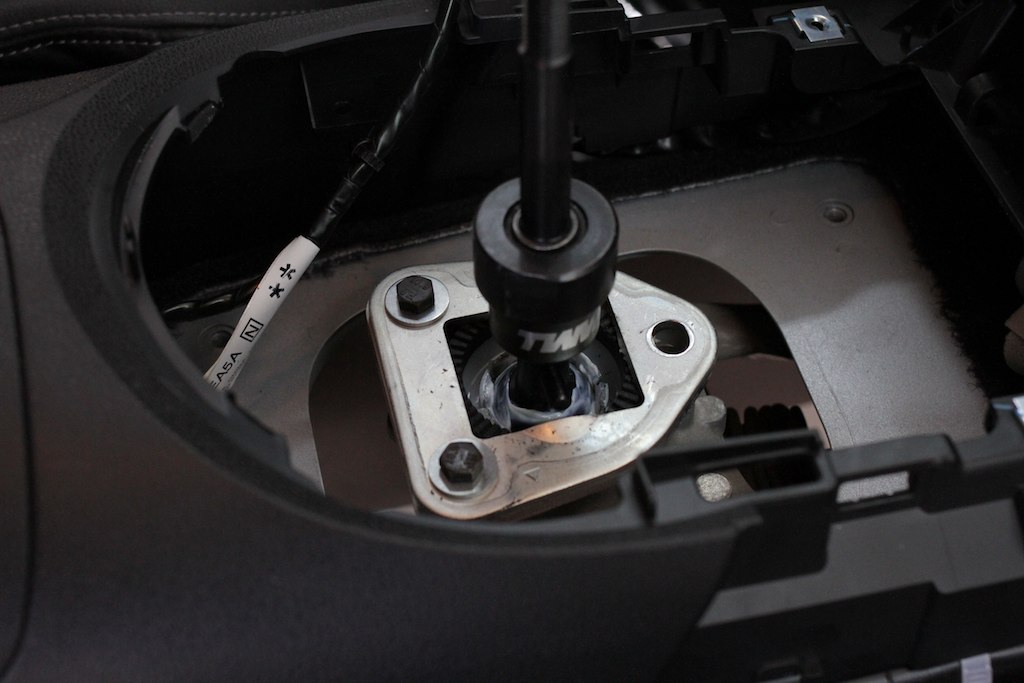 IMG_4356 by J M Gale, on Flickr Bushings to be installed under the car on the bottom side of the shifter, 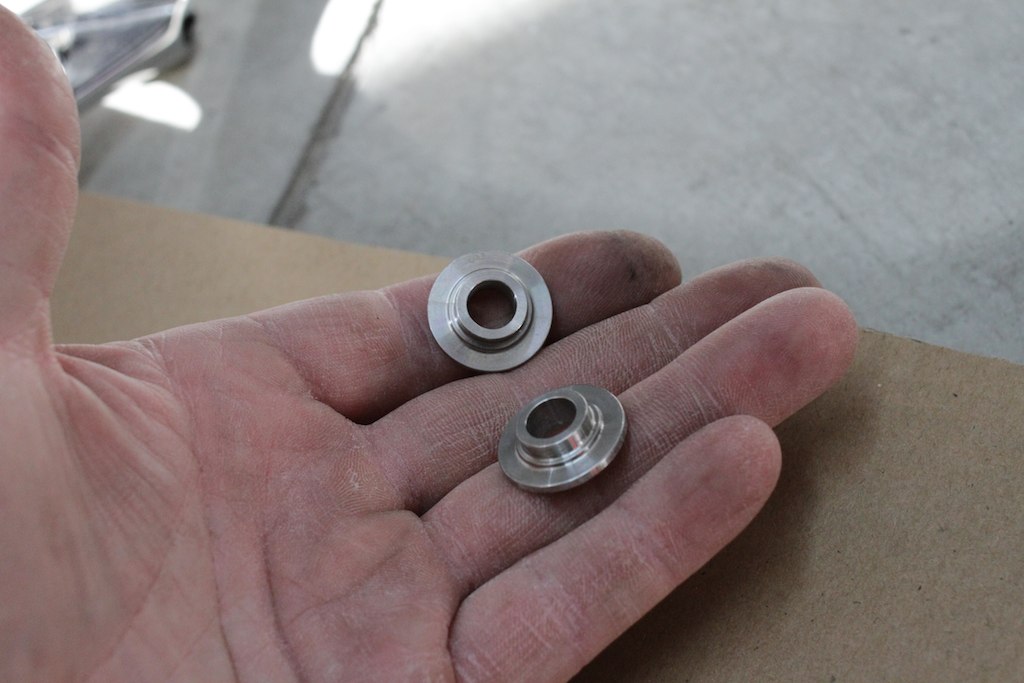 IMG_4357 by J M Gale, on Flickr 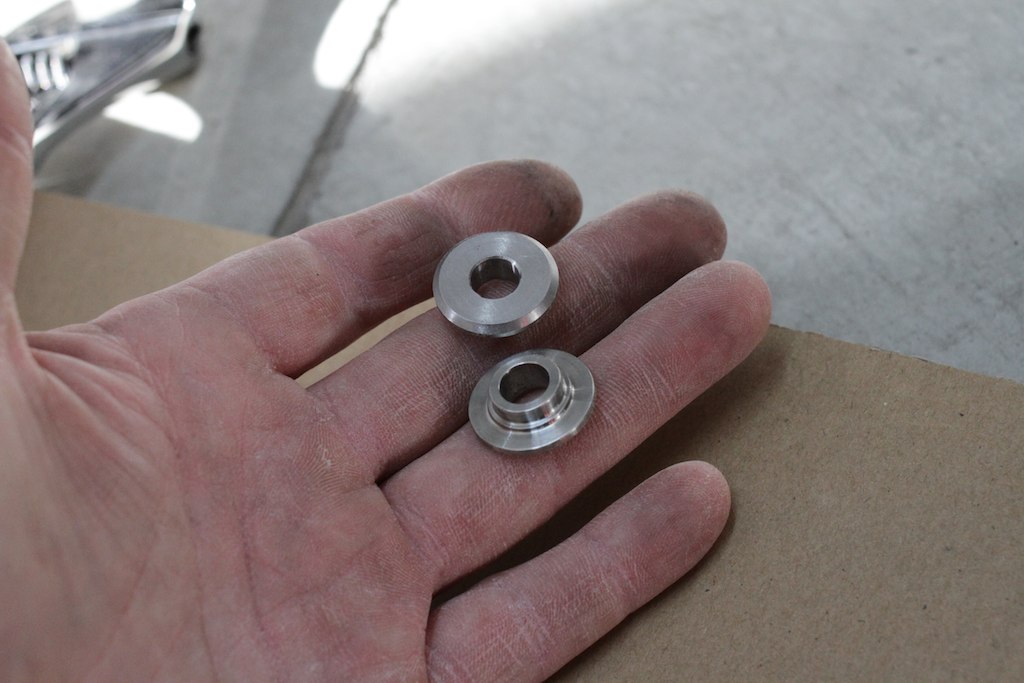 IMG_4358 by J M Gale, on Flickr 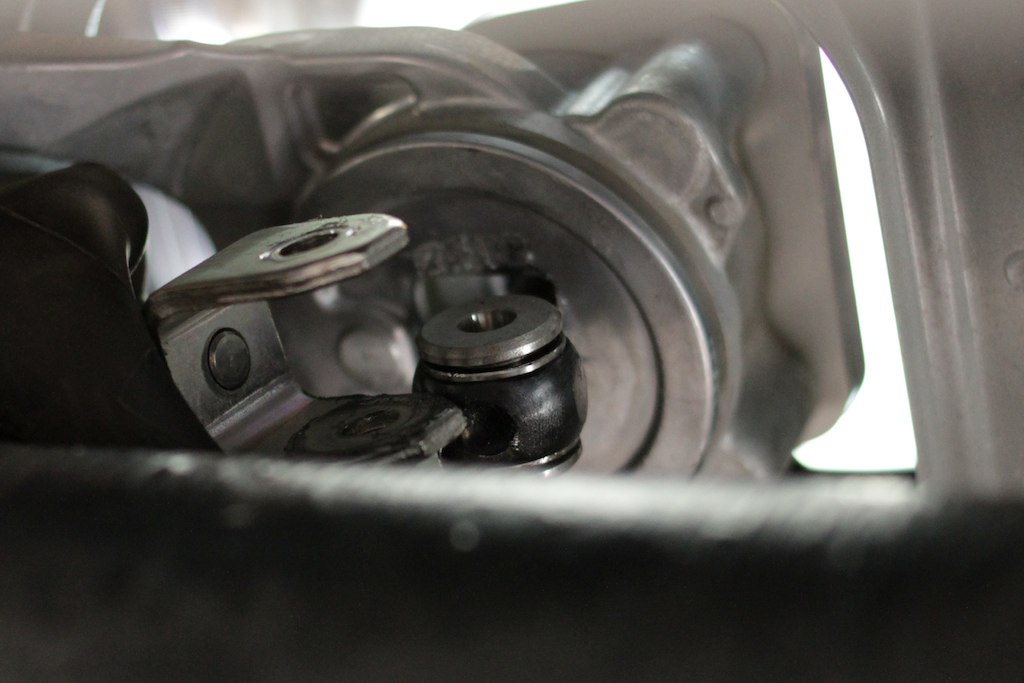 IMG_4359 by J M Gale, on Flickr Hook up linkage and install 12mm bolt, 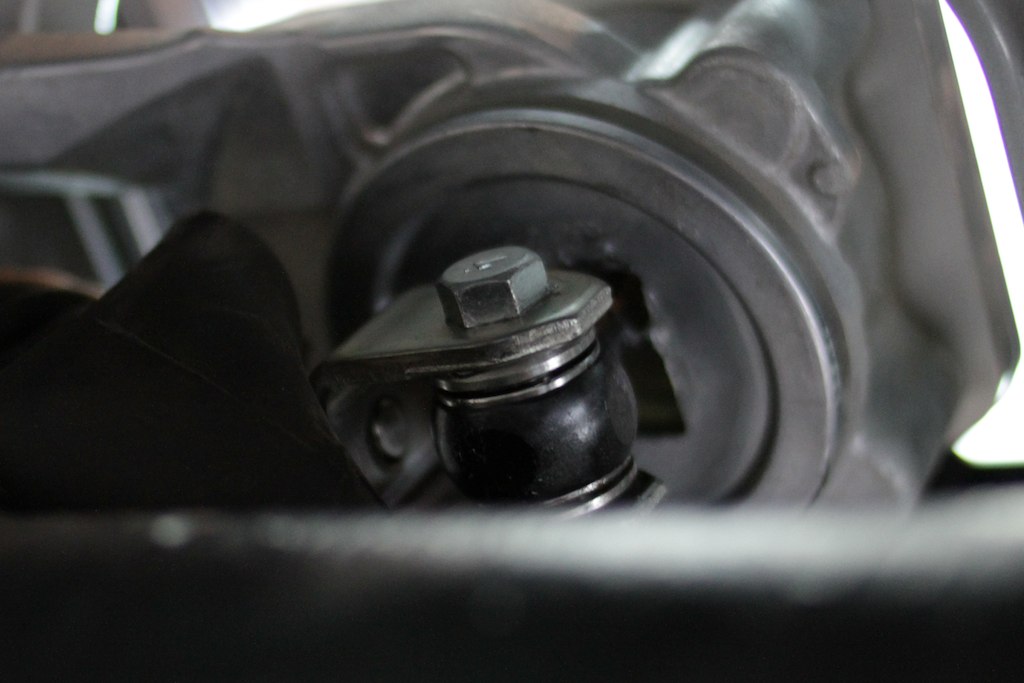 IMG_4360 by J M Gale, on Flickr Now this was the hardest part of the whole install. Reinstalling the rubber dust boot. You need to work around the driveshaft and try to seat this back into a thin metal groove. This took me the longest to do, reminded me of the Demon bolts! My only suggestion, start from the front of the car and try to stretch the back of the boot to fit, hopefully the rest will fall into place, 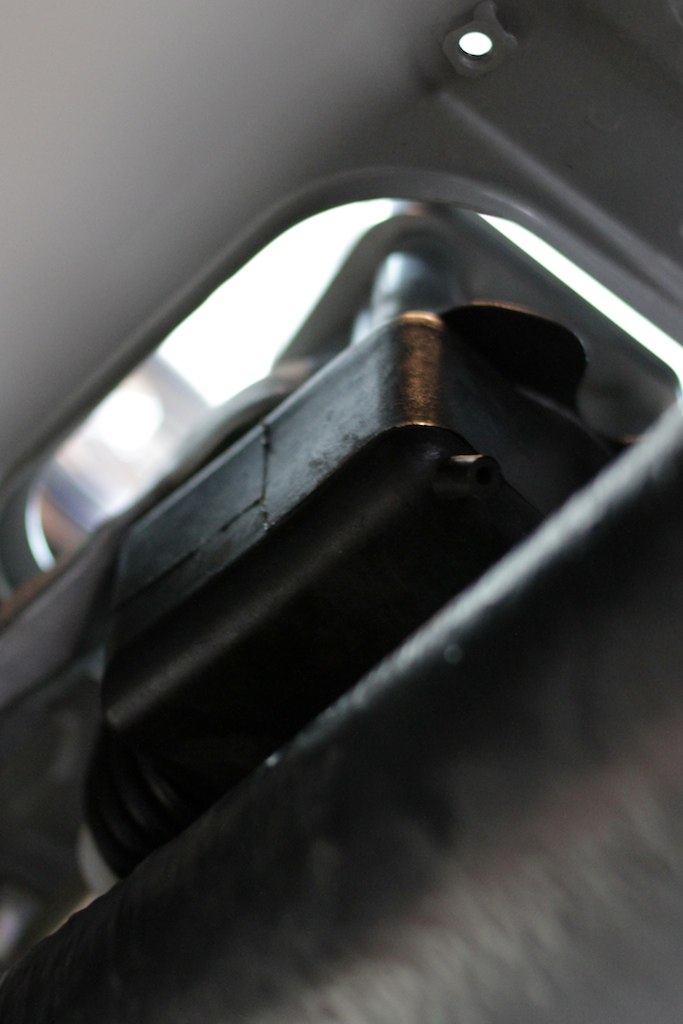 IMG_4361 by J M Gale, on Flickr Back in the car. Make sure the shifter is in 5th gear and is touching the reverse lock-out plate. Tighten bolts when you are satisfied with the fitment, 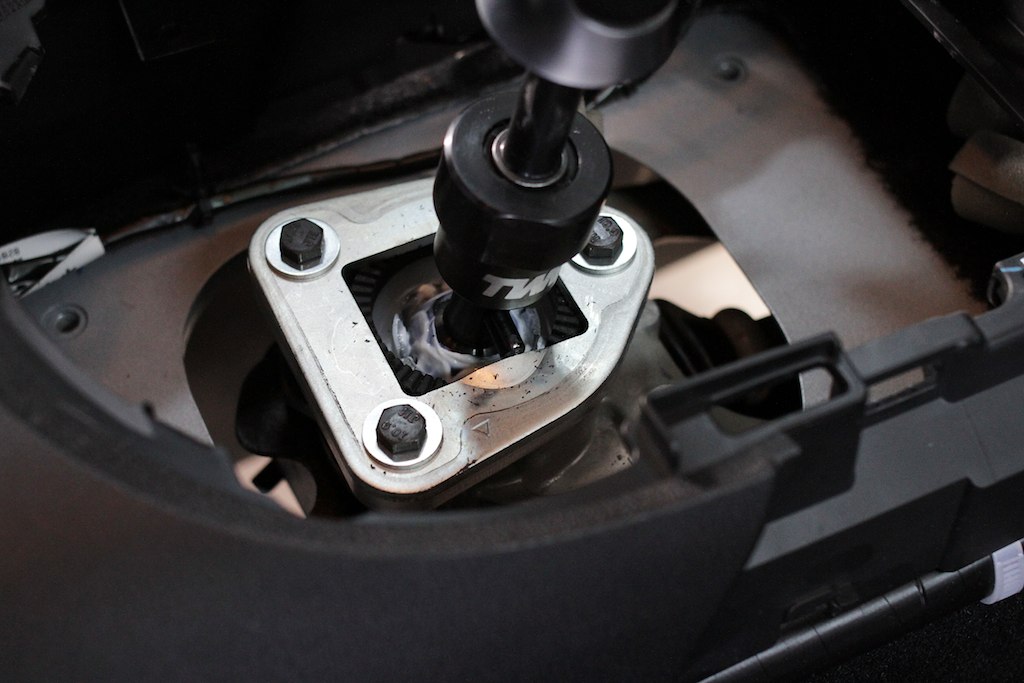 IMG_4362 by J M Gale, on Flickr 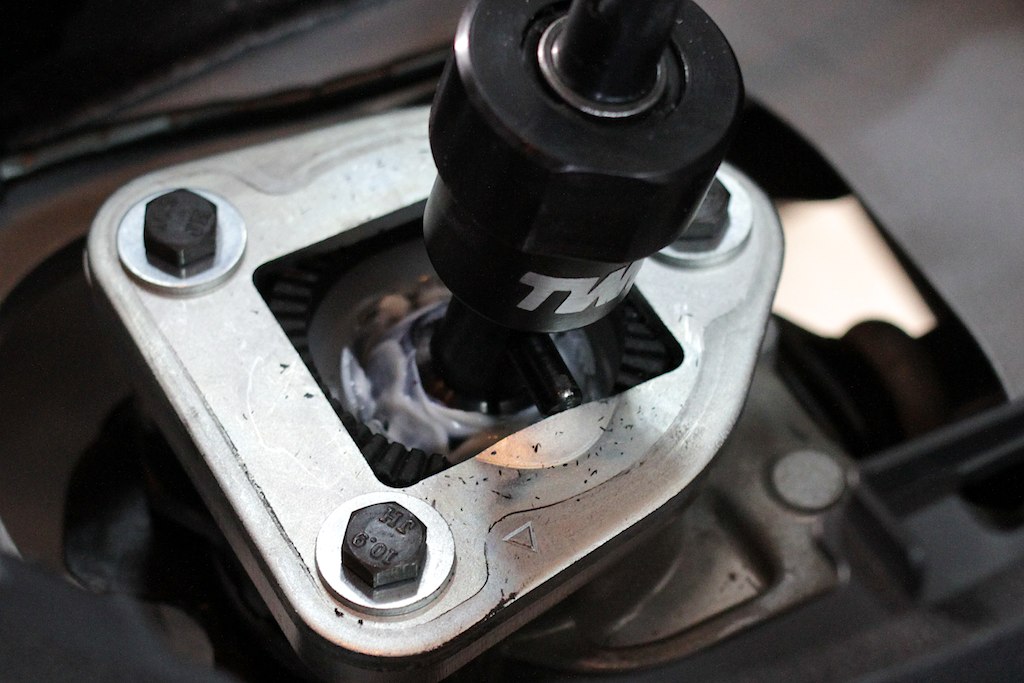 IMG_4364 by J M Gale, on Flickr Start putting it all back together,  IMG_4365 by J M Gale, on Flickr Shifter boot comparison, stock left, TWM leather boot right, 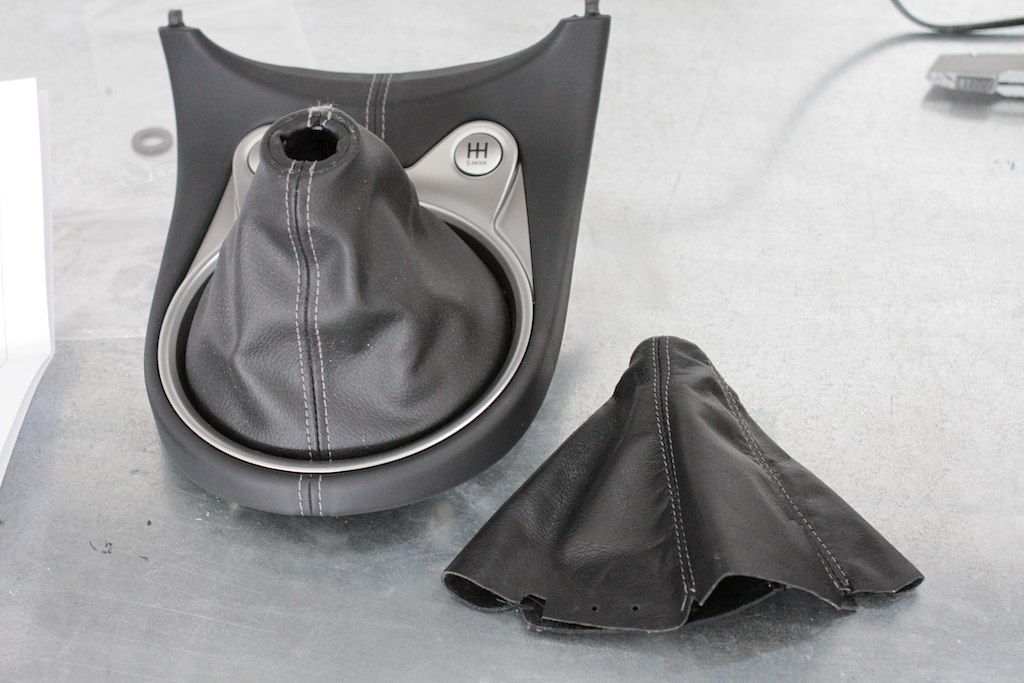 IMG_4366 by J M Gale, on Flickr Remove the six screws and remove the stock boot, 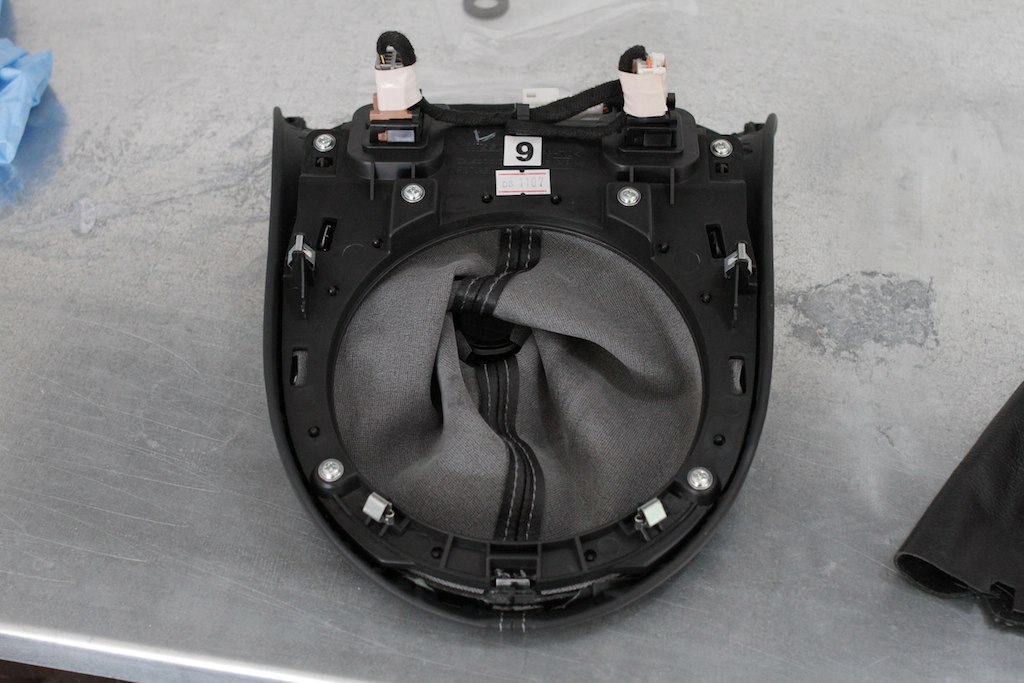 IMG_4367 by J M Gale, on Flickr 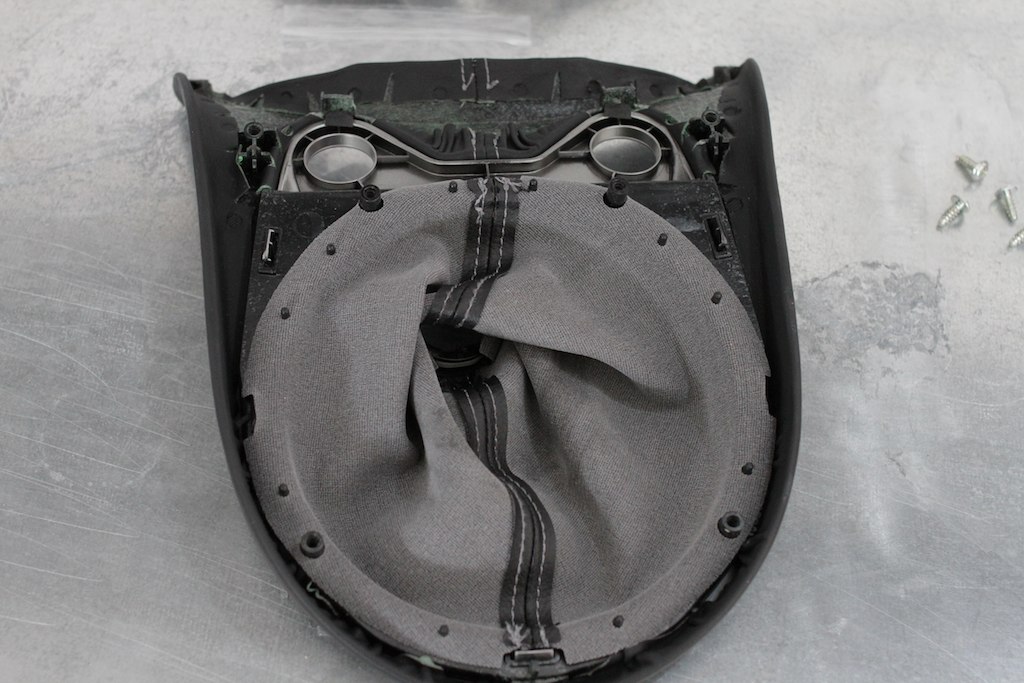 IMG_4368 by J M Gale, on Flickr 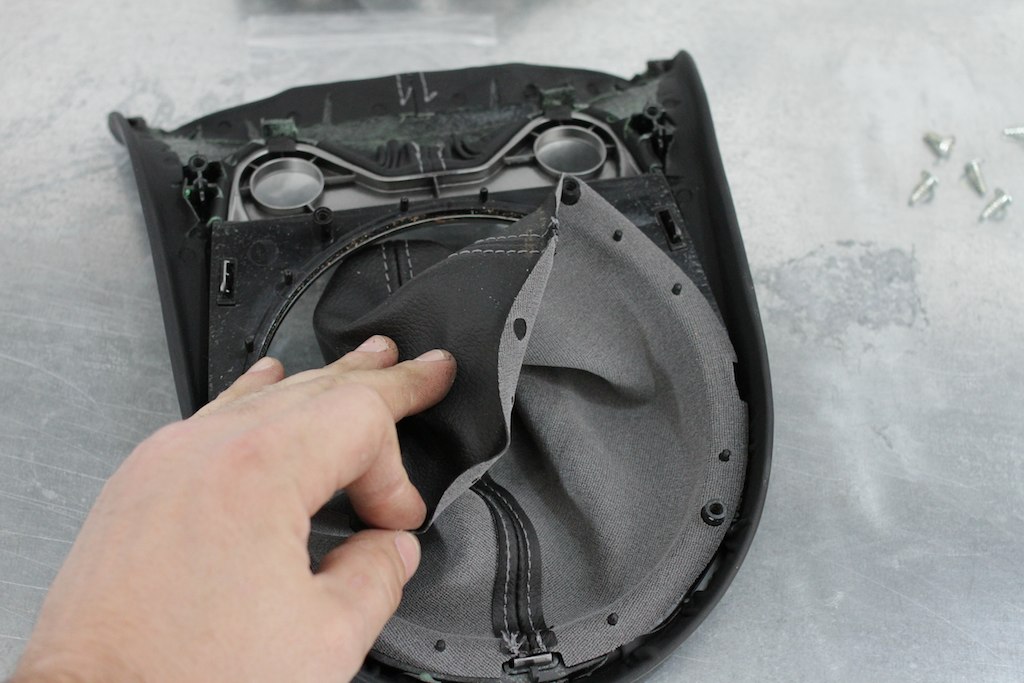 IMG_4369 by J M Gale, on Flickr Reverse the process and install the new boot, 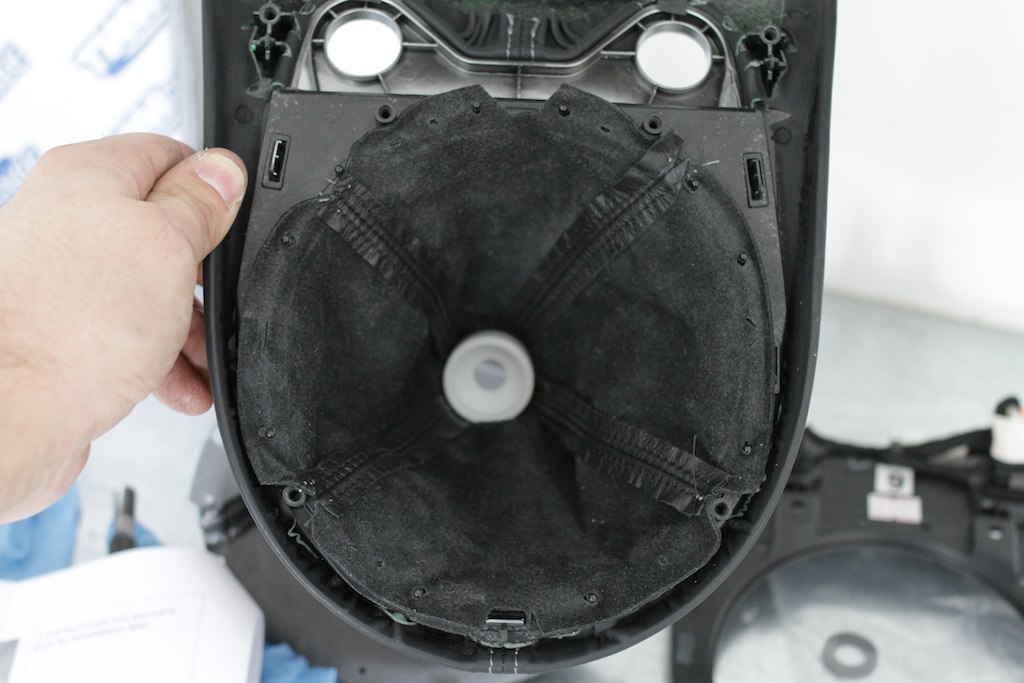 IMG_4371 by J M Gale, on Flickr 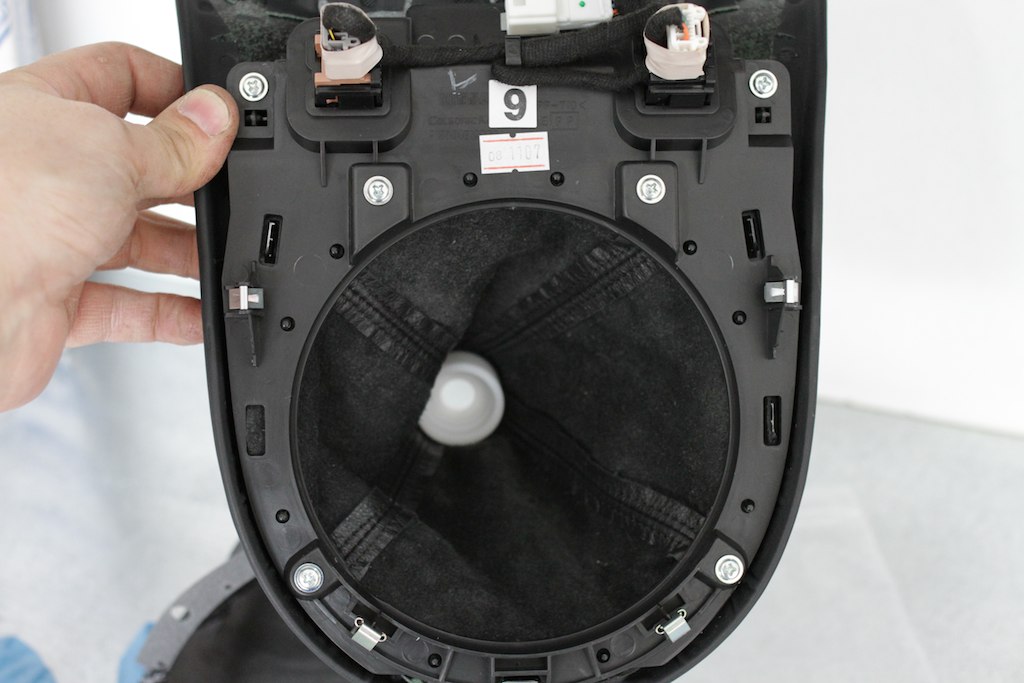 IMG_4377 by J M Gale, on Flickr Ready to be installed, 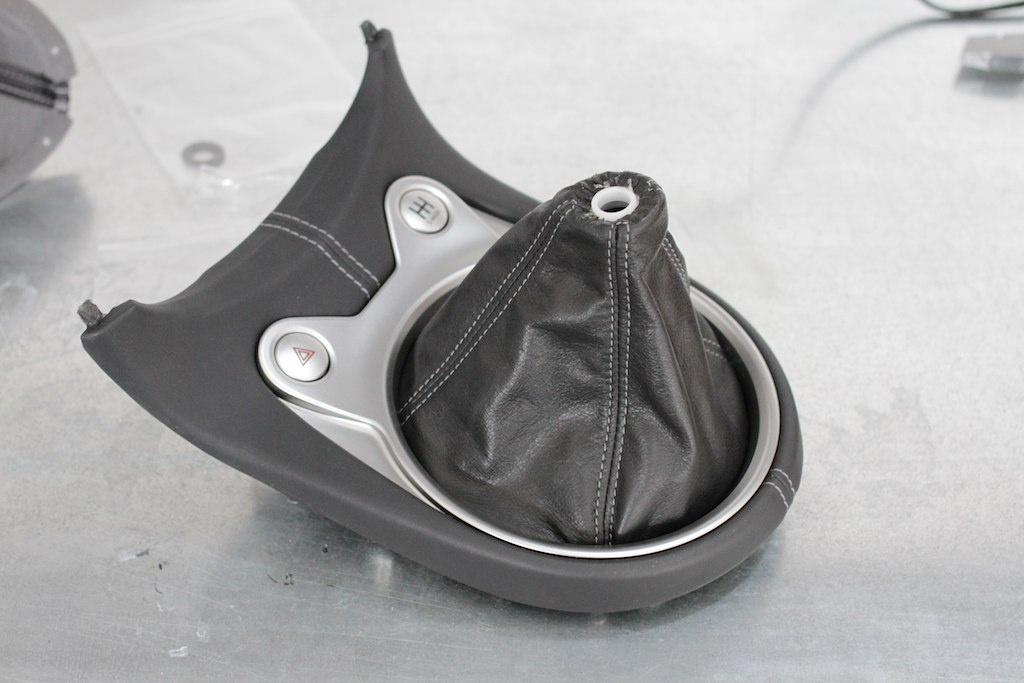 IMG_4378 by J M Gale, on Flickr Finished with the stock shifter knob, 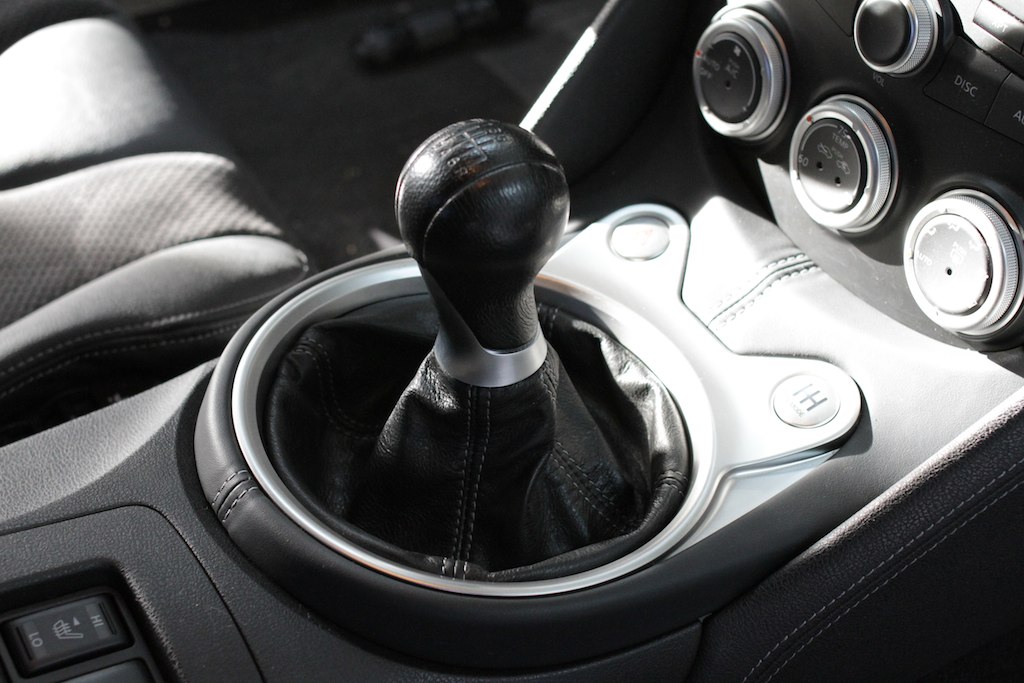 IMG_4382 by J M Gale, on Flickr 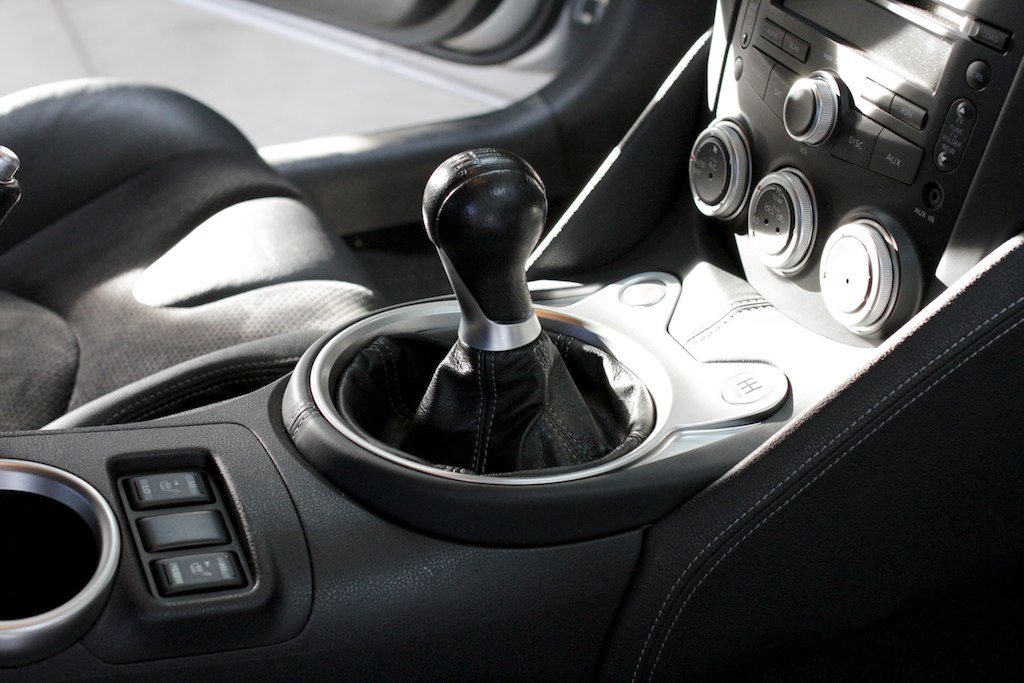 IMG_4381 by J M Gale, on Flickr Finished with the Nismo Titanium shifter knob, 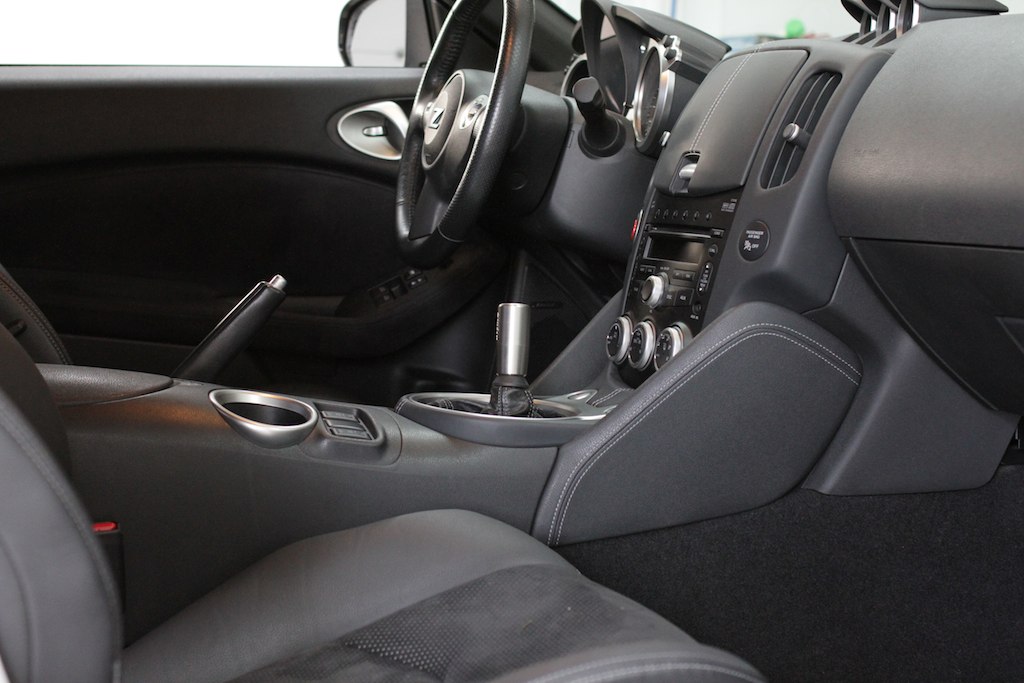 IMG_4387 by J M Gale, on Flickr 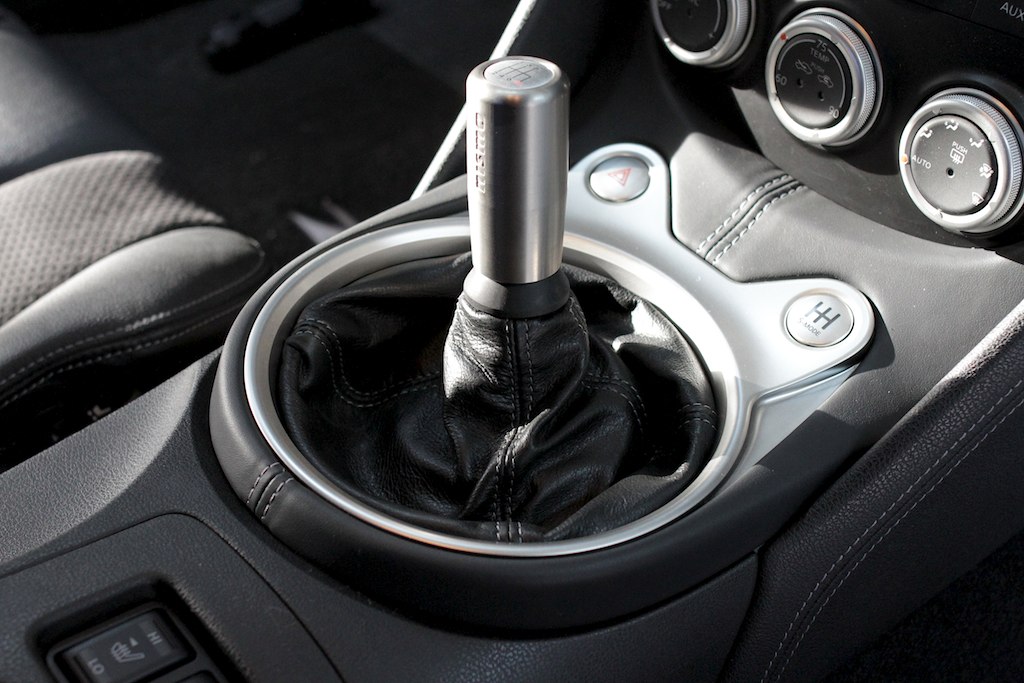 IMG_4385 by J M Gale, on Flickr 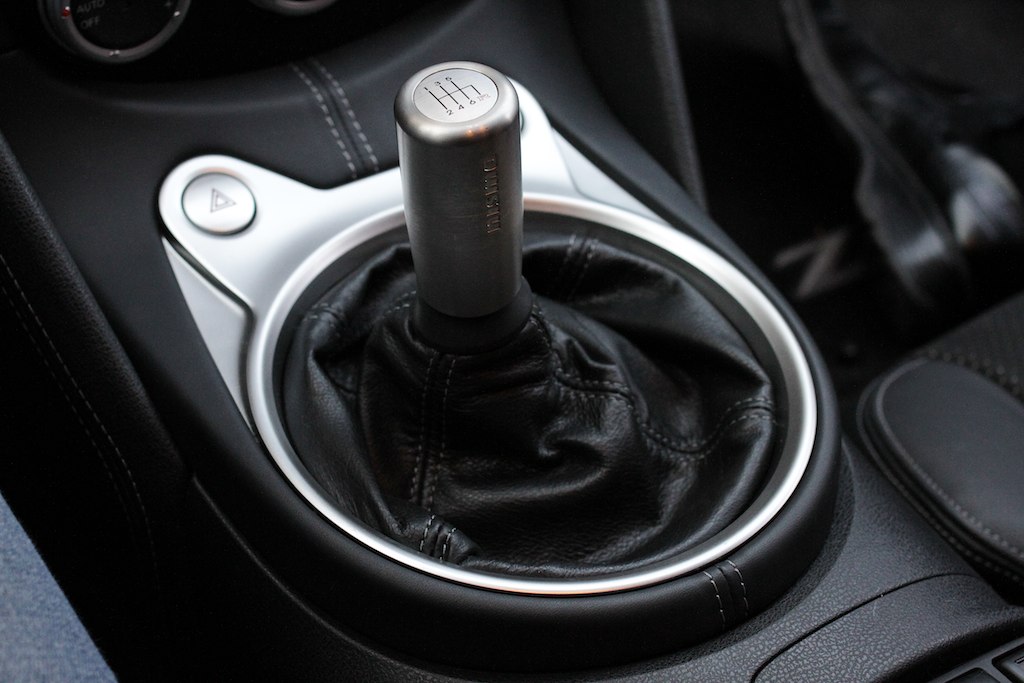 IMG_4394 by J M Gale, on Flickr 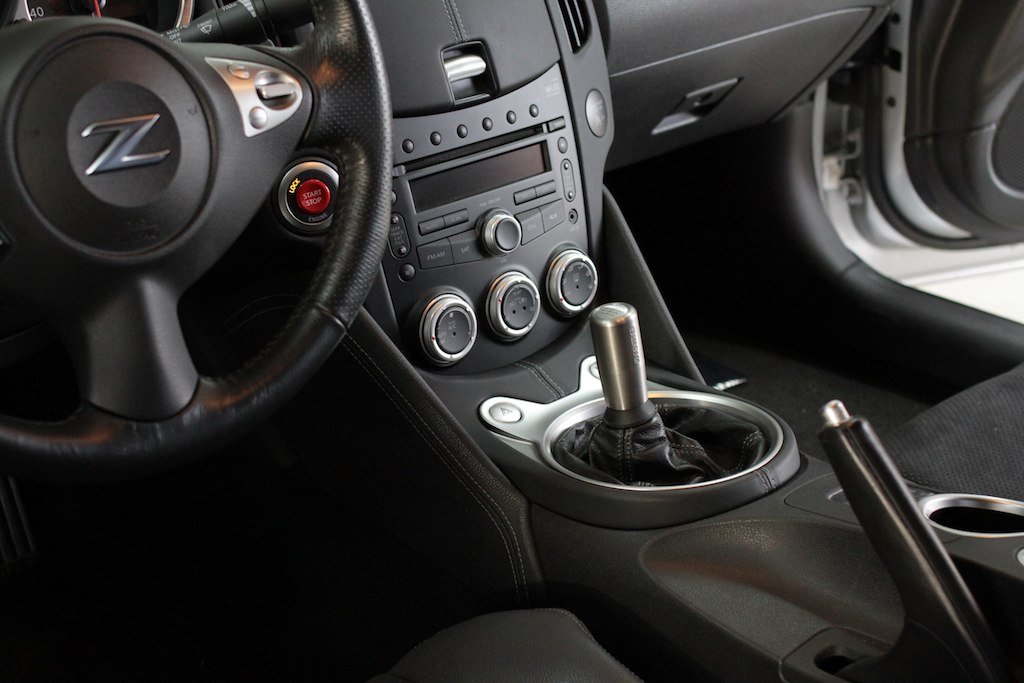 IMG_4390 by J M Gale, on Flickr 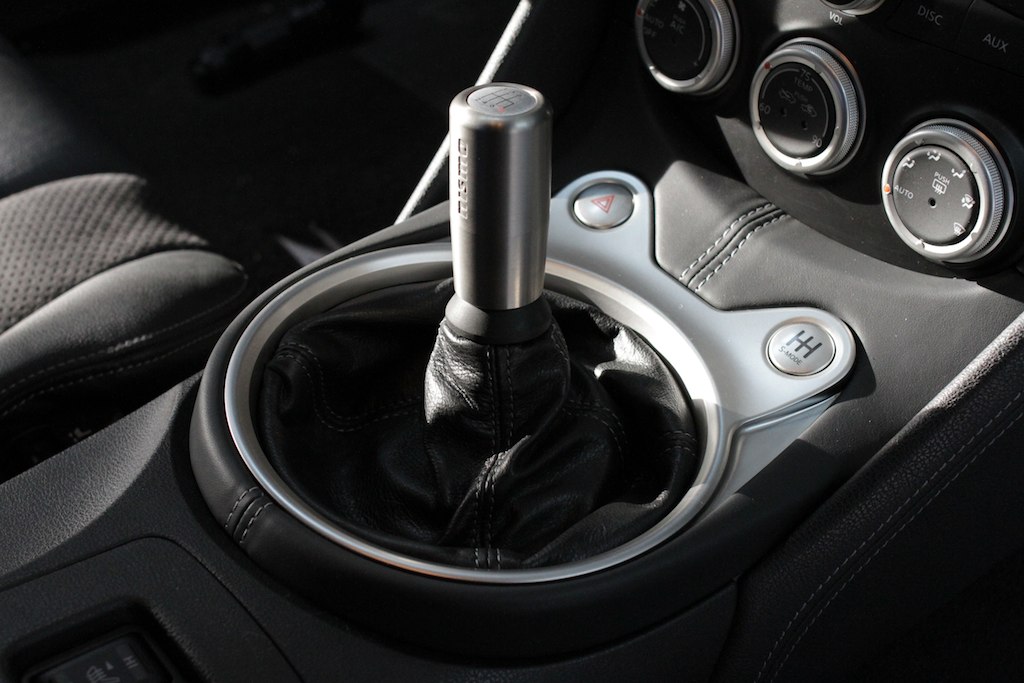 IMG_4386 by J M Gale, on Flickr 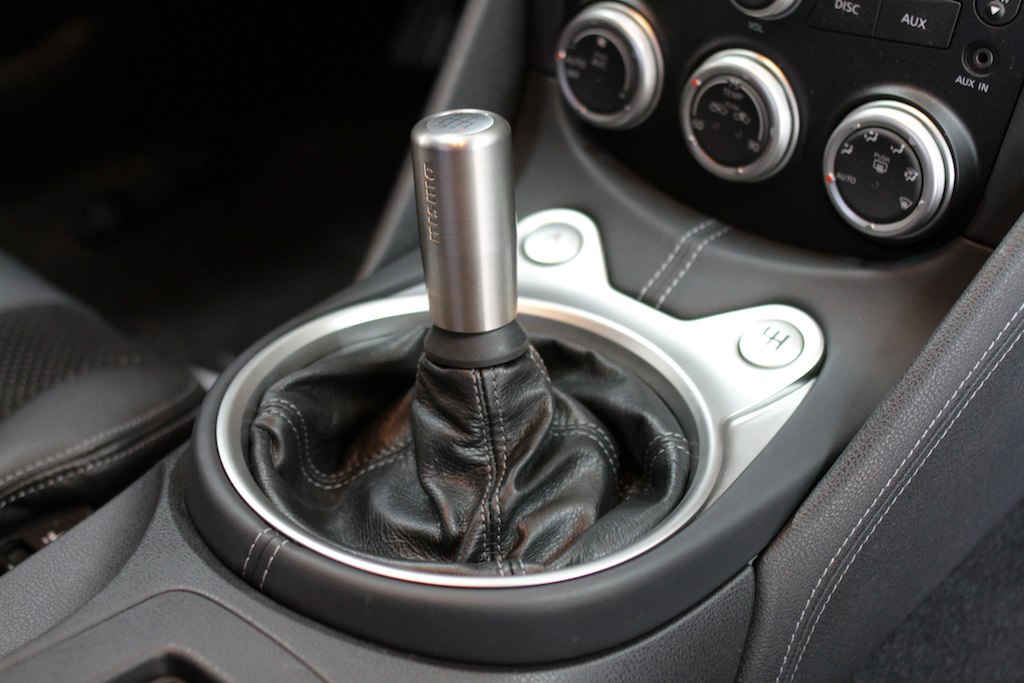 IMG_4388 by J M Gale, on Flickr
__________________
 Last edited by GaleForce; 11-21-2011 at 11:40 AM. Reason: fixed a photo |
|
|

|
|
|
#2 (permalink) |
|
A True Z Fanatic
Join Date: Jun 2011
Location: North Dallas
Posts: 1,272
Drives: 09MontereyBlu370z6MT
Rep Power: 16        |
This isn't necessarily on my list of things to do but.......
What a great write up! +1
__________________
AeroJacket Lip Kit | GTR switch | NISMO S-Knob | Blacked-Out-EVERYTHING| 5% Tint | Carbon Fangs/Upper Trim | VOSSEN CV3's | Painted Headlights | CF Diffuser 
|
|
|

|
|
|
#4 (permalink) | ||
|
A True Z Fanatic
 Join Date: Aug 2011
Location: Ontario, Canada
Posts: 21,749
Drives: Varis Arising II
Rep Power: 51865            |
Quote:
 Quote:
Honestly if I had any issues with an aftermarket part I wouldn't spend this much time on a post for it. lol Thanks for the compliment on the write-up!
__________________
 |
||
|
|

|
|
|
#5 (permalink) |
|
A True Z Fanatic
Join Date: Jan 2009
Location: Jersey
Age: 45
Posts: 4,855
Drives: to acquire tickets
Rep Power: 3525            |
Very nice write up Gale. I plan on doin the same short shift set up eventually
 I think Im gonna go with the M1 Abrams knob from TWM. I think Im gonna go with the M1 Abrams knob from TWM.
__________________
Ryan 314WHP | 260LB-FT | STILLEN | KONI | SWIFT | STOPTECH | Z1 | PROJECT MU | CNT | UPREV | FORGESTAR | BRIDGESTONE | PWJDM | ENEOS | MOTUL |
|
|

|
|
|
#6 (permalink) | |
|
A True Z Fanatic
 Join Date: Aug 2011
Location: Ontario, Canada
Posts: 21,749
Drives: Varis Arising II
Rep Power: 51865            |
Quote:
The Abrams is a nice one, I also like the Big Type-R. I normally drive with my hand on the top of the stock shifter knob so if I can't get used to / don't like the Nismo, I'll get one of those two TWM shift knobs.
__________________
 |
|
|
|

|
|
|
#7 (permalink) | |
|
A True Z Fanatic
Join Date: Jan 2009
Location: Jersey
Age: 45
Posts: 4,855
Drives: to acquire tickets
Rep Power: 3525            |
Quote:
 I repped ya, cant add a comment from my phone though. The blank rep is mine. I repped ya, cant add a comment from my phone though. The blank rep is mine.
__________________
Ryan 314WHP | 260LB-FT | STILLEN | KONI | SWIFT | STOPTECH | Z1 | PROJECT MU | CNT | UPREV | FORGESTAR | BRIDGESTONE | PWJDM | ENEOS | MOTUL |
|
|
|

|
|
|
#8 (permalink) | |
|
A True Z Fanatic
 Join Date: Aug 2011
Location: Ontario, Canada
Posts: 21,749
Drives: Varis Arising II
Rep Power: 51865            |
Quote:

__________________
 |
|
|
|

|
|
|
#9 (permalink) |
|
Base Member
|
Really nice!
__________________
-->2005-6 Nissan Micra 1,3i CVT 72PS Red MY 98 -->2006-8 Nissan Almera 1,5i N16 96PS Red -->2007-8 Skoda Fabia Combi 1,2HTP 3 cylinder 60PS Green -->2008-11 AUDI TT 2,0TFSI FWD S-tronic 200PS Red MY06 -->2011 Nissan 370Z manual White Pearl 
|
|
|

|
|
|
#11 (permalink) |
|
Premium Member
 Join Date: Mar 2010
Location: SoCal
Posts: 1,459
Drives: 2012 6MT STiffy
Rep Power: 18       |
Repped! Great DIY.
__________________
87' Honda Civic Hatchback: Kaput @ 288,000 miles, 90' Toyota Celica: Kaput @ 175,000 miles, 93' Mitsubishi 3000GT VR4: Kaput @ 138,000 miles, 06' Scion Tc: Traded in @ 64,000 miles, 10' Nissan 370z: Traded in @ 25,000 miles, 12' Subaru Impreza Sti: Current. |
|
|

|
|
|
#13 (permalink) |
|
A True Z Fanatic
 Join Date: Aug 2011
Location: Ontario, Canada
Posts: 21,749
Drives: Varis Arising II
Rep Power: 51865            |
Thanks!
You'll like it. The nice thing is you don't need to grind/modify any parts on the car like some other short shifters. Thank-you Sir!  It really is that simple. Installation could be done in less than an hour, easy. Like my write-up says, the hardest part is getting the rubber dust cover under the car to fit properly again. I had fun doing this write-up, I need to do another... maybe a supercharger or turbo...
__________________
 |
|
|

|
|
|
#14 (permalink) |
|
A True Z Fanatic
Join Date: Dec 2008
Location: McAllen Tx.
Posts: 1,038
Drives: '09 PW 370Z
Rep Power: 368            |
Great write up! One question though...i've had some not so great experiences before with SS its that make daily driving a hassle at times. Is this "tolerable"....i don't know if i am making myself clear but my past SS kit was a pain to make some "smooth" shifts.
__________________
'09 6spd. Touring: Eibach / SPC / Motordyne / Berk / Z1 / Oneighty / Mines / SSR / Stillen / CFE |
|
|

|
 |
| Bookmarks |
|
|
 Similar Threads
|
||||
| Thread | Thread Starter | Forum | Replies | Last Post |
| DIY: Shifter Boot fix with after market shift knob | Dembflyr | DIY Section (Do-It-Yourself) | 11 | 05-21-2014 09:21 PM |
| [FOR SALE] AMS Short Throw, Blox Racing Ball, Redline shortend shifter boot | The Shocker | Parts for sale (Private Classifieds) | 32 | 08-16-2011 10:21 PM |
| Need advise with new shifter knob and boot | The Shocker | Exterior & Interior | 12 | 05-20-2011 11:19 AM |
| Aftermarket shift knob with short throw shifter and factory boot | m4a1mustang | Exterior & Interior | 18 | 06-09-2009 08:15 AM |
| Short Shifter | Trolling222 | Engine & Drivetrain | 2 | 03-13-2009 05:00 PM |