
|
Special Tools Required: Torque Wrench 22mm socket (most DIY sets only go to 21mm) 10mm hex-key socket that will fit your torque wrench (for 12mm bolts) Jack Jack stands Optional
|
|||||||
|
|
LinkBack | Thread Tools | Display Modes |
 01-25-2010, 09:44 PM
|
#1 (permalink) |
|
A True Z Fanatic
 Join Date: Mar 2009
Location: North East
Posts: 6,203
Drives: 09 370Z Sport M6
Rep Power: 654   |
Special Tools Required:
Torque Wrench 22mm socket (most DIY sets only go to 21mm) 10mm hex-key socket that will fit your torque wrench (for 12mm bolts) Jack Jack stands Optional Special Tools: 10mm flare nut wrench Removal Front Start by jacking up the corner, supporting with a jack stand and removing the front wheel. Loosen the lugs before you get the wheel completely in the air, especially if you are doing this by hand. You should be starting with something like this. I have the Akebono sport calipers, but the base procedure should be similar. 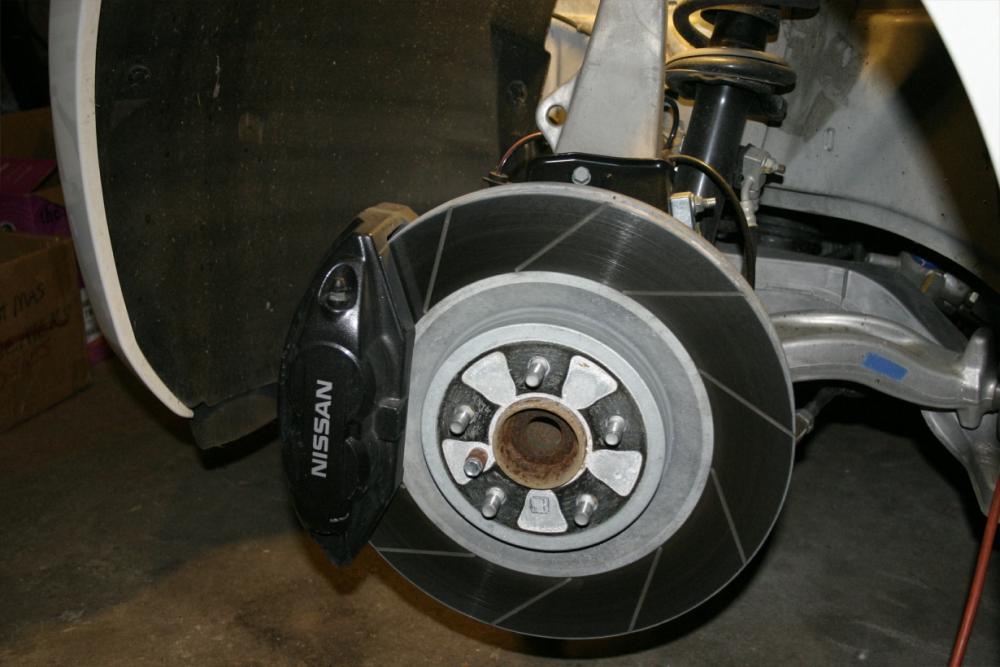 Remove the 12mm bolt (in green) and discard. Remove the 12mm nuts holding the brake line blocks and set aside (orange). Pull the rear block off the post now if you can. 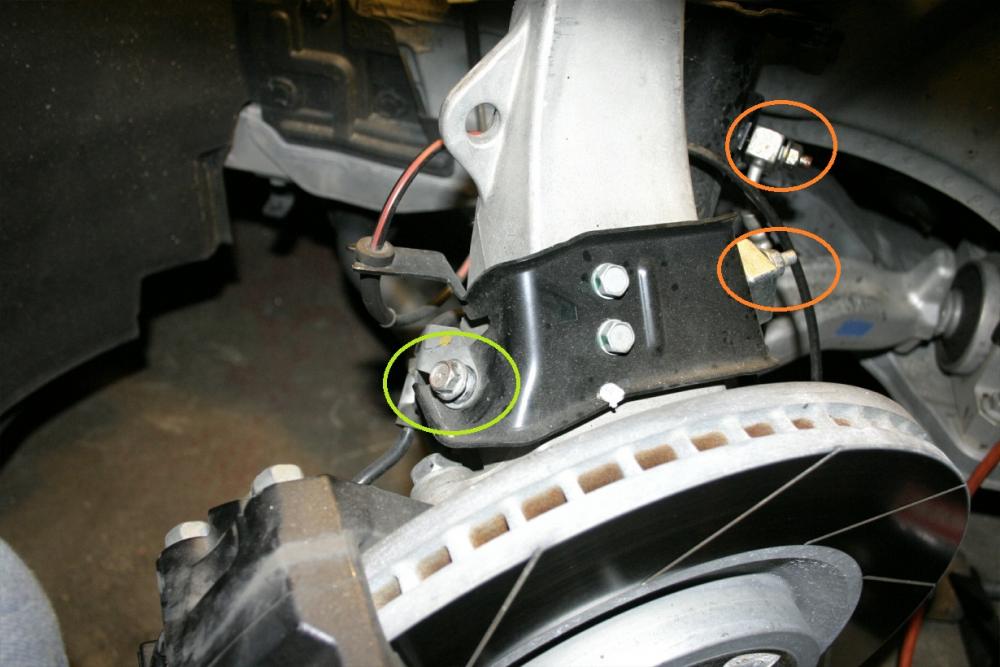 Take the steering lock off so that you can turn the caliper out towards you for easy access. Locate the 2 caliper bolts and remove with a 22mm socket or wrench. Keep the brake line attached for now, and while holding the caliper remove the front brake line block from the post. Set the caliper on the ground resting on some cardboard or similar. 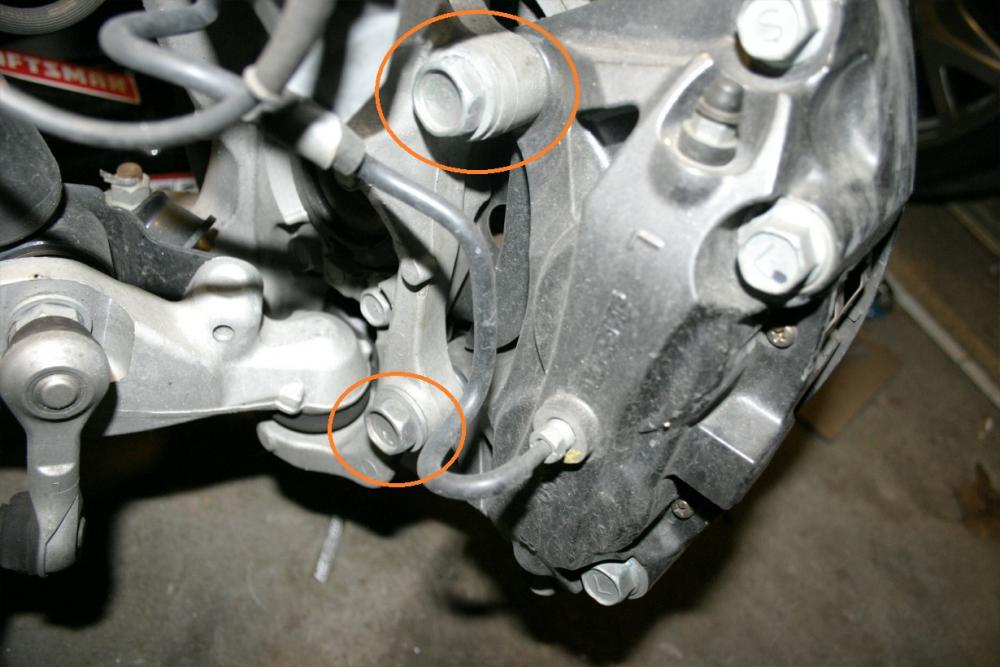 Installation Front Before starting make sure you have the correct kit box for the side you are working on. The left and right kits are distinct and should be marked on the box. First step is to install the aluminum caliper adapter bracket. But before you can you will notice that the factory dust shield is in the way. You could trim this, but it bends very easily and can be bent out of the way by hand. Don't worry if it touches the bracket. 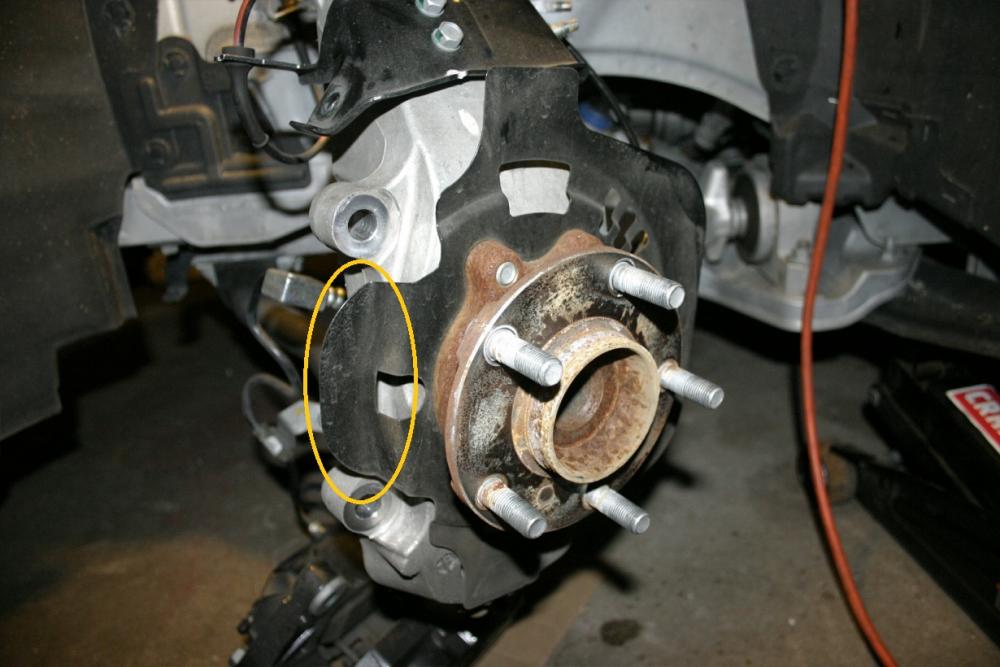 Install the bracket reusing the 22mm bolts from the factory caliper with some red loctite on the threads. Torque to between 70-80 lb/ft. 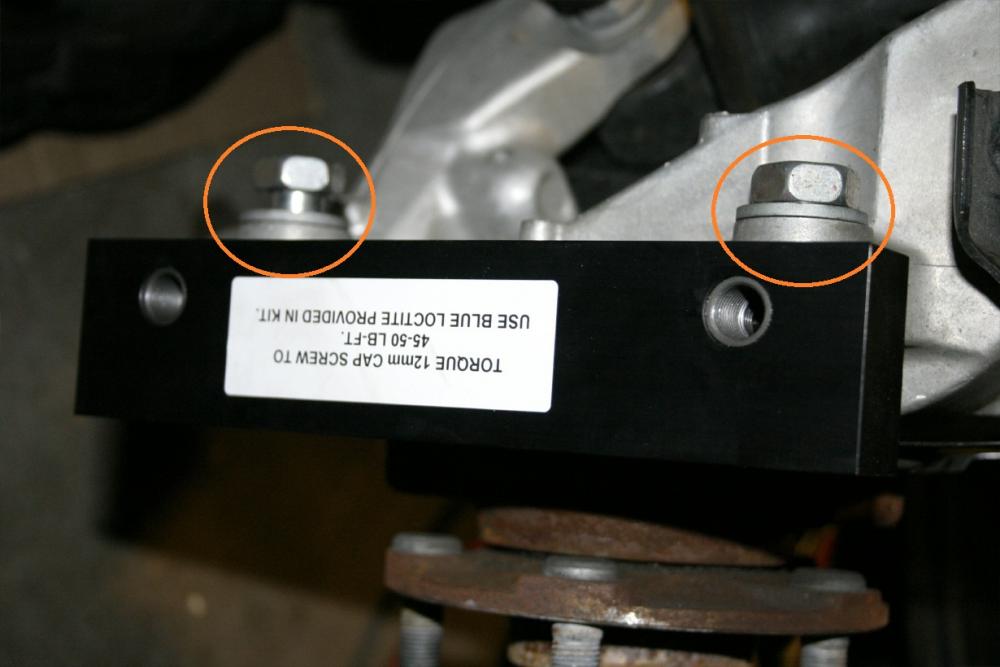 Install the new rotor, make sure it is pushed all the way flush. Temporarily support with a couple of lug nuts. Turn the rotor and check for any rubbing on the dust shield. 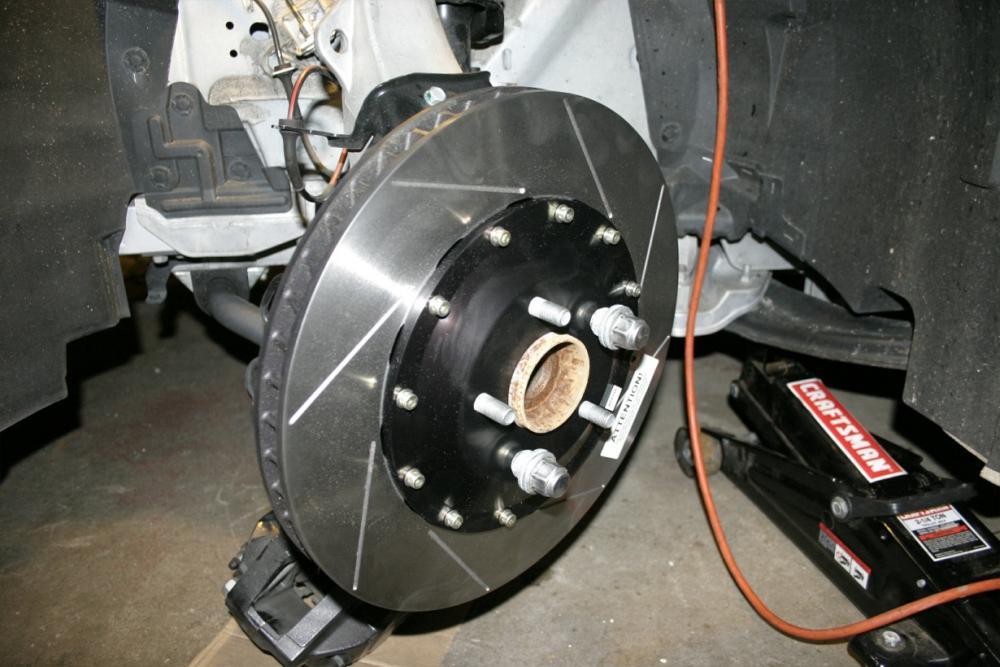 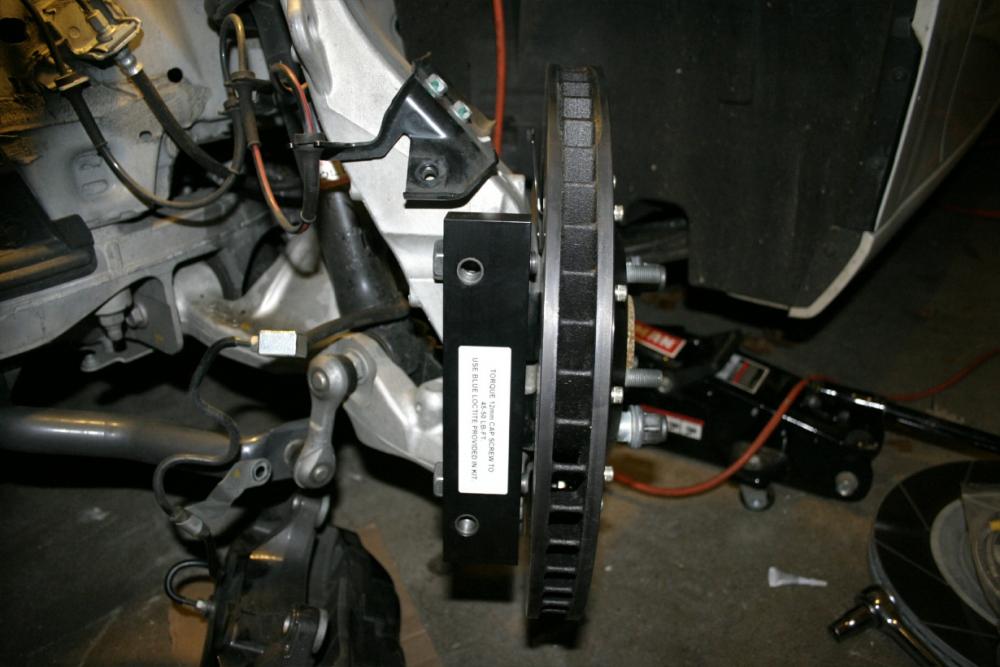 Grab your new caliper and a 12mm hex cap screw from the bag of goodies and loosely tighten the caliper to hold it in place. Grab your 2nd 12mm cap screw and apply some blue loctite and torque to 45-50 lb/ft. Remove the temporary cap screw and apply loctite to the threads and reinstall this time torquing to final specs.  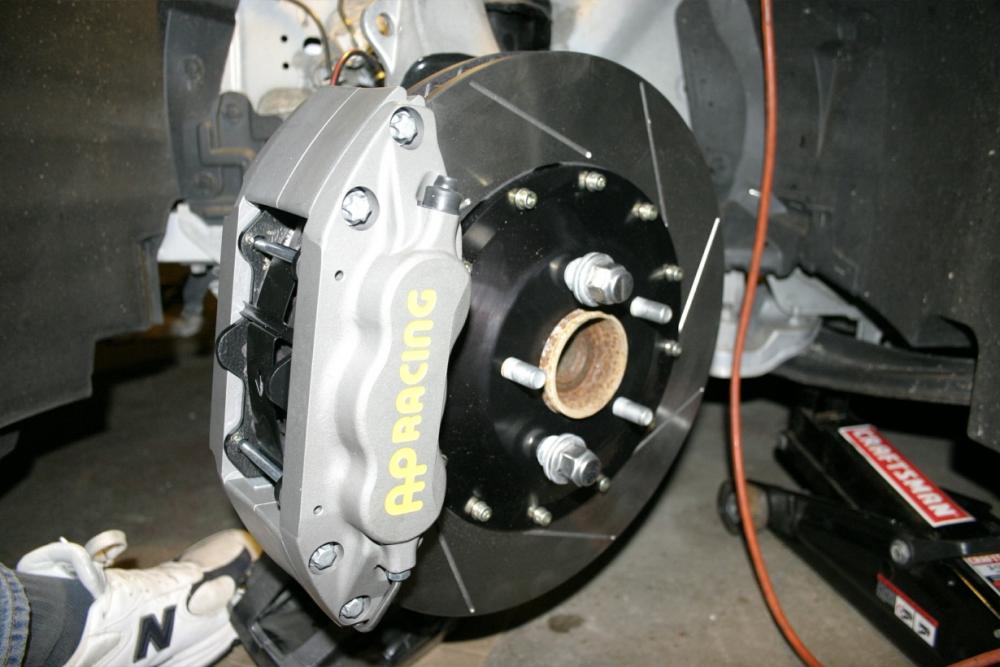 Next install the SS brake line, route it around the back of the steering knuckle and to the mounting point on the shock absorber. Slide the block adapters over the posts and attach with the 12mm nuts removed previously. 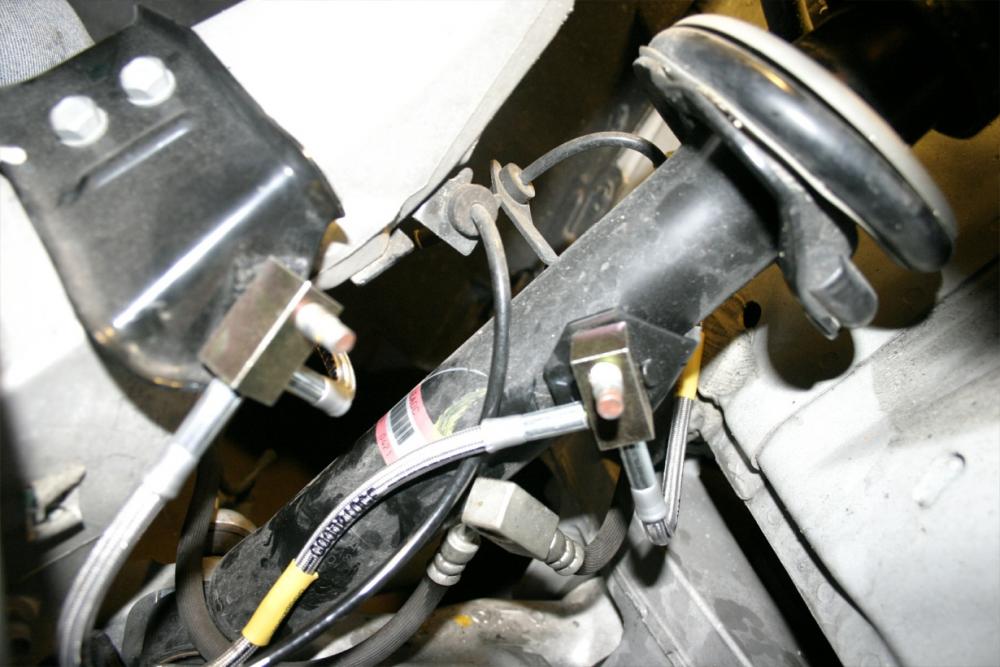 Attach the caliper end of the brake line with the banjo bolt and copper crush washers already attached to the caliper. Torque the banjo bolt to 18 lb/ft. 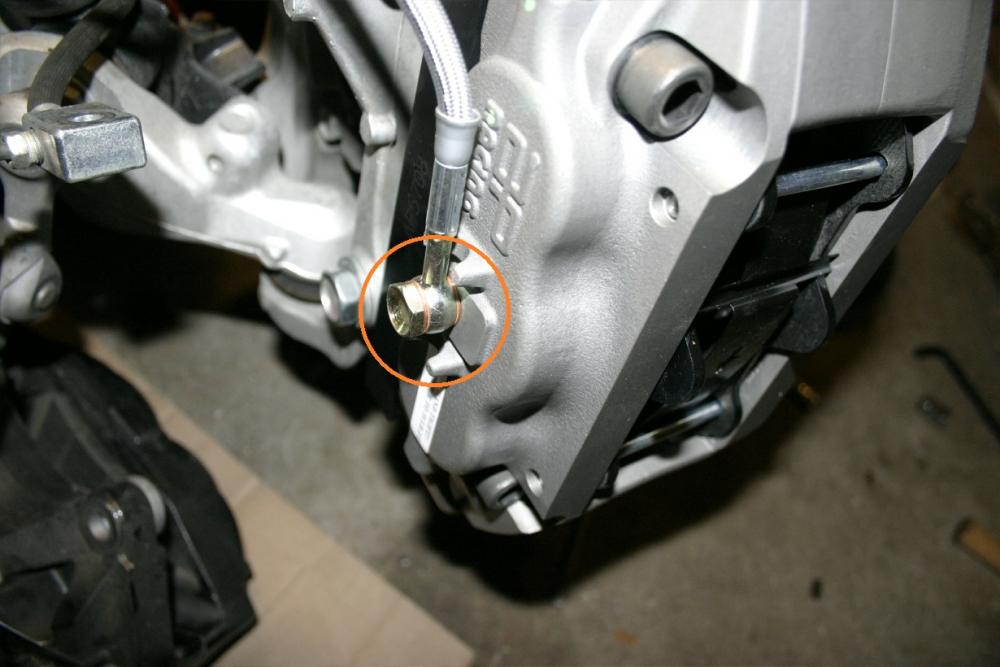 Route the other end of the brake line to the hard line fitting. Crack the old line but don't loosen too much yet or it will leak. 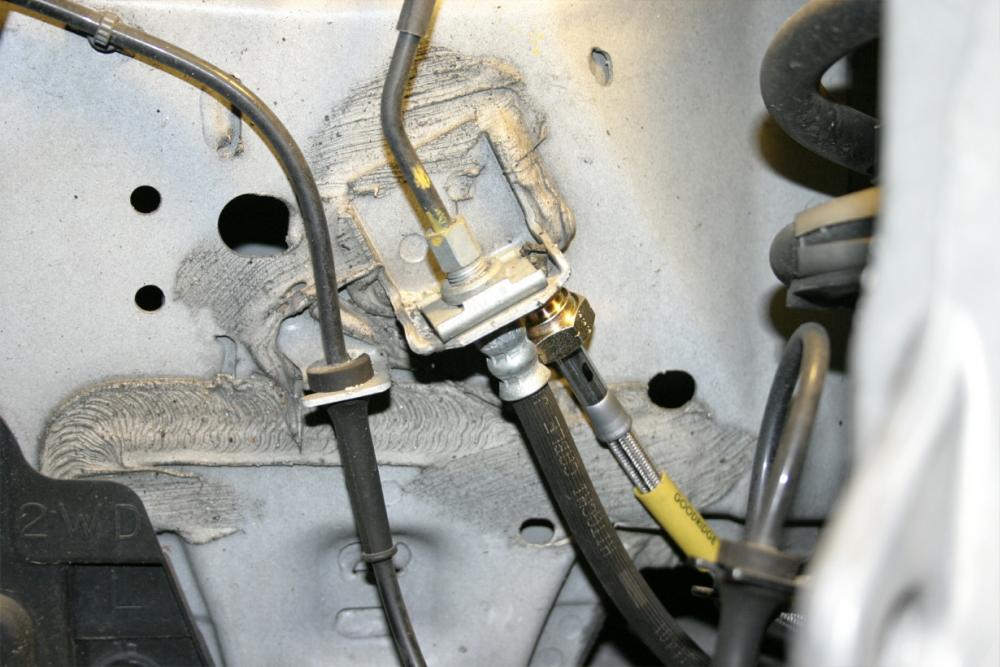 Pry out the old brake hose clip using a large flat screw driver. 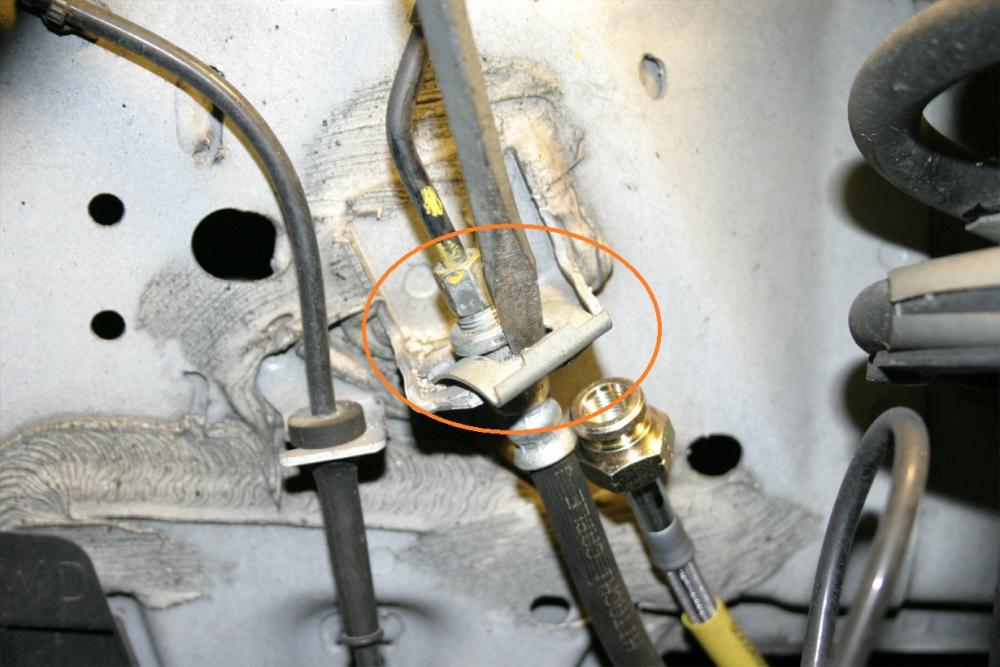 Attach new SS brake hose to line through hole and tighten snug but not tight. 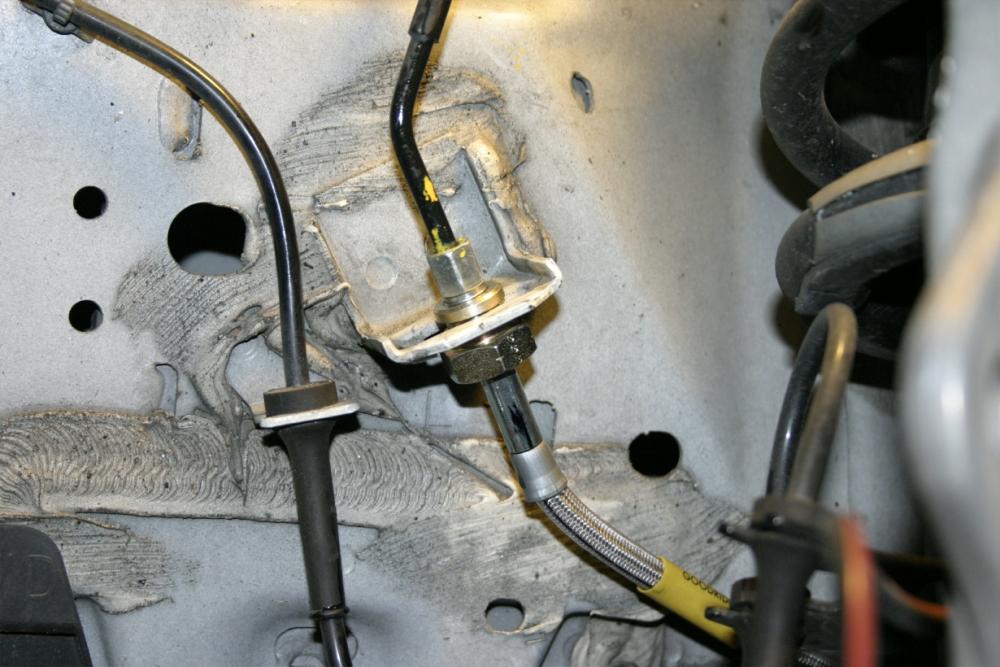 Attach new brake hose clip using small hammer or mallet. You can now torque the brake line fitting down to around 10 lb/ft. Not too tight as you can damage the fitting causing a leak. 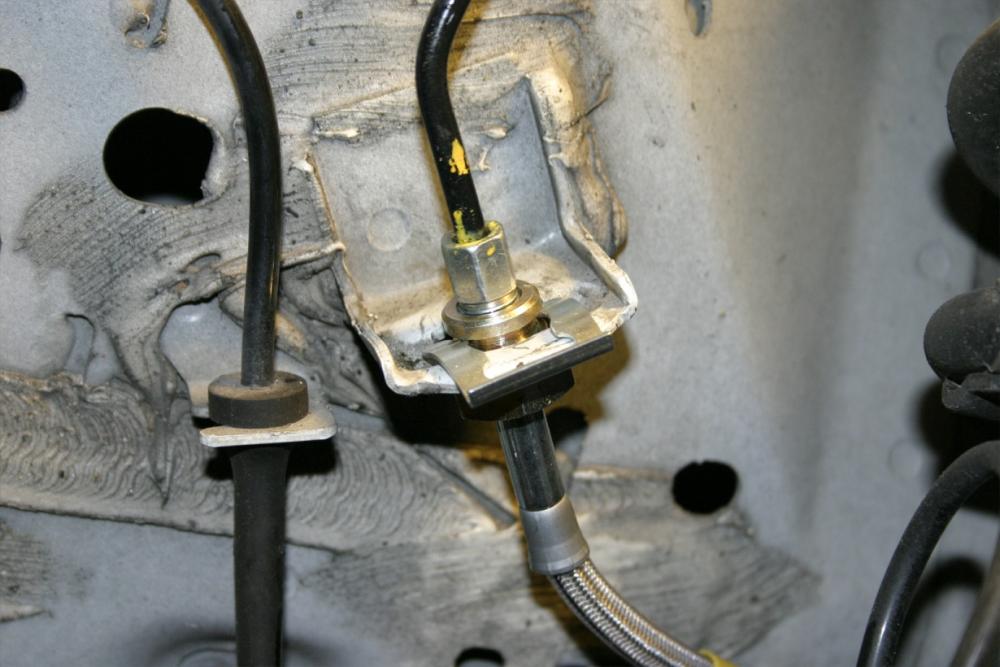 Double check the routing of your lines, and your done! 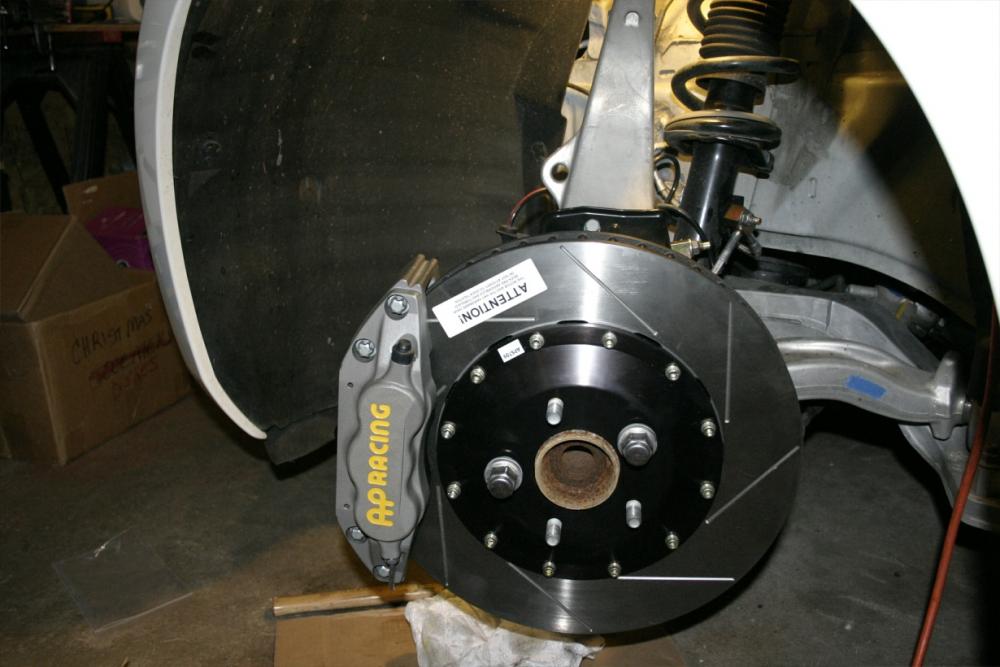 Bleed brakes, clean off fingerprints with brake cleaner, remount wheel. Last edited by ChrisSlicks; 02-02-2010 at 04:44 PM. |

|

|
| Bookmarks |
|
|
 Similar Threads
|
||||
| Thread | Thread Starter | Forum | Replies | Last Post |
| Megan Racing Coilover shock install and first impressions | Phimosis | Brakes & Suspension | 88 | 07-14-2016 03:26 PM |
| Racing stripes? | Darkstar87695 | Nissan 370Z Photos / Spyshots / Video / Media Gallery | 170 | 09-19-2014 02:15 AM |
| ECSpeed: Megan Racing | KSport Kontrol Pro | D2 Racing RS | IN STOCK SALE FREE S&H!!! | AJ@ECSMotorsports | Suspension/Brakes | 65 | 03-10-2014 11:44 AM |
| Drag racing anyone? | rednek01 | Texas | 25 | 09-24-2009 12:17 PM |
| It's not a racing hen, it's a racing duck!! | Sonic370Z | Member's 370Z Gallery | 6 | 08-14-2009 06:51 AM |


 Threaded Mode

