
 |
Decided to do a full cleaning session on the car yesterday, got up early and have done a bit of guide below. Heres some before shots, got to love the
|
|||||||
 |
|
|
LinkBack | Thread Tools | Display Modes |
|
|
#1 (permalink) |
|
Base Member
Join Date: Oct 2013
Location: Dubai
Posts: 51
Drives: 13 Nissan 370Z MB A7
Rep Power: 12  |
Decided to do a full cleaning session on the car yesterday, got up early and have done a bit of guide below.
Heres some before shots, got to love the combination of sand and heat in Dubai, it literally seems to bake to the surface of the car (and this is winter)       To give an idea of how the sand looks on the paint, the above is roughly 5 days without being washed and roughly 250km's worth of driving. Regardless of how you wash the car and then polish it either by hand or machine the paint retains a rough texture to it from the sand. Its very annoying and didn't ever have any sort of similar issue in the UK, would get some contaminants attaching to the paint but nothing on the scale of the sand here as it gets everywhere! Onto the cleaning routine for the car, got up early to avoid as much of the sun as could however when I got to the cleaning bay which is normally in shade from 11am I found out its perfectly in the sun at 9am. Not ideal to wash a car but the sun was cool and shade was on its way! To start the wheels needed a serious going over which was best to do first, I started off with a concentrated citrus de-grease shampoo:  Before starting to clean the wheels gave them a good blast off with the pressure hose, gets rid of as much brake dust and sand as possible: 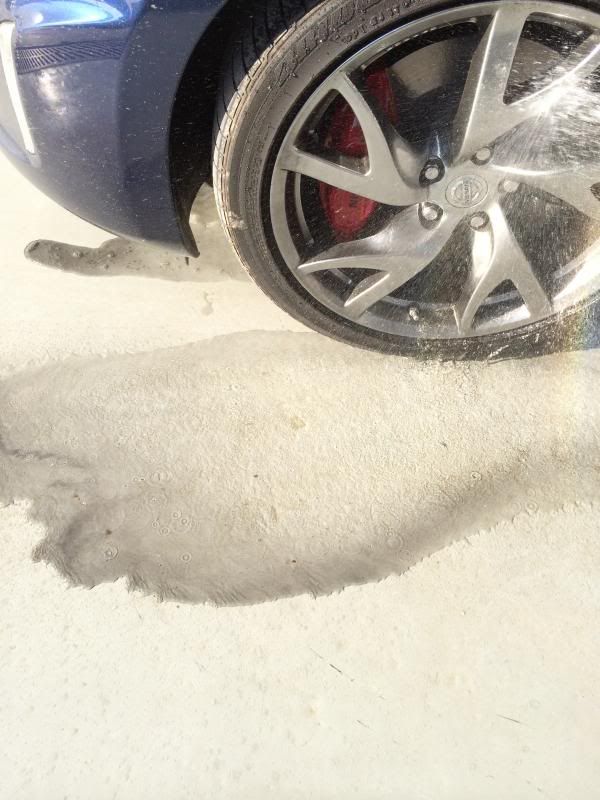 Next up is soak the wheels 1 by 1 in a non acidic wheel cleaner, normally id use an Iron X style de contaminant liquid but I didn't have any with me so the wheel cleaner will have to do today, always keep this in a pump spray for ease of use:   Once this has soaked in for a minute or two then onto the washing itself, I use a microfibre sponge for the front surface of the wheels with them being a painted finish:   When the fronts have been done I then clean the inner wheel rim, backs of the spokes and the calipers using a normal sponge:   After doing this the water in the bucket is not a good colour!  Whilst the water is like this using a clean section of the sponge I used for inside the wheels I rub the tyres down and after wife over the inner arches:    Once finished the tyres off the wheels are given a good blast off along with the inner arches to clear any remnants:  By time finished all 4 wheels off the shade was starting to get near:  Onto washing the car bodywork itself, fortunately the shade was almost covering half of the car:  Id also left the bonnet up whilst doing the wheels as this obviously stays the hottest for longest after driving. Similar to the wheels I was using a citrus based wash for the paint but in a higher concentration, as im wanting to clay the car after the wash and its a while since its been washed properly the more can strip the paint of any contaminants the better:  For washing at the moment im using a microfibre wash mit which isn't my favourite option, prefer the lambswool wash mits but not come across one in the UAE yet:  Before starting to wash the car with the mit I hosed it down repeatedly from top to bottom to clean as much of the loose dirt off as possible:   Before washing the body I wiped down the door shuts with the same citrus wash and around the boot area, I do this before washing the rest of the car as when hosing it down these areas clear out as your washing:  Fortunately the water was still beading a little from the last time the car was waxed/sealed which is at least 2 months ago. Onto the washing itself, the more on the wash mit the better and the usual top to bottom method was used however I could only do half the car at the time due to the shade:    After id finished rinsing off I always use a drying towel on the cars now, used to use a wash leather but they take many more passes and don't leave the paint as clear as a drying towel: 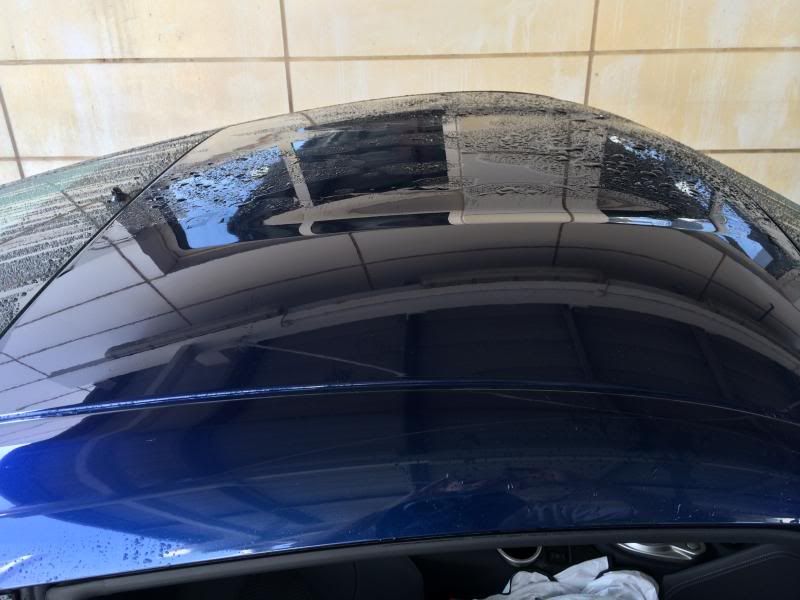 The above was one pass using a decent drying towel and it almost completely cleared the roof of water on the half it was used on. After the car was dried off it looked half decent sat in the sun:   However the paint still had the trademark rough texture from the sand, so onto the next stage...................... |
|
|

|
|
|
#2 (permalink) |
|
Base Member
Join Date: Oct 2013
Location: Dubai
Posts: 51
Drives: 13 Nissan 370Z MB A7
Rep Power: 12  |
Car now moved inside, trying to do any extra cleaning outside is not easy with the amount of sand in the air, just seems to re-appear the second you clean it off!
 Again bonnet up to allow to cool as much as possible (boot open to get stuff out!) Next stage is something im not a fan of doing, clay barring the paint. Not that its particularly difficult its just one of those things that can easily go wrong, speaking from experience! The clay itself and the lubrication for it:   Key is to use a lot of the lubricating spray to prevent any damage to the paint, this is really the only easy way to get all the contaminants off the paint surface, whilst doing this the lubricant liquid can see going a brown colour as its get the sand out.  Again top to bottom method, the lubricant runs down giving more protection to the paint the lower you get. When finished the clay bar is completely reshaped having been turned and re moulded several times:  The paint now looks like this:   Obviously needs to be re washed, for this wash I used a high gloss shampoo again in a concentrated amount:  Car naturally rinsed off heavily before starting to wash the paint again, fortunately the shade had moved enough to get the car in it completely, albeit sideways:  After the clay barring the paint had lost all of its beading ability from the previous wax/sealant:  Couple of pictures of the calipers after cleaning them earlier and being properly washed off:   After being washed and dried after the clay bar the paint displayed several areas of holograms, tried to get pics on the camera phone but not easy:   Can just say see the areas in the sun on the pics above. Now for the fun bit.............. ..................... the machine polishing. Need to select the correct size backing plate before starting on the paint:  Once got the correct backing plate on and the matching pad size need to prime the pad with a similar style spray to the clay lubricant:  To start with ive gone for a pad with a very slight cutting ability and also a polish again with a slight cutting ability in it:  4-5 drops of the polish on the pad and spread onto the paint with machine on speed 1, I only do 1 panel at a time or the bonnet half at a time:  After applying the polish at a low speed then run back over the applied area at a speed around 5 on the DA machine to buff off:   Whilst im doing the polishing I use the time to apply the tyre gel, only use the gel these days as its the only one I find doesn't fly off the tyre as you start driving as the sprays always seem to. Use an applicator pad to apply to the tyre itself, these applicators don't seem to last very long unfortunately:   After doing the car once with the pad it looks like below, the polish is a slight grey colour but the pad still seems to get dirt out of the paint even after its been clayed: 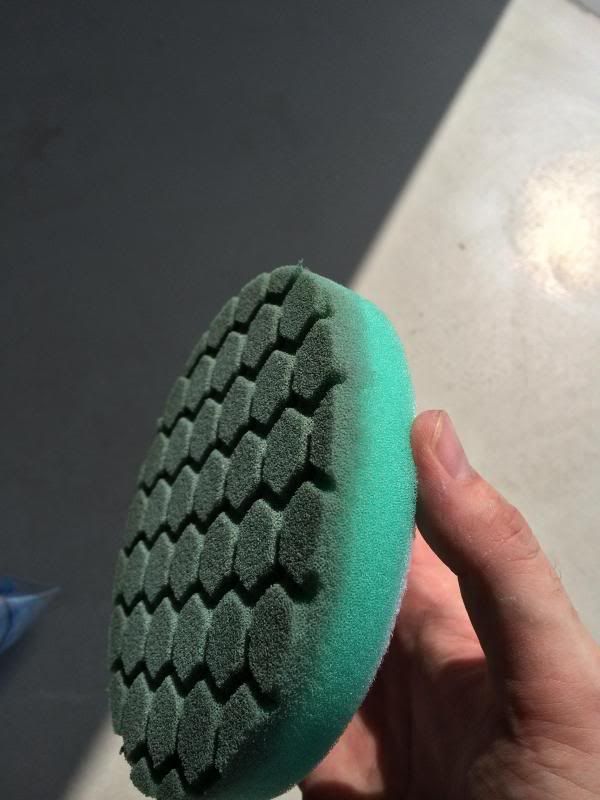 Next up is an optical finishing polish also using a finishing pad:   Above again applied using a slow speed a panel at a time and go back over at a speed of around 5 on the machine, before buffing off by hand with a high quality microfibre. Almost the final stage, time to wax the paint, applied using an applicator pad:  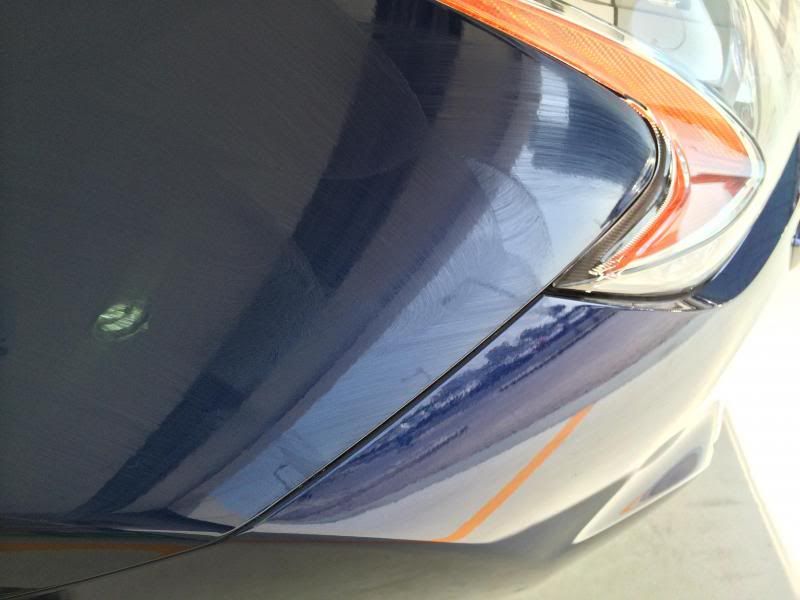 Again removed by hand using a high quality microfibre. Final stage is a sealant, the sealant can be used on anything pretty much so I do the full car almost, paint, lights, glass, exhausts etc. Apply to the paint using a similar style applicator pad to the wax: 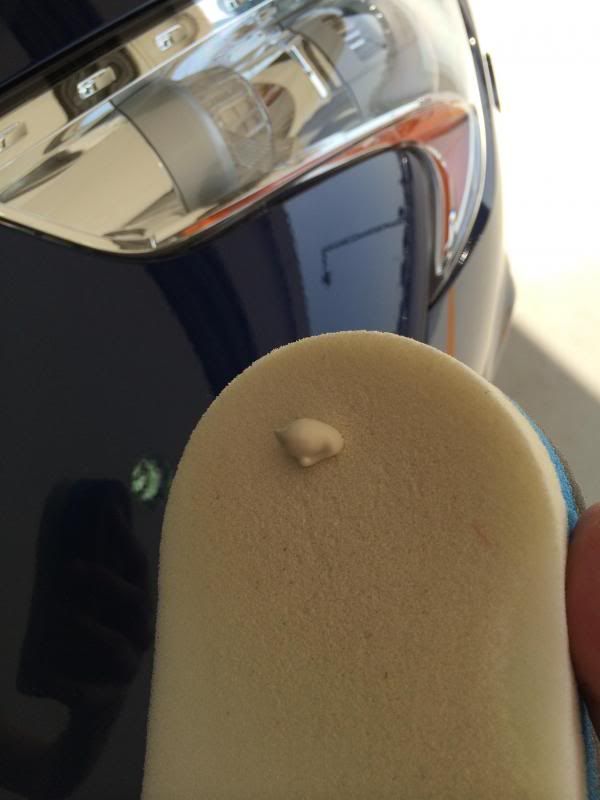 This however I buff off with the machine using an ultrafine buffing pad and finish off with a microfibre by hand. Now ive finished time to clean and re-pack the equipment, I always clean the cables off using a wet wipe as it keeps the inside of the carrying cases clean:  Time to get a few pics now its all finished...................... |
|
|

|
|
|
#4 (permalink) |
|
A True Z Fanatic
 Join Date: Jan 2012
Location: SoCal
Posts: 14,824
Drives: a lot
Rep Power: 17152            |
You're not using clay bar properly. You have marring all over your paint... It's not bad I guess, but you could be pulling more crap over your car because there isn't enough libricant...
But great pics Also, try Optimum clay sponges, I don't know what they're actually called, but they make the job, extremely easy and lazy
__________________
Do YOU want to know what/where I got my username from?
( Click to show/hide )
|
|
|

|
|
|
#5 (permalink) | |
|
Base Member
Join Date: Oct 2013
Location: Dubai
Posts: 51
Drives: 13 Nissan 370Z MB A7
Rep Power: 12  |
Quote:
|
|
|
|

|
|
|
#6 (permalink) | |
|
A True Z Fanatic
 Join Date: Jan 2012
Location: SoCal
Posts: 14,824
Drives: a lot
Rep Power: 17152            |
Quote:
__________________
Do YOU want to know what/where I got my username from?
( Click to show/hide )
|
|
|
|

|
|
|
#7 (permalink) | |
|
Base Member
Join Date: Oct 2013
Location: Dubai
Posts: 51
Drives: 13 Nissan 370Z MB A7
Rep Power: 12  |
Quote:
The wiper is handy but the rear washer is a pita at the top of the screen, always forget about it and whack my hand on the thing when cleaning! |
|
|
|

|
|
|
#8 (permalink) |
|
A True Z Fanatic
Join Date: Aug 2011
Location: Pine grove, Pa
Posts: 2,136
Drives: 2 feet, 3 pedals
Rep Power: 6775            |
Lookin Good
__________________
P99rs Head Unit--- Amps- 2 Pioneer Prs800d --- Zapco ST1000MX---Zapco ST-4XSQ---- SI BM mk5 Subs---SI TM65v2 Midbass--- SI M3 mids--- SI M25 xbl2 tweeters ----- 2016 MECA street class 3rd place at world finals |
|
|

|
|
|
#10 (permalink) |
|
The370Z.com Sponsor
Join Date: Oct 2012
Location: Indiana
Posts: 618
Drives: Chevy Silverado
Rep Power: 14  |
Nice work, and great job documenting with the pictures!!
__________________
Use the code NISSANZ at checkout to save 10% off your next order at AdamsPolishes.com facebook.com/adamspolishes | instagram.com/adamspolishes
Toll Free: (866) 965-0400 | orders@AdamsPolishes.com |
|
|

|
|
|
#14 (permalink) |
|
A True Z Fanatic
Join Date: Oct 2013
Location: Cumming, Ga
Posts: 1,559
Drives: The Short Bus
Rep Power: 870            |
To answer your earlier question, the US cars at least do not have the rear wiper nor the headlight washers.
To comment on your cleaning job, it looks great! I would imagine the blue is a very rewarding color once fully cleaned and polished. Granted any color car looks better clean, there are just some colors that pop better than others.
__________________
Upstate Z Club |
|
|

|
 |
| Bookmarks |
|
|
 Similar Threads
|
||||
| Thread | Thread Starter | Forum | Replies | Last Post |
| Official Midnight Blue 370Z Thread | m4a1mustang | Nissan 370Z Photos / Spyshots / Video / Media Gallery | 325 | 08-20-2022 06:08 AM |
| Looking for pictures Midnight Blue + Persimmon inserts | Kliment | Nissan 370Z General Discussions | 2 | 08-17-2013 07:45 PM |
| 2013 370z new owner midnight blue | Rhino111 | New Forum Member | 15 | 01-03-2013 09:39 PM |
| WTB '13 370z Touring/MT/Sport/Midnight Blue/Grey Int | Caymansbanker | Nissan 370Z Dealer Inventory | 1 | 11-21-2012 08:55 AM |