
 |
I cleaned my 370z up a few weeks ago and am getting around to posting up a few shots of the correction work. I bought the vehicle late last August.
|
|||||||
 |
|
|
LinkBack | Thread Tools | Display Modes |
|
|
#1 (permalink) |
|
A True Z Fanatic
 Join Date: Aug 2011
Location: Ontario, Canada
Posts: 21,749
Drives: Varis Arising II
Rep Power: 51865            |
I cleaned my 370z up a few weeks ago and am getting around to posting up a few shots of the correction work. I bought the vehicle late last August. Did a quick winter prep and parked it under the cover. This is the first proper cleaning since I took ownership of this car.
First up, this sticker needed to go,  DSC_0634 by J M Gale, on Flickr Dirty interior, 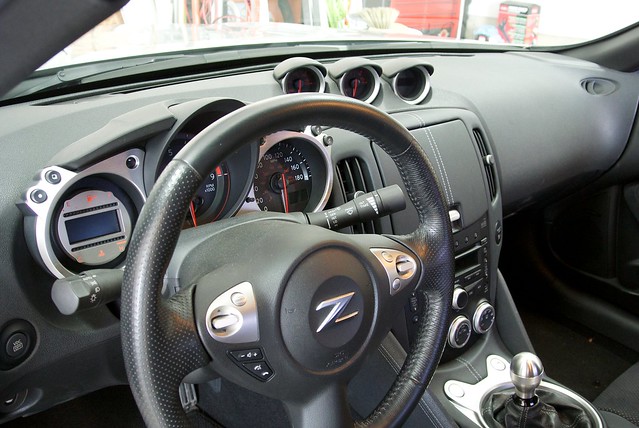 DSC_0640 by J M Gale, on Flickr  DSC_0637 by J M Gale, on Flickr Interior Cleaned up, 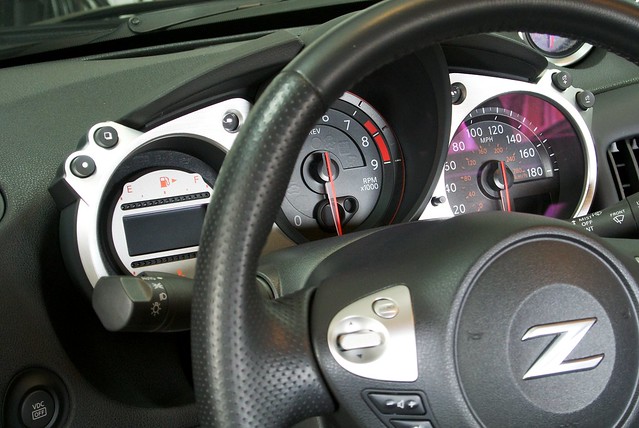 DSC_0671 by J M Gale, on Flickr 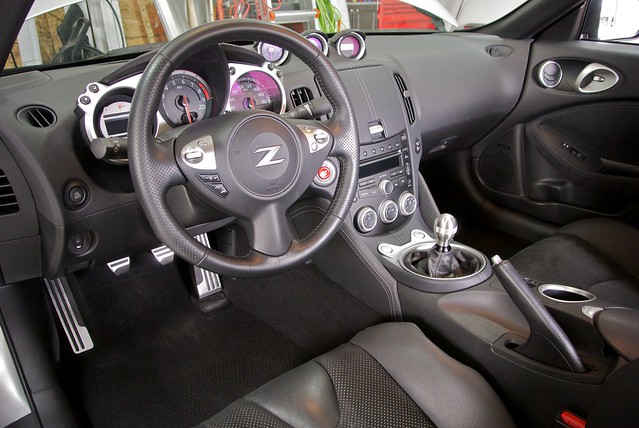 DSC_0673 by J M Gale, on Flickr  DSC_0665 by J M Gale, on Flickr Some Auto Finesse love, 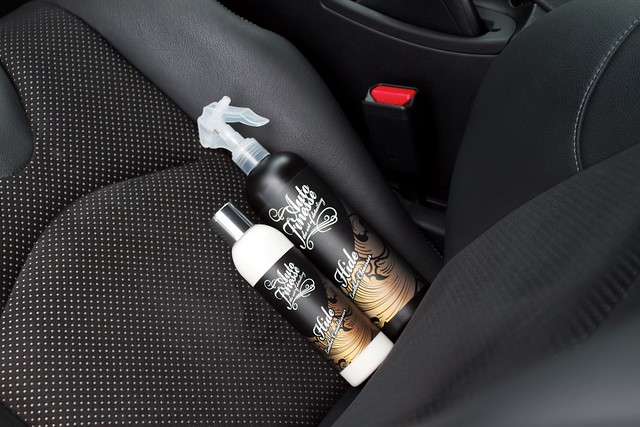 IMG_5905 by J M Gale, on Flickr 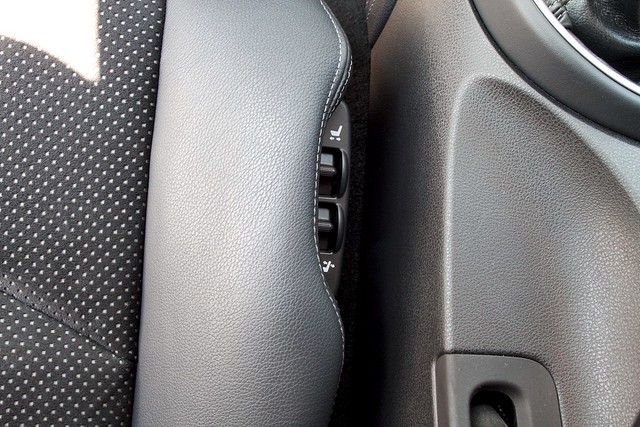 IMG_5855 by J M Gale, on Flickr Now some before shots,  IMG_5567 by J M Gale, on Flickr 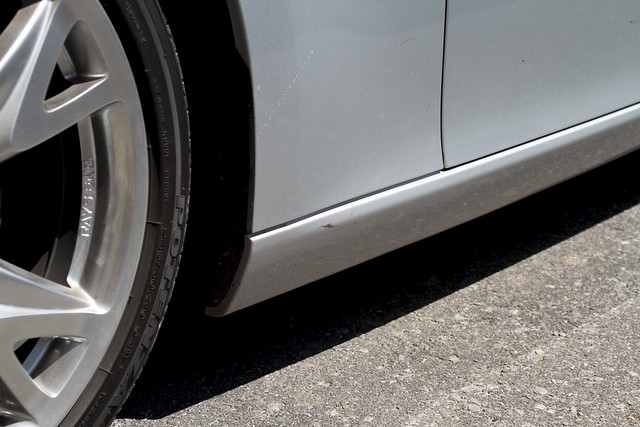 IMG_5569 by J M Gale, on Flickr 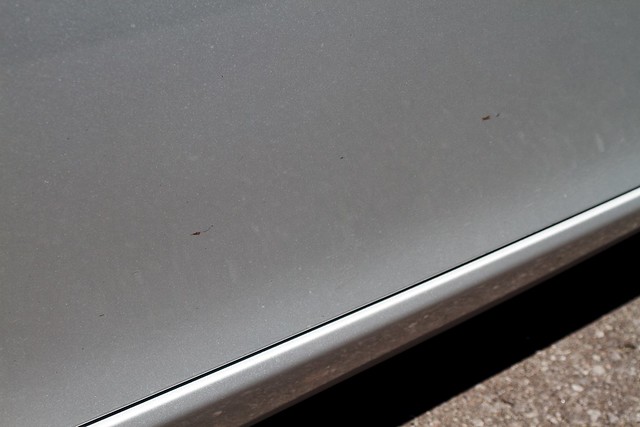 IMG_5570 by J M Gale, on Flickr 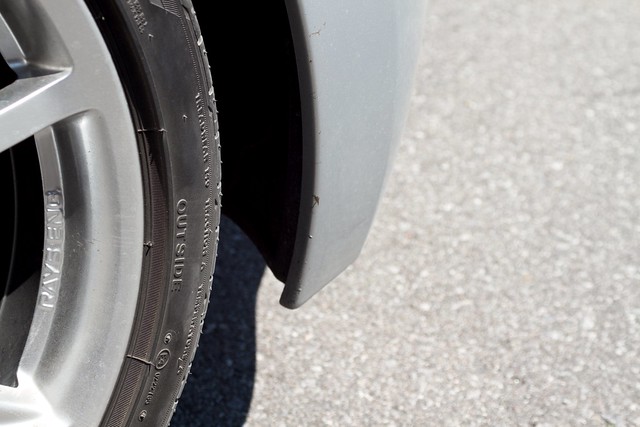 IMG_5571 by J M Gale, on Flickr Rear window rubber before, 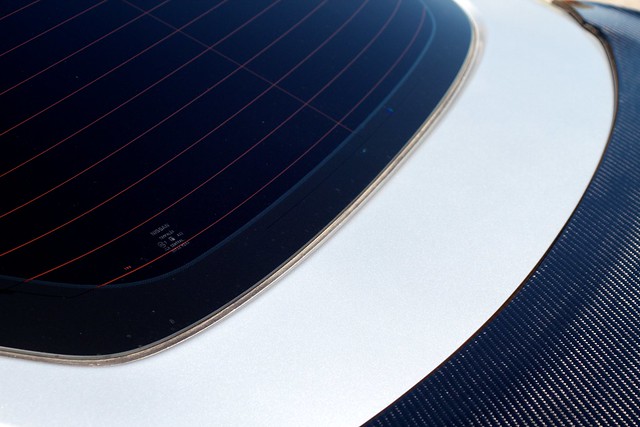 IMG_5572 by J M Gale, on Flickr After, 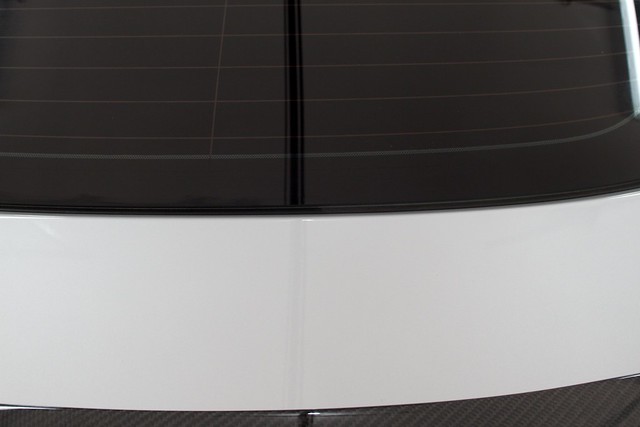 IMG_5764 by J M Gale, on Flickr This is MPL beading from the winter prep. As you know you should strip the paint of any existing waxes or sealants before doing a proper correction, so it has to go,  IMG_5576 by J M Gale, on Flickr 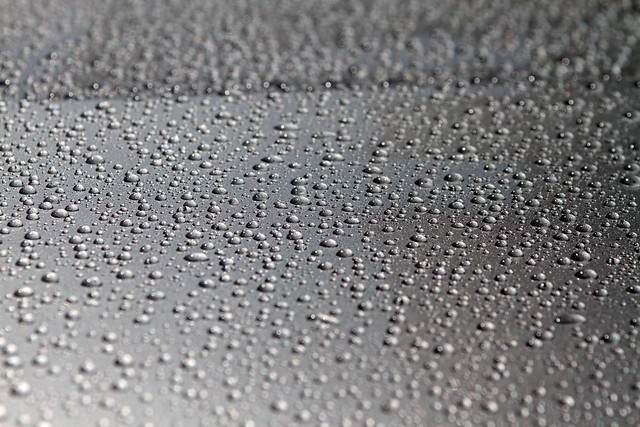 IMG_5579 by J M Gale, on Flickr This is Victoria Wax left over from a test I did after correcting the spoiler during the winter downtime, 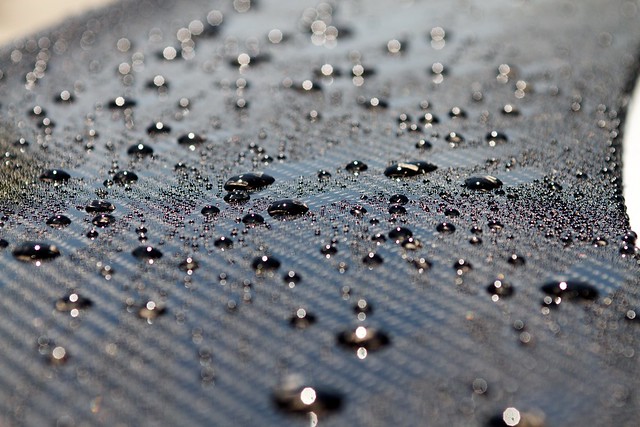 IMG_5578 by J M Gale, on Flickr 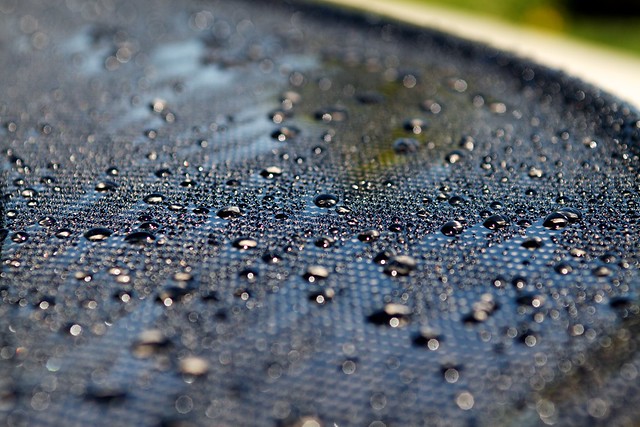 IMG_5577 by J M Gale, on Flickr Time to strip the old protection, 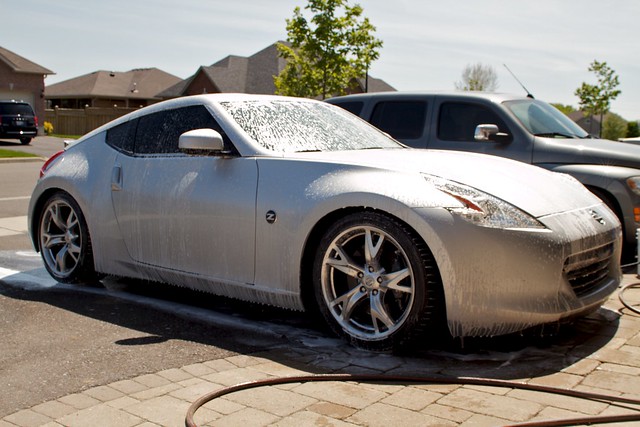 IMG_5580 by J M Gale, on Flickr  IMG_5581 by J M Gale, on Flickr Sonax doing its thing,  IMG_5583 by J M Gale, on Flickr Clayed, 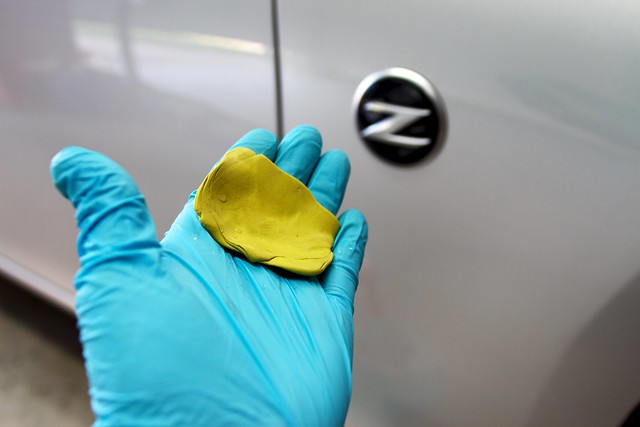 IMG_5591 by J M Gale, on Flickr Then some Iron-X, 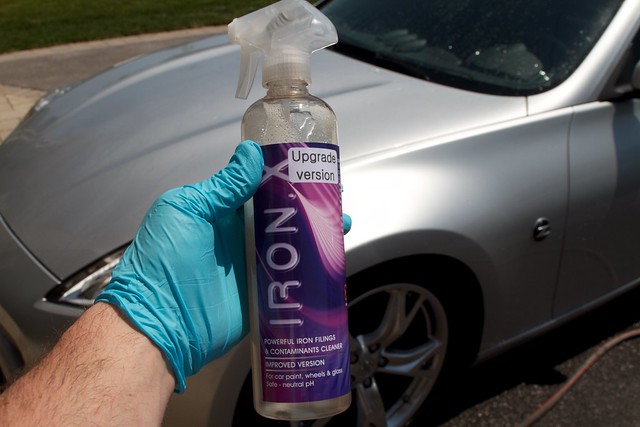 IMG_5607 by J M Gale, on Flickr Iron-X doing its thing, 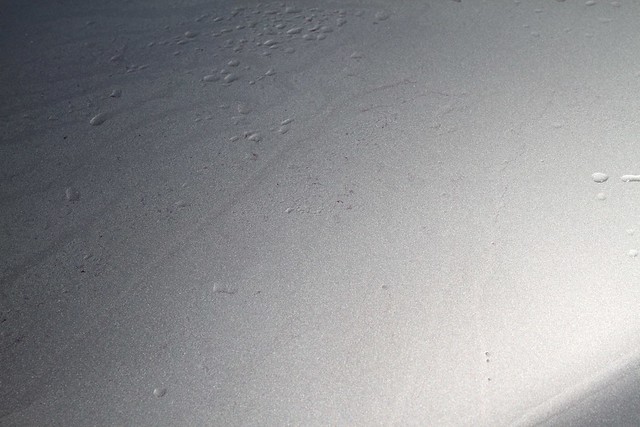 IMG_5608 by J M Gale, on Flickr Another wash,  IMG_5597 by J M Gale, on Flickr Blank canvas, 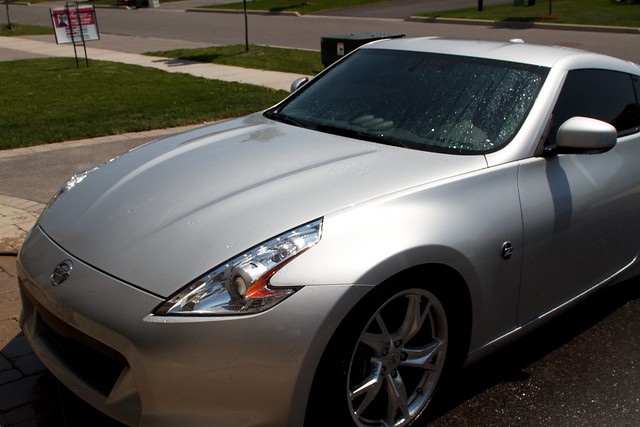 IMG_5611 by J M Gale, on Flickr 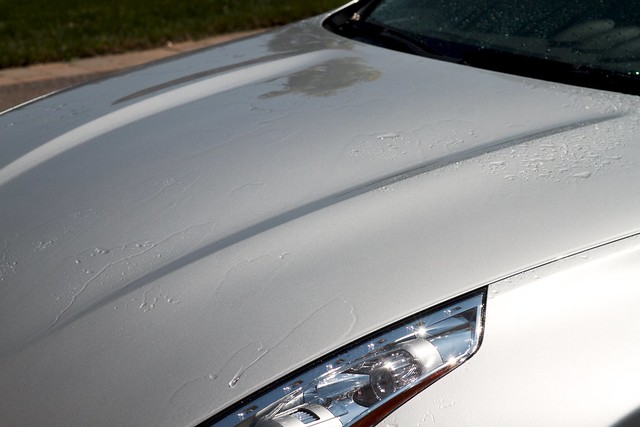 IMG_5612 by J M Gale, on Flickr Back in the garage to dry, blotted with a WW and followed up with a Metro Vac Sidekick, 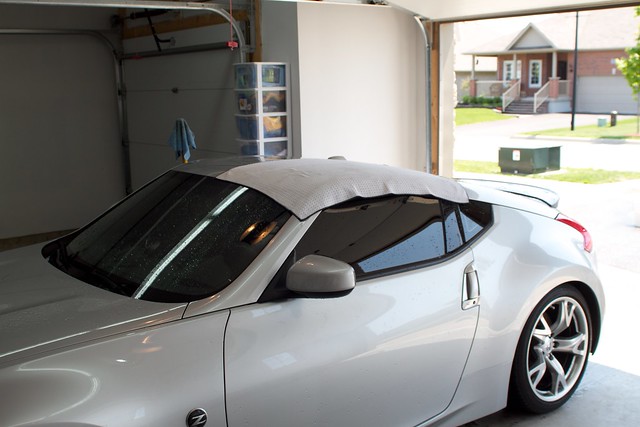 IMG_5615 by J M Gale, on Flickr As you know, light coloured vehicles are difficult to capture their issues. I did my best to try and show the condition of the paint. Before,  IMG_5601 by J M Gale, on Flickr 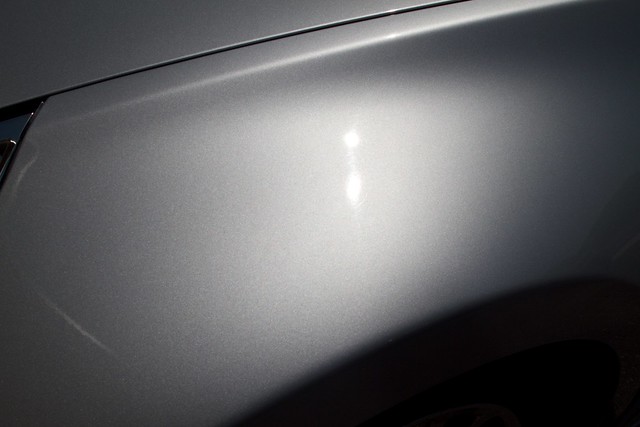 IMG_5604 by J M Gale, on Flickr 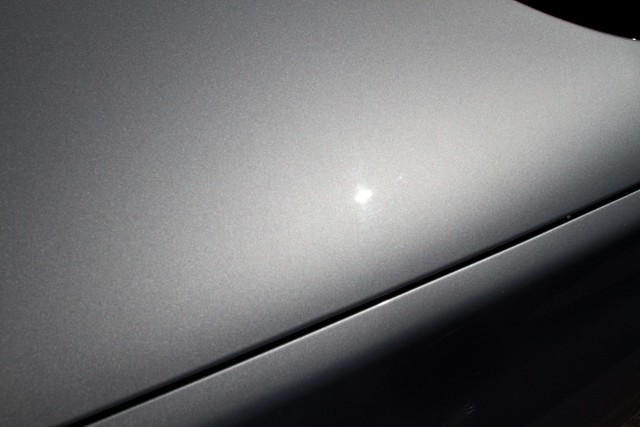 IMG_5605 by J M Gale, on Flickr 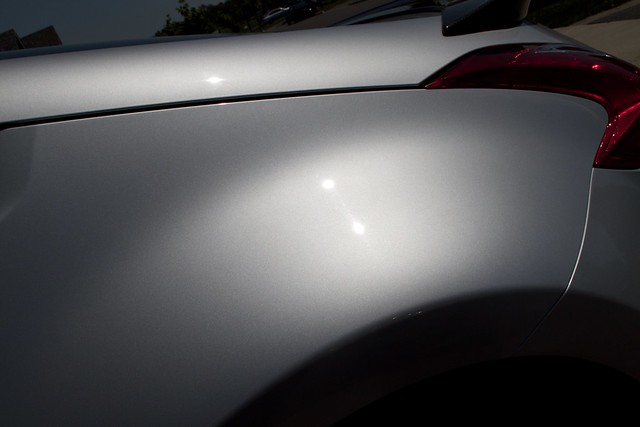 IMG_5606 by J M Gale, on Flickr Ok, now you get the picture. On to the good stuff, My test area before, 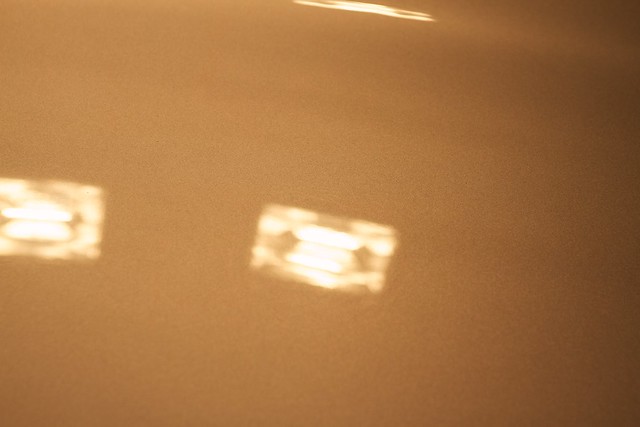 IMG_5617 by J M Gale, on Flickr Test area after, 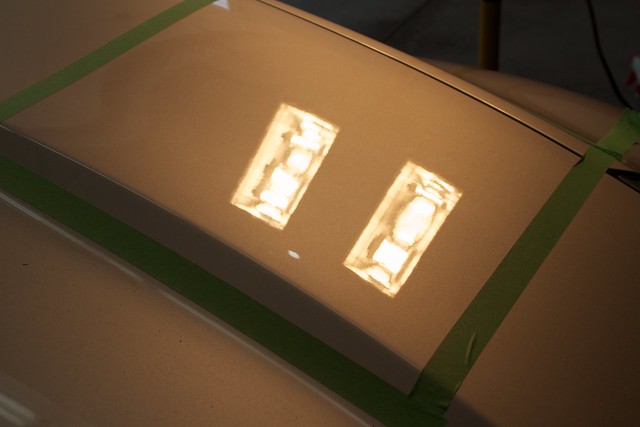 IMG_5622 by J M Gale, on Flickr 50/50's 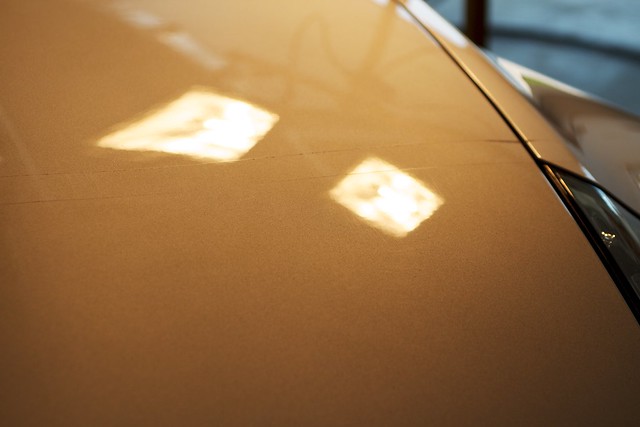 IMG_5624 by J M Gale, on Flickr 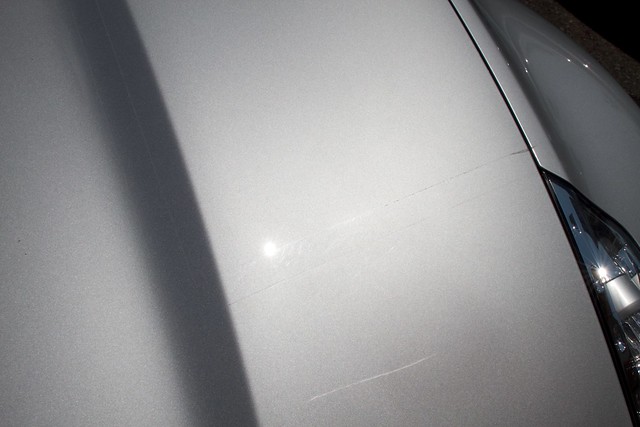 IMG_5626 by J M Gale, on Flickr Hood 50/50 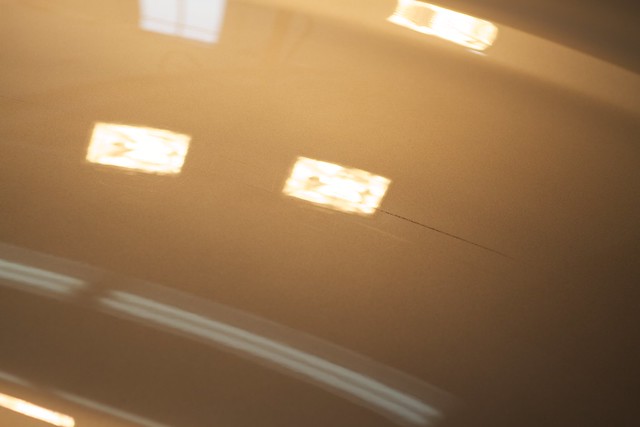 IMG_5632 by J M Gale, on Flickr  IMG_5640 by J M Gale, on Flickr Hood after, 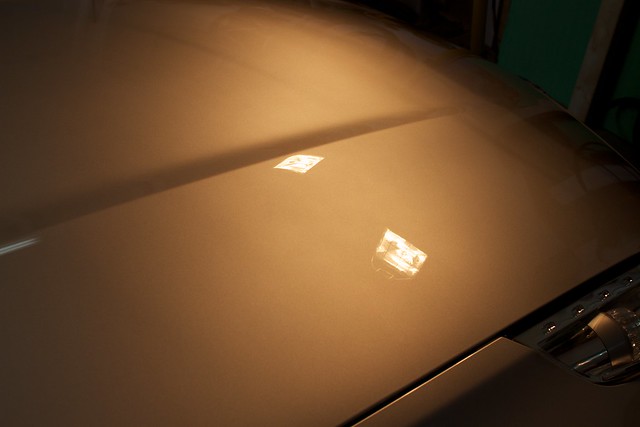 IMG_5647 by J M Gale, on Flickr  IMG_5637 by J M Gale, on Flickr A quick inspection outside after correcting the hood, before LSP, 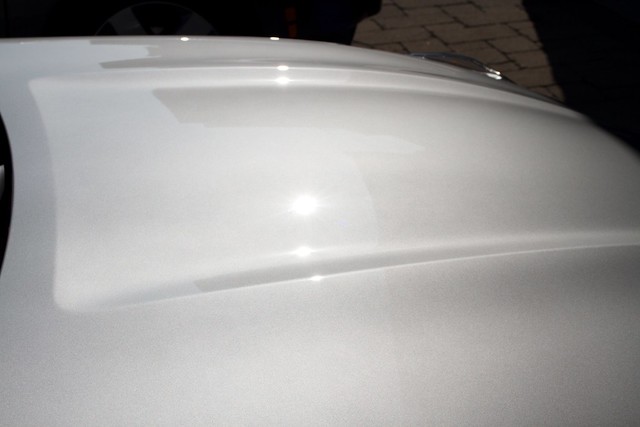 IMG_5649 by J M Gale, on Flickr 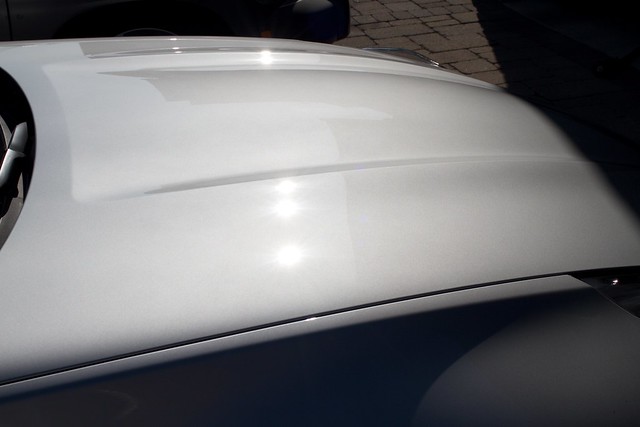 IMG_5651 by J M Gale, on Flickr Roof before, 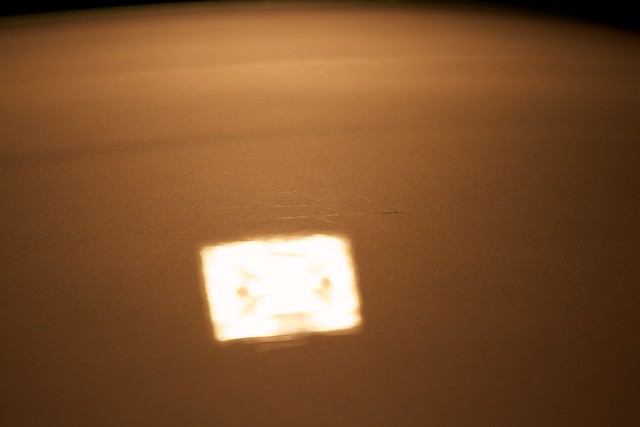 IMG_5661 by J M Gale, on Flickr After, 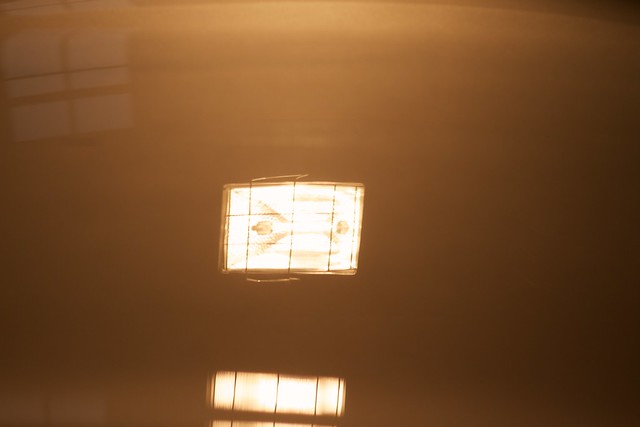 IMG_5662 by J M Gale, on Flickr Roof 50/50. Closest to you after, away from you before, 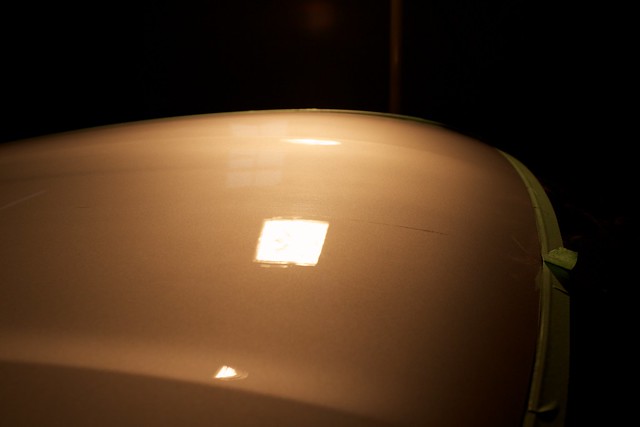 IMG_5664 by J M Gale, on Flickr the opposite view, 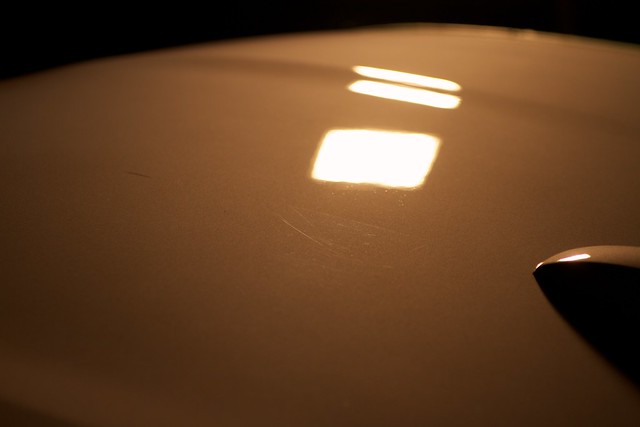 IMG_5668 by J M Gale, on Flickr Some nastiness. Before, 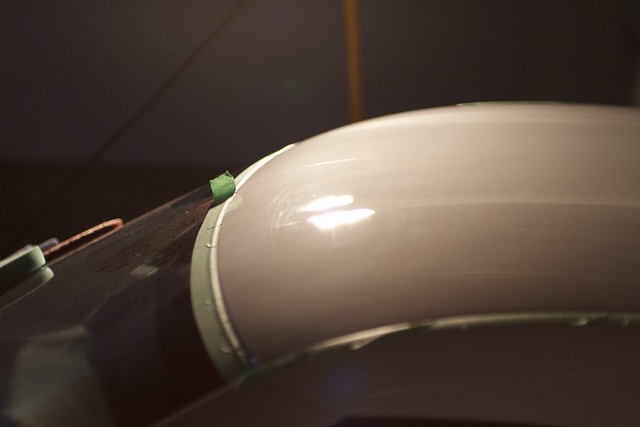 IMG_5667 by J M Gale, on Flickr After, 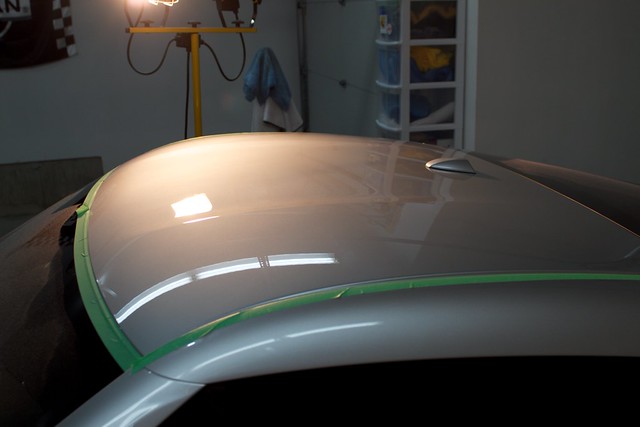 IMG_5672 by J M Gale, on Flickr  IMG_5673 by J M Gale, on Flickr I wasn't happy using 3M two sided tape to help mount the rear spoiler, so it was time to get redone. Before removal, 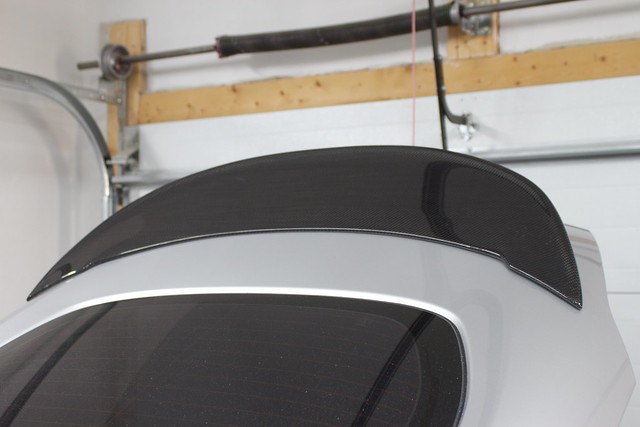 IMG_5674 by J M Gale, on Flickr Before,  IMG_5676 by J M Gale, on Flickr I tried, heat, Goo Gone, a couple of other things... the other options were taking forever. So I decided to try the ObliTARate. Worked like a charm. After, 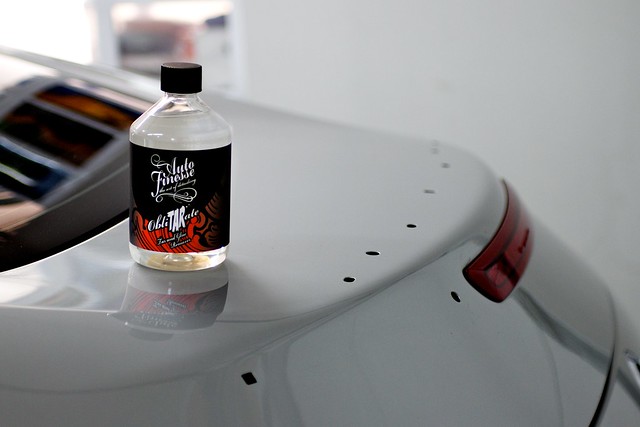 IMG_5678 by J M Gale, on Flickr Rear hatch after, 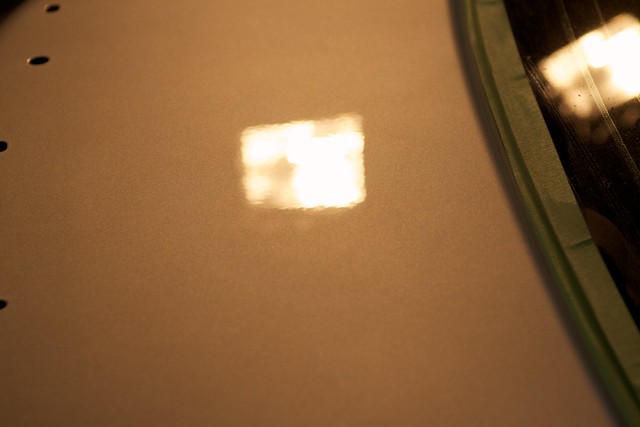 IMG_5685 by J M Gale, on Flickr 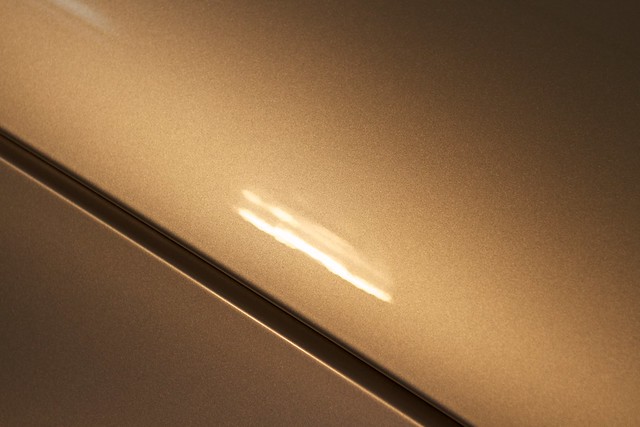 IMG_5691 by J M Gale, on Flickr  IMG_5692 by J M Gale, on Flickr to be continued,
__________________
 |
|
|

|
|
|
#2 (permalink) |
|
A True Z Fanatic
 Join Date: Aug 2011
Location: Ontario, Canada
Posts: 21,749
Drives: Varis Arising II
Rep Power: 51865            |
Front fender,
Lousy 50/50, 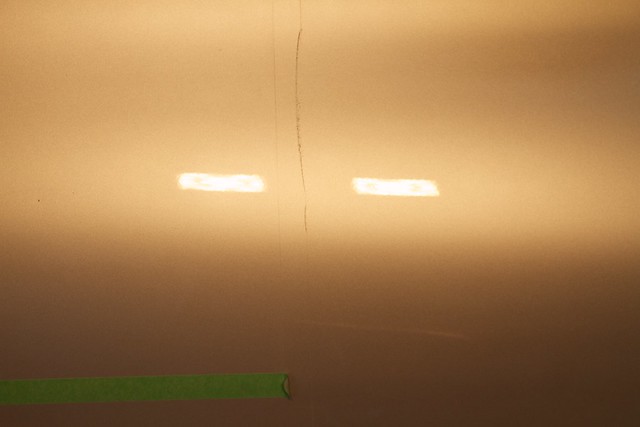 IMG_5702 by J M Gale, on Flickr After, 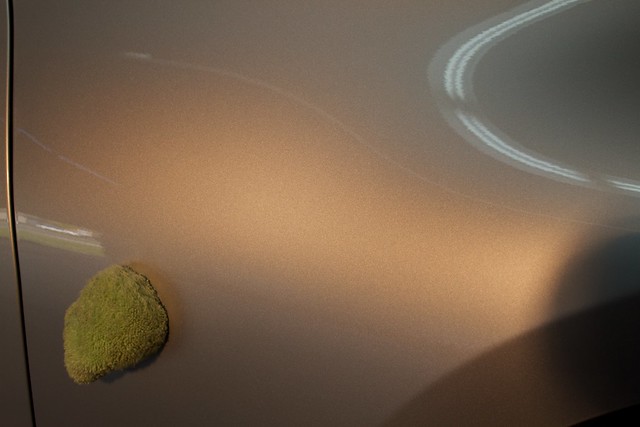 IMG_5700 by J M Gale, on Flickr  IMG_5703 by J M Gale, on Flickr Working on the door, 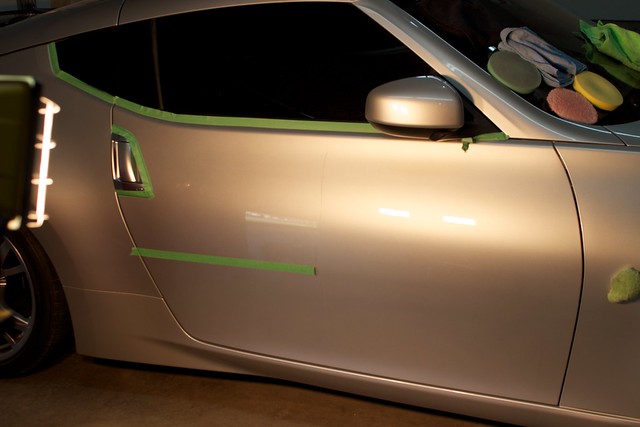 IMG_5705 by J M Gale, on Flickr Left front fender before, 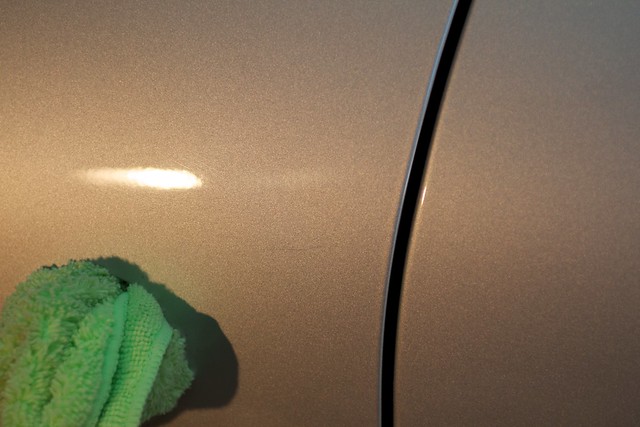 IMG_5708 by J M Gale, on Flickr 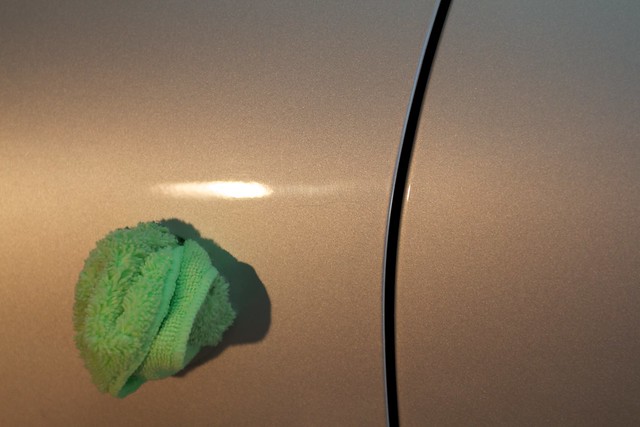 IMG_5709 by J M Gale, on Flickr After, 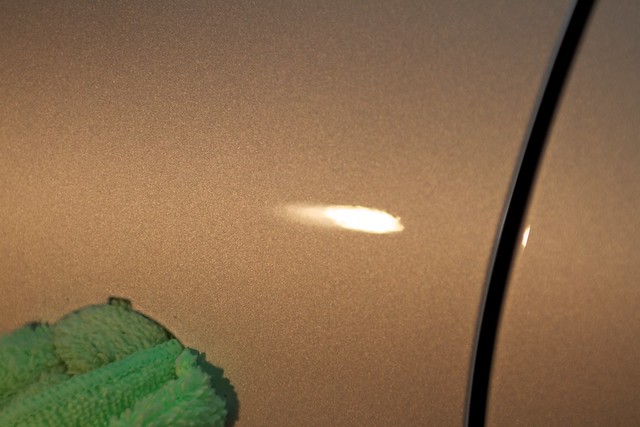 IMG_5710 by J M Gale, on Flickr 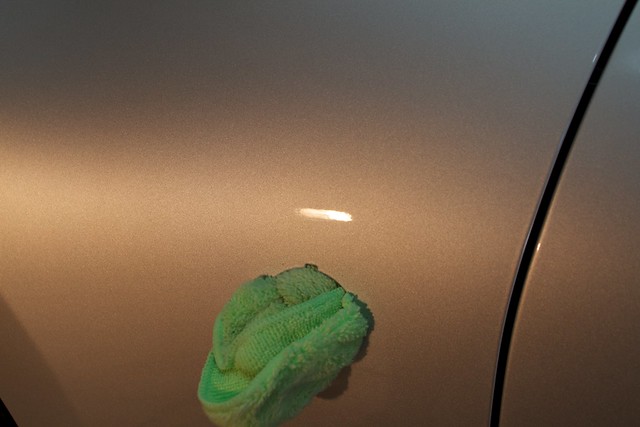 IMG_5712 by J M Gale, on Flickr Left door before, 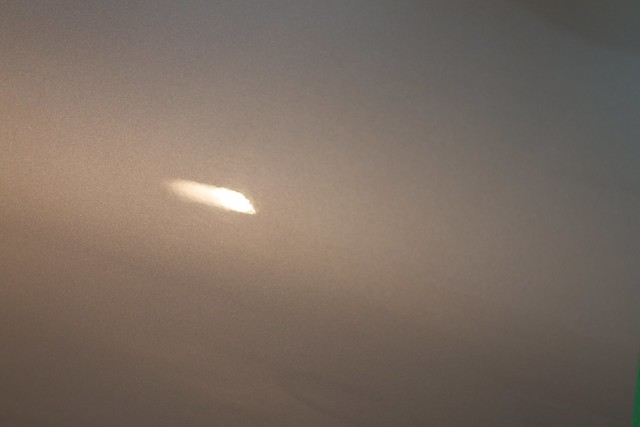 IMG_5714 by J M Gale, on Flickr After, 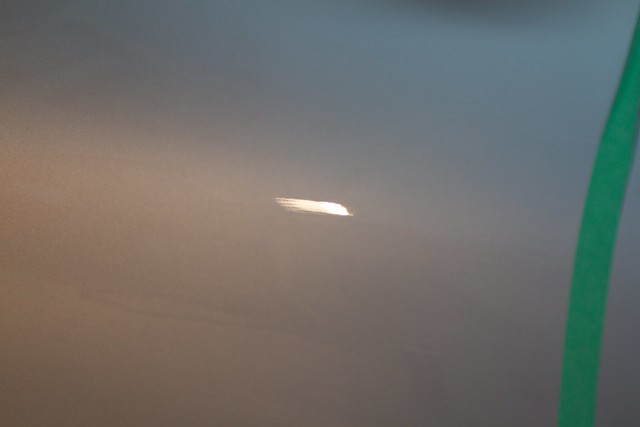 IMG_5715 by J M Gale, on Flickr 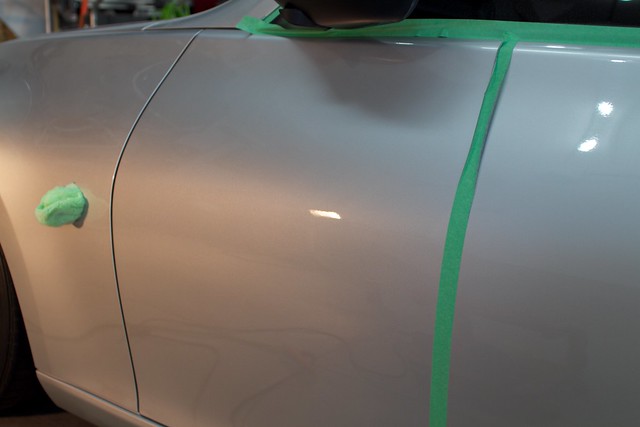 IMG_5717 by J M Gale, on Flickr Door 50/50  IMG_5719 by J M Gale, on Flickr Rear quarters after, 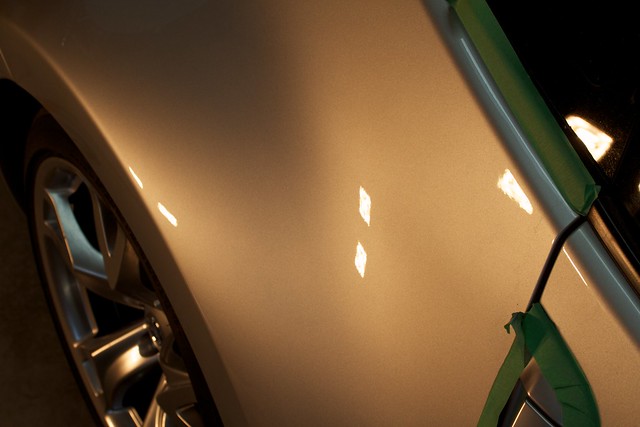 IMG_5731 by J M Gale, on Flickr 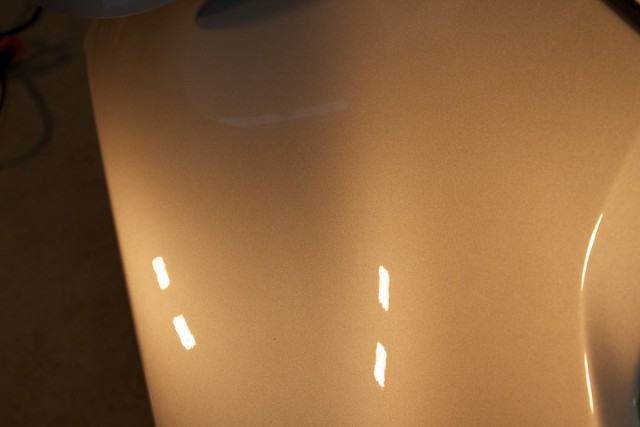 IMG_5732 by J M Gale, on Flickr Right taillight before, 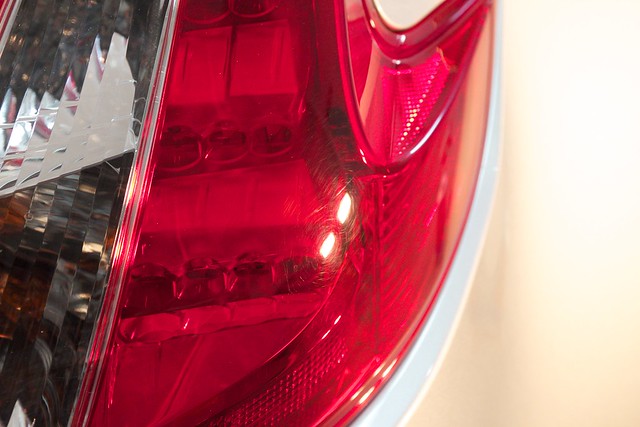 IMG_5734 by J M Gale, on Flickr After, 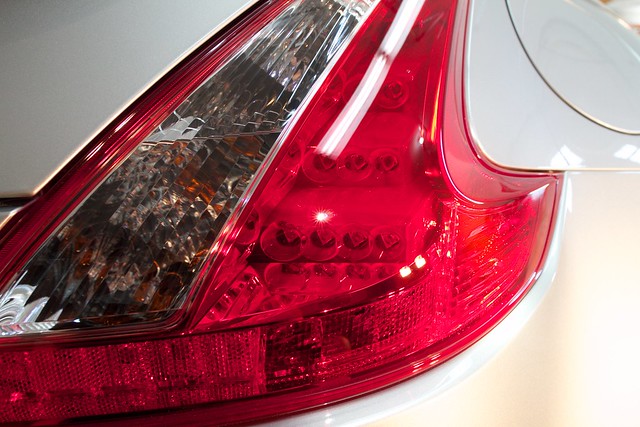 IMG_5736 by J M Gale, on Flickr 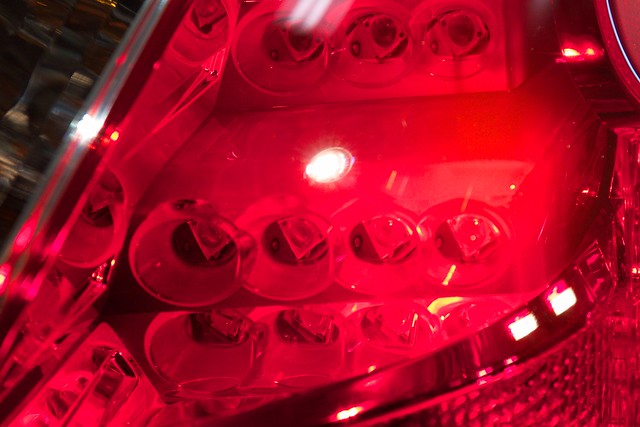 IMG_5737 by J M Gale, on Flickr  IMG_5738 by J M Gale, on Flickr Left taillight before, 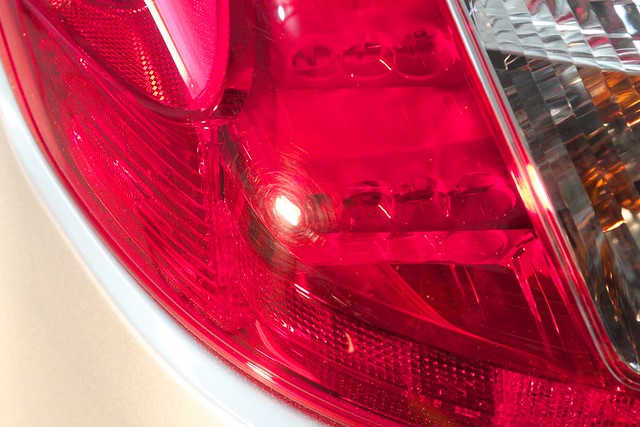 IMG_5747 by J M Gale, on Flickr After, 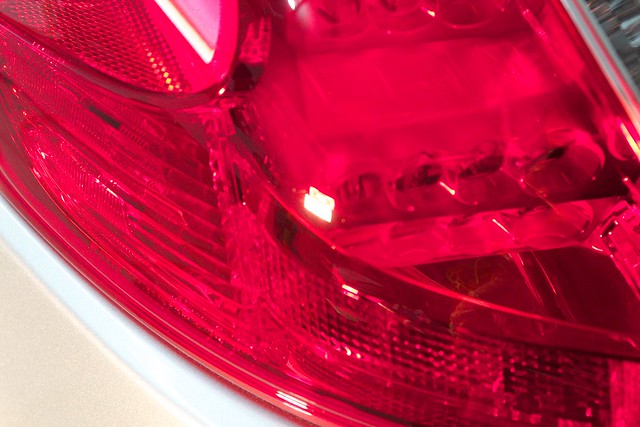 IMG_5749 by J M Gale, on Flickr 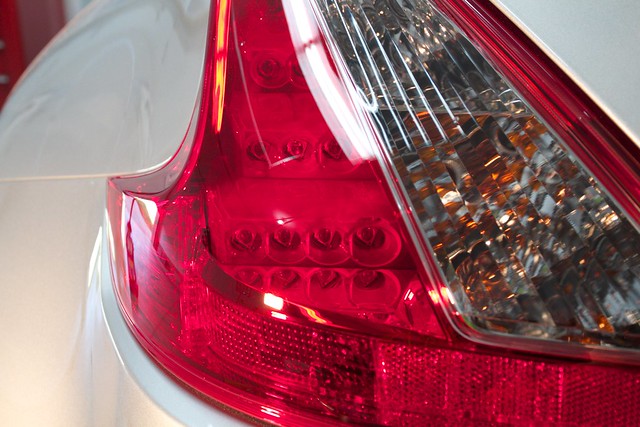 IMG_5751 by J M Gale, on Flickr B pillar before, 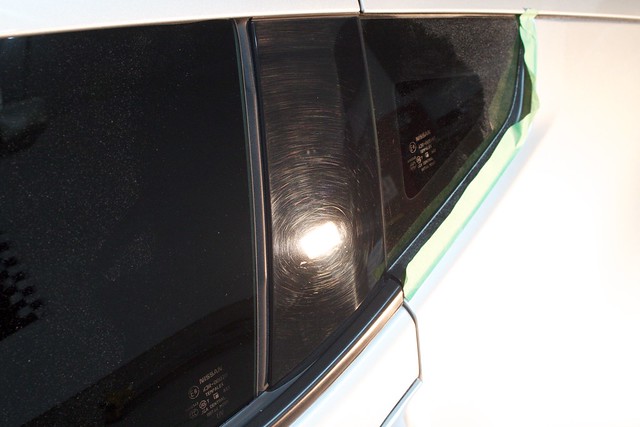 IMG_5752 by J M Gale, on Flickr B pillar after, 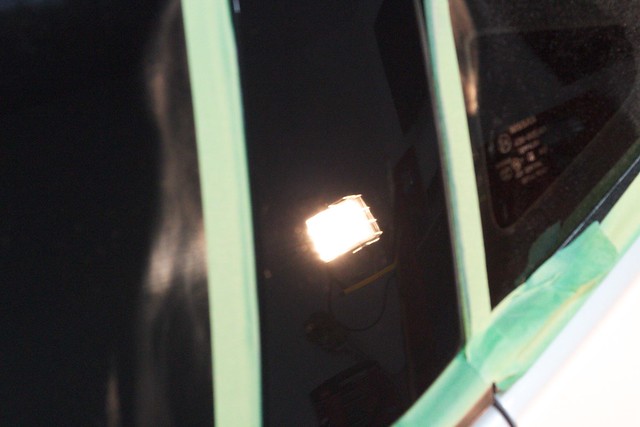 IMG_5755 by J M Gale, on Flickr  IMG_5826 by J M Gale, on Flickr 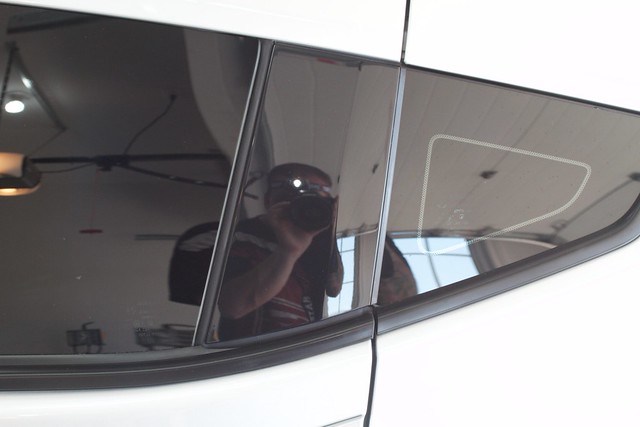 IMG_5827 by J M Gale, on Flickr One more wash pre-LSP, 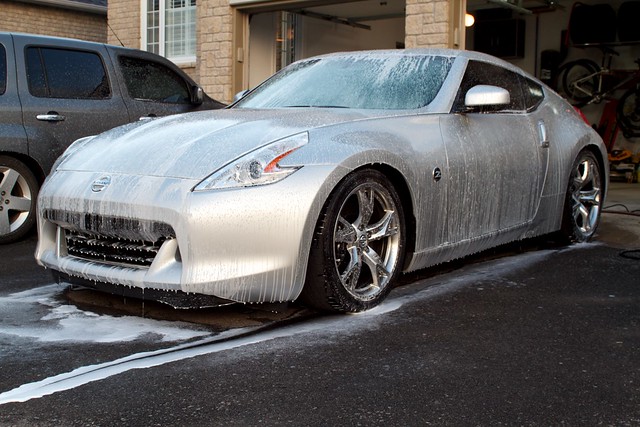 IMG_5757 by J M Gale, on Flickr Exhaust before,  IMG_5774 by J M Gale, on Flickr  IMG_5575 by J M Gale, on Flickr 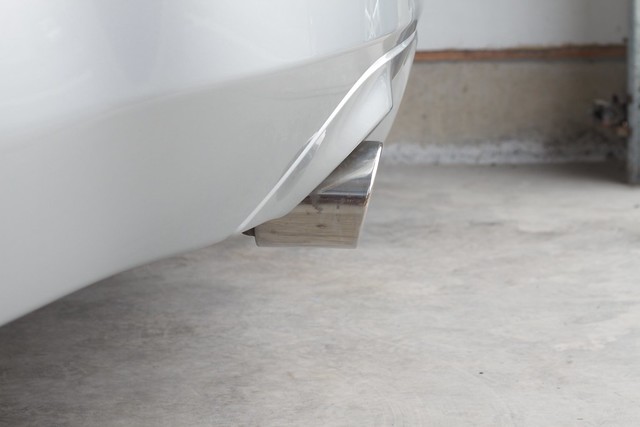 IMG_5770 by J M Gale, on Flickr No steel wool was used, just AF Mercury. After, 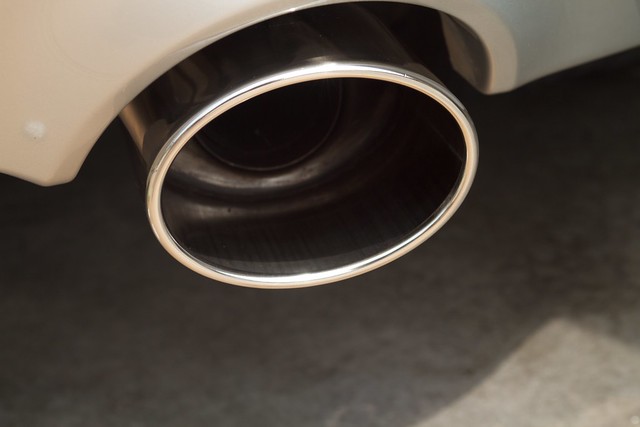 IMG_5775 by J M Gale, on Flickr 50/50 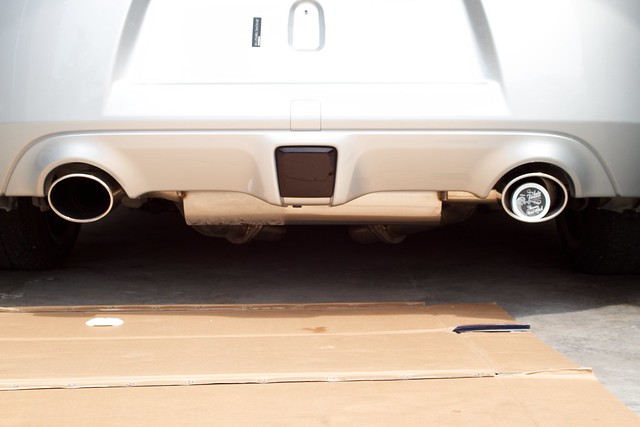 IMG_5779 by J M Gale, on Flickr 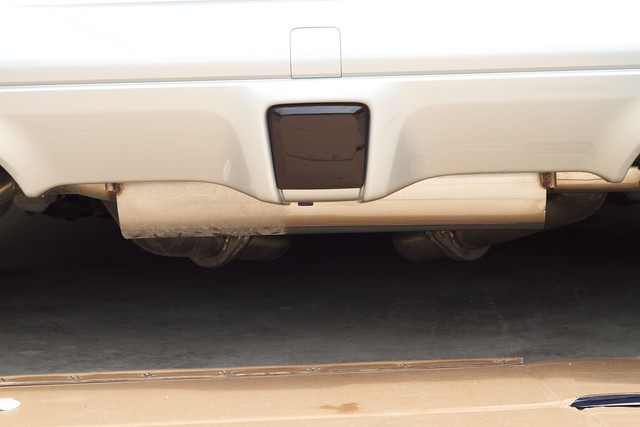 IMG_5780 by J M Gale, on Flickr After, 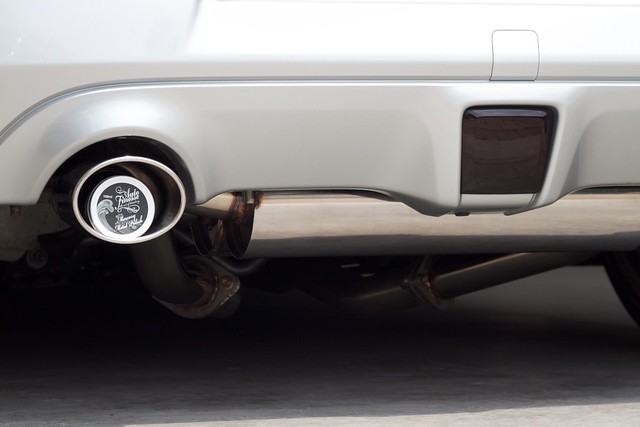 IMG_5786 by J M Gale, on Flickr 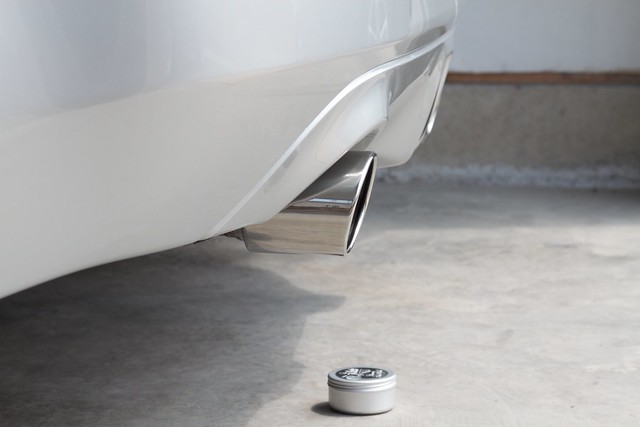 IMG_5789 by J M Gale, on Flickr 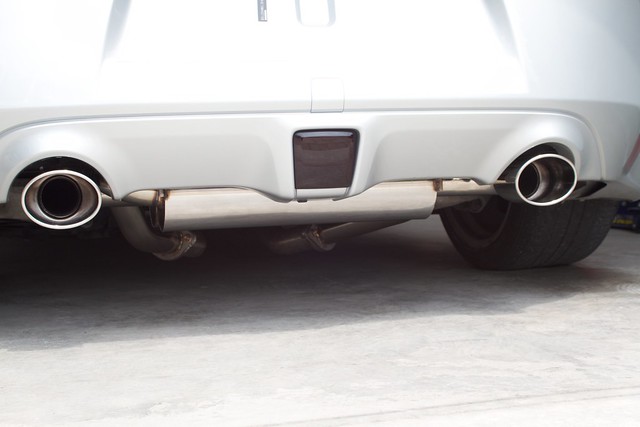 IMG_5792 by J M Gale, on Flickr Engine bay tidied up, 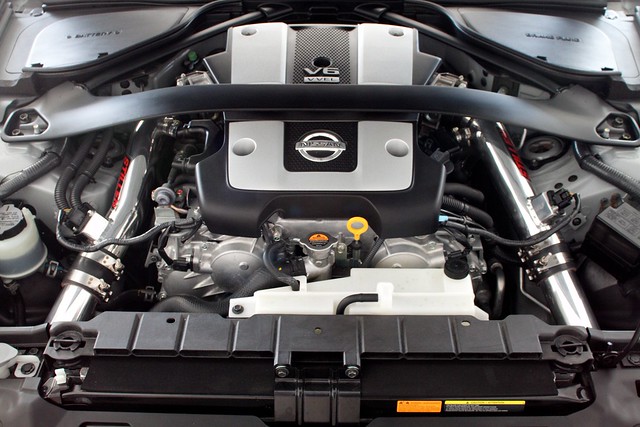 IMG_5798 by J M Gale, on Flickr Cleaned up the wheel wells, front and back of the wheels, and callipers. (all four corners) Before, 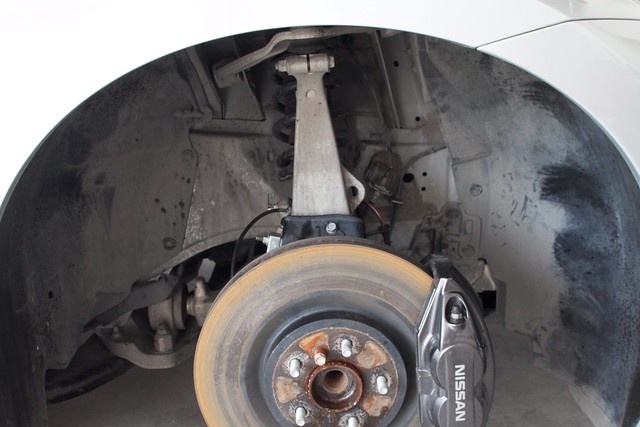 IMG_5799 by J M Gale, on Flickr 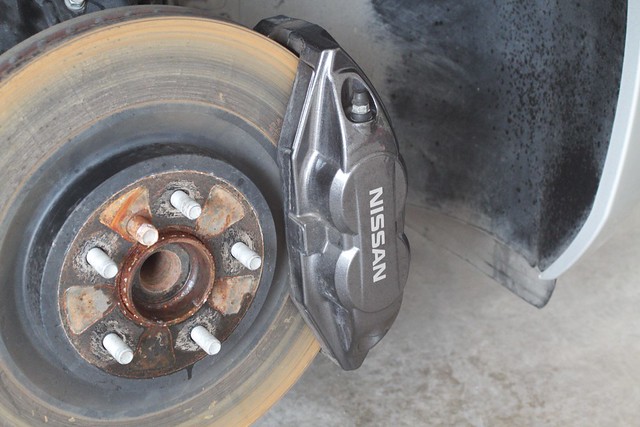 IMG_5800 by J M Gale, on Flickr 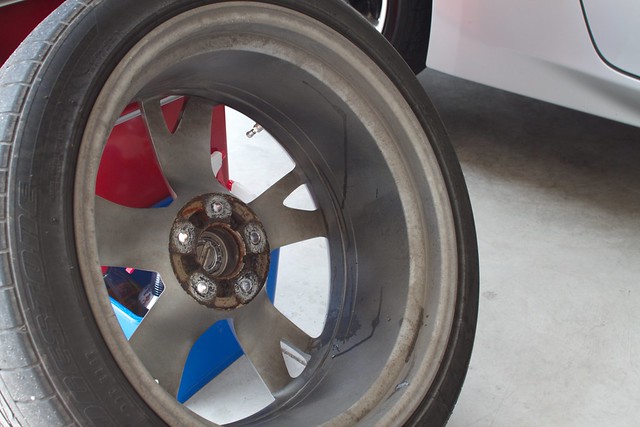 IMG_5801 by J M Gale, on Flickr After, 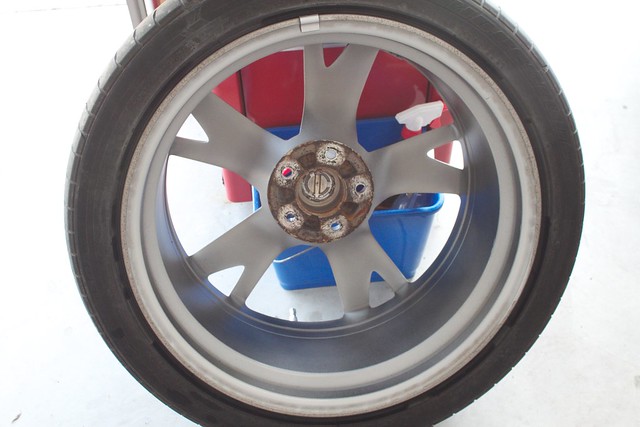 IMG_5809 by J M Gale, on Flickr Applying Wheel Armor high temp wax, 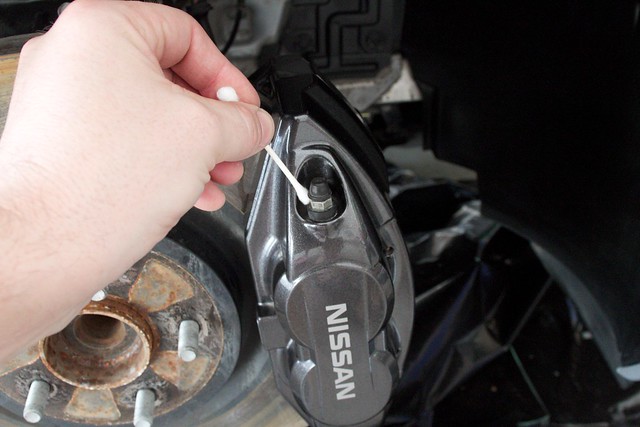 IMG_5804 by J M Gale, on Flickr After, 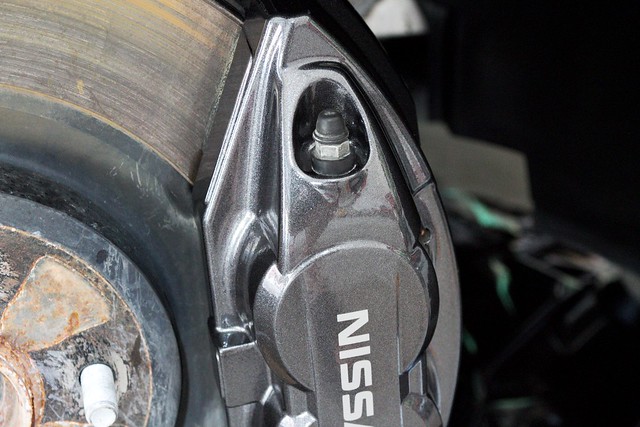 IMG_5806 by J M Gale, on Flickr 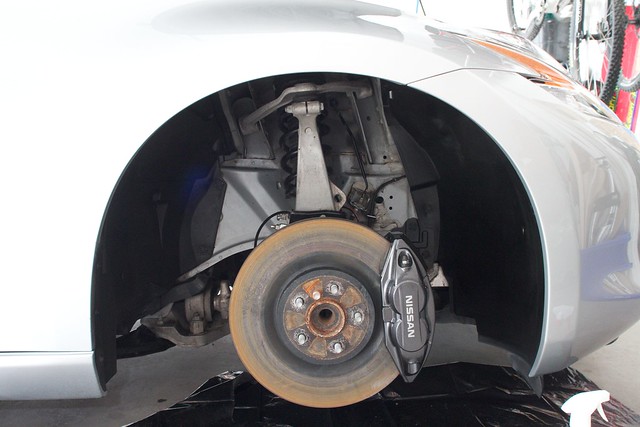 IMG_5803 by J M Gale, on Flickr On to the after shots,  IMG_5761 by J M Gale, on Flickr 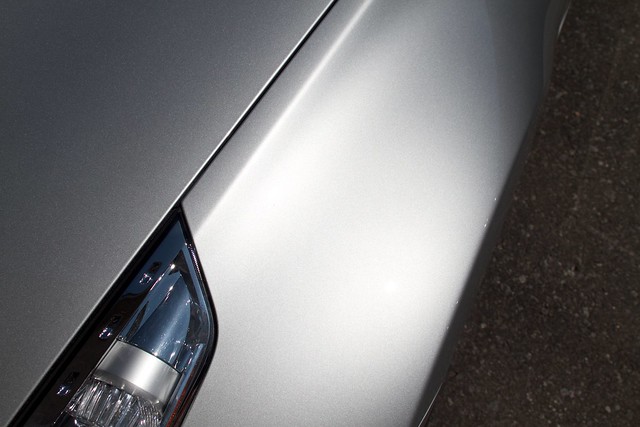 IMG_5723 by J M Gale, on Flickr 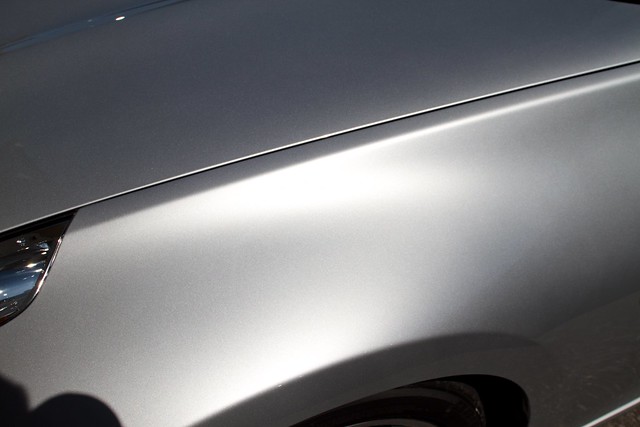 IMG_5724 by J M Gale, on Flickr 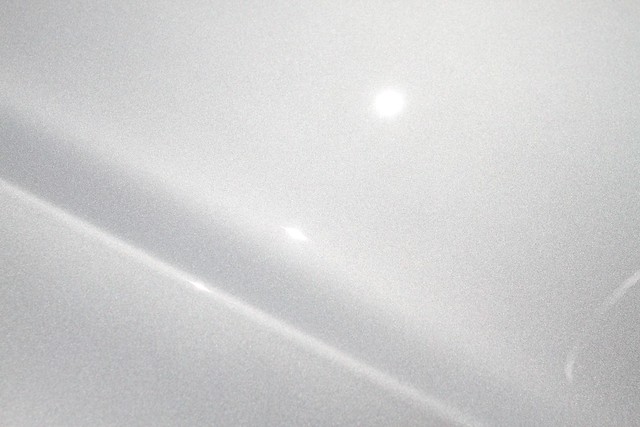 IMG_5841 by J M Gale, on Flickr  IMG_5842 by J M Gale, on Flickr 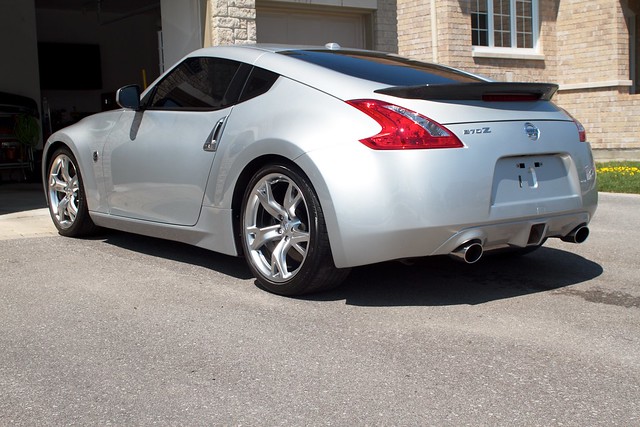 IMG_5834 by J M Gale, on Flickr  IMG_5849 by J M Gale, on Flickr 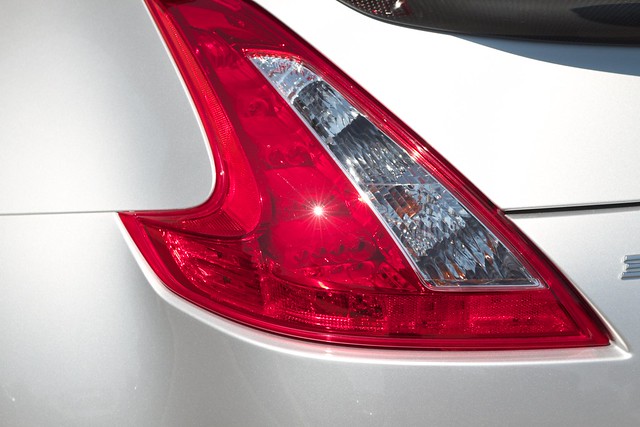 IMG_5848 by J M Gale, on Flickr  IMG_5845 by J M Gale, on Flickr  IMG_5852 by J M Gale, on Flickr  IMG_5853 by J M Gale, on Flickr 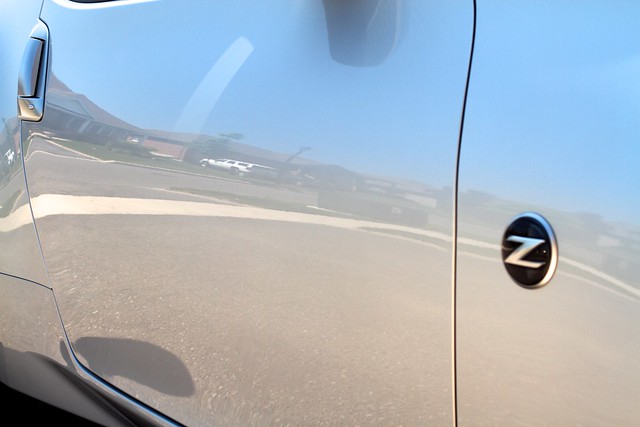 IMG_5843 by J M Gale, on Flickr 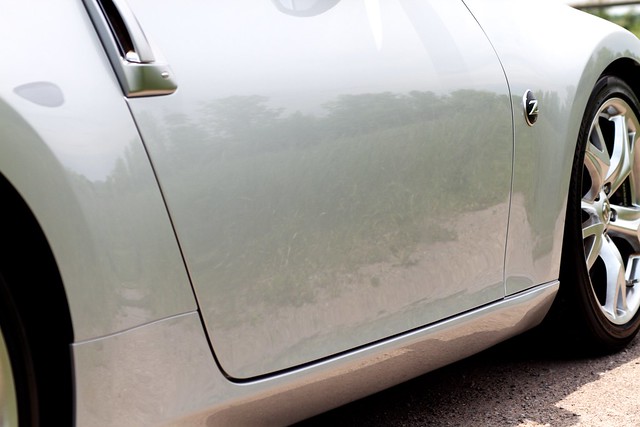 IMG_5884 by J M Gale, on Flickr 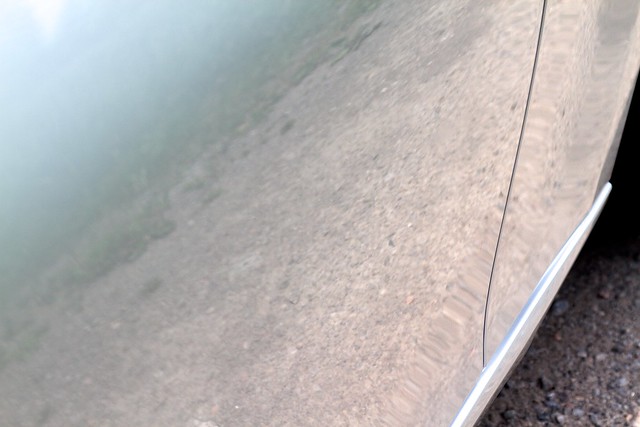 IMG_5886 by J M Gale, on Flickr 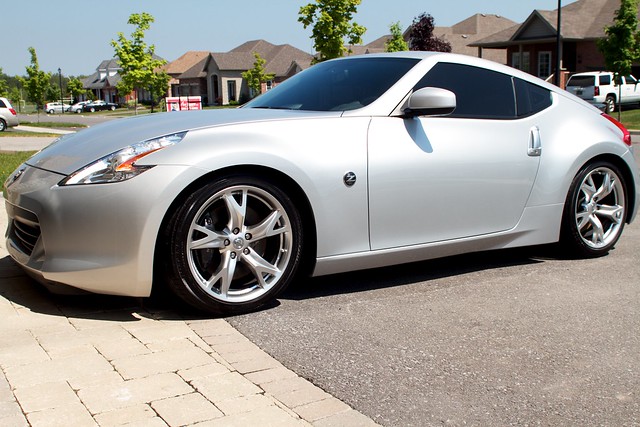 IMG_5828 by J M Gale, on Flickr 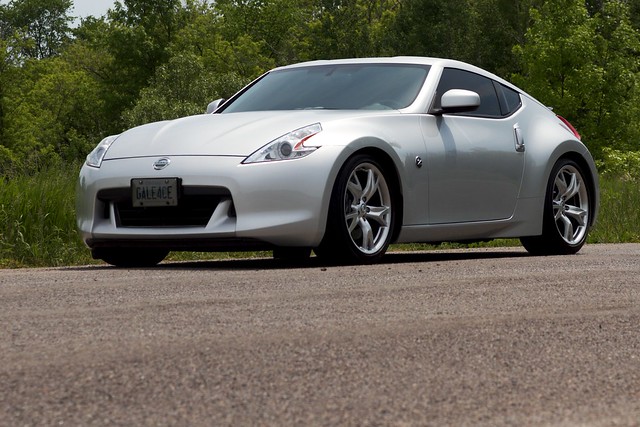 IMG_5879 by J M Gale, on Flickr Then a week later, I received my body kit. My car now looks like this... 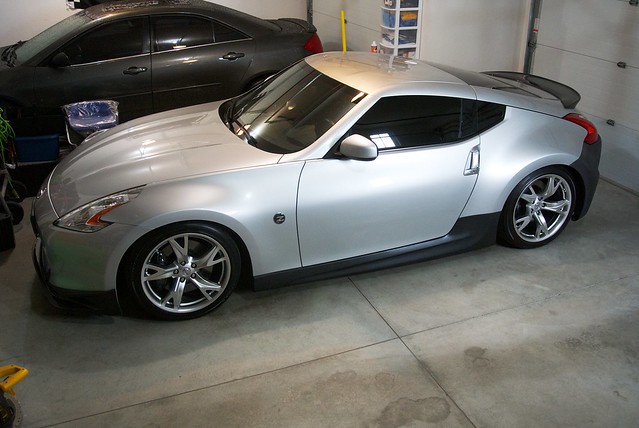 DSC_0935 by J M Gale, on Flickr 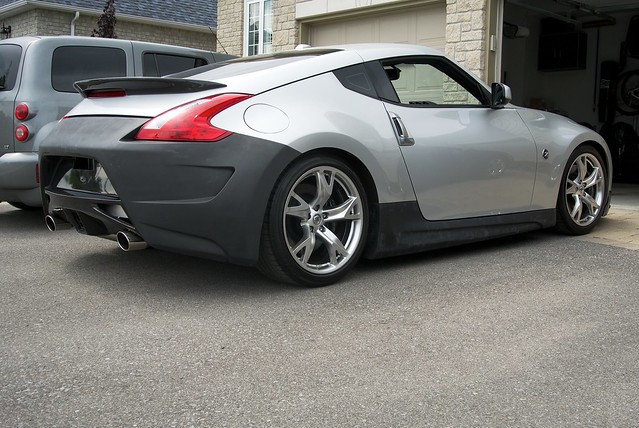 DSC_0921 by J M Gale, on Flickr Thanks for looking.
__________________
 |
|
|

|
|
|
#3 (permalink) |
|
A True Z Fanatic
 Join Date: Aug 2011
Location: Ontario, Canada
Posts: 21,749
Drives: Varis Arising II
Rep Power: 51865            |
Materials and Products used,
Griots DA Uber Yellow cutting pad Uber Green polishing pad Uber Black super Meguiar's Microfiber cutting pad Power Washer with foamer Fireman hose nozzle EZ-Detail Wheel Brush Race Glaze Brushes - assorted sizes Boars hair wheel brush Pinnacle Safe Scrub bug and tar pad Race Glaze sheepskin wash mitt Various Microfiber cloths Waffle weave drying towels Metro Vac Sidekick Grit Guards - x2 5 gal buckets - x2 Dawn + Optimum Power Clean to strip the old sealant Optimum Power Clean in various dilutions Optimum ONR diluted for Clay Lube Riccardo Yellow Clay CarPro Iron X Auto Finesse Citrus Auto Finesse ObliTARate Auto Finesse Lather - to wash Auto Finesse Hide Cleaner - for leather Auto Finesse Hide Conditioner - for leather Auto Finesse Spritz - for interior Auto Finesse Crystal - for glass Auto Finesse Finale - detail spray Auto Finesse Mercury - for metal Auto Finesse Gloss - for tires Auto Finesse Passion - Carnauba Wax Meguiar's D300 - compound Meguiar's M105 - compound Menzerna Super Finish PO106FA Prima Wheel Armor Sonax Full Effect Wheel Cleaner 1z Einszett Gummi Pfledge Autoglym Vinyl and Rubber care Wolfs Chemicals Trim Coat
__________________
 Last edited by GaleForce; 06-19-2012 at 09:37 PM. |
|
|

|
|
|
#4 (permalink) |
|
Base Member
Join Date: May 2009
Location: Lemoore,California
Posts: 236
Drives: 2009 370z silver 6mt
Rep Power: 289            |
man i was wondering when you were going to do the review on the products you bought...it seems like top notch stuff cuz your car looks awesome. you did the old school claybar...thats awesome, im detailing mine in a couple weeks and im going to try the nano skin craze...ill let you know how that works. hard to believe i havent even used the porter cable yet...cant wait lol. but yeah again awesome job on the detailing!!

|
|
|

|
|
|
#7 (permalink) | ||
|
A True Z Fanatic
 Join Date: Aug 2011
Location: Ontario, Canada
Posts: 21,749
Drives: Varis Arising II
Rep Power: 51865            |
Quote:
I have a Nanoskin here to use, but I still have so much clay. Make sure you use a lot of lube when you use the Nanoskin. Thanks for the compliment.  Quote:
Thank you sir 
__________________
 Last edited by GaleForce; 06-19-2012 at 08:24 AM. |
||
|
|

|
|
|
#10 (permalink) |
|
A True Z Fanatic
Join Date: Jan 2011
Location: Montreal, Canada
Age: 47
Posts: 1,980
Drives: E60 BMW M5
Rep Power: 22            |
Amazing job Galeforce, when I saw the pics of the products in the other thread I didn't know it was for this type of in-depth detailing job
Again, amazing results and work! 
__________________
2017 SUBARU STI 2008 E60 M5 - SOLD 2010 40th Anniversary 370Z - SOLD (and missing her) |
|
|

|
|
|
#11 (permalink) | |
|
A True Z Fanatic
 Join Date: Aug 2011
Location: Ontario, Canada
Posts: 21,749
Drives: Varis Arising II
Rep Power: 51865            |
Quote:
 Thank you for the compliments TGO 
__________________
 |
|
|
|

|
|
|
#12 (permalink) |
|
Base Member
 Join Date: Mar 2012
Location: Wichita, KS
Posts: 38
Drives: 2012 370Z PW 6MT
Rep Power: 13  |
Awesome job on your car!!! How long did all that take? Also, where did you get all those awesome products I've never even heard of? I'm interested in that Iron-X for iron filings and contaminates.
__________________
There's no such thing as awkward silence when you're talking to yourself. |
|
|

|
|
|
#13 (permalink) | |
|
A True Z Fanatic
 Join Date: Aug 2011
Location: Ontario, Canada
Posts: 21,749
Drives: Varis Arising II
Rep Power: 51865            |
Quote:
I didn't include photos of detailing the door jambs, and treating all the rubber seals. I also corrected and waxed the spare. You could correct just the paint in a couple of days depending on the condition of the paint. I buy products from a few different places. There are a couple of places in Canada I buy from, in the U.S. I buy from Phil at https://detailersdomain.com/ and Martin from Auto Finesse USA both guys have incredible customer service, great prices and great products.
__________________
 |
|
|
|

|
|
|
#14 (permalink) |
|
Base Member
Join Date: Jan 2012
Location: Los Angeles, CA
Posts: 44
Drives: 2013 PW Nismo
Rep Power: 14  |
Great job man, I'm looking to buy myself a porter cable and do the same. I got a question though, what polish and pad did you use on the B pillar? Mine's all swirled up too. Thanks!
|
|
|

|
 |
| Bookmarks |
|
|
 Similar Threads
|
||||
| Thread | Thread Starter | Forum | Replies | Last Post |
| 2011 Subaru STI Minor Correction Detail + Aquartz | OTD | Detailing / Washing / Waxing / Cosmetic Maintenance and Repair | 4 | 08-12-2012 04:47 PM |
| 2010 Pearl White Nissan 370Z - Spring Detail (2011) PIC HEAVY | FromG2Z | Member's 370Z Gallery | 15 | 10-23-2011 04:47 AM |
| Motion Car Show 2011 (picture heavy) | Apoc370z | Nissan 370Z Photos / Spyshots / Video / Media Gallery | 19 | 08-25-2011 11:01 PM |
| BC ERs with Swift Springs and RA Valving REVIEW / (Picture Heavy) | Mozen | Brakes & Suspension | 31 | 05-24-2011 11:46 AM |
| Install (picture heavy) | pg6speed | Audio & Video | 57 | 11-28-2010 09:27 AM |