 |
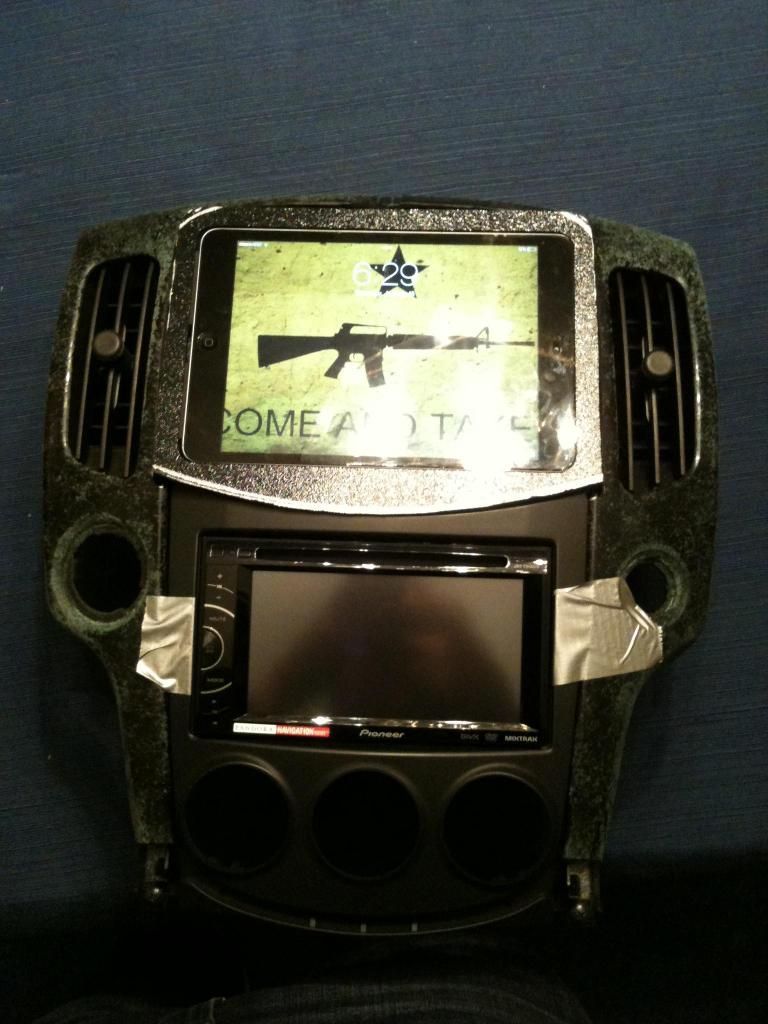
Update: Well I finished all the cutting/trimming. I was originally hoping to be able to trim the mount enough to fit it without cutting the factory bezel. I also wanted
|
|||||||
 |
|
|
LinkBack | Thread Tools | Display Modes |
|
|
|
|
#1 (permalink) | |
|
Enthusiast Member
 Join Date: May 2014
Location: Pensacola, FL
Posts: 299
Drives: AAM Twin Turbo 370Z
Rep Power: 11    |
Update:
Well I finished all the cutting/trimming. I was originally hoping to be able to trim the mount enough to fit it without cutting the factory bezel. I also wanted to save the factory fabric if possible. This turned out to not be feasible. So I bit the bullet and started hacking everything together. It was a tight fit but I made it work. The factory bezel was trimmed on the sides right to the AC vent mounts and the top was trimmed around 3/8 inches. I also had to trim the lower radio bezel in order for the mount to sit deep enough. The next step is to fuse everything together, sand, bondo/filler, sand, prime and paint. The end product will be worth the extra time. This picture is with everything sitting together. Nothing has been molded yet. It gives a very rough idea of the final product. I anticipate another 6-8 hours of labor to get it ready for paint. Being a perfectionist is time consuming.  Quote:
Fly Safe! |
|
|
|

|
|
|
#2 (permalink) |
|
Base Member
Join Date: Jun 2013
Location: Houston, TX
Posts: 9
Drives: black '09 370z
Rep Power: 12  |
For anyone else interested in doing this mod, I managed to finish this 90% and I just saw this mod earlier today.
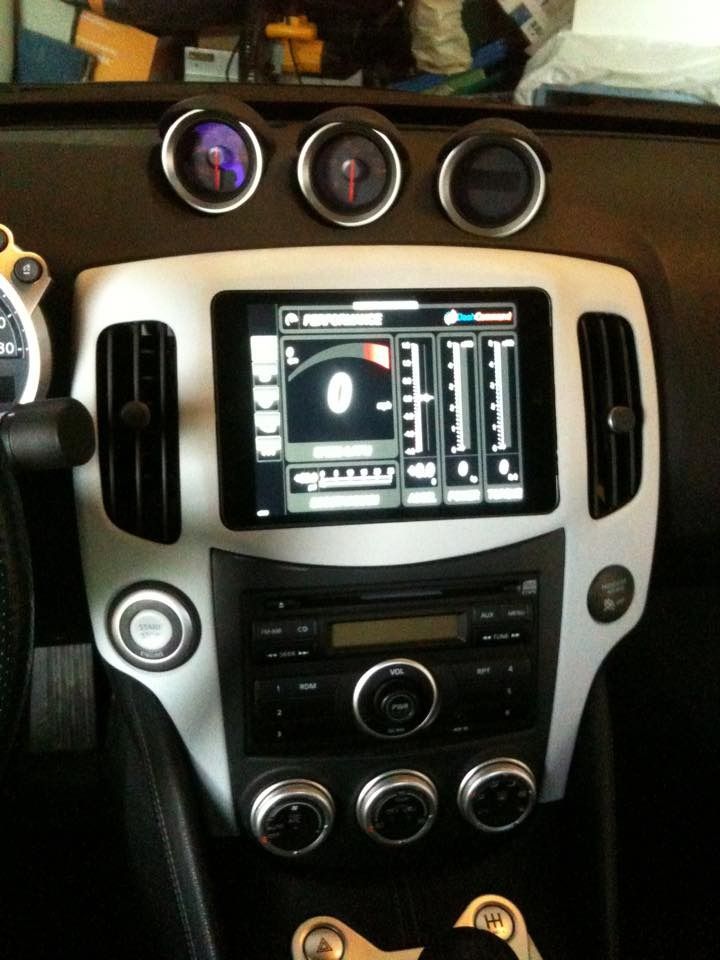
I don't have any during pics, but I can give you a step by step that literally cost me nothing. 1) Remove Cubby/air vent dash piece 2) remove cubby from that entire piece so you just have the box and door 3) take the door off (super easy, just take off the snap rings and pins from hinge/spring assembly) 4) I dremmel'd down the left and right pieces of the box (where the back of the iPad touches) just to make sure I had more clearance for wires. 5) Using the cutting wheel, I cut the very lip of the box, where the aux and power cables go underneath the leather trim piece. I also had to break off 1 clip that holds the air vents in so the aux cable would clear, really not an issue since a screw goes right next to it. 6) put the ipad in, and screwed everything into place. the wires do require some stripping/finnageling to clear the vent housings, but it eventually went together very snug. 7) slap it all back together on the dash, and I ran both cables down the passenger side, and they came out right under the knee pad. I'll eventually use some black foam filler and sandpaper to fix the gaps around the side, but the cables hold it in pretty snug, so i'm not in a huge rush to epoxy and filler it in. As you can see I run the stock radio for now, so the aux input can go to the ipad, or you can plug it into something else when you're not using it. Using the wifi hotspot on my phone I get google maps, google play music, and chrome. It's an awesome setup and definitely worth $240 and an hour of work. Best part is, all of this is reversible and you'd never know it was there.unnamed.jpg unnamed (1).jpg |
|
|

|
|
|
#3 (permalink) |
|
A True Z Fanatic
|
Quote:
__________________
Top Secret | EVO-R | Fujimura Auto | Shine Auto | Seibon | MRWorks | Swift | SPC | SSR | UpRev | Project Kics | NST | Titek | Eibach | Nismo | Whiteline | Quaife | Invidia | Fly1 | CF Element | Carbon Signal
|
|
|

|
|
|
#4 (permalink) |
|
Base Member
Join Date: Aug 2015
Location: Central FL
Posts: 32
Drives: 2016 370Z Magma red
Rep Power: 10  |
Quote:
Thanks |
|
|

|
|
|
#5 (permalink) | |
|
Enthusiast Member
 Join Date: May 2014
Location: Pensacola, FL
Posts: 299
Drives: AAM Twin Turbo 370Z
Rep Power: 11    |
Quote:
Here's a picture from when I was making it. This was after molding everything together and priming the bezel. I ended up rewrapping the bezel in leather. 
Last edited by Aviator44; 01-11-2016 at 08:06 PM. |
|
|
|

|
 |
| Bookmarks |
|
|
 Similar Threads
|
||||
| Thread | Thread Starter | Forum | Replies | Last Post |
| DIY: ipad mini magnetic install into cubby | Meulen | DIY Section (Do-It-Yourself) | 26 | 11-17-2018 03:06 PM |
| My iPad Mini Install Into Cubby Project | E_Why | DIY Section (Do-It-Yourself) | 2 | 03-30-2014 01:44 PM |
| iPad Mini 32Gb Black | NismoZ370 | Misc Items for sale (No Z stuff) | 4 | 12-20-2013 01:18 AM |
| iPad Mini Potential | bigdog1250 | Exterior & Interior | 58 | 11-02-2012 12:11 PM |