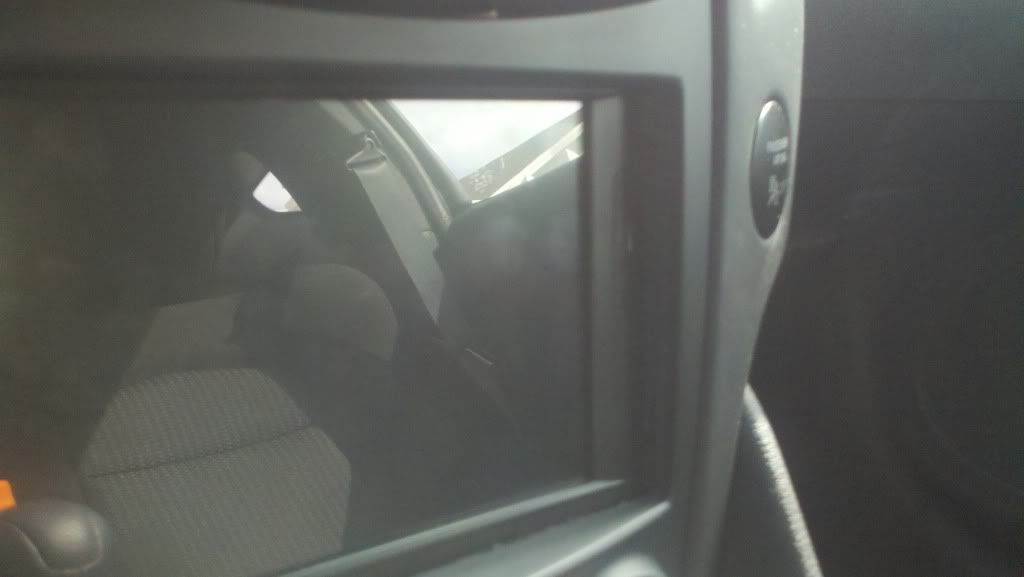
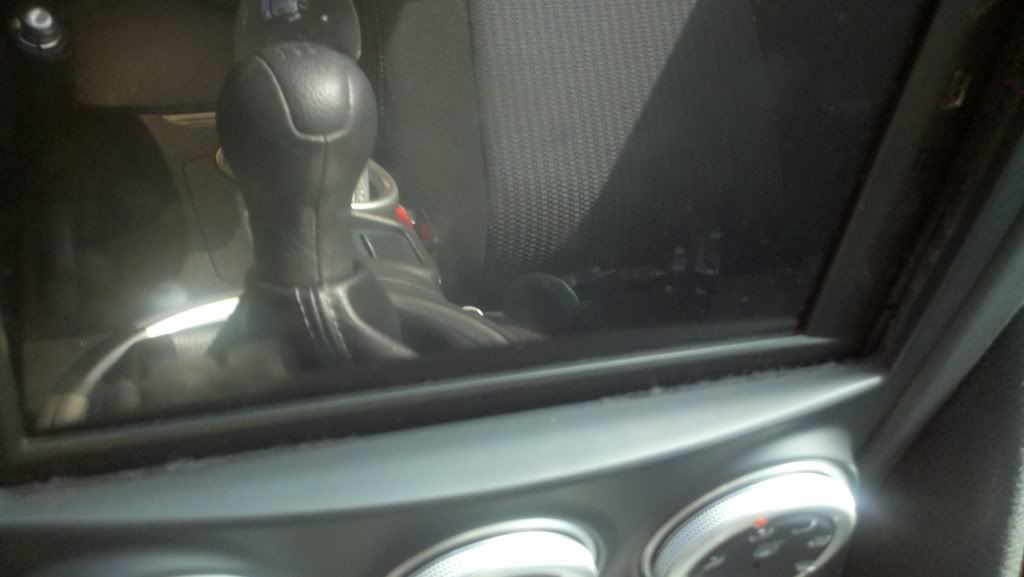
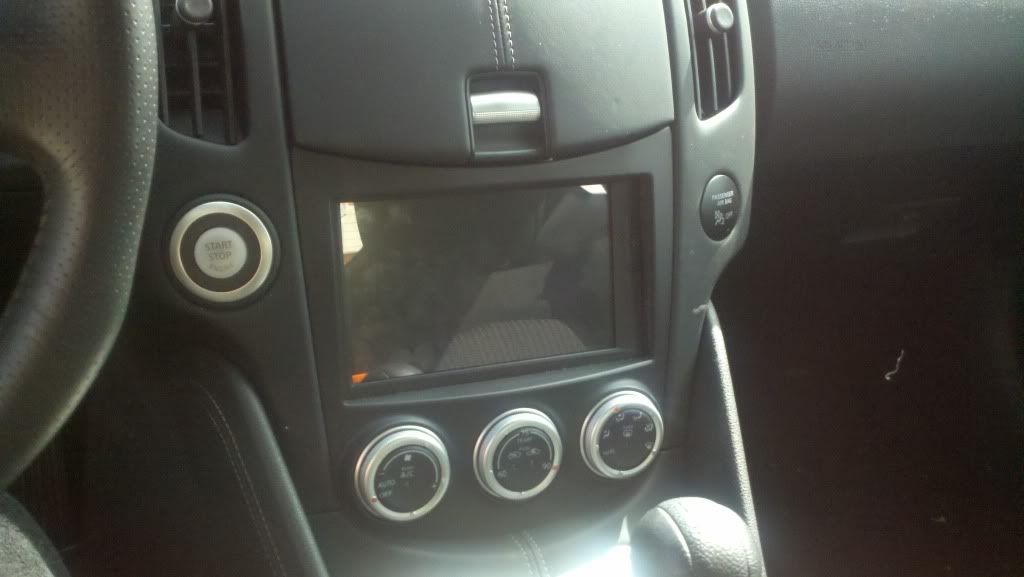
I was hopeful that I might be able to fit an iPad in that space. Looks like I was mistaken unless they produce a smaller version. Looks like we only
|
|
LinkBack | Thread Tools | Display Modes |
01-28-2012, 12:58 PM | #16 (permalink) |
Enthusiast Member
Join Date: Mar 2011
Location: Covington, Louisiana
Posts: 419
Drives: 2012 NISMO Gun Metal
Rep Power: 14 |
I was hopeful that I might be able to fit an iPad in that space. Looks like I was mistaken unless they produce a smaller version. Looks like we only have 8 inches to play with.
__________________
-Glenn 2012 NISMO Gun Metallic #0015 |
01-30-2012, 07:00 PM | #20 (permalink) |
Base Member
Join Date: Nov 2011
Location: West LA, CA
Posts: 34
Drives: '10 370Z MB 7AT
Rep Power: 14 |
Cool thread, subbed.
I'm planning on doing a CarPC build, as soon as they release this bad boy: Raspberry Pi | An ARM GNU/Linux box for $25. Take a byte! |
01-31-2012, 01:15 PM | #21 (permalink) |
Track Member
Join Date: Nov 2010
Location: DFS
Posts: 900
Drives: ???
Rep Power: 55 |
Computer is a Fujitsu P1620, and you have to do some trimming off the cooling vent mounts to get it to fit. I am working on a single plug connection to the car using a docking station as a wire harness donor. I am also looking at running all my audio/video on the computer and making the current head unit a second monitor. The touch screen on the Fujitsu is only active with a fingernail or something hard. I would make the second lower monitor (true finger on glass touch screen) a GUI for the most common functions. I am deployed 6 months out of the year so work has stopped for now.
__________________
It's not my fault I'm old, I was born a very long time ago! |
02-22-2012, 06:31 PM | #22 (permalink) |
Track Member
Join Date: Oct 2011
Location: South Florida
Posts: 882
Drives: 12 PW 370z 6MT Sport
Rep Power: 15 |
Hey everyone, sorry for not updating in a while - 40 hour work weeks and midterms are really taking away time from the Z and her projects.
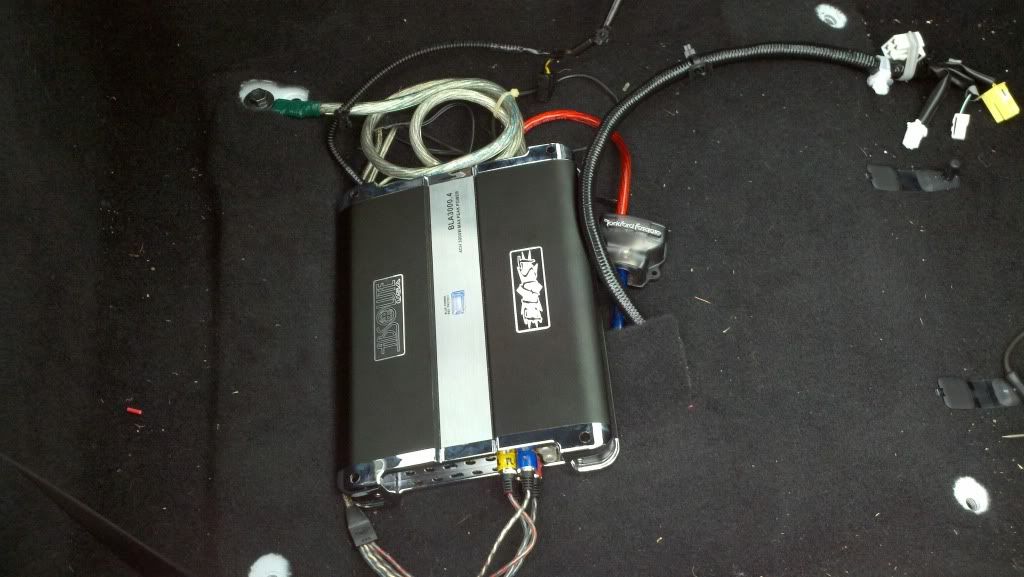
I tested the computer's M2-ATX smart power supply, and it's green lighted to go. When the ign wire is plugged in, the computer waits 5 seconds, ignoring if the ign is turned off and turned back on (as in when you start the engine, the radio and lights cut out), and boots the computer. When the ign is turned off or disconnected, the computer waits 5 seconds, then "presses" the power button. Pretty cool. I got down to tearing apart the interior, for locating good amp/computer mount positions as well as getting a feel for where to wire everything. As I said before, I ran into issues with not being able to reach the grommet that Sliknik used in his videos for the power cable - the clutch piston is in the way, and it is impossible to remove either the clutch unit or the brake fluid distributor thing. Luckily, I discovered another spot I plan to use. It's definitely the best place to run wire, automatic or manual tranny: In order to get to this spot, I removed the cowling near the windshield as well as the battery cover completely. This cover pops off by prying at one of the sides, and you can see straight into the car and look at the footwell. I'm just gonna cut a small hole into the rubber and thread the wire into the hole, and seal it up with silicone to be safe. The power wire dumps straight down the passenger side footwell, and I plan to tuck it under the side of the floorboards and send it straight to the back of the passenger seat, where I'm gonna split it up with a distribution block, and send the power to the amps and the CarPC power supply. Again, thanks to Sliknik for awesome videos, wouldn't have been able to remove nearly anything without em. Anyway, after clearing out the trunk, I decided to mount the car computer near where Sliknik mounted his amplifier - lucky for me, the computer fits flush and level with the bare metal - barely. The foam cover clears the sides of the computer like it was meant to be there. I'm gonna run to home depot or NAPA to pick up some rubber feet or standoffs to give the computer some vibration resistance, then just simply stick it down with some permanent 3m double side tape. Picture of the computer. You can also see the circuit board taped to the front - that is the M2-ATX power supply. It is powered by connecting 1/4 standard blade connections. Unfortunately, with the computer here, there is definitively no space for an amplifier. Even though I have a small amp, it's gonna have to go under the passenger side seat. Ah well. I should be able to run the speaker wire under all the carpet and cut a slit right where the speaker wire connects to the amp. As for the front of the car, I got down to getting to just the radio sitting in the surround, and I stopped there for the evening. All I have to do for the cabin is remove the center console, and the passenger seat, and I am wire-ready. I will be finishing this install completely on saturday, and I'll be posting some more photos and a video of how the computer works. There are some more modules I would like to add to the CarPC, namely HD/SAT Radio, USB cameras, and the GPS/Steering Wheel Control Interface I have here, but that will be down the line. First, gotta get this baby working and fired up! |
02-28-2012, 11:38 AM | #24 (permalink) |
Base Member
Join Date: Feb 2012
Location: Ithaca,NY
Posts: 67
Drives: Ford Raptor
Rep Power: 13 |
Has anyone thought about using one of these for the PC.
ZOTAC - It's time to play! - mini-PCs And if you wanted to get crazy you could just buy a USB Cell adapter, or Tether your cellphone. Done forget this. http://www.amazon.com/FAVI-Entertain.../dp/B003UE52ME Last edited by sceptre155; 02-28-2012 at 11:45 AM. |
02-29-2012, 09:34 AM | #25 (permalink) |
Base Member
Join Date: Feb 2012
Location: KUWAIT
Posts: 2
Drives: 350Z
Rep Power: 13 |
Hi Alstann,
I can see, your going to combine the M2-ATX 160W Power Supply with the Foxconn H67S Motherboard. What I understand that the Foxconn H67S comes with a 24 pin headers for power, and the M2-ATX comes with 20 pin connector. Please let me know if I am wrong, cause I really want the Foxconn H67S to work in my car, but afraid it wont work with my M3-ATX. Or please let me know if any other possible way to connect it to M3-ATX. PS: M3-ATX and M2-ATX has the same connectors but M3-AYX is much smaller. Thanks in advance Fahad |
02-29-2012, 10:47 PM | #26 (permalink) | |
Base Member
Join Date: Nov 2011
Location: N/A
Posts: 98
Drives: '12 370z Gun
Rep Power: 14 |
Quote:
|
|
03-01-2012, 08:08 AM | #27 (permalink) | |
Car Audio Installer
|
Quote:
Maximum PC | Itty Bitty "Cotton Candy" USB-Sized PC Available For Preorder
__________________
Need help with car audio or electronics? Let me know!! Need Help Let Me Know Direct email address reimermatt@gmail.com Owner of: Dynamic Mobile Audio Follow me below https://www.facebook.com/Dynamicmobileaudio/ |
|
03-06-2012, 03:00 PM | #28 (permalink) |
Track Member
Join Date: Oct 2011
Location: South Florida
Posts: 882
Drives: 12 PW 370z 6MT Sport
Rep Power: 15 |
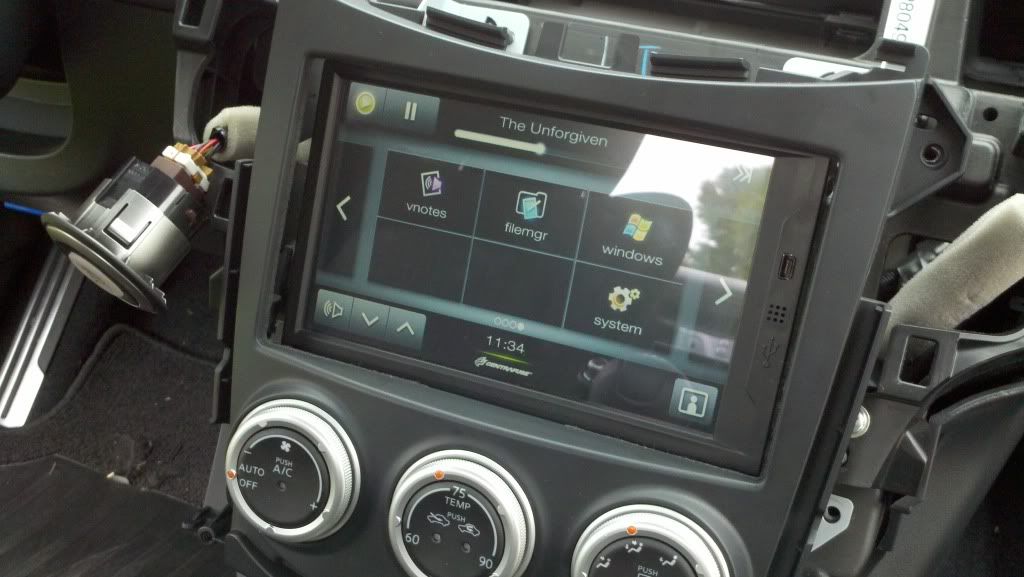
Alright everyone, version one my install is complete!
I've finally had some free time to sit down and upload the pictures. The first issue with the touchscreen is that I had not realized the dimensions of the screen will not fit the stock double din face correctly. Bybyte, the company that makes the touchscreen double din mounting, lists the height as 107mm, which is 7mm taller than the ISO Double Din international standard. This was a rough first test fit - as you can see, the width is also shorter than the outer frame, since the stock radio is contoured to fit this perfectly. At first, I actually ordered a Metra Double Din kit to see if that would help. It was a larger opening, but that led to the issue of me trying to make it fit neatly in the Metra frame, and I decided it wasn't worth the effort of attempting to use some filler material and such. On the backside of the stock frame, the monitor clearly got stuck on some points on the frame. I just simply dremeled my way through the bits and got the frame to sit much, much closer to the screen. You'll be able to see this later down. As for the sides of the frame being too large, I found some strips of black foam I cut to fit the sides of the frame. It covers the gap nice enough for now. I'll figure out some cleaner fitting material later down the line. There was also a second issue - I had to later take out the screen again after one day due to some erratic touchscreen behavior. I kinda forced the frame to sit on the monitor, and a pressure point somewhere made the touchscreen think I was constantly pressing the corner of the screen. After some more dremeling, the frame simply sits over the monitor, with absolutely no pressure. This is the picture of my final mounting point for the amplifier. I went to home depot and got a heavy duty velcro sticky pad, and stuck the carpet side to the car's carpet, and the other to the amp. It is held solid, and can still be removed so I can tune it or whatever. The seat sits over it perfectly, and still leaves a gap so there's no direct heat transfer. As for the computer, I took some more of the foam I used for the monitor and made some feet for the computer, and double side taped it down. The computer can jiggle about enough to ease my mind about the everyday rigors of driving on sport tires. Here are the pictures of my finished results for V1: There's only one thing I have an issue with - I think I have a ground loop interference somewhere along the line. My monitor, which has an autoswitch function for a reverse camera, sometimes autoswitches randomly, even though I have no aftermarket reverse camera. I'm gonna try grounding the RCA input in the hopes that will go away. It only happens once a blue moon, though. For my next audio upgrade, I have planned the following: -New 6.5 components and possibly rear speakers, depending on my research -Steering wheel controls over a USB interface -HDRadio / Sat Tuner -12" JLW3v3 in a ZEnclousures box -Dynamat the trunk and door panels -Buying the newer Centrafuse software for the more uniform apps and features, and for OEM-style navigation I'm gonna record a video of how it operates, starts up, shuts down, etc. hopefully soon. |
03-14-2012, 04:25 PM | #30 (permalink) | |
Enthusiast Member
Join Date: Mar 2011
Location: Covington, Louisiana
Posts: 419
Drives: 2012 NISMO Gun Metal
Rep Power: 14 |
Quote:
__________________
-Glenn 2012 NISMO Gun Metallic #0015 |
|
Bookmarks |
|
|
Similar Threads | ||||
Thread | Thread Starter | Forum | Replies | Last Post |
pedZ's Build Journal | pedZ | Member's 370Z Gallery | 131 | 05-11-2015 05:46 PM |
CarPC vs 370Z OEM Navigation System | labk888 | Audio & Video | 22 | 08-27-2012 11:59 AM |
I guess this will be my "build thread" or..."journal?"... atx370z | atx370z | Member's 370Z Gallery | 15 | 09-15-2010 01:10 PM |
Need input on upcoming build!!! | ftwayne370z | Nissan 370Z General Discussions | 6 | 05-09-2010 11:43 AM |
AlexPila's Build-Up Journal | alexpila | Member's 370Z Gallery | 43 | 04-22-2010 08:25 AM |