
 |
Just thought we'd share some install shots and specs on our industry first pulley for the R35 from a couple years back. Some of the specs: • Power and torque
|
|||||||
 |
|
|
LinkBack | Thread Tools | Display Modes |
|
|
#1 (permalink) |
|
Base Member
Join Date: Jan 2012
Location: Toronto
Posts: 120
Drives: 90 Z32 TT, 92 Z32 TT
Rep Power: 14  |
Just thought we'd share some install shots and specs on our industry first pulley for the R35 from a couple years back.
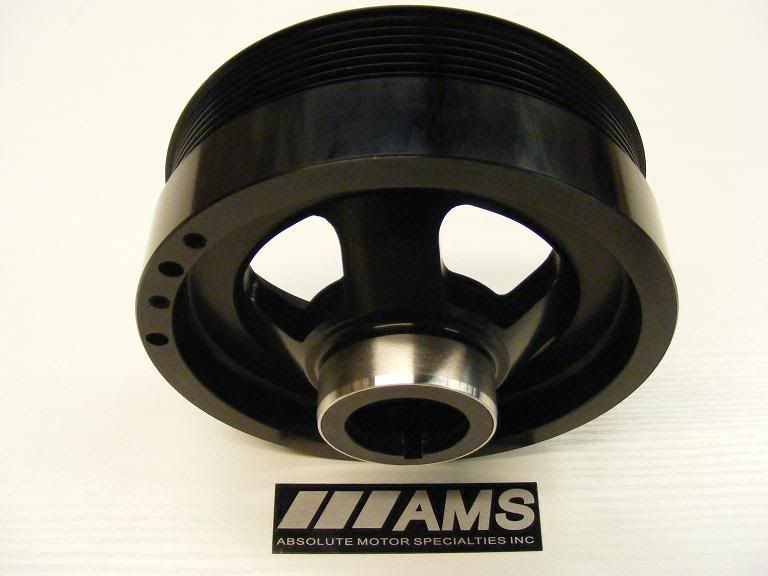 Some of the specs: • Power and torque gains throughout the power-band! • Stock-sized main crank pulley (no under-drive related issues) • CAD-Designed, billet aircraft aluminum construction (T6061) • Metal sleeve on main crank pulley for a positive seal • Weighs in at 2.35 lbs. versus 6.17 lbs. factory pulley! • Fully balanced, super light, and super strong! • Aircraft grade aluminum construction utilizing strict ISO 9001 manufacturing standards • AMS laser-etched logo and anodized black for longevity/durability and a stealth stock look • AMS pulleys have been used for years on highly built VG and VQ powerplants! Applications: R35 2009+ Side by Side shots of AMS Pulley vs OEM: 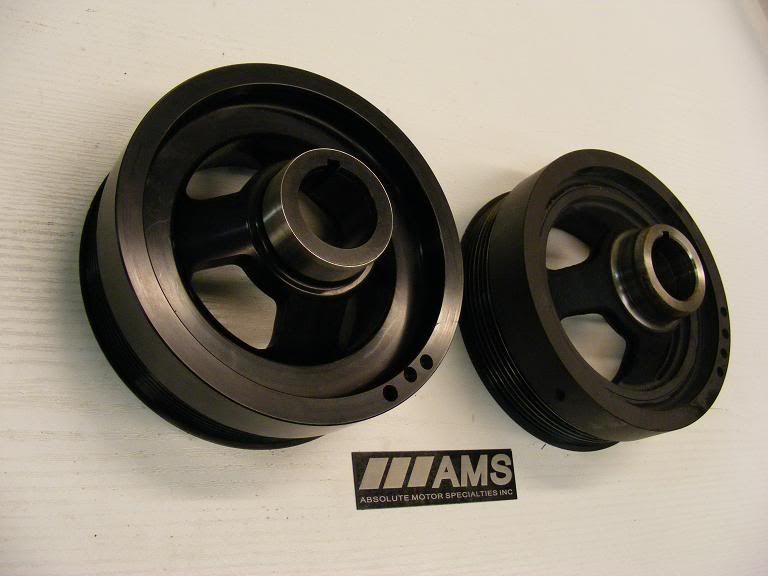 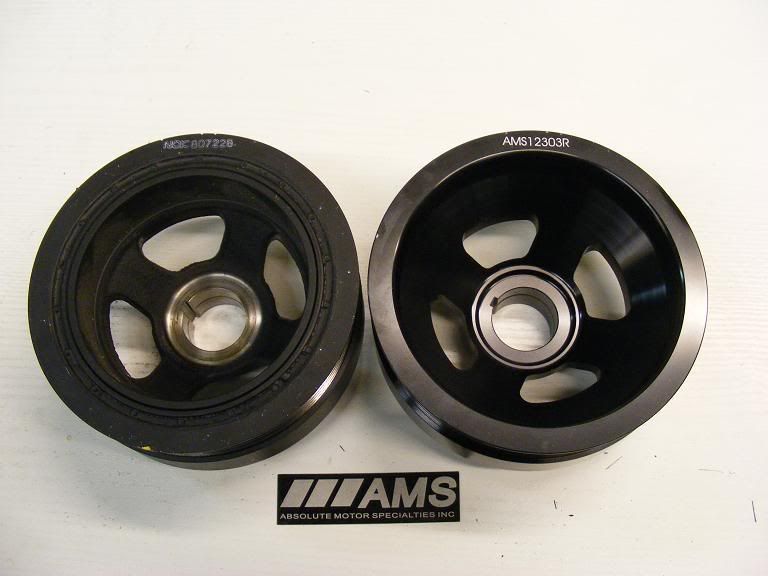 Picture of metal sleeve for a positive seal between the pulley and front oil seal: 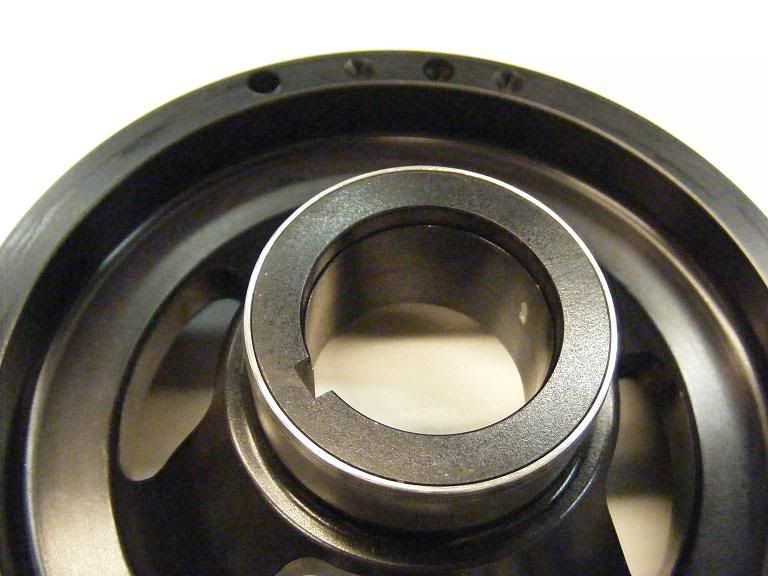 Install is straight forward and should take around 2-3 hours using simple tools: 10mm socket, ratchet, extensions flat head or equivalent for removal of plastic clips 19 mm deep socket (preferably impact) and breaker bar/pipe jam bar (for main drive shaft) torque wrench Picture of the GTR prepping for light surgery at AMS: 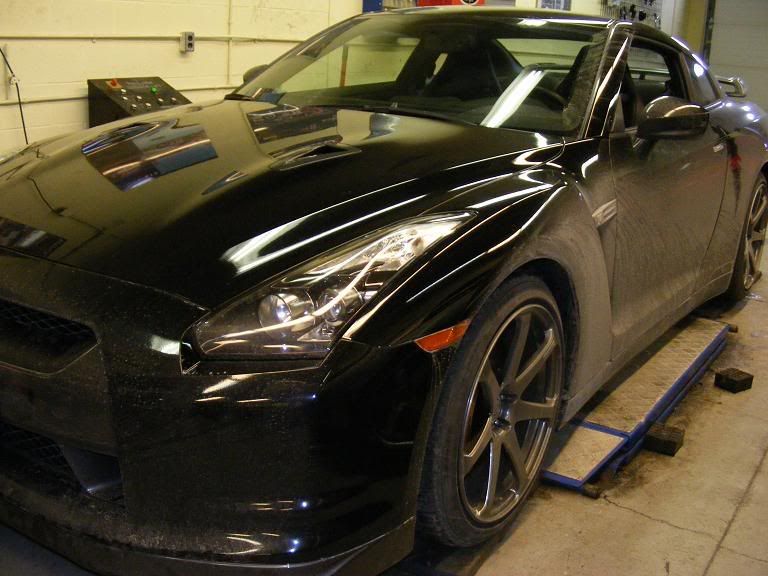 After proper positioning on our scissor lift we position the rubber blocks under the OEM mounting points: 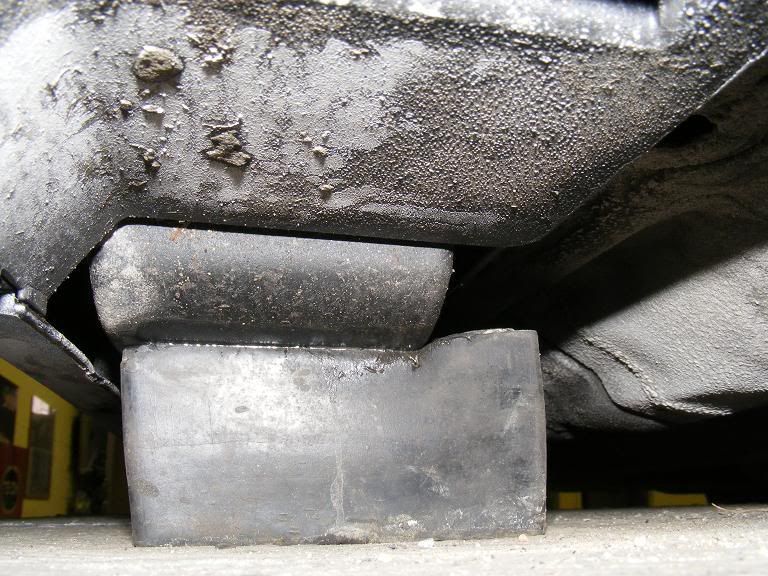 Shot of the undertray that needs to be removed to access the lower engine bay. The arrows depict some of the 10mm bolts and clip locations that need to be removed for the front lower lip/bumper to be removed. The front bolts are hidden by rubber plugs that have been removed in this pic: 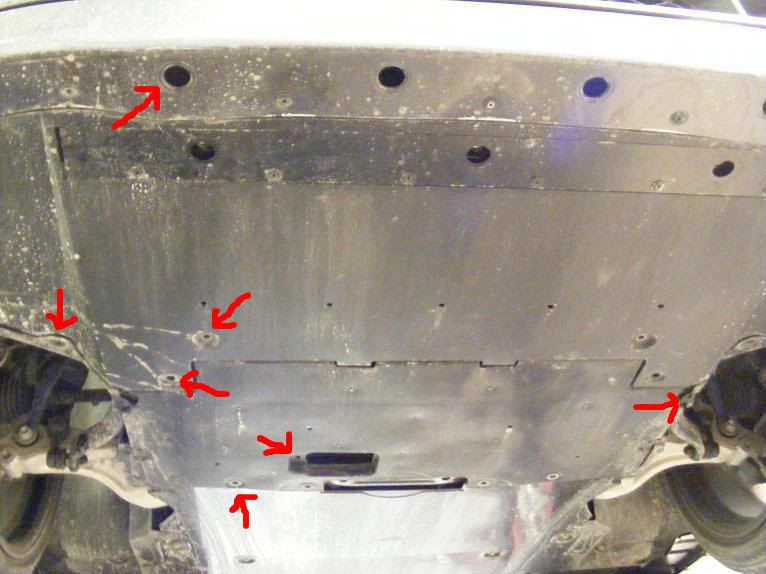 Two 10 mm bolts (one on either side) are hidden towards the front wheel splash shield. Removing the plastic clips will allow access to these with an extension: 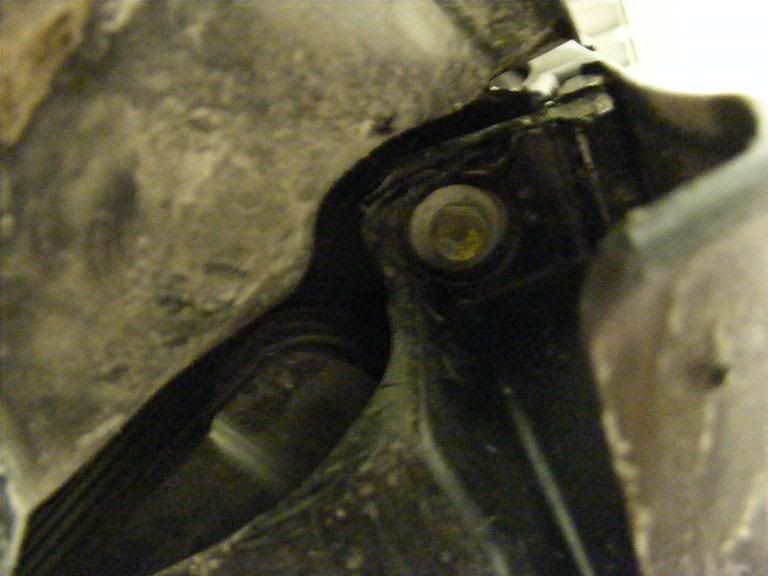 Front lower lip/bumper carefully being removed: 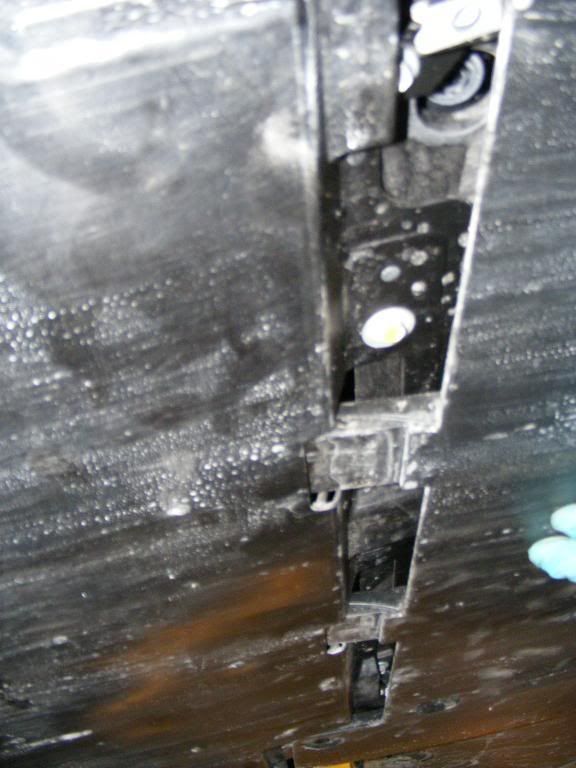 Front lip/bumper removed: 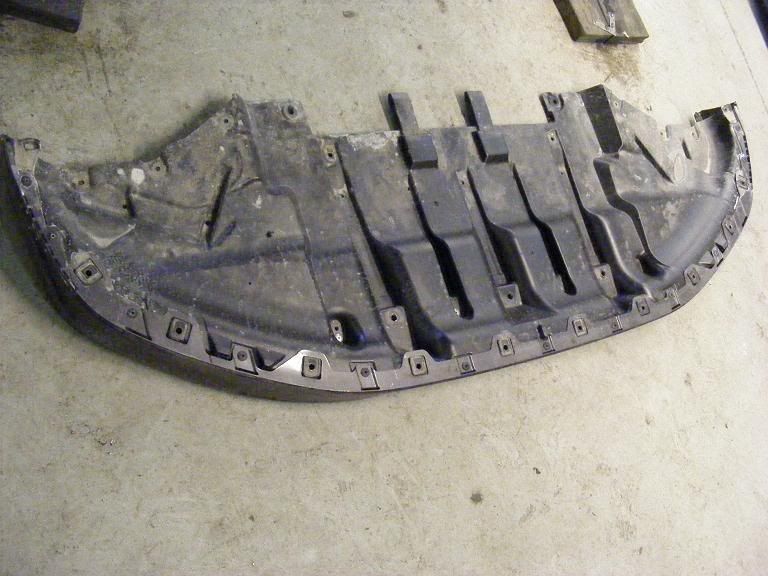 With the front lip/bumper removed you now have access to the remaining 4 x 10 mm bolts in order to remove the second undertray: 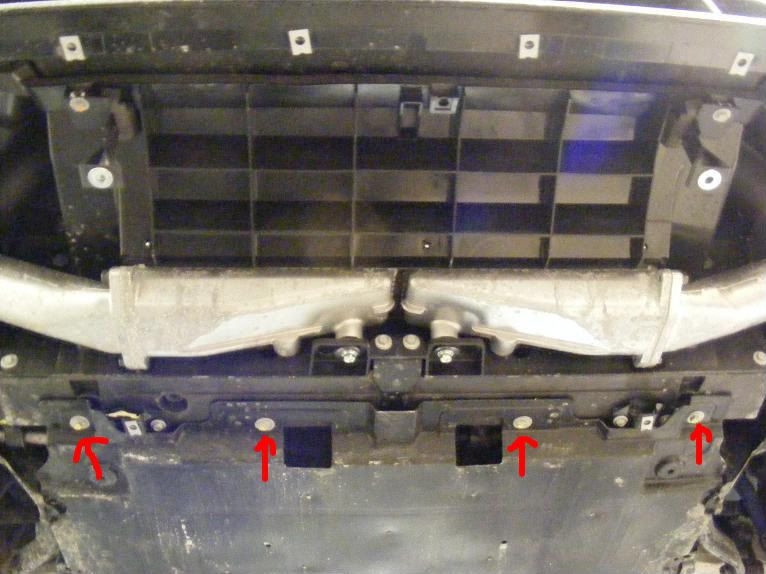 Second tray removed - don't mind the salt  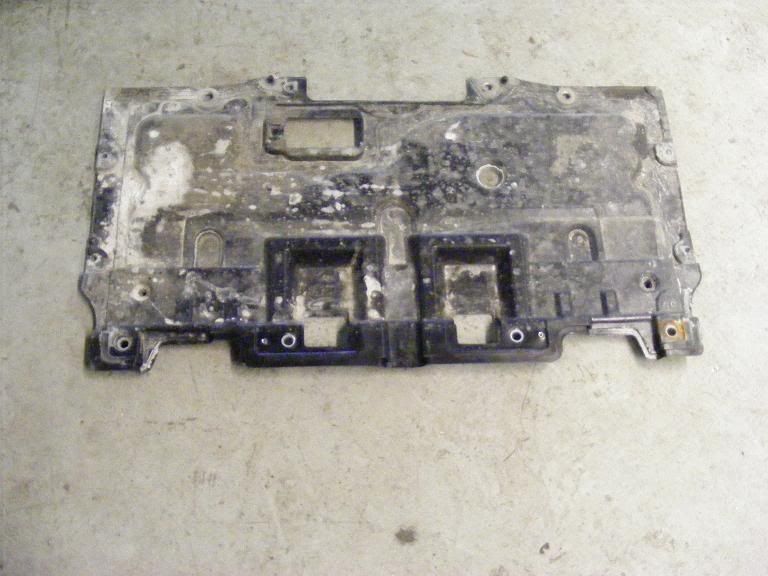 OEM Pulley waiting for extraction: 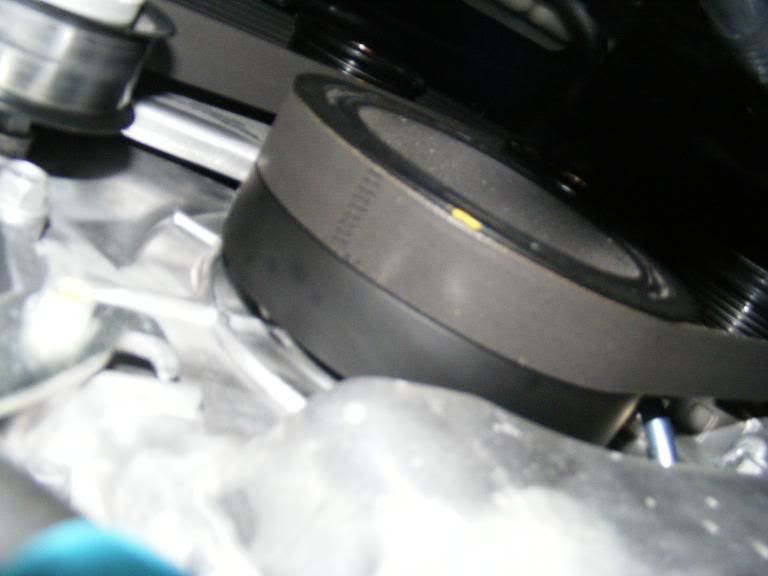 In order to remove the serpentine belt you will need a 3/8 ratchet. Watch your fingers as the idler arm has alot of tension. Before removing the belt note the routing - may want to draw a simple sketch for reference. Belt is removed: 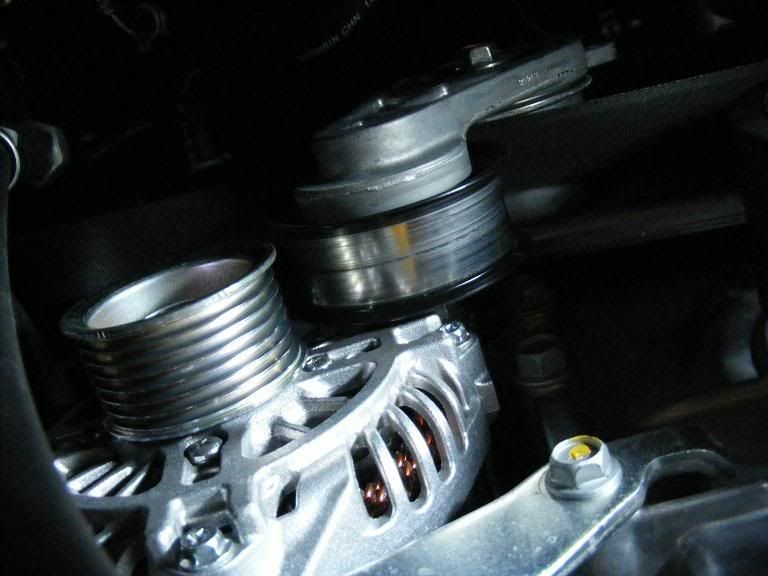 Now is the fun part - removing the crank bolt. Easiest way would have been to remove the rad assembly as you can then fit an impact gun and voila! However taking the rad out etc is unnessary and more time consuming than needed. Grab a 19mm deep impact socket with 1/4 ratchet and good length pipe to use as a breaker bar. Now you need to jam the primary driveshaft from spinning. Here is where a hoist and helper are very beneficial. Simple insert the crow bar in-between the front u-joint: 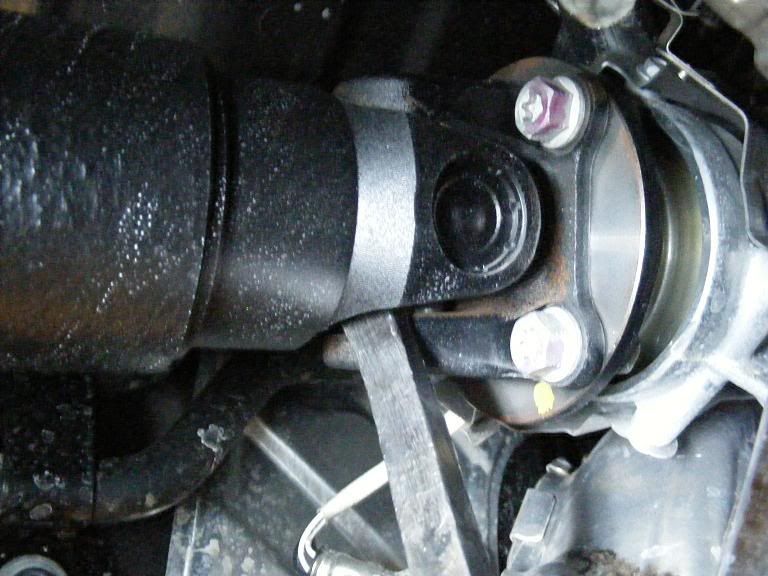 Now you spin the 19mm socket counter clock-wise while your assistant keeps the drive-shaft from spinning. Should not take too much effort. You can shoot some WD40 where the 19mm crank bolt was removed to help with removal of the OEM pulley. We found that the OEM pulley just needs some simple wiggling to pry loose - gotta love new cars  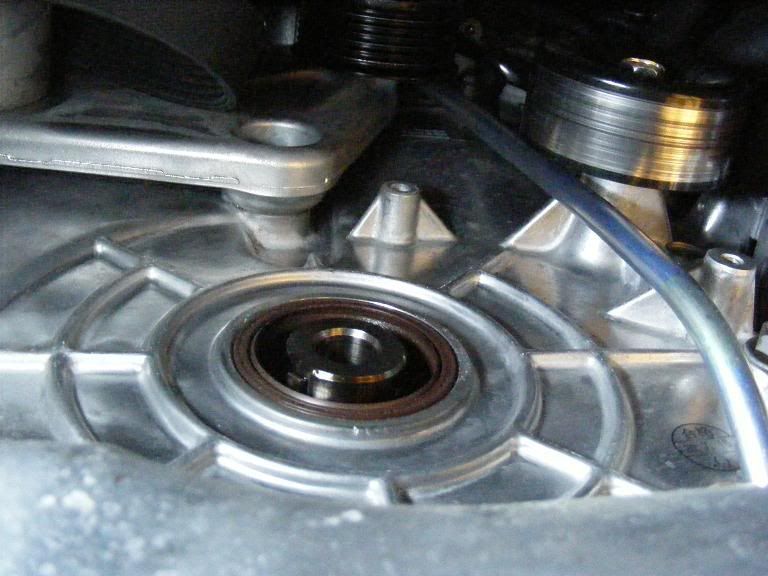 Now you lubricate the metal sleeve of the AMS pulley with oil/WD or equivalent. This ensures that the sleeve does not bind the crank seal. This is a precaution as the seals are fresh and still soft but on higher mileage cars they become hard and more brittle. Ona higher mileage car we would be replacing the seal regardless. Add some anti-seaze to the inner portion of the pulley and carefully insert making sure the key-ruff does not fall out or move. Tighten the bolt with a torque wrench to OEM specs (I forget the exact spec and will insert this when I return to the shop). AMS Pulley installed - not even the dealer will know it's there  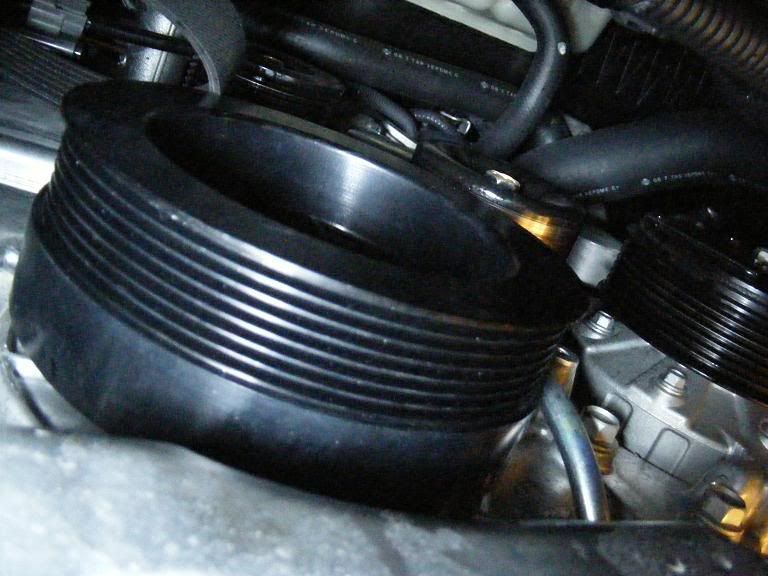 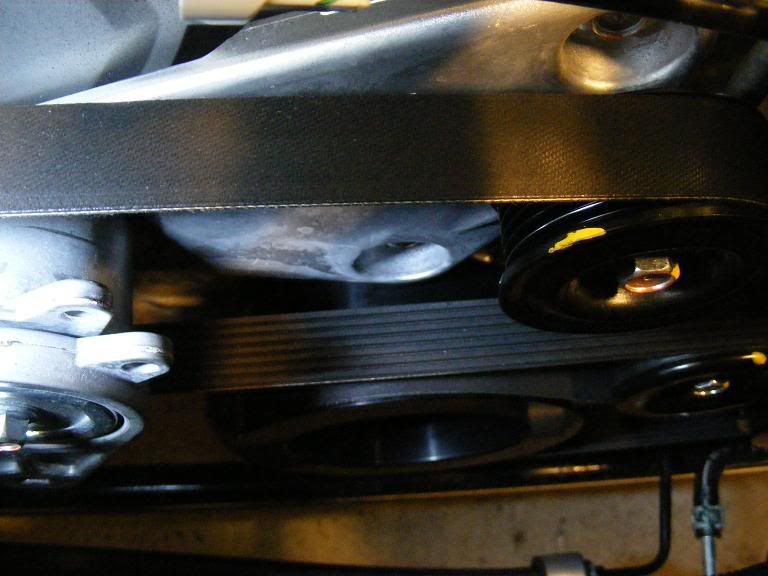 Final steps involve re-tracing your steps for the under-trays. All in all this should take a competent shop no more than 2-3 hours to do depending on skill level etc. With simple equations for power increases the formula is 2.7 hp per 1 lb saved. Expect 10+ hp easily. Our past results with pulleys show a higher output level as cars are more heavily modified. The engine will feel lighter and upshifts and downshifts will be quicker! Our AMS pulley will be available through exclusive distributors such as Speed for Sale. Pre-order details and delivery details along with dyno to follow shortly. For those interested we had a feature on an install on one of our kits for the 350Z: In The Media - MUCH MORE! Enjoy! Wolf@AMS AMSMotorsports.com Servicing Nissan's Flagships Since 1992! |
|
|

|
 |
| Bookmarks |
|
|
 Similar Threads
|
||||
| Thread | Thread Starter | Forum | Replies | Last Post |
| [WTB] NST UD pulley kit | ben1620 | Parts for sale (Private Classifieds) | 1 | 01-12-2012 06:25 PM |
| Crankshaft Pulley install question | cotizi | Engine & Drivetrain | 6 | 04-03-2011 09:33 PM |
| Plano area shop to install underdrive pulley? | darrinps | Texas | 12 | 02-26-2011 08:07 PM |
| NEW from Race Ramps - Two-Piece, Two-Stage Incline Race Ramps | Fred@ReverseLogic | Tools / Ramps | 2 | 02-03-2011 09:27 PM |
| closing laps of the 2010 Australian V8 Supercar race - One close race! | AK370Z | Other Vehicles | 7 | 10-28-2010 08:29 AM |