I hadn't seen a DIY for this particular option and thought this would be a good opportunity to start my first DIY thread for my first DIY mod

The first set of rocker switches I bought were really slick but too large for the console (you can actually see them in the first photo). And because I had trouble finding the standard momentary SPST rocker switch in stock at local electronics stores, I decided to try the push button route. I purchased a momentary OFF - (ON) push button switch from Altex. Everything else I had already - wiring, solder, soldering iron, crimp blade receptacles, drill, and drill bits.
**EDIT** Created an album for this here
Nissan 370Z Forum - JARblue's Album: Garage Door Switch Mod
STEP 1: Remove circuit board from garage door remote, determine your soldering points, and prepare to wire up the switch (see Pics 1-3).
Pic 1
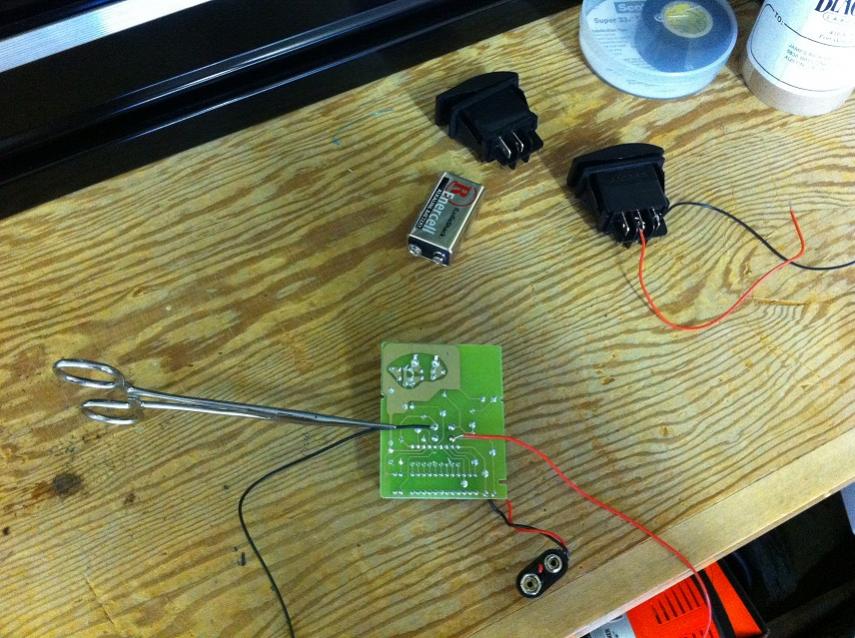
Notes: I made the decision early on to use the 9V battery connection for now. Once I actually attempt my lofty dream of adding two USB connections and the rear fog light w/ switch, I will at the very least rewire the connection to the fuse box or accessory power.
Pic 2
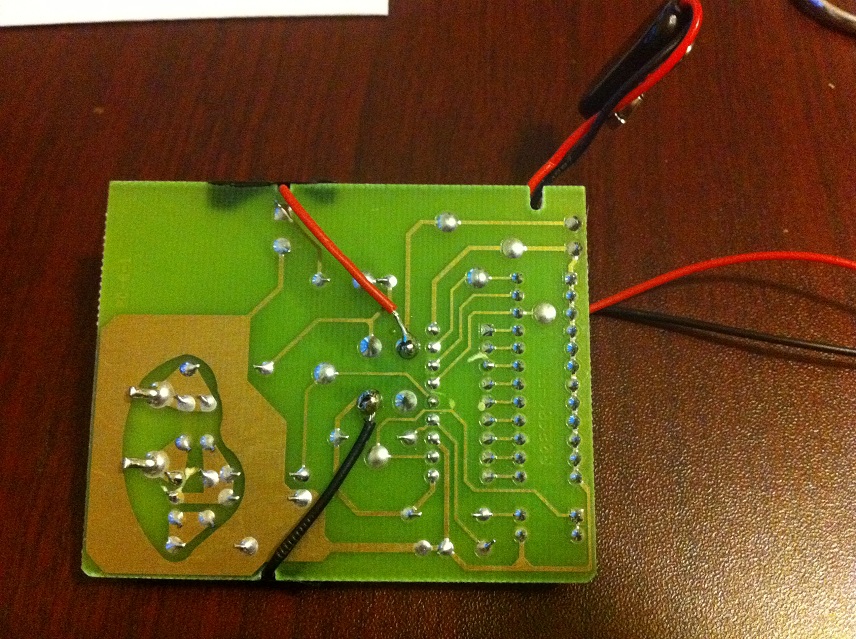
Pic 3
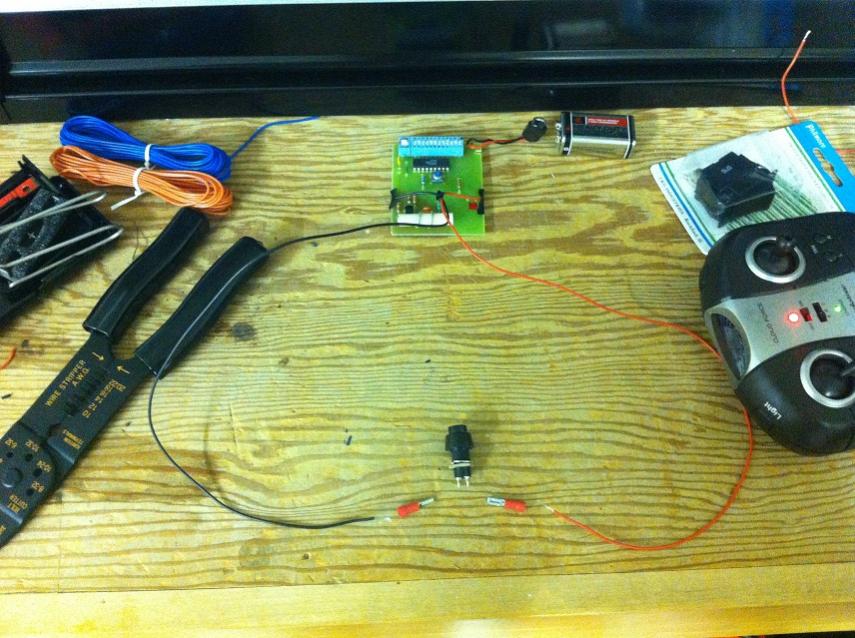
Notes: Here you can see the how the circuit will go together. The push button switch has contacts designed for soldering. However, for ease of removal during future mods, I crimped the wires to some small blade receptacles to slide on the switch contacts. If you solder the connections, be sure to wait until after you install the switch into the blank plate.
STEP 2: Install the push button switch in one of your existing blank inserts (see Pics 4-5). I really didn't have the correct tool available, but the main challenge is to clear out the plastics fins inside the blank insert (some small snips or wire cutters might work better than the razor blade and small chisel I used). To drill the hole, a step bit would be ideal. But since I couldn't find one, I just used a smaller bit as a pilot and then used a bit that matched the thickness of the switch. This allowed me a better opportunity to center the hole in the blank insert, especially since the plastic fins right where you want to drill are the harder ones to remove. The switch has a notch to keep it from rotating once installed, so I made a small matching notch with a razor blade. This step was pretty easy, but you can scratch up the top of the blank insert if you aren't careful. Make sure you clear out enough room inside the plate to cinch the washer and nut all the way down when installing the switch.
Pic 4
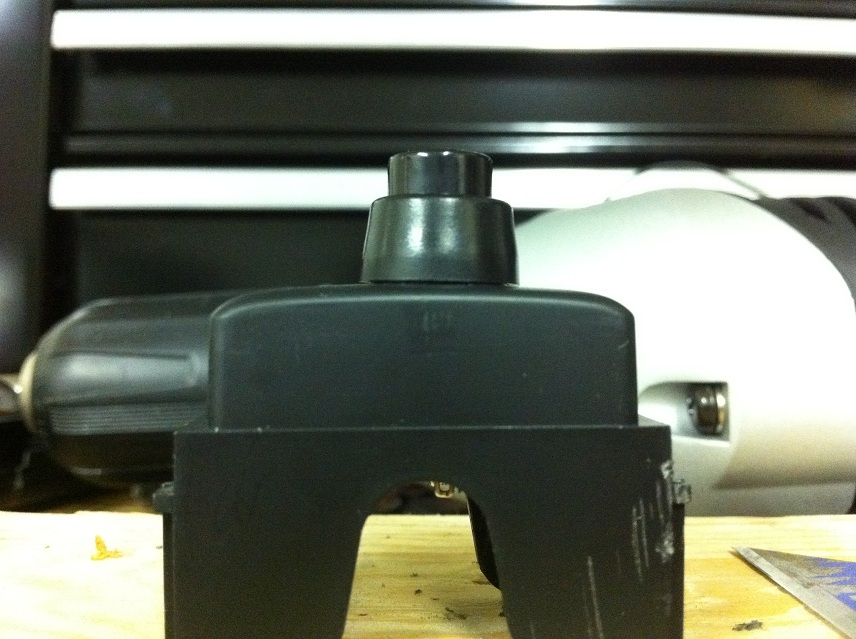
Side View
Pic 5
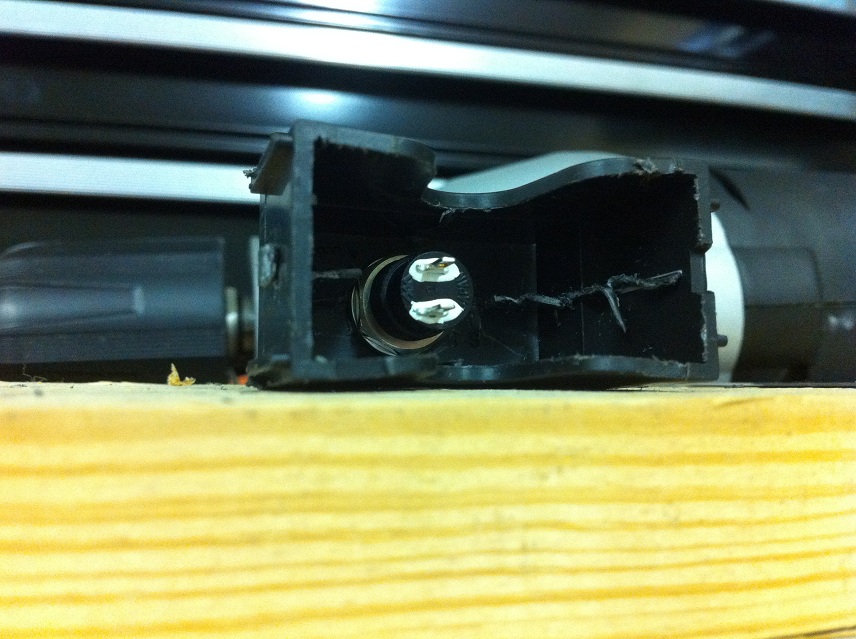
Bottom View - You can see a little of the torn up plastic inside the blank insert.
STEP 3: Connect the switch to the circuit and locate a place in your console for the circuit board (see Pic 6-7).
Pic 6
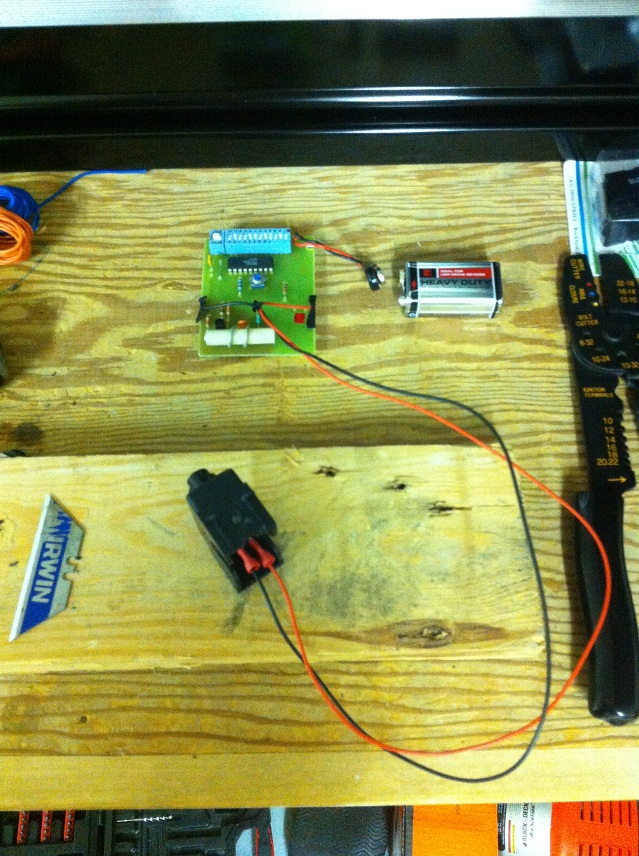
Pic 7
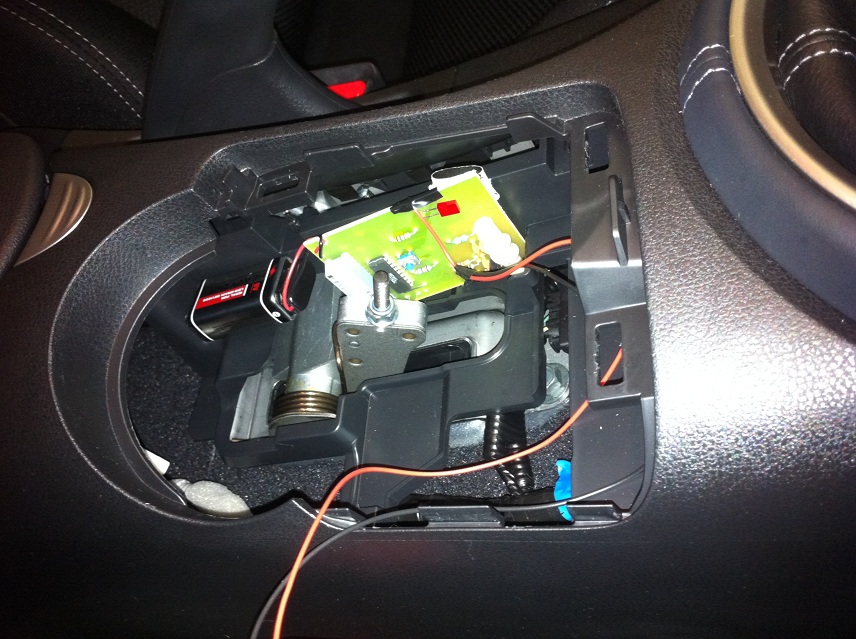
Notes: As I mentioned before, I decided to use the 9V battery temporarily, partially because the location I found seemed to be perfect for the circuit board to stand on end with the battery sitting on a shelf immediately adjacent to it. I used foam on the back side and a small amount of tape on a bare portion of the circuit board to hold it in place as well as some tape on the bottom of the 9V. Velcro would be another acceptable solution here I imagine.
RESULTS:
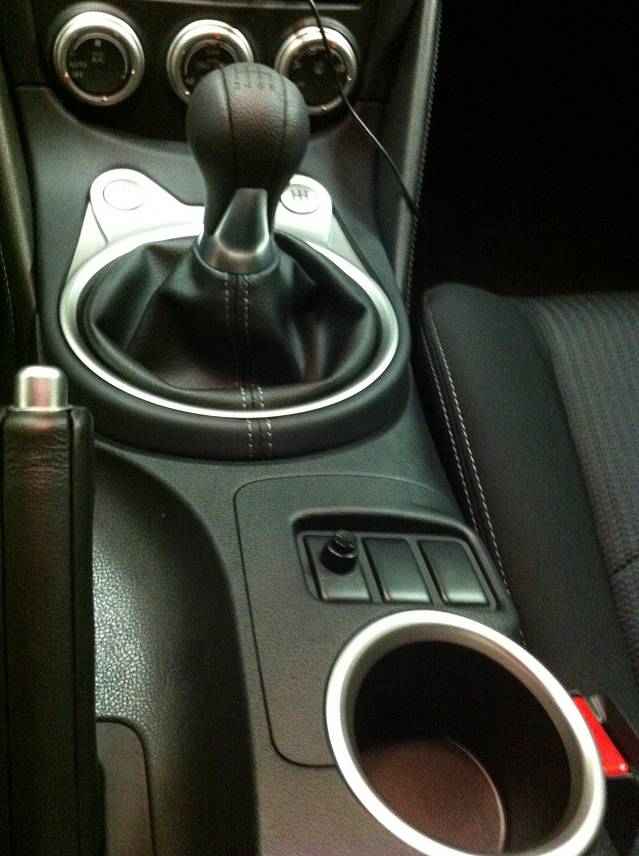
Note: The switch is not perfectly centered but it's definitely closer than this image appears to show. For most people it might be just fine, but I am already thinking about other options.
FINAL THOUGHTS: I may switch out the push button for a momentary rocker switch that will match the ON-OFF rocker switch I have for the rear fog light. However, if I keep the push button, I may consider using another blank insert and installing two push button switches - garage door switch to remain, but I could easily add another one in the same plate that could manually flash the rear fog light (I already plan to have it turn on and flash while in reverse automatically). The flash switch for the fog light would need to be momentary ON - (OFF) which is reverse of the one I used for the garage door opener. I will post any modifications I make as well as link to any of my other DIY plans if a new thread is warranted. Thanks for looking and hope it helped some of you out.