Hey everyone.... i just recently added a spoiler on my 370z so i thought id take some pictures while installing it myself and start a DIY page... ok here...

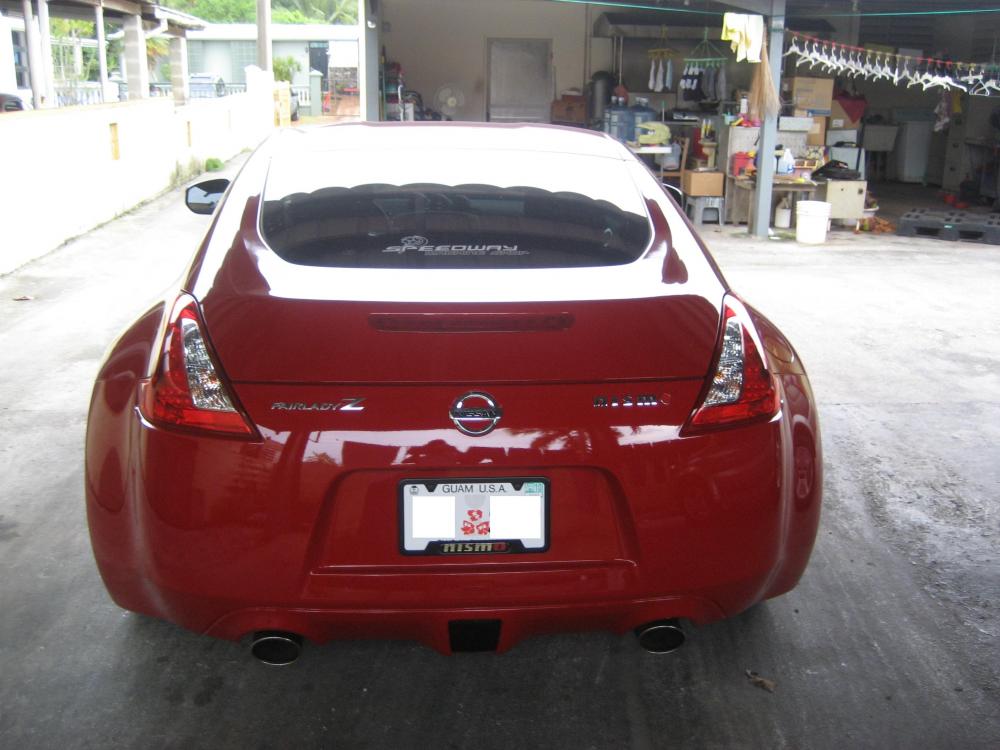
BEFORE.....
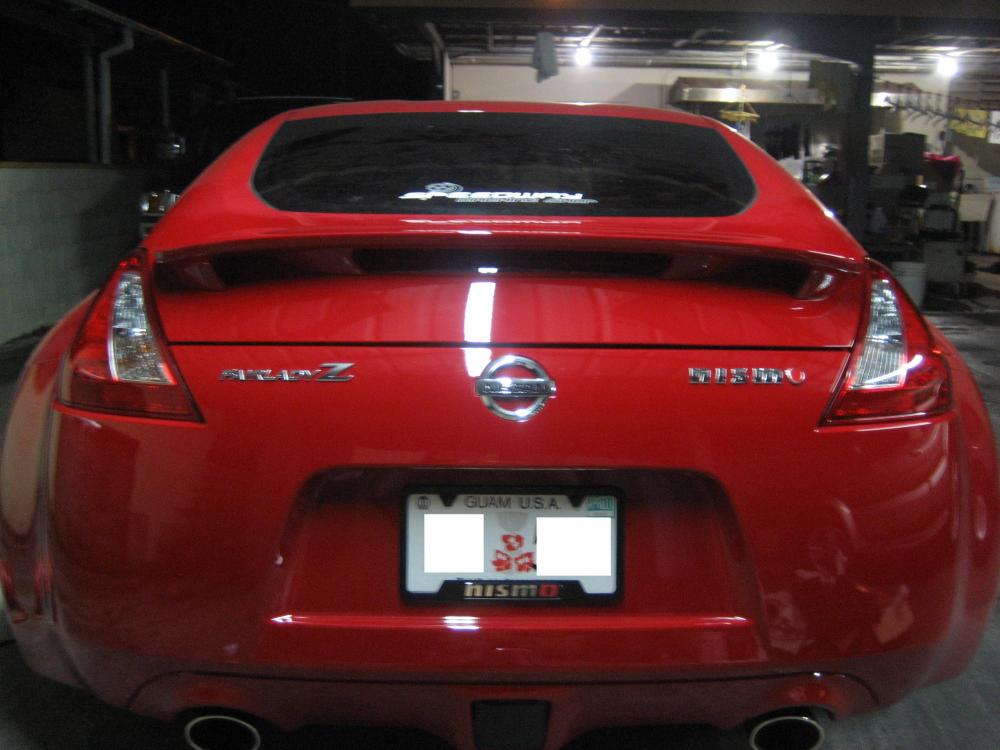
AFTER.......
STEP 1....
Changing the gas shocks on the hatch....
all you need is a a flat head for this procedure... its very simple... you just stick the flat head in the little slot on the top once u sort of pry halfway the c looking clamp on the gas shock wiggle it out and itll just pop off

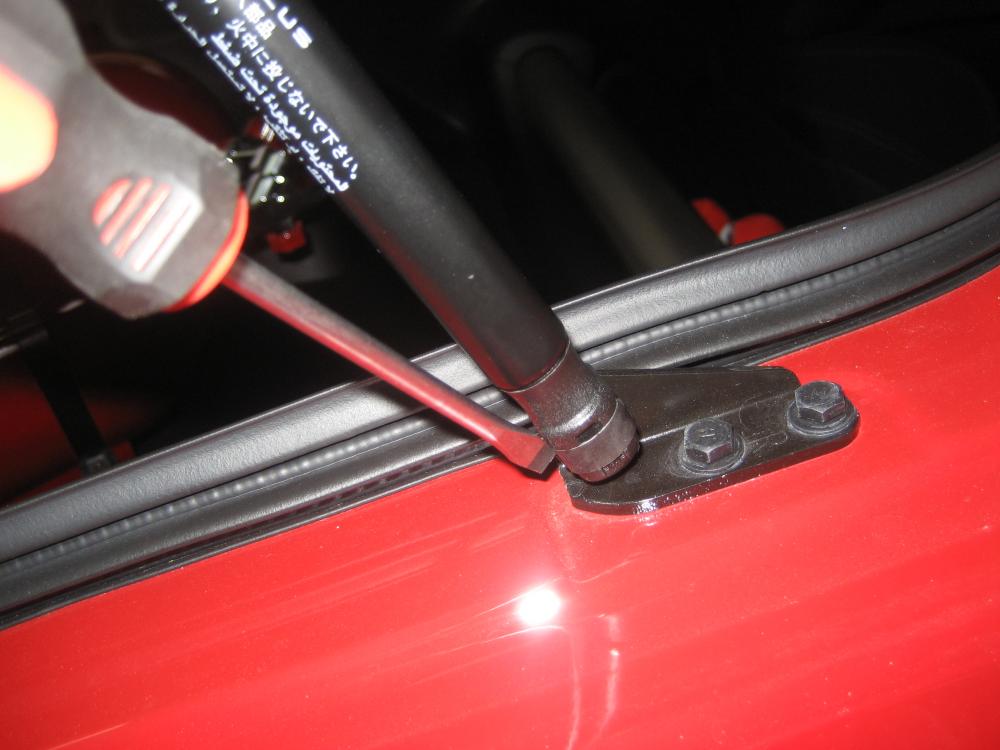
PLEASE NOTE the hatch WILL fall after you take even just one gas shock out so please have something proping it up or a person helping you out....
ok... once you have the top of the gas shock out do the same to the bottom and the shock should be out completely... repeat this step on the other side.
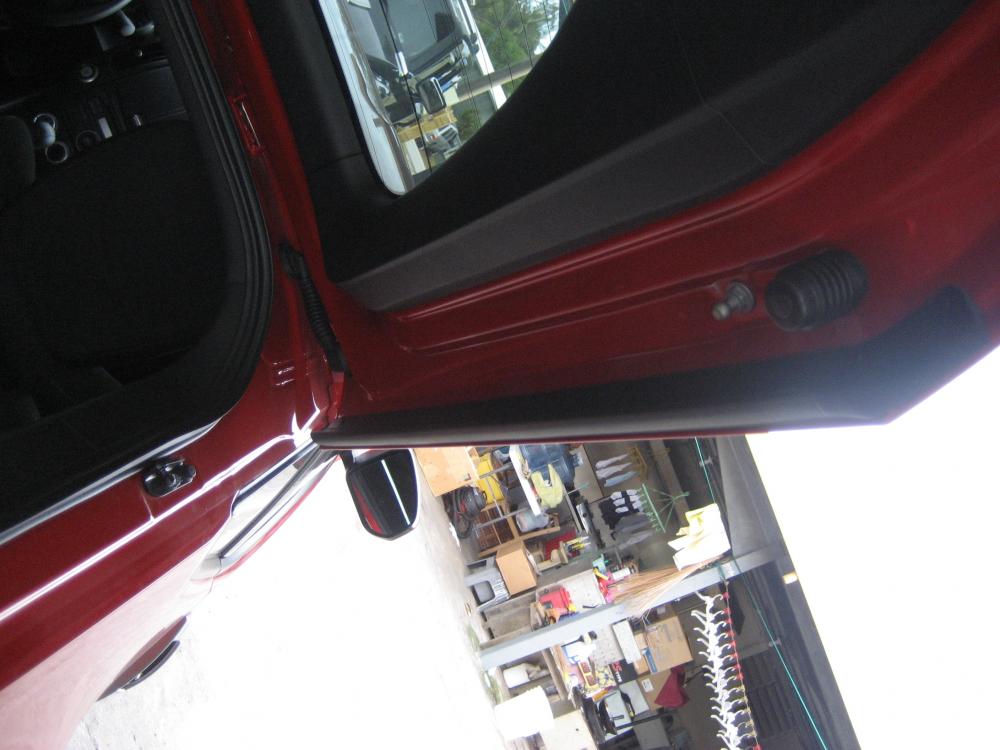
installing the new gas shocks that come with the factory spoiler is pretty much the same as taking them out pry half way the c clamp looking thing with a flat head and wiggle it in place... when installing i found it easier to install the bottom side first then the top....
STEP 2
Taking out the panel on the underside of the hatch... ok for all those who are scared to tug on the panels dont worry... i was sooo scared i was gonna break something while dont this step so heres my tips if you have a prying tool for fasteners great use it... if you dont.... like me... lol i used my fingers
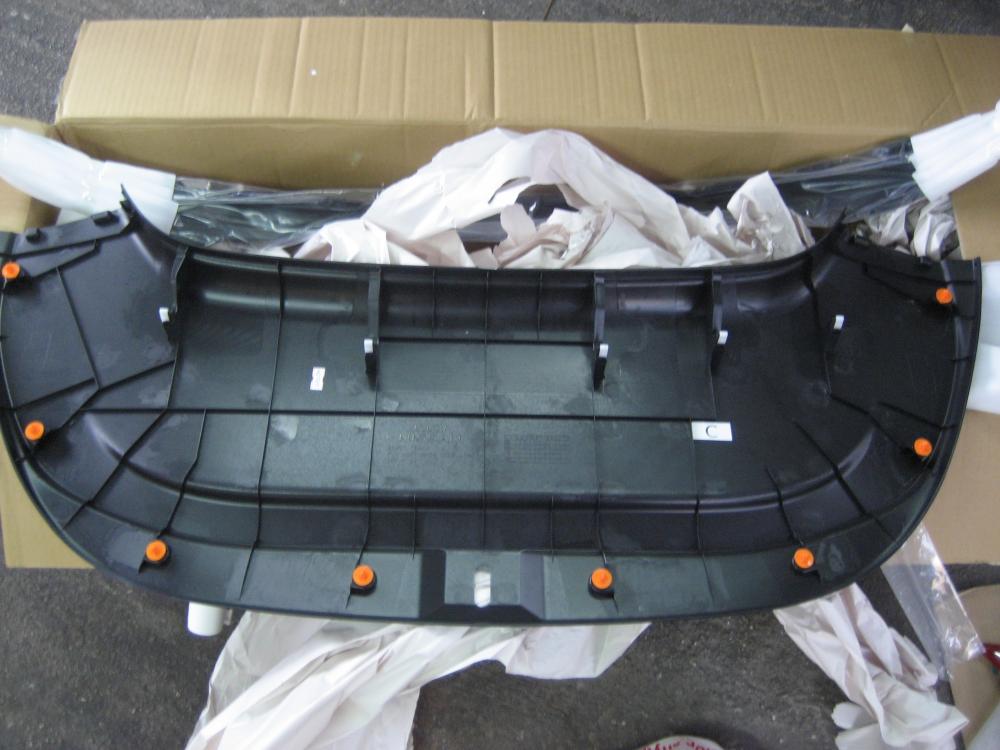
SO first wiggle ur fingers near the locking part of the hatch once you have enough space try stickin your fingers in the most outer part of the panel the side nearest to you not the inner side.... the orange colored ones...ok once you pop off the fasteners heres the tricky part unlocking the fasteners on the inner part of the panel... the white colored ones...
I easiest way i was able to unlock the fasteners on the inner side was by inching my hand inward working it in slowly.... sure enough the fasteners came out and i didnt break anything....
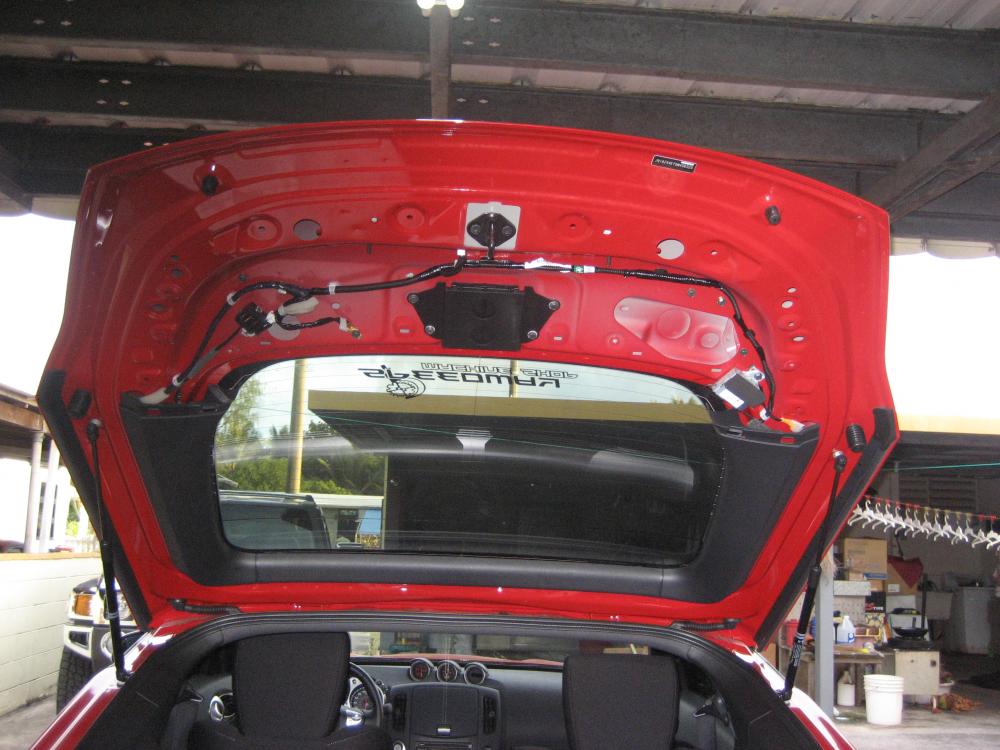
STEP 3
Now its time to put on the template that comes with the spoiler... this part is a no brainer just line up the template and tape it in place so it dont move... please align it properly its not my fault if u dont line it up correctly... if your template isnt lined up then your gonna have a hard time with lining up ur spoiler.... after your done taping it in place get a center punch and mark the center of the cross hairs on the paper... if you dont have a center punch like me lol use anything with a pointed tip. in my case... i used a fine pointed screwdriver... Now once youve marked all the centers of the holes remove the paper template and look and see if you have marked the center of the holes you are about to drill.... if everything is good then your ready to drill...
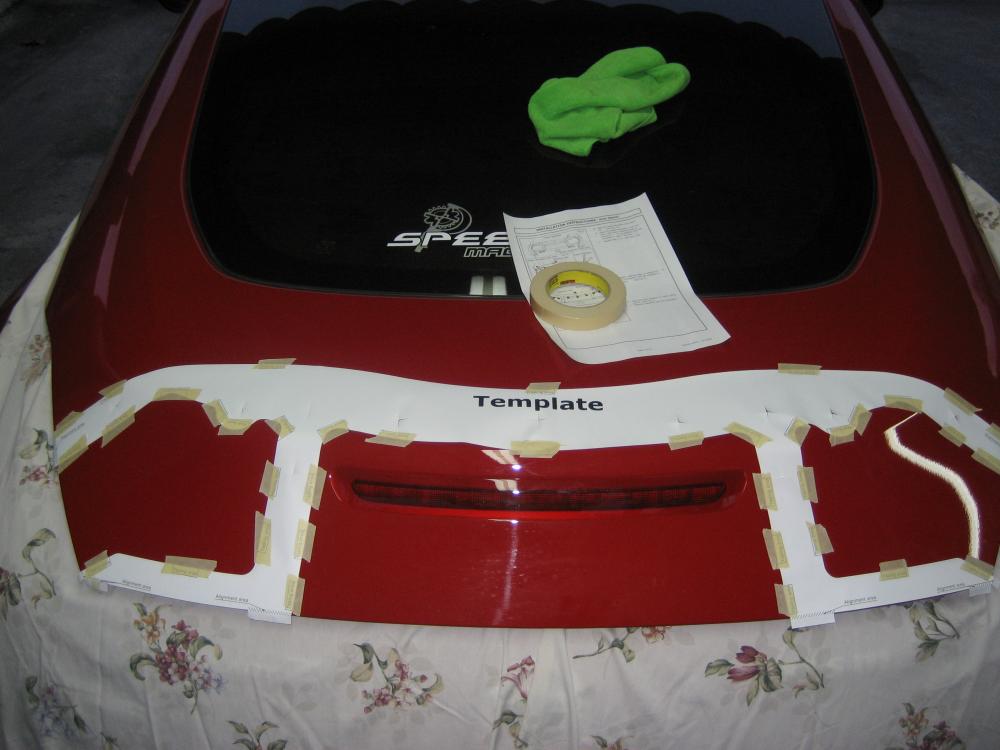

STEP 4
Before you go crazy drilling the hatch place a drop cloth on the inside so you dont get metal shavings all over the inside of your car.... i used a old bed sheet and it worked great i didnt have to vacuum after the install...

ANyways ok you will need 3 drill bits.... a 1/8, a 9/32, and a 25/64 drill bit.... there is a total of ELEVEN holes that you will drill... start off with the 1/8 drill bit and drill out all the eleven holes this is your pilot hole drill please try to be very accurate when drilling... thats what the center punch marks are for so yah......
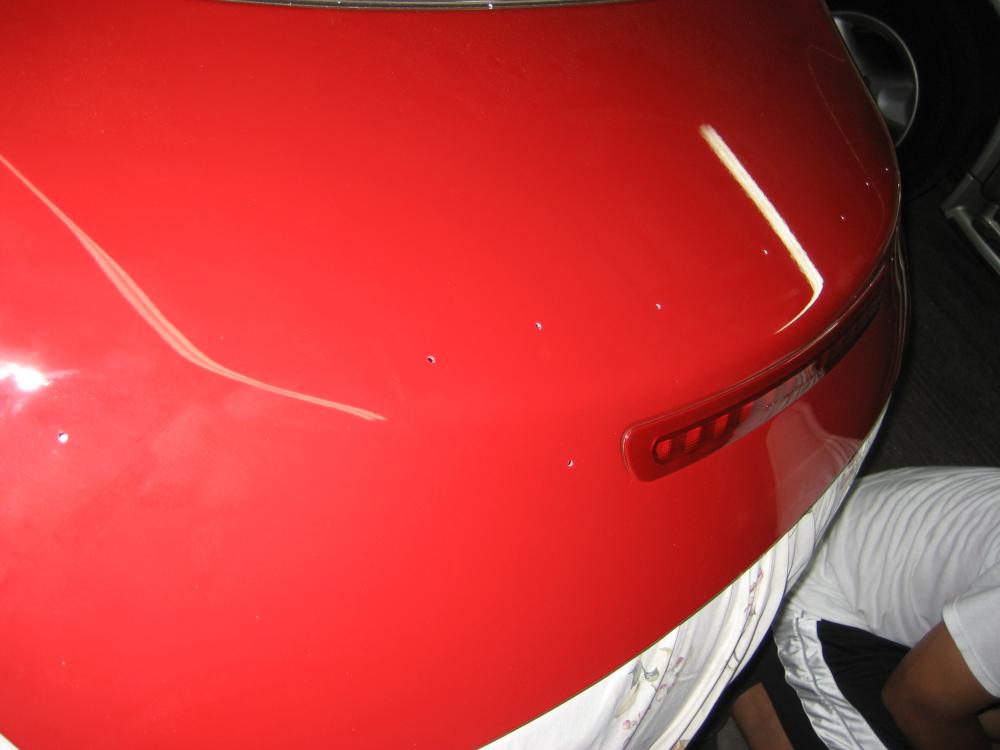
now... there will be two rows.... the top and the bottom on the top row you will drill the first hole with the 9/32 the hole that is second you will drill with the 25/64 then the next three holes are once again 9/32 drill bit then the 25/64 and the last hole on the top row is a 9/32 the second row are all 25/64 to be drilled
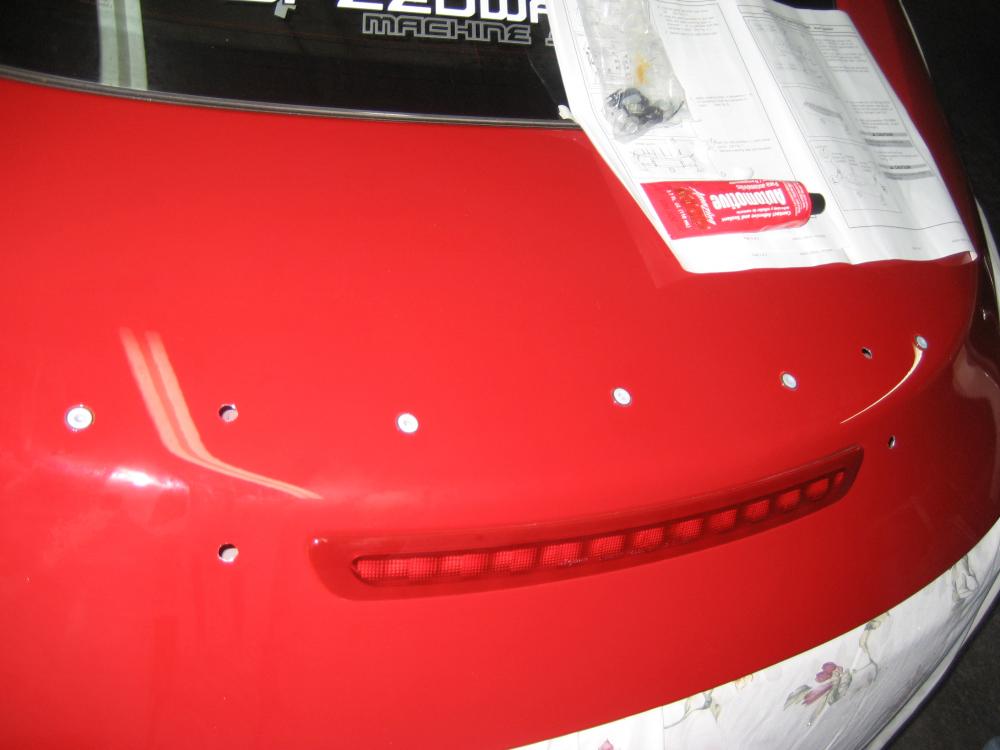
When your done... rust proof the holes.... i added silicone in my holes and then jammed in the plactic grommets that came with the spoiler... now the grommets are only for the holes u drilled 9/32 the tab looking plastic thing is is for the second row on the outer side... please dont flip the tabs there is a left and a right.. the hump on the tab should be facing up NOT DOWN!!!
STEP 5
Your almost done ok now get the spoiler and assemble the under side install the fasteners given to you and and the stud looking thing... for this step i totally forgot to take a picture... im sorry but its pretty easy.... after youve installed everything needed on the under side of the spoiler.... remove the film from the double stick tape and slowly place it on your z DO NOT just press on it right away because the fasterners will lock in place sooo FIRST place it on ur z and line it up make sure its even THEN press on it and lock in the fasteners in place.... install the 2 bolts provided and the 2 nuts also....

STEP 6
Make sure there is no gaps in the spoiler everything should be flush and the double stick tape should be all stick nothing should look like its about to peel off... now blow air in the inside panel to get the rest of the metal shaving out of ur car... if you dont have a compressor use a computer duster can you can buy that anywhere...... now put on your plastic panel back on... you are now complete...
MAKE SURE you do not wet your spoiler for at least 24 hours so the maximum adhesion of the double stick tape is achieved....
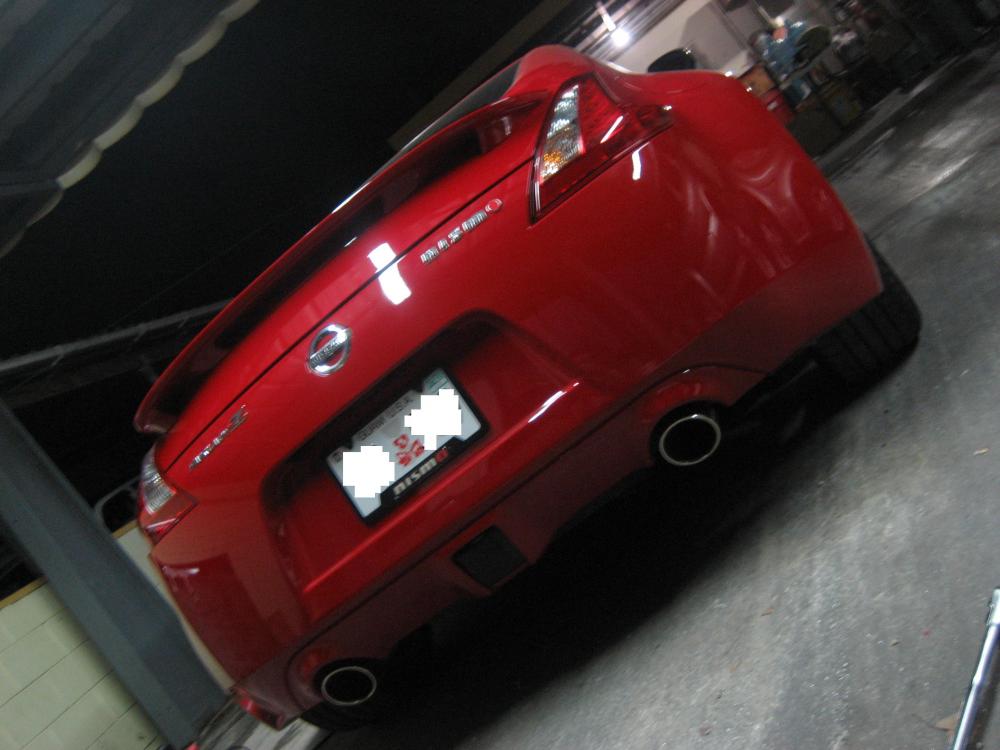
I really love that butt... dam...
NOTES....
Please do not under estimate the difficulty of this install... its not an easy task... if you doubt your skills dont try it.... the last thing you want is eleven holes in your hatch that are DRILLED in the wrong areas and they DONT LINE UP... you would be definitely

it took me a total of 3-4 hours to complete this install and this was my first install of a spoiler for the 370z....
Most of all be safe while working on your car wear eye protection when drilling and always be carful....
And most of all HAVE fun while your doing this mod... i had a lot of fun putting this spoiler on.... ill make a DIY for the front spoiler tomoro cuz im to lazy and tired from the install...