It's been a little busy cleaning and the new years coming and all (Lunar New Year, TET). I have a new cool toy coming in a few days. I have been cleaning the garage out making space. It is not an easy task. I finally got back to the gauge pod build. It's almost done.
things I would change if I were to do it all over.
1-foget the paper mache. I though and found an easier way, plaster! I kept and used my old fiberglass thing I made because it was still good and fit alright but I could of had a lot easier of a time making it. Plaster could be bought at the local hardware store for like $9 a big bag. So you just have to tape or plug up holes and deep crevasses, mix up the plaster and pour it in. Let it dry and pull the mold out. You can then flip that mold over, make a hard boarder for it out of cardboard, put something as a release agent over the original plaster and then pour new plaster over the old to make a copy of the dash.
2-buy good sandpaper and tools to hold/use it. I bough cheap crap paper and after a few strokes, it no longer sands.
3-buy a set of cheap files. They make rough sanding things a lot faster and easier.
Anyhow, here are some pics of the progress. It's basically done.
I use the plaster to make a mold to know where to put things.
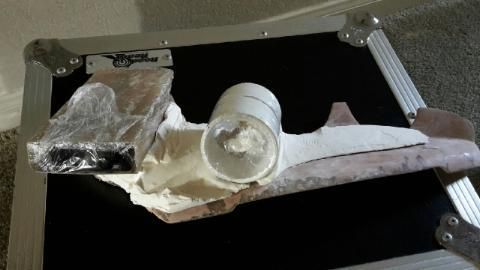
th thin part in the middle cracked and broke but that's ok. It served its purpose. I used 1 side of the plaster piece to hold the pipe int he correct position as I made a pvc piece to hold the pipe in place on the other side.
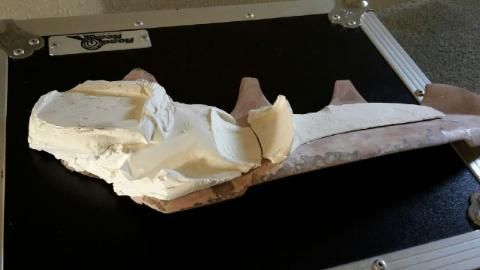
I skipped through a lot of the build process because I was thinking how to accomplish certain things and looks of the pod and forgot to take pics. I built a total of 4 different pod brackets to hold the gauges. That took a whole lot of time and that is also a reason why I didn't have build pics in between. I was just frustrated on how the thing looked and would start all over again.
Anyhoo, she is almost done. I had sanded her down super smooth thinking I was going to spray a layer of primer, black, and clear coat over her and be done. I decided to add texture to her so I googles around and found that they ahve rattle cans of texture stuff. The hardware store has a selection of looks in different colors. That have a Hammered metal look, glow in the dark spray, matted, stone type, and many more. I picked the stone type.
Here a picture of the pod waiting for a clear coat. She was sprayed with first the primer (I got the black primer), then the Stone spray (spray this stuff at a good 12'' distance. This stuff sprays too much otherwise. It is such a friggin cool product!), then black primer again. Next up is the clear. If it's too shiny, I will pick up a matted clear and spray it over the gloss one.
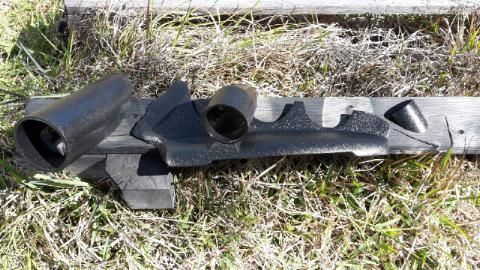
I'll post up the thing once finished and installed in the car later today.
Edit: Here it is in the car. It looks lice from the front. The top down view is ehh from the wires. There is no way to hide the wires w/o ruining my instrument cover thing. I don't want to do that plus I'm sitting hte the driver's seat so who cares, lol.
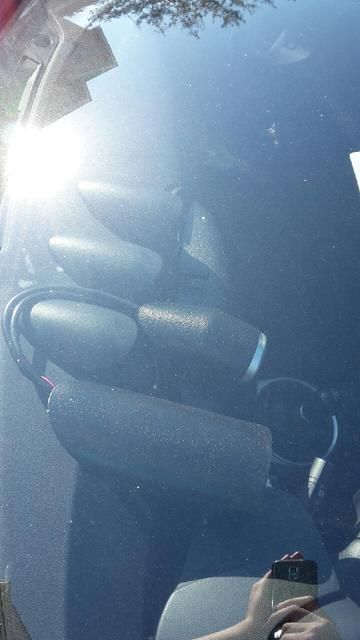
driver seat view.
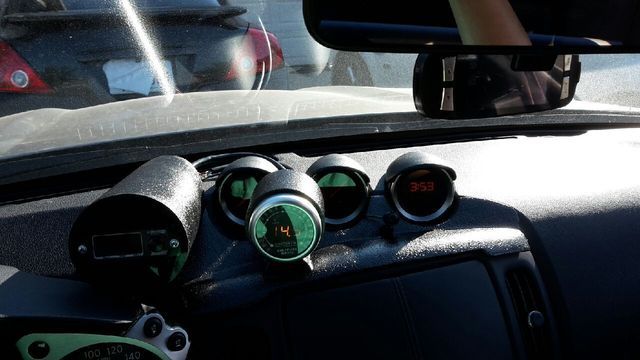
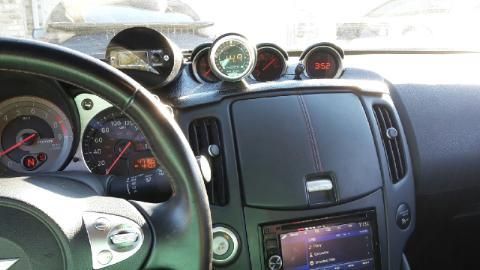
I now have 1 big problem and 1 minor problem left.
BIG: I need to figure out how to use the EBC. I had it installed, Johnny tuned it with the EBC running and all the good stuff. I just don't know how to use it. I don't want accidentally over boost it and BOOM!
Minor: The pods are attached to the dash with heavy duty locking velcro. The darn velcro glue backing wont stick the the dash too well. It will stay in place fine. It will even withstand a light tug. I want it to stick STRONGLY enough to hold a a decent tug without ruining my dash. Anyone know of a adhesive or glue that can stick to the dash really well but wont mess it up?
YzGyz