So this will be my first official DIY so feedback is appreciated.
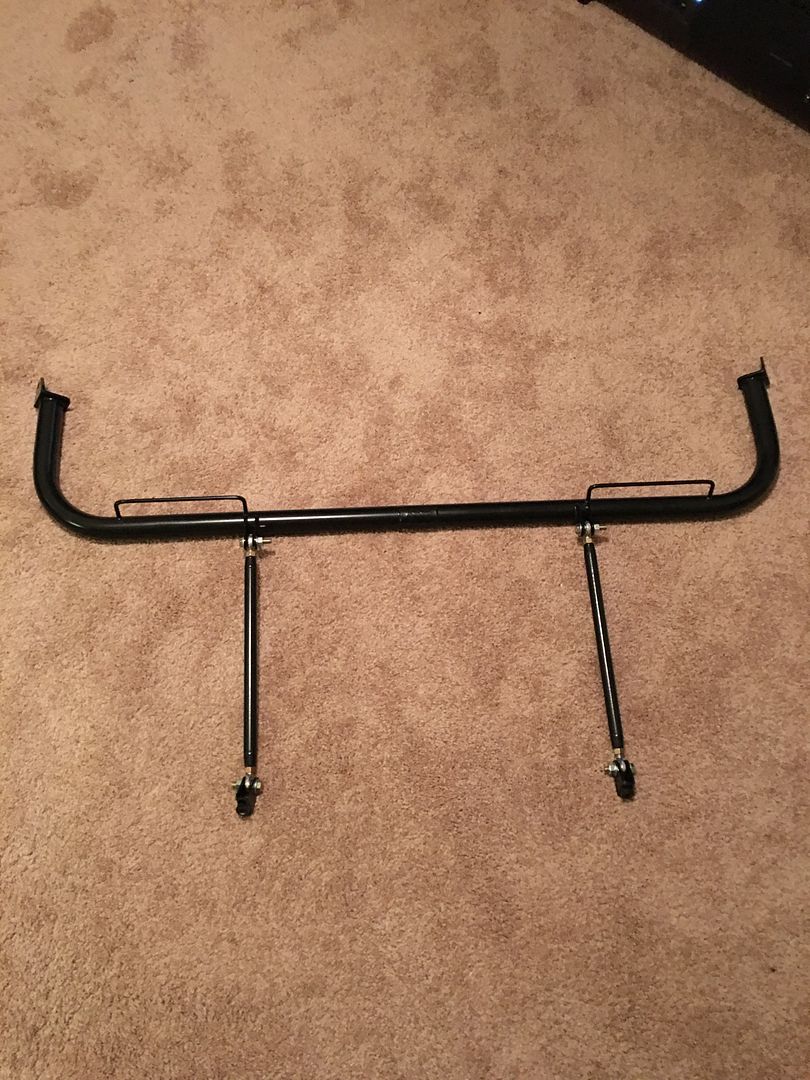
I chose the MA Motorsports bar after a lot of discussion with Daelen @ MA Motorsports. He was excellent to work with and listened to my plans for the car and goals we are working to achieve. The bar arrived safely and was packaged well. Sadly, I didn't snap any picture of it when it first arrived. I do have these pictures of it assembled before the install.
Full Assembly
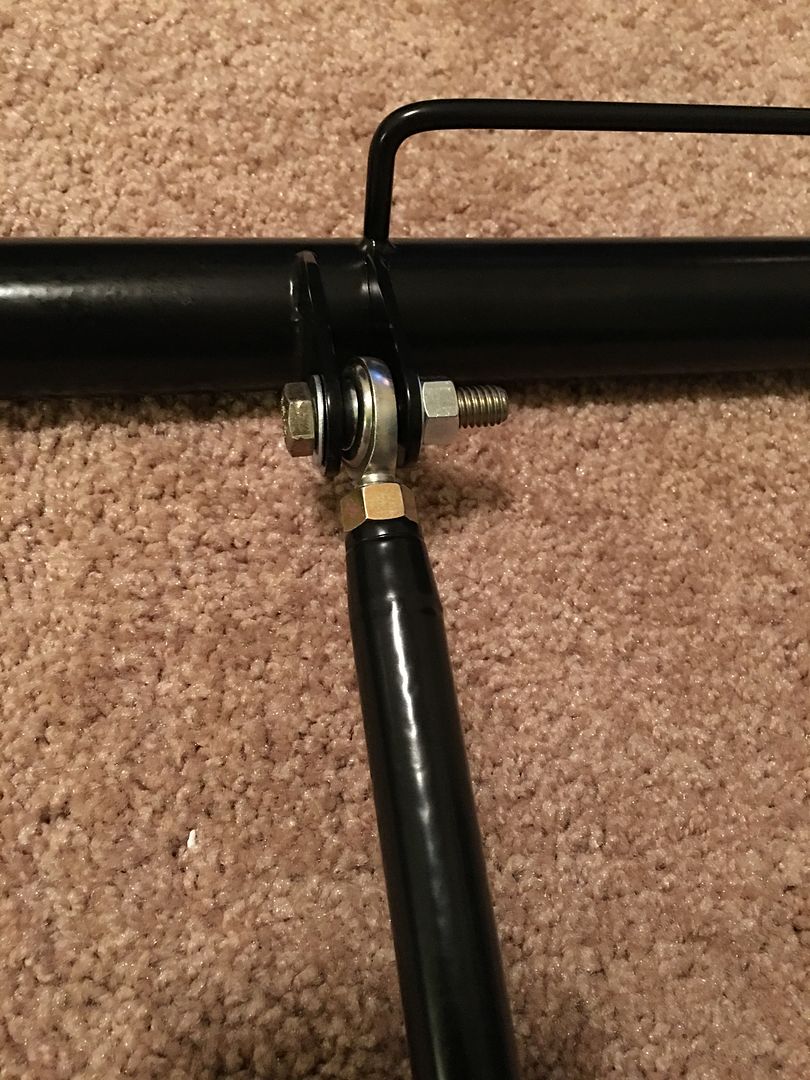
Bar to Support Connection
Support to Chassis Connection
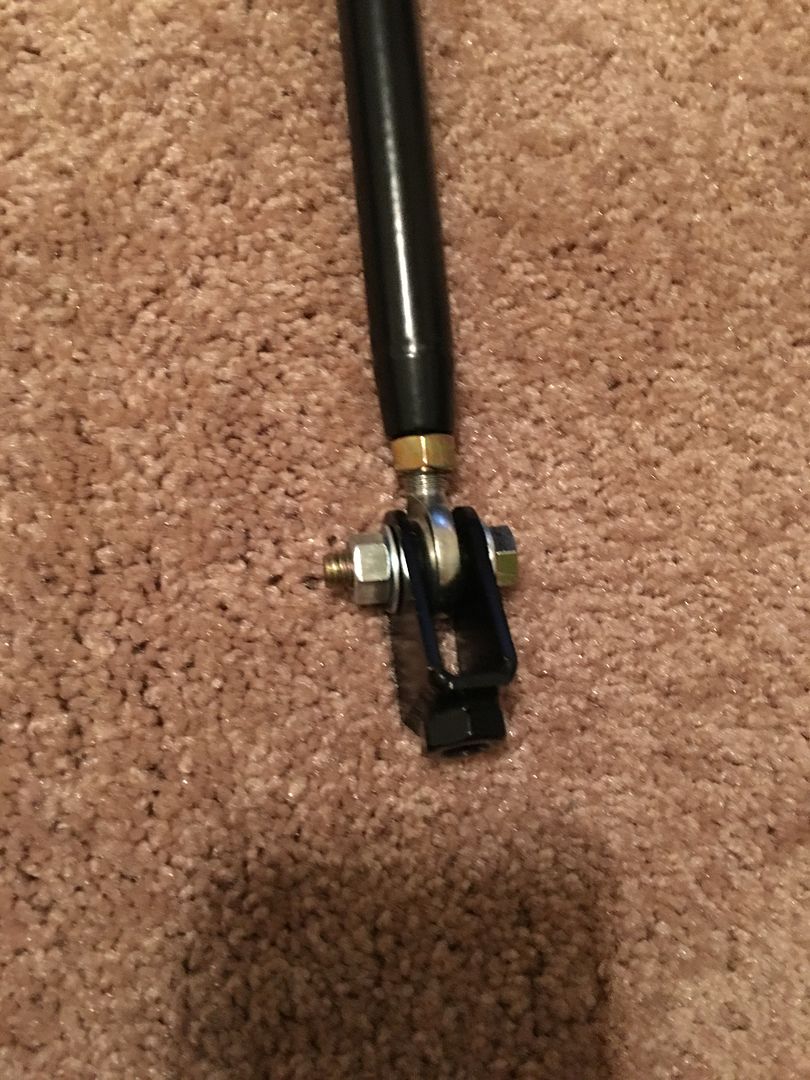
As you can see, it is a very well put together assembly. It should be given it's there to keep you in place.
Alright, now on to the actual install.
Tools:
Basic sockets (I'll add the exact ones soon)
Torque wrench
Basic open end wrenches (I'll add the exact ones soon)
Flat Head Screwdriver
Pliers (Not always needed)
Basic Steps:
1. Remove rear interior plastics and trunk floor.
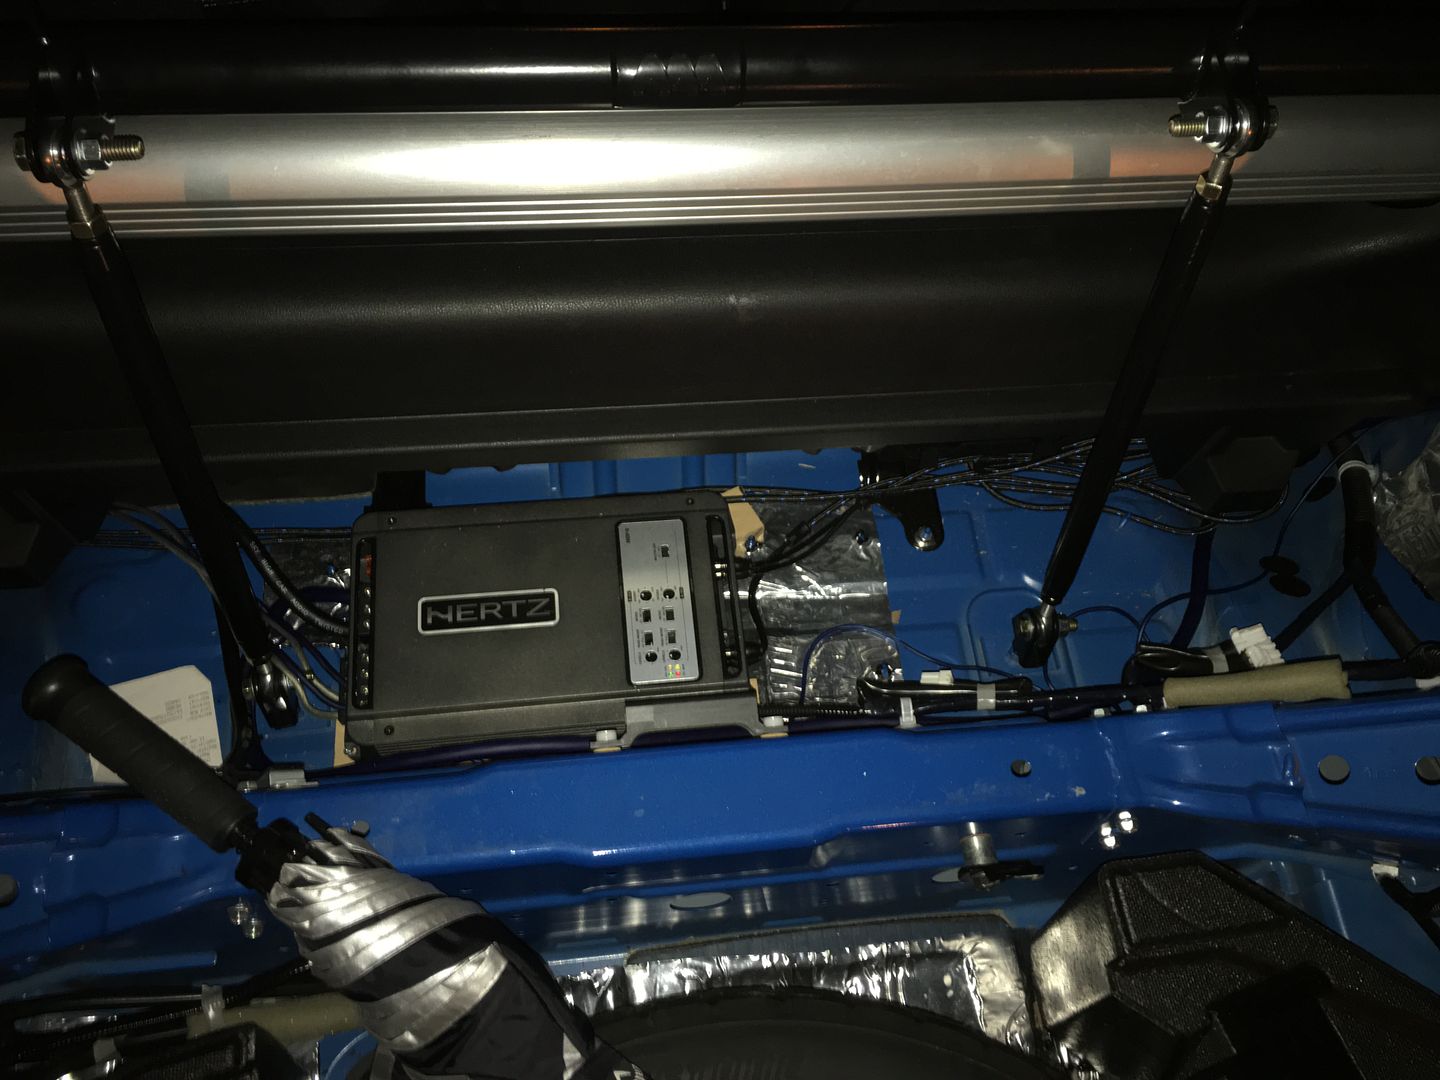
You need to be able to remove the foam where the supports will mount. There's a few plastic clips that need to be pulled and then the panels just unsnap. I believe there is a DIY for this. The goal is to get to the next picture.
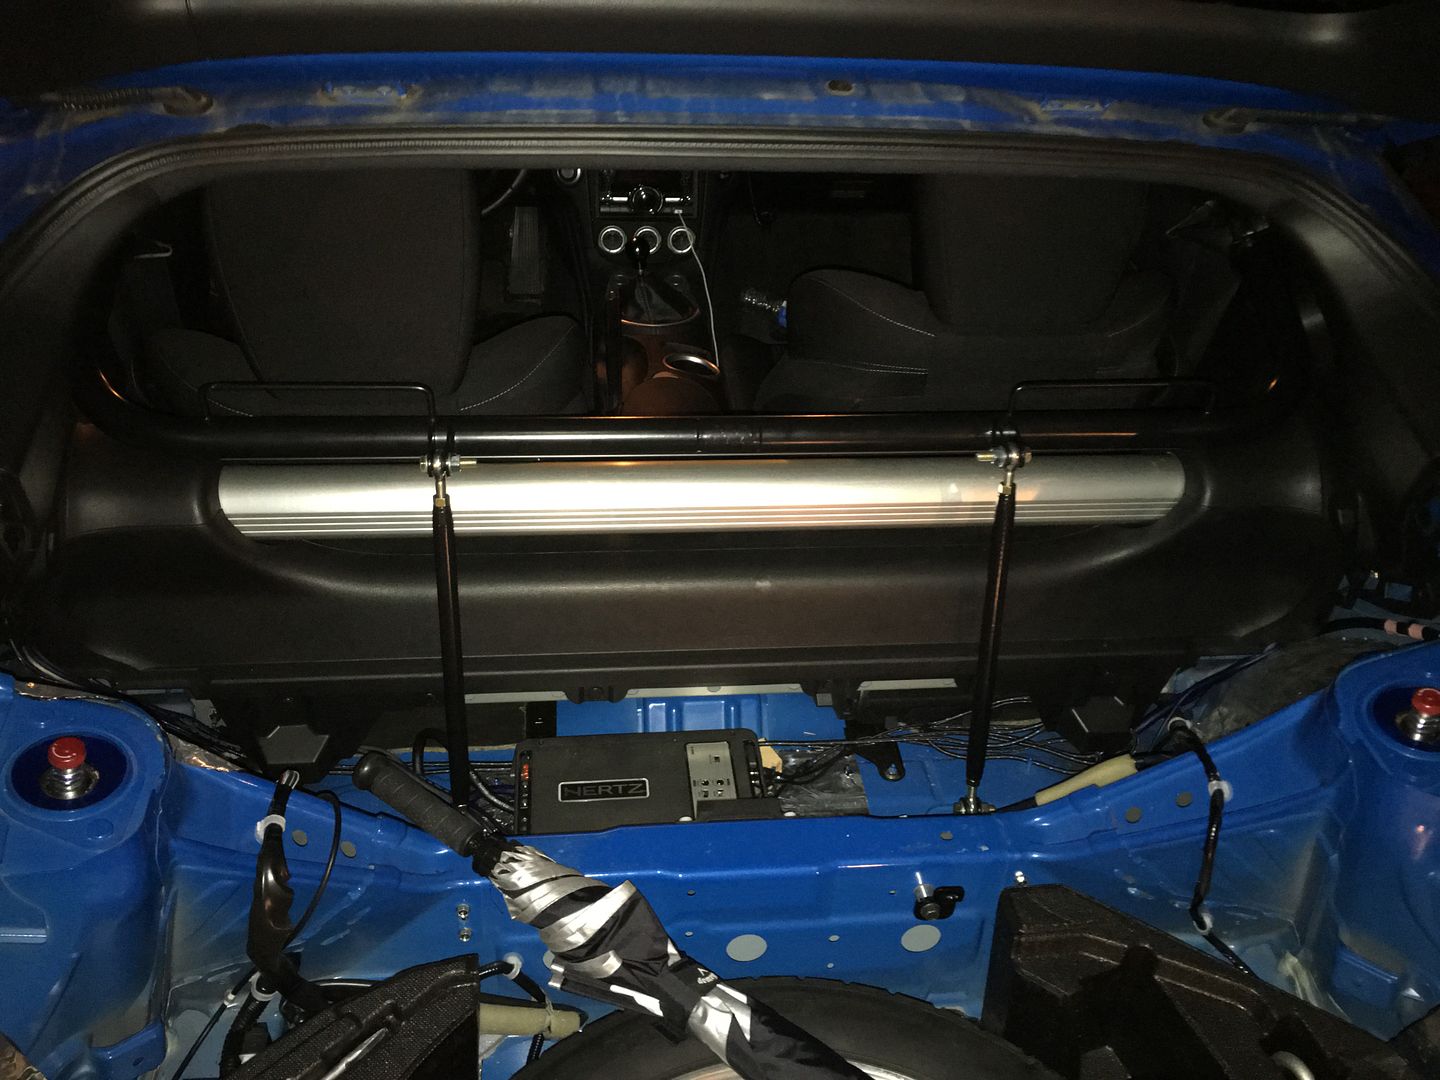
2. Get the bar loosely into place.
I had to lean the seats forward and bring the main bar in through one of the doors. It's a tight fit and I didn't want to fight it through the hatch. I would recommend laying some towels or something on the interior so that you don't scratch anything if that is a concern. Before tackling bolting in the bar, I connected the supports to the chassis to hold the bar up while I worked on the seat belts. The supports thread onto sub frame bolts that come up through the floor. See below picture. I ran them down snug to the chassis but left the helm joint bolts loose in case I needed to remove them later while adjusting the bar.
3. Remove the seat belt anchor assembly.
This one is a couple point process with one critical element, don't allow the seat belt assembly to twist. I made the mistake when doing my passenger side belt and I've yet to figure out how to get the twist back out of the belt.
There's a cover on the bolt you need to remove to get the belt away from the chassis. I used a panel removal tool to pop the cover off. See picture.
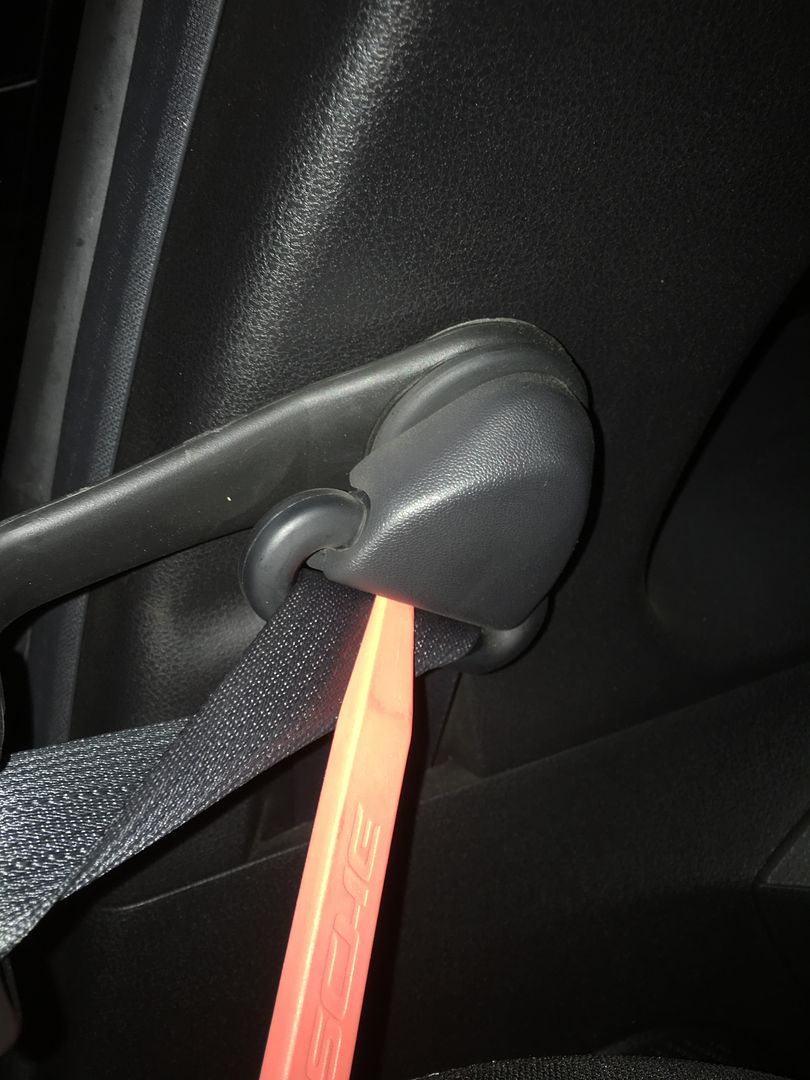
Once you have this cover off you can loosen the bolt. The assembly has a retainer on it so there is no need to worry about dropping something as you remove it.
Bolt:
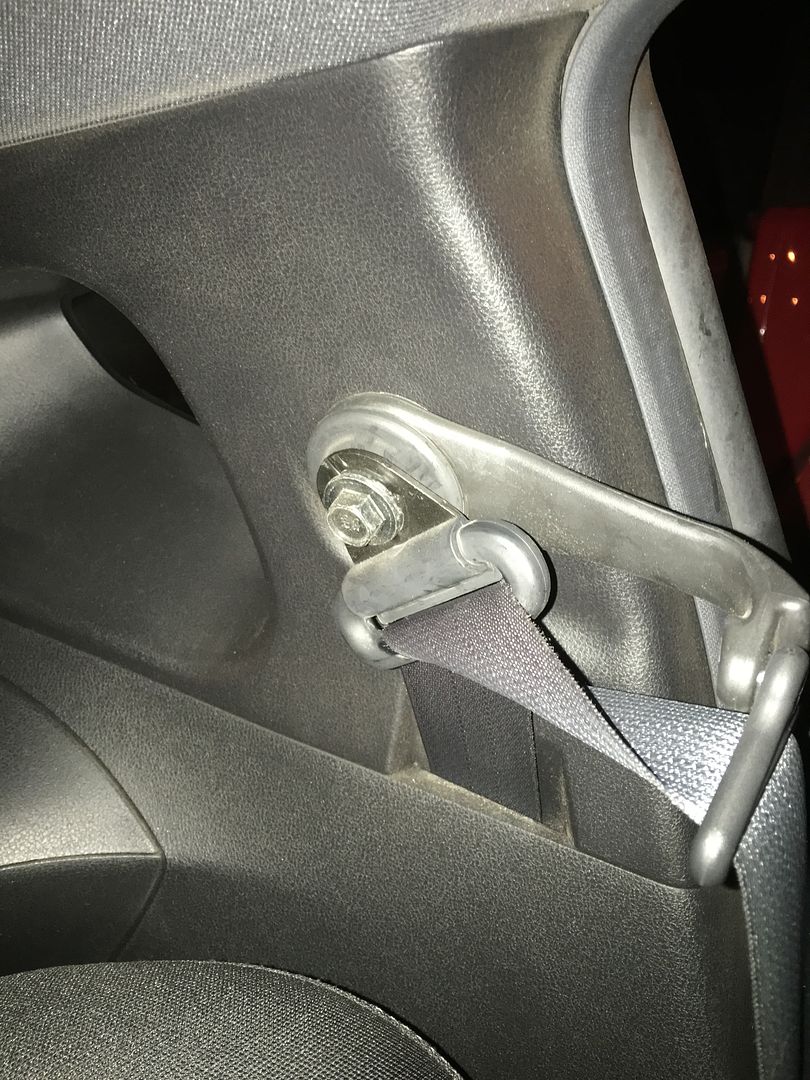
Assembly removed:
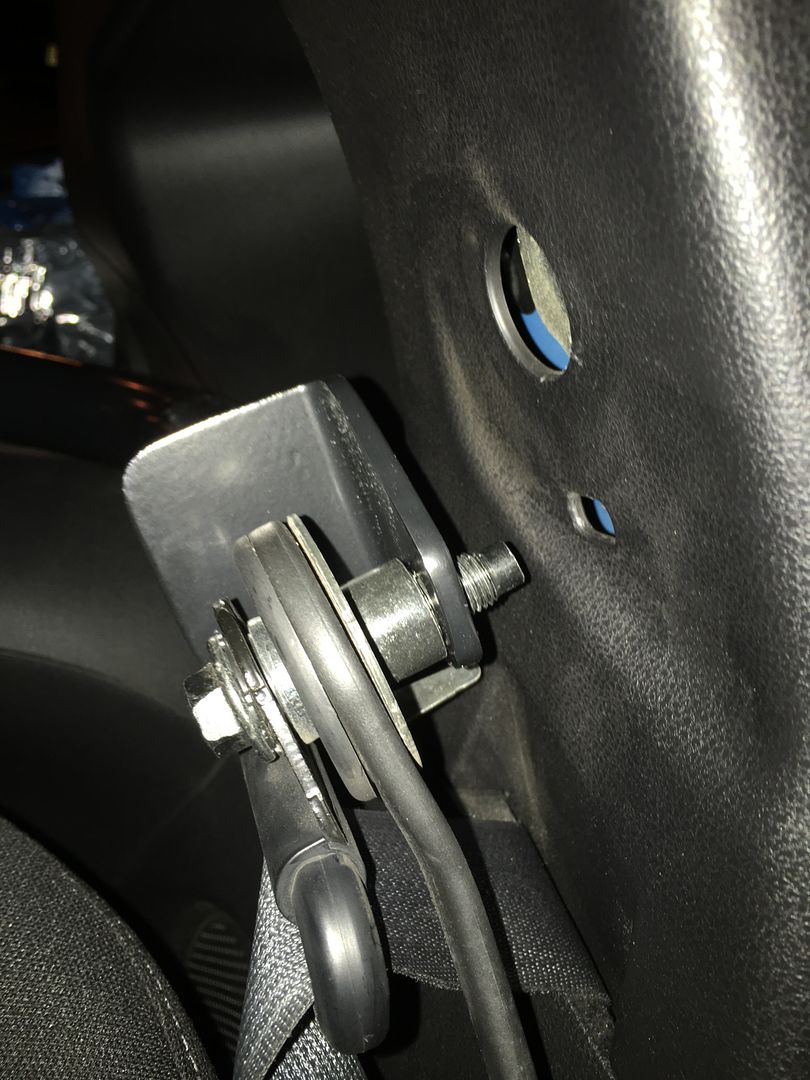
There's another important thing about that picture, you can't put the bar in with the assembly left as is once it's removed. You need to take off the retainer ring (shiny thin silver ring with teeth on the inside) and remove the spacer from the bolt. Be a little careful when you do as the assembly is a few pieces on the bolt that line up to each other. I never got them so out of whack that they wouldn't re-seat themselves but some care is needed. One of my retainer rings was all bent up due to Nissan getting it into the bolt thread. After a major fight I figured out you need to take something with a sharp edge that you don't care a lot about and get under the ring and bend it up a little. from there you can grab it with pliers and spin it off.
4. Install the main bar:
Now that you have the spacer off the bolt, put the bolt with the remaining pieces of the assembly into the hole in the bar. Next put the spacer on the back of that main bar plate and line back up to the chassis. You can now thread that bolt back in the hole. Repeat this process for the other side.
There are couple of things to note at this point in the process. First, I had to grind down one of the oem spacers to get the bar to seat properly. I spoke with MA about this and I believe they are including smaller spacers now just in case. I took 0.4" off of the passenger side spacer in order to make it fit properly. Second, if you are using the supports to hold the bar up you may need to lengthen them some to get the bar up into position. It will only want to line up in a precise location. Once you get one side in, you could remove the bolts from the supports. I found it easier to leave the supports attached so I wasn't chasing the bar in the car while trying to line the bolt up for the seat belt assembly.
5. Finishing up.
Now that the main bar is in place you can adjust the length of the supports to reach the bar. You'll probably need to lengthen both sides to accomplish this. Once you are happy with where the bar sits, torque everything down. I believe the FSM calls for 36 ft lbs for the anchor bolts for the 2010 model. Probably best to double check your year to make sure this hasn't changed. It is a safety item after all. Since my torque wrench was set there, I used the same setting for the support bolts.
Once you get this done, you need to cut the foam to allow it to go back into the cavity below the bar. I simply lined it up next to the supports, drew a rough idea of where to cut with a sharpie, and then took a serrated kitchen knife to the foam. I cut about a 2" by 5" rectangle to allow the bar to pass. I'll get a picture of this soon, as I am working mostly at night and can't get a great picture of it.
Finally you can reinstall the covers and rear interior. Once this is done, you need to lay the carpet up to the supports and mark/cut similar to the foam. I actually haven't been able to do this thanks to traveling with work. I'll post up pictures and measurements when I finish it up over the holiday.
I believe it took about 2.5 hours total time not including my fight with the spacer. You shouldn't have to worry about this and can finish much faster than I did. I find the bar to be very sturdy. I have actually pushed my car with it and it didn't show any signs of movement or flex. I'm waiting on my Sabelt seats and harnesses to arrive and I'll have a final install picture with everything soon.
Hope this helps! Feel free to ask any questions and I will revise with more info as needed.