I got tired of looking at my EBC and AFR gauge ghettoly (is that even a word?) stuffed in the cubby. The cubby is was perma-open because then two gauges did not fit all the way inside. It just look like a mess! All that $$ and nice azz ride to go sit inside and see the zip tie cluster of poop mess. Today I started the gauge and EBC mounting project.
Things I thought about as I brain stormed the build.
-easy to do
-nice clean fit
-low budget
-looks like it can be OEM
-little or no car downtime
-easy to get supplies to do the project
Just a side story but I'm also building a Pepakura halo suit. This is basically a paper mache-ish suit that print out as a 2d puzzle. You then glue these pieces together and reinforce it to make it wearable. I used this same idea for the basis of my gauge pod setup.
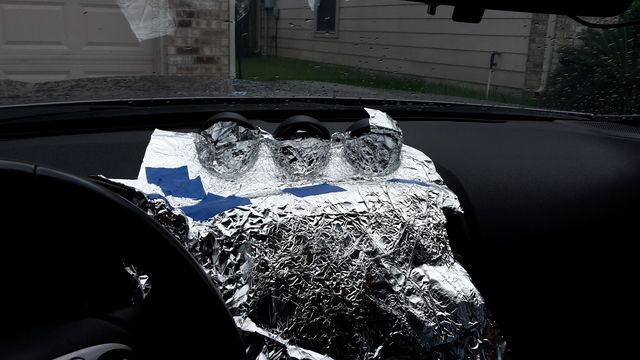
Firt step, PROTECT THE RIDE!! I had a old roll of masking tape lieing around and tried to mask off the area in which I was going to make the mold. Fail! The tape will not adhere to the dash or alcantera. It just slips right off. I tried scrubbing the surface, with multiple mild cleaners in fear of messing up the interior, but the tape would not stick. So, I went back to the old trick again. Foil the bish! You want to make lots of tiny crinkles as you lay the foil down. The crinkle make it more ridged, allowing you to work it flat and stay in place, and allows you to work it into curves and corners without ripping. I did two layers of foil being carfull to overlap to protect the car's interior. After laying the foil was down, I took a old ID card and smooth the foil out as best I could while being careful to not rip through the foil.

Next step was to get the supplies ready. I grabs a few sections of newspaper and cut them into strips. The newspaper that you want to use is the non shiny one. These type of paper soak and absorb better, leaving better finished results.
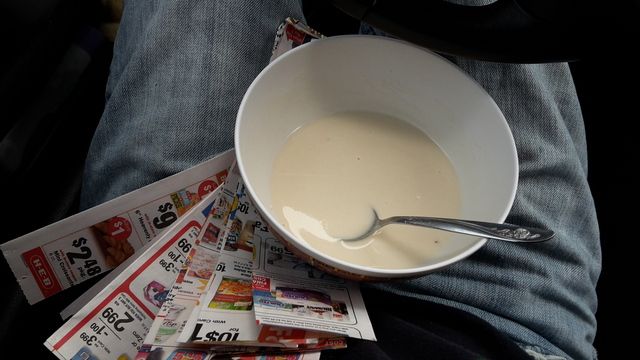
After the paper were stripped, I got the paste ready. A little bit of flour and water mixed to a thin but gooey consistency. You don't wan the paste to be too watery as it will run right off the paper. Too thick on the other hand will clump and smear everywhere when worked smooth. Mix this paste of really well as you don't want a foul clump. You also don't wan tot make a big batch of this stuff. Make about 3/4 to 1 cup of flour worth at a time. Once you run out of the paste, its time to let everything dry. You don't want to build a tick layer of paper mache the never dies and grows mold or yeast between the layers.

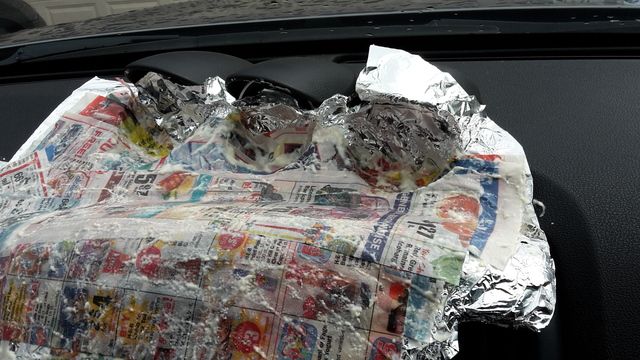
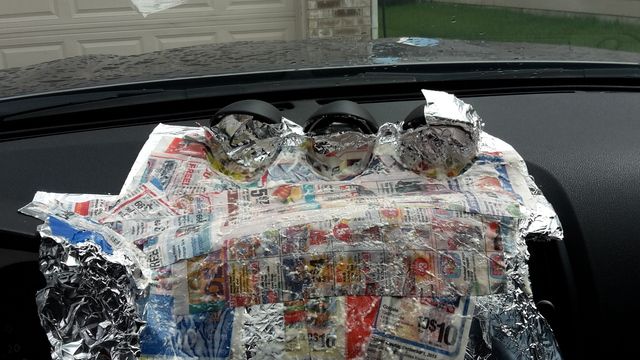
Next you drag the strips of paper into the paste. You want the bottom side of the paper to scrap the side and edge of the bowl as you load the paper with paste. This evenly spreads the paste while leaving a think film of paste on the paper. Lay the loaded paper strips over the prepped area while being careful not to splash or dirty clean areas. You want to overlap the strips as you build the peper mache mold. As lay the paper, you will notice that the paper gets a little soggy as a little time passes. IF you have enough layers (maybe 3 or 4) of paper down, you can press and work the paper mache better into creases and crevasses. Build the papermache until you run out of paste. Once out of paste, carefully remove dirty items and leave the area while trying to not touch anything not wanting to get dirty. Come back later when the first layer dries and add more layers in multiple sets till desired thickness is reached.


This is where I'm at for now. First batch done. I will come back and add at least 2 more batches to ensure the paper mache mold is strong enough to retain its shape.
To be continued!!
YzGyz