Been able to get around to assemble all the pics of my suspension install. I installed this quite some time ago and have been so busy with work i might have left out some steps but it is a good reference if you decide to do the install yourself. I got in touch with local shop AMS and picked up a kit. I got the full 3 piece kit, you more then likely will need the two arms. The kit has front,rear camber and radial arms. I will explain later on what the third is for.
Brand new packaging:
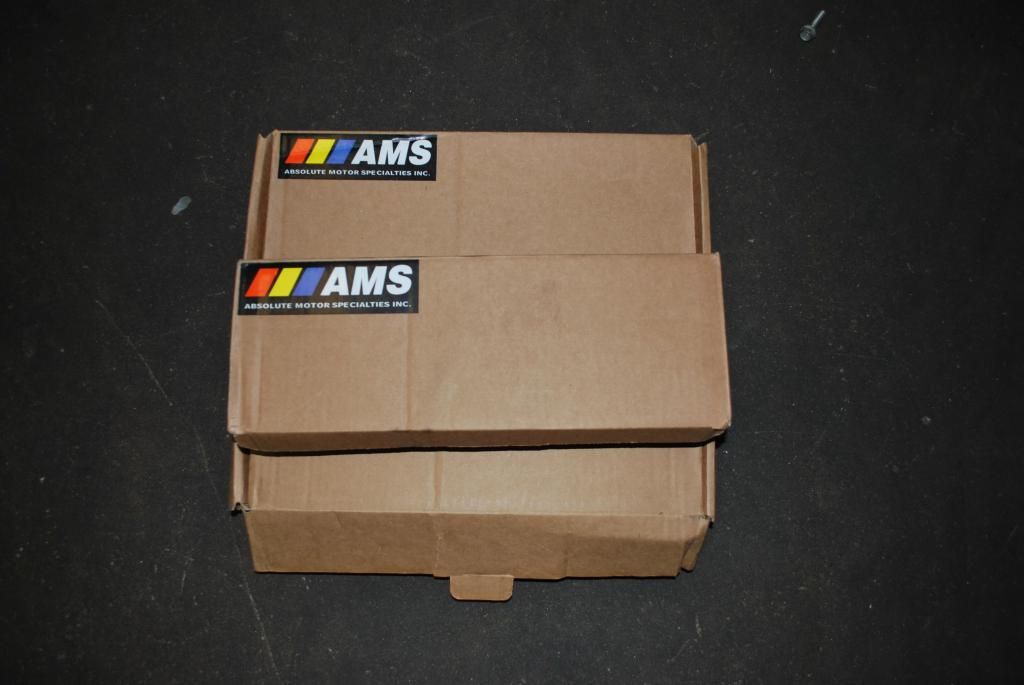
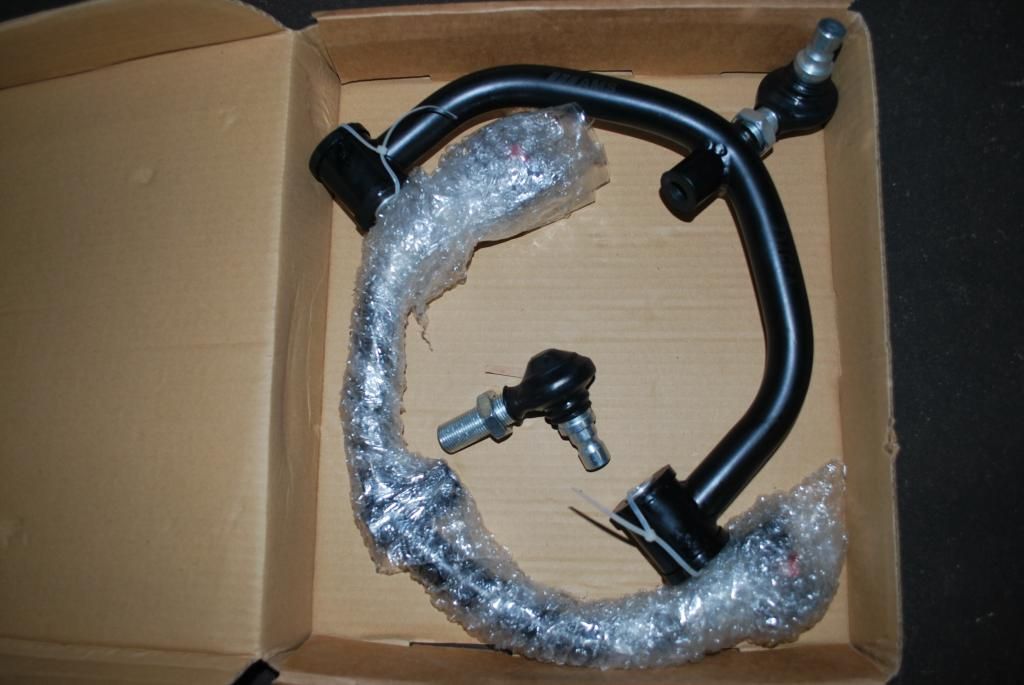
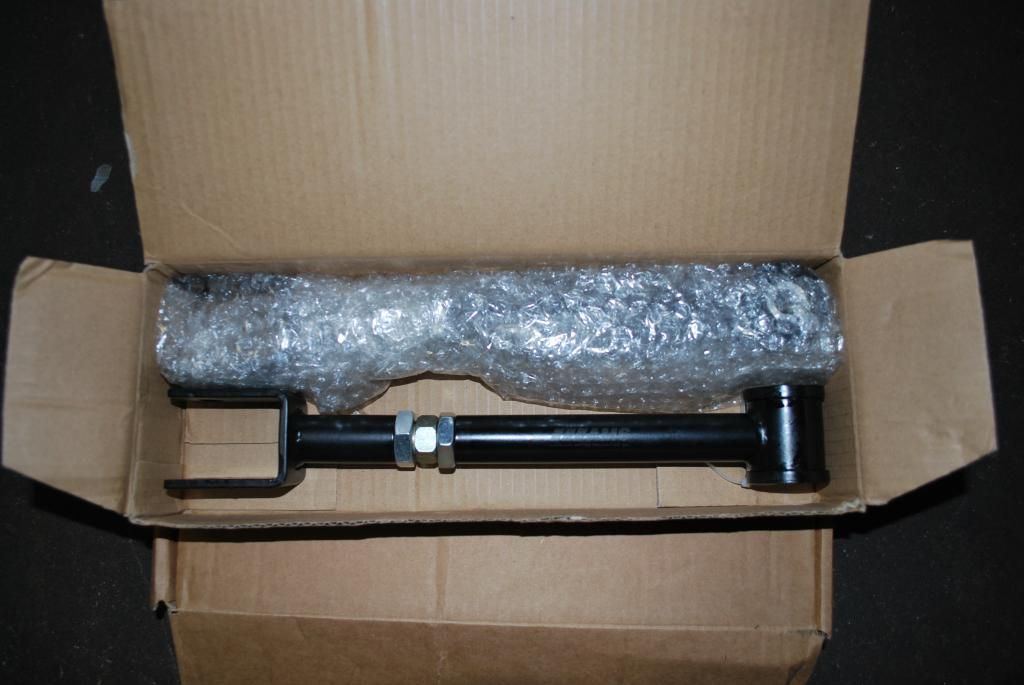
Jack up the vehicle to remove the wheels, USE YOUR STANDS!
Fancy ultra JDM front suspension! ohh aahh lol! Here is what your front looks like
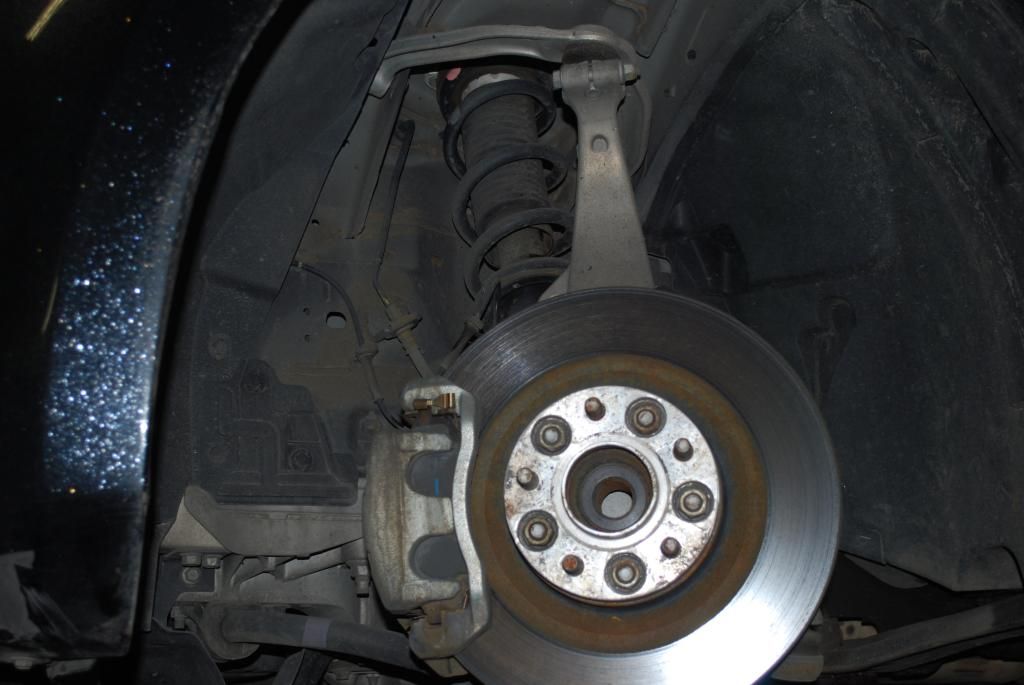
First remove the 14mm bolt.
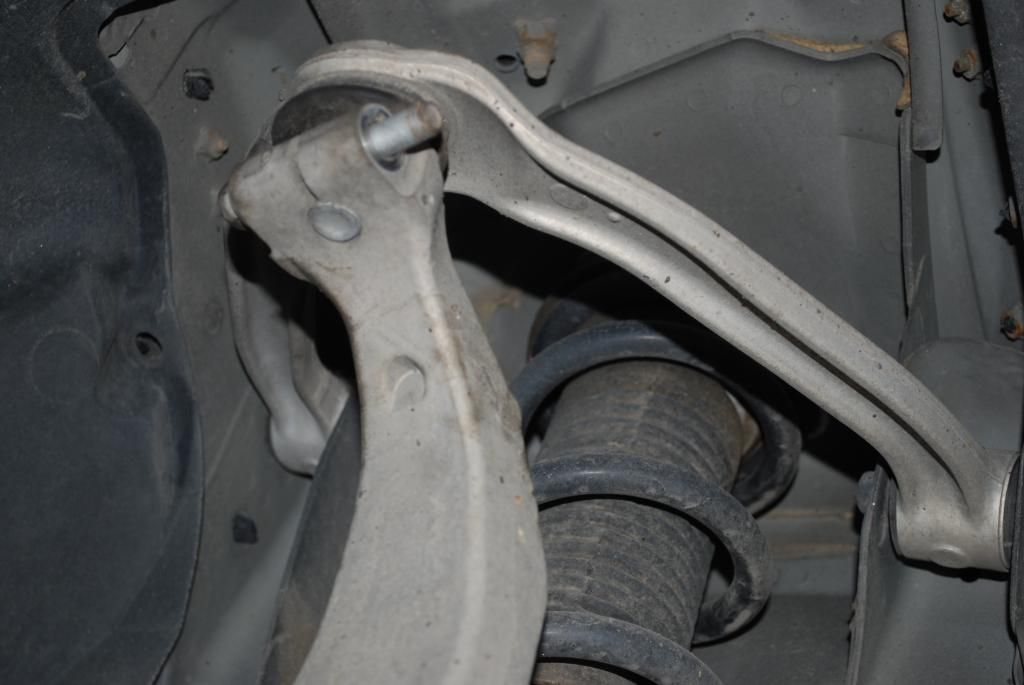
If you are doing Coilover as well as camber go on top and undo the three bolts that hold the strut on top and the four bolts holding the bottom. *If not skip the Strut removal Steps!
Look past the Stillen advertising and into you'll see one of the three 10mm bolts.
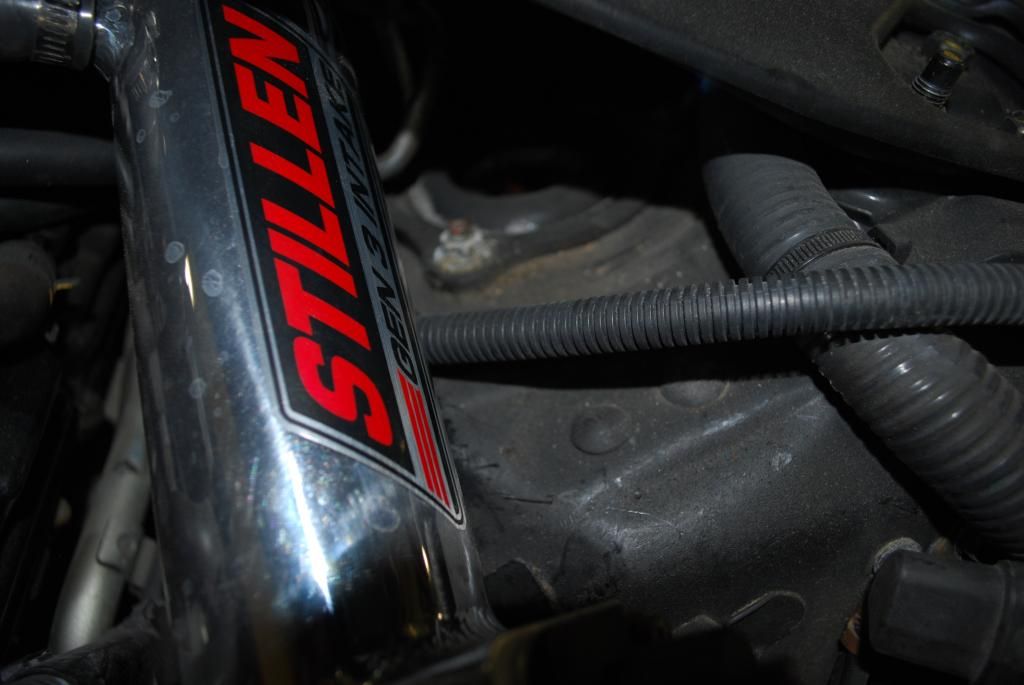
Had to borrow this photo as I forgot to snap a pic of this step. If you are able to remove all four bolt this is the easiest way! if not you will have to remove the endlink from either side (sway bar and strut). Four bolt method is MUCH easier! Combo of 3-14mm bolts and a 19mm bolt.
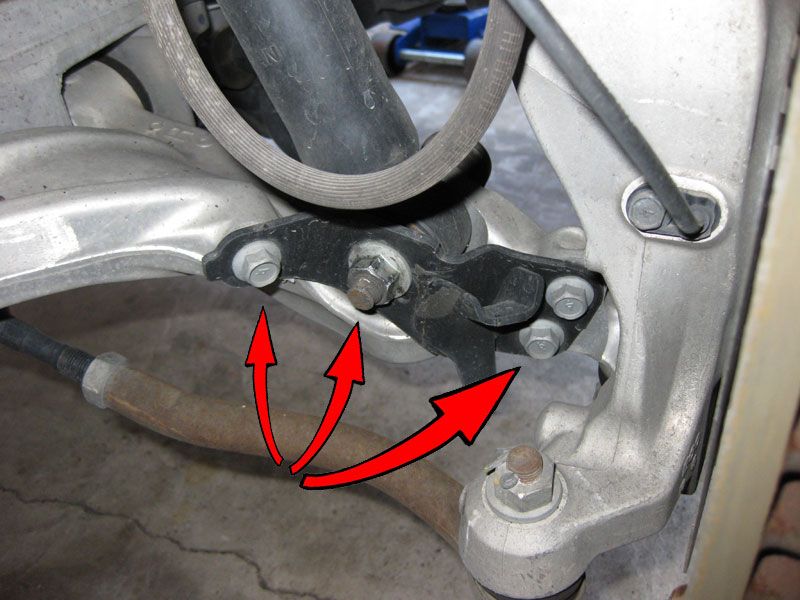
Back to camber arm, remove 14mm bolt on either side holding the arm to the body of the vehicle.
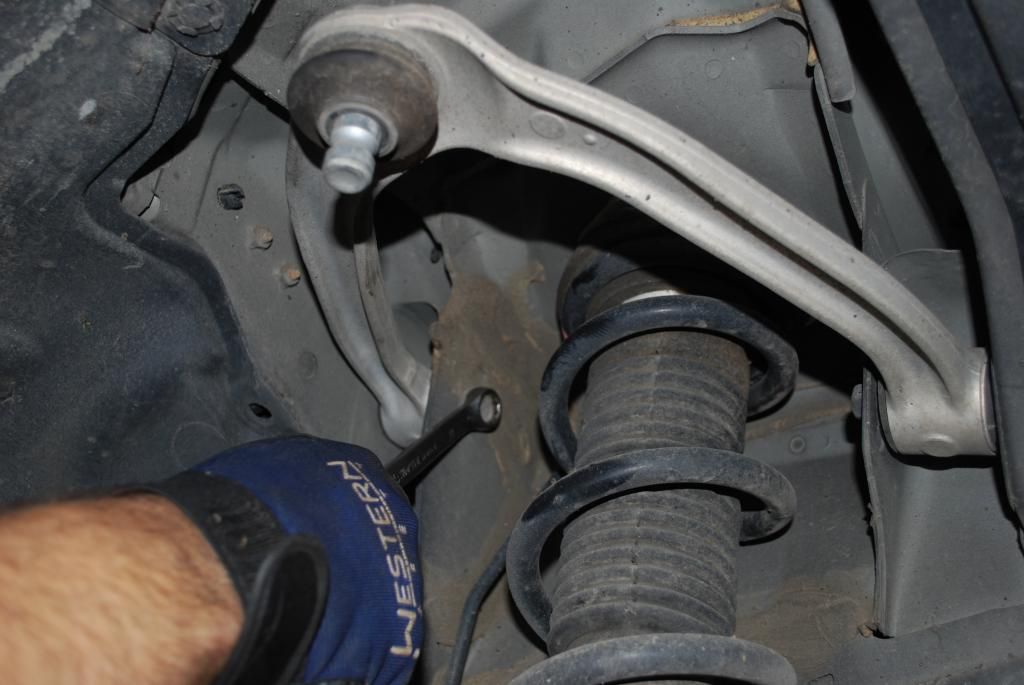
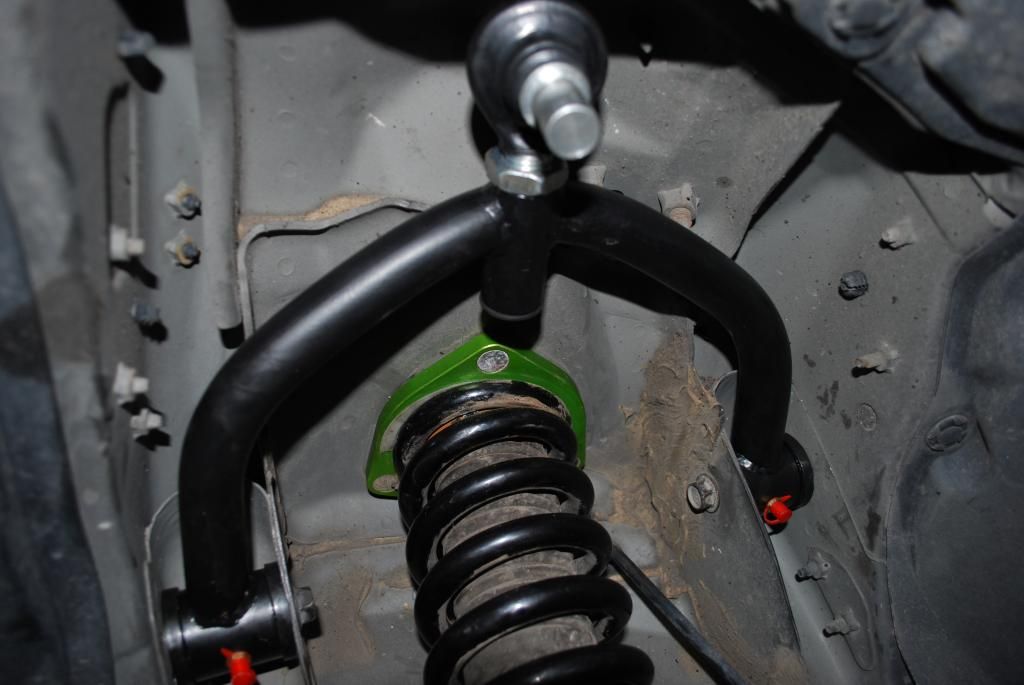
Get your parts all settled in. Before you install the Camber arm to Knuckle 14mm this is the time where you GREASE THE S*** OUT OF IT. I used synthetic grease on everything. The two nipples with a red caps over it are for a grease gun. The threads from the ball joint can be greased as well to prevent seizing. The most crucial for me is that rubber boot covering the knuckle should be peeled back and packed with grease. This will reassure you that there will be no squeaking down the road!
On to the rears!
Remove trunk panels get to the two strut nuts on top. There will be one bolt on the bottom. remove and install coilover. Mine are the HSD's one piece coil and strut so i had to take the spring from the perch.
Here is the rear suspension its a combonation of 19mm and 17mm bolts. Forgot to jot down which is which.
I started with the bolt on the knuckle then moved over to camber bolt. and replaced the Camber arm. You will need to mess around with it to comply.
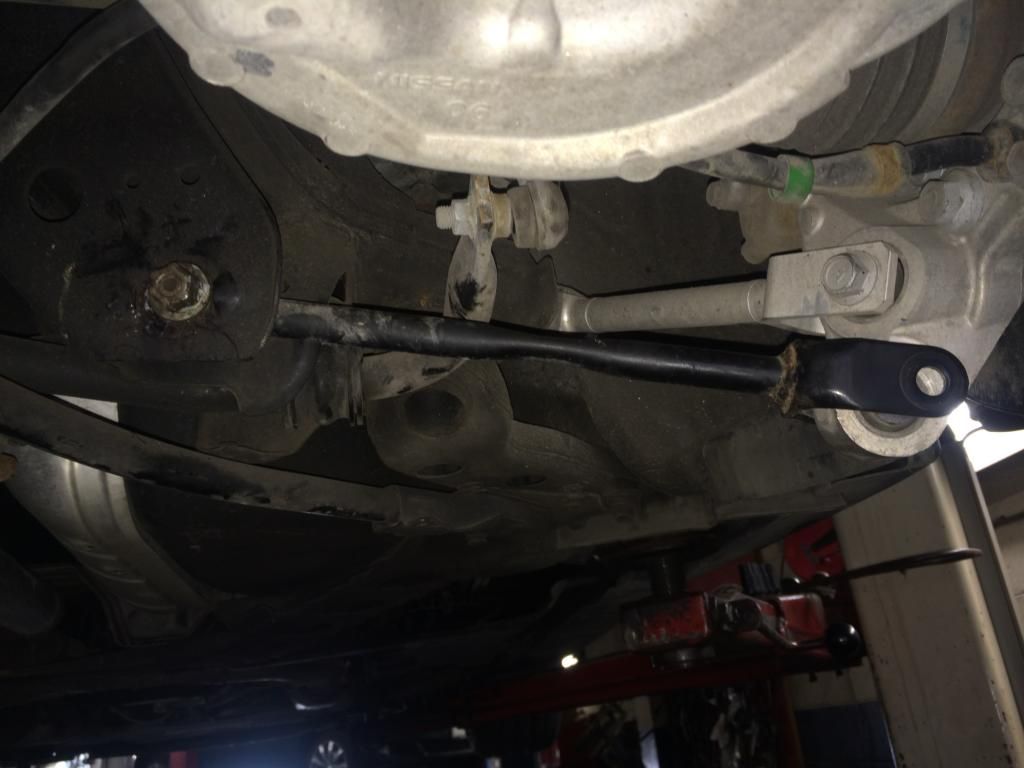
The Camber arm installed and the big aluminum case is where the spring sits. Note if you drop your car to low that you will need to buy and install the camber bolt on this to keep your toe in check. Cheap out and you will have to live with lets say -3 camber to keep the toe in driving spec.
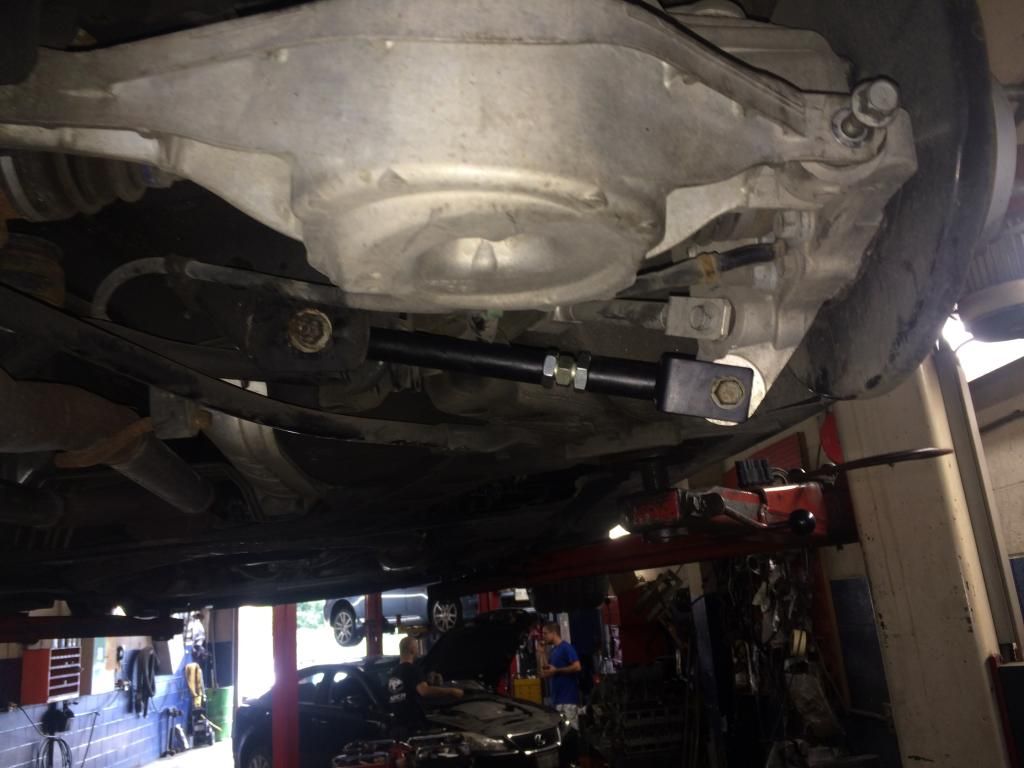
The shiny aluminum arm is called a Radial arm, or so I was told. All this does is move the rear wheels closer to the rear bumper or to the door.
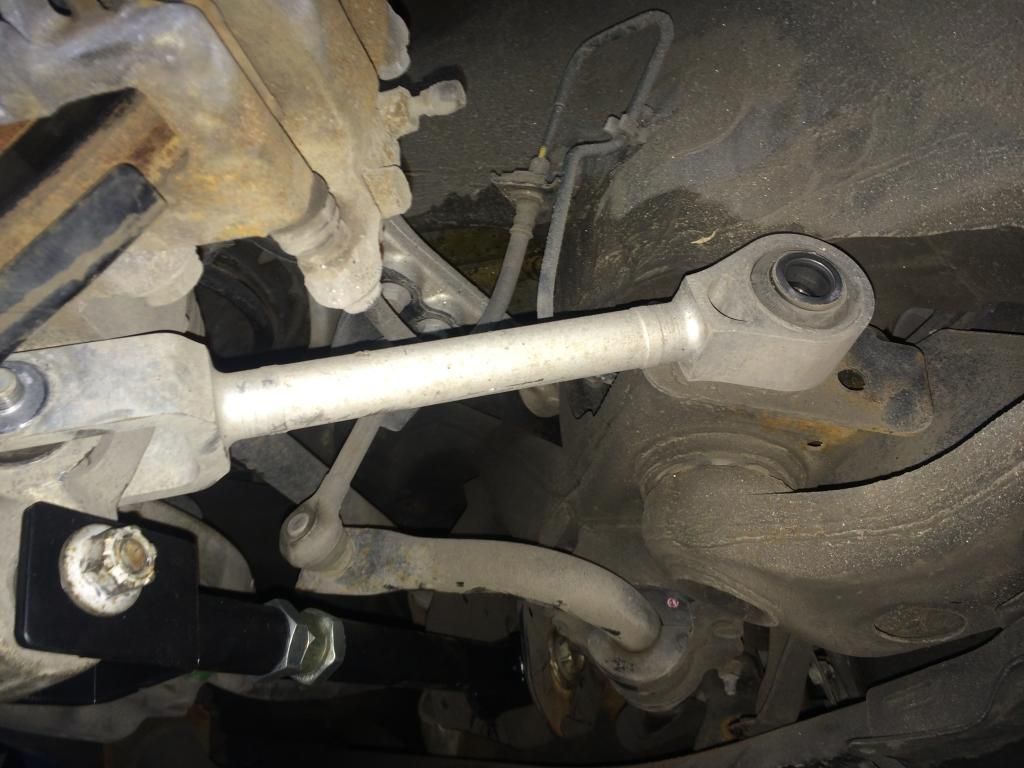
That's about it I posted this late at night after work. So if there are any mistakes let me know I'll edit it. I tried making it as easy as possible. Good luck.
