I am not one for taking pics, but I got a few so you can get the general idea.
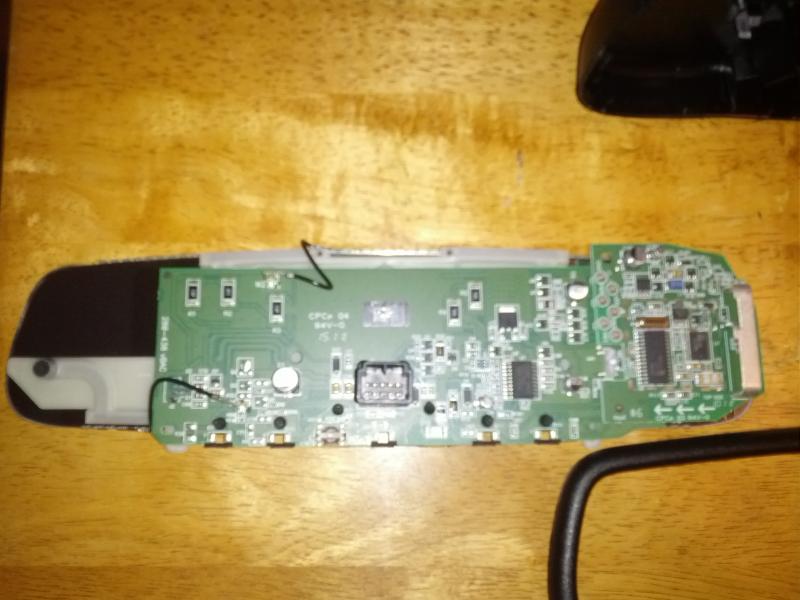
Getting the mirror housing apart was the hardest part of the install. Using only the finest tools as well

I found a butterknife had the best prying options without marring the housing too much.

After getting it apart it was an easy choice to choose where the display would go, the far right, in the middle of the mirror. Not ideal, but a good, easy place to see none the less.
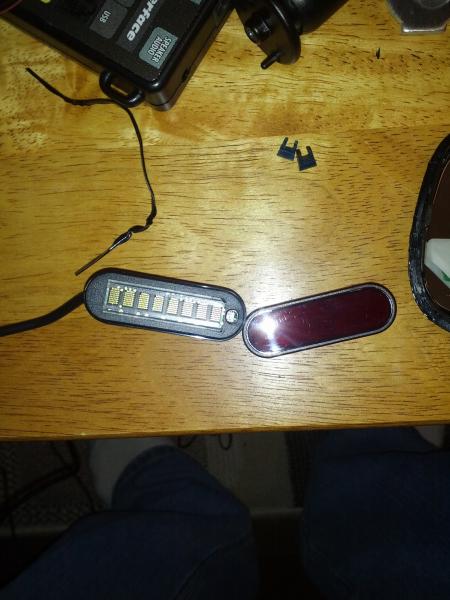
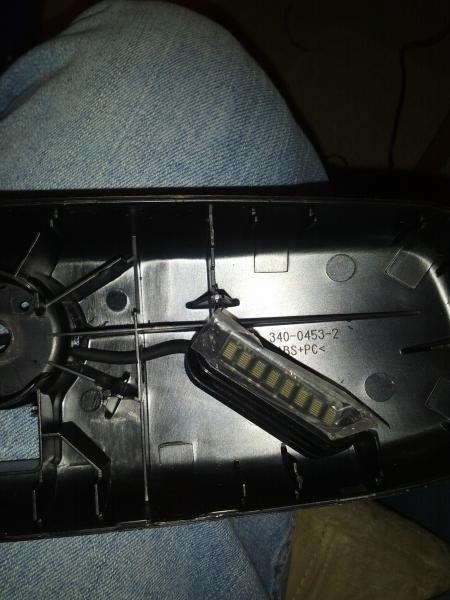
After placing the display on the mirror and checking clearance with the back, I noticed I might have to shave some parts on the back of the housing to make it fit. I checked the brightness of the display and noticed that it was a bit brighter when I took the protective lens off the display itself. I also noticed that it cleared the back of the housing very nicely.
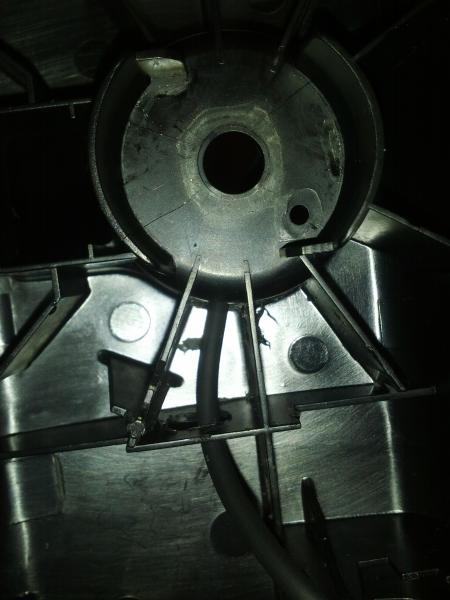
Next I had to find a way to route the cord. There was a lot of room to run it behind the circuit board, but nowhere aesthetically acceptable. I didn't want to have a hole in the back of the housing where everyone could see. I found a very nice solution...
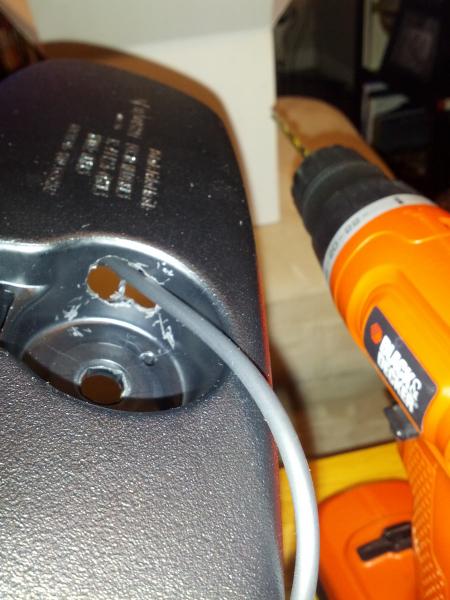
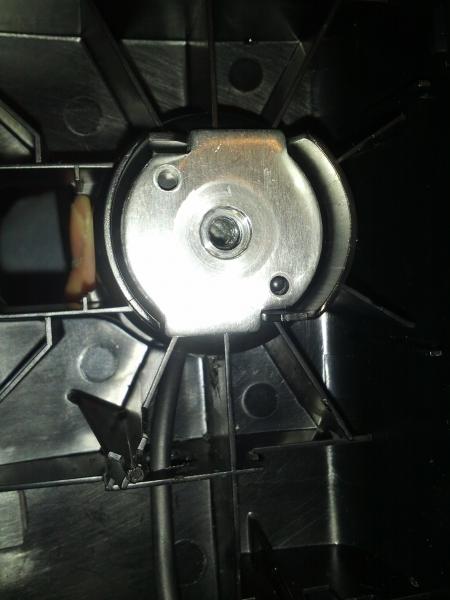
Taking the stem off with a torx bit, I could drill a hole in the side and viola, could easily tie in with the standard control cords through the roof...
I used an industrial adhesive that I had lying around to attach the display to the mirror. It bonded instantly and was perfect. Just have to be really careful applying it to the parts. I used a toothpick to apply a very thin layer to the housing of the display.
I will have pics of the display when I get a proper power source that doesn't require me to use both hands to work.