Car now moved inside, trying to do any extra cleaning outside is not easy with the amount of sand in the air, just seems to re-appear the second you clean it off!

Again bonnet up to allow to cool as much as possible (boot open to get stuff out!)
Next stage is something im not a fan of doing, clay barring the paint. Not that its particularly difficult its just one of those things that can easily go wrong, speaking from experience!
The clay itself and the lubrication for it:


Key is to use a lot of the lubricating spray to prevent any damage to the paint, this is really the only easy way to get all the contaminants off the paint surface, whilst doing this the lubricant liquid can see going a brown colour as its get the sand out.

Again top to bottom method, the lubricant runs down giving more protection to the paint the lower you get. When finished the clay bar is completely reshaped having been turned and re moulded several times:

The paint now looks like this:


Obviously needs to be re washed, for this wash I used a high gloss shampoo again in a concentrated amount:

Car naturally rinsed off heavily before starting to wash the paint again, fortunately the shade had moved enough to get the car in it completely, albeit sideways:

After the clay barring the paint had lost all of its beading ability from the previous wax/sealant:

Couple of pictures of the calipers after cleaning them earlier and being properly washed off:


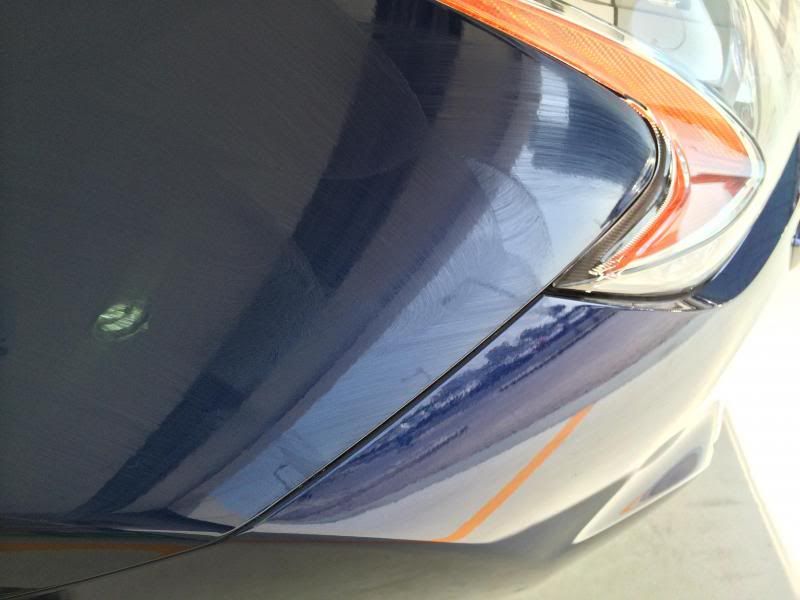
After being washed and dried after the clay bar the paint displayed several areas of holograms, tried to get pics on the camera phone but not easy:


Can just say see the areas in the sun on the pics above.
Now for the fun bit..............
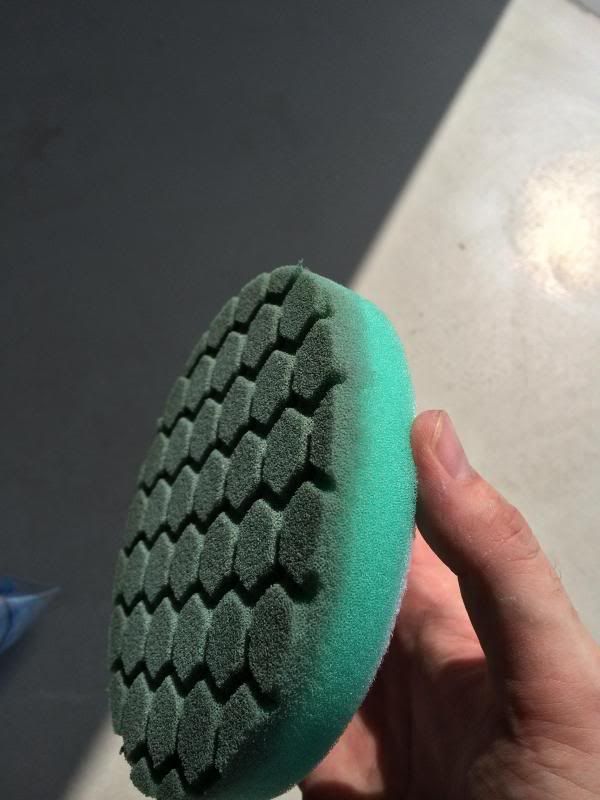
..................... the machine polishing. Need to select the correct size backing plate before starting on the paint:

Once got the correct backing plate on and the matching pad size need to prime the pad with a similar style spray to the clay lubricant:

To start with ive gone for a pad with a very slight cutting ability and also a polish again with a slight cutting ability in it:

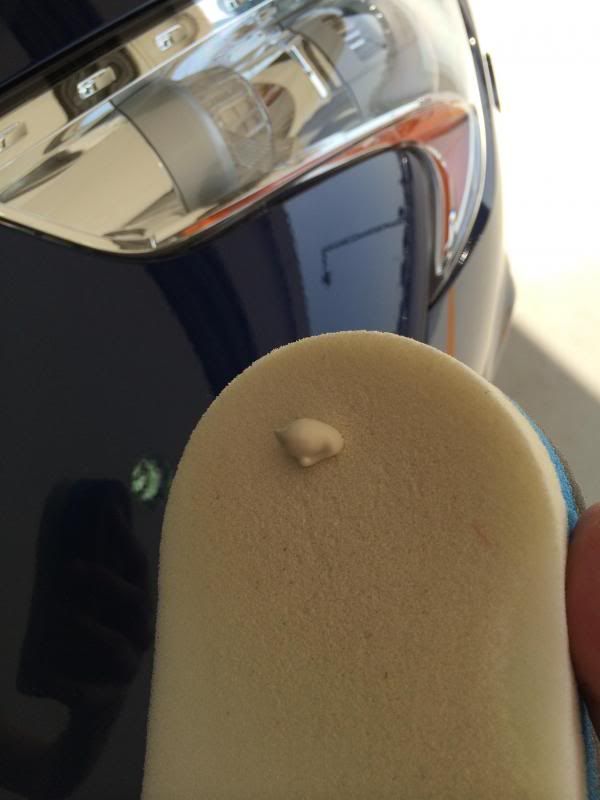
4-5 drops of the polish on the pad and spread onto the paint with machine on speed 1, I only do 1 panel at a time or the bonnet half at a time:

After applying the polish at a low speed then run back over the applied area at a speed around 5 on the DA machine to buff off:


Whilst im doing the polishing I use the time to apply the tyre gel, only use the gel these days as its the only one I find doesn't fly off the tyre as you start driving as the sprays always seem to. Use an applicator pad to apply to the tyre itself, these applicators don't seem to last very long unfortunately:


After doing the car once with the pad it looks like below, the polish is a slight grey colour but the pad still seems to get dirt out of the paint even after its been clayed:

Next up is an optical finishing polish also using a finishing pad:


Above again applied using a slow speed a panel at a time and go back over at a speed of around 5 on the machine, before buffing off by hand with a high quality microfibre.
Almost the final stage, time to wax the paint, applied using an applicator pad:


Again removed by hand using a high quality microfibre.
Final stage is a sealant, the sealant can be used on anything pretty much so I do the full car almost, paint, lights, glass, exhausts etc. Apply to the paint using a similar style applicator pad to the wax:

This however I buff off with the machine using an ultrafine buffing pad and finish off with a microfibre by hand.
Now ive finished time to clean and re-pack the equipment, I always clean the cables off using a wet wipe as it keeps the inside of the carrying cases clean:

Time to get a few pics now its all finished......................