So take this with a grain of salt but ive decided to experiment a bit with the idea of making some custom brake ducts for my 370z. The issue is i have a Zele front bumper which has excellent vent holes in the side but there are not really any options to use them for brake ducts as they are an unusual size and i didnt see any cheap options online.
These are just the first prototypes modeled after the NCAA ducts but have a bit shorter length. The next version will match the lower half of the holes on my zele bumper.
My idea here is to build something for cheap and...to build reliable custom parts for my own car which on its own has an appeal to me.
You will need:
Fiberglass resin
2 types of fiberglass matt, i went with 3 but its your call. One needs to be a thick weave and the other should be a bit smaller and tighter.
Some styrofoam or something else with which to make your mold.
Masking tape
Assembly fluid or petroleum jelly (to keep the resin from sticking to the tape)
Sandpaper (you can also use a dremel with a sanding wheel.)
Razor or hot wire gun.
10 Ft of 2.5 IN Diameter SCEET or similar tubing. I went with the stuff from aviation spruce .com.
2 T Flanges with an O/D of 2.5 IN. Again i got mine from Aviation spruce.com.
Blind Rivets
Rivet Gun
Aluminum sheet metal. I went with 6065. You only need 1Ft Square and honestly you dont have to have this. Ill use it near the end to reinforce the bracket on the dust shield.
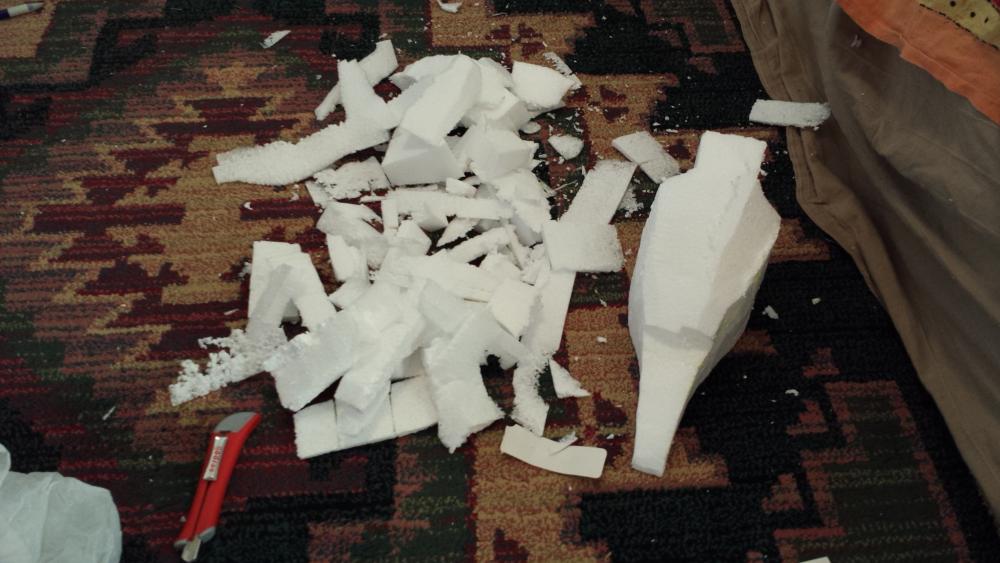
To start out make your mold from the styrofoam. If you have to glue together a few sheets and then once they have dried then you can cut them up. Be advised it will make a mess! You can use a razor blade to cut the foam or if you feel like spending some money go out and get a hot wire gun from a hobby store. The whole idea here is to build these for cheap tho so that almost defeats the purpose. Your hose connection point needs to be close to the size of the hose you want to use but don't sweat if its not perfect. The only major requirement here is to make sure you dont go bigger. I will be using a 2.5" hose due to space.
If you are in a rush, sand at the end then add a final layer, if you have time and you are trying to make it perfect, sand after every layer and then wipe the pieces back down to keep them smooth.
Next you will take the mold you have made and tape it down to a piece of card board. You will need the carboard to A.) keep the mess down and B.) provide you a mounting surface if you are going to mount these flat somewhere.
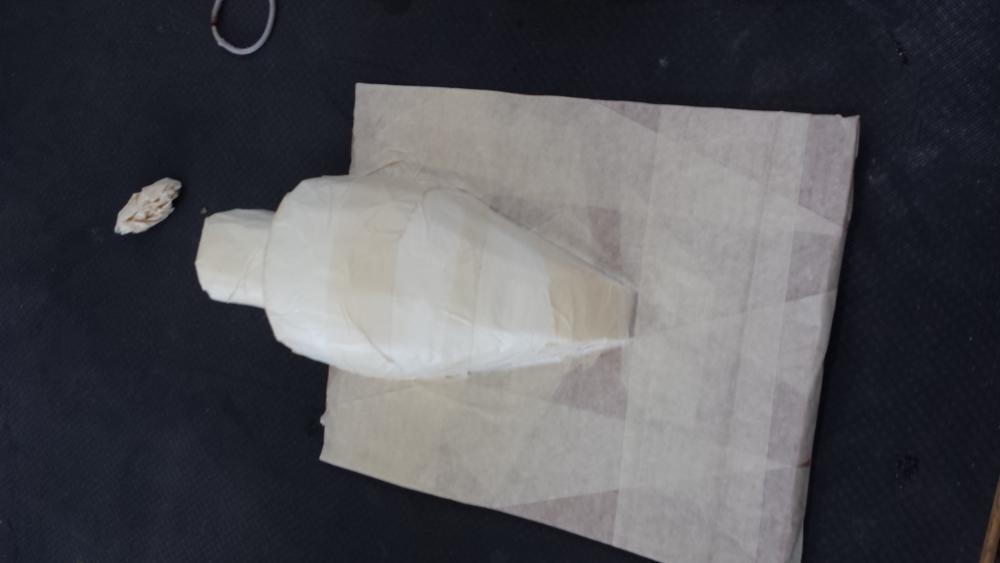
Next step is to coat your mold with the assy fluid or petrolatum then lay down your first layer of fiberglass matt. Use the thicker weave as this is the strength layer.

Dont worry about creases here and there, for the most part you can smooth them out when you put the resin on. Mix your resin and USE A SCALE to ensure your ratio of resin to hardener is correct.
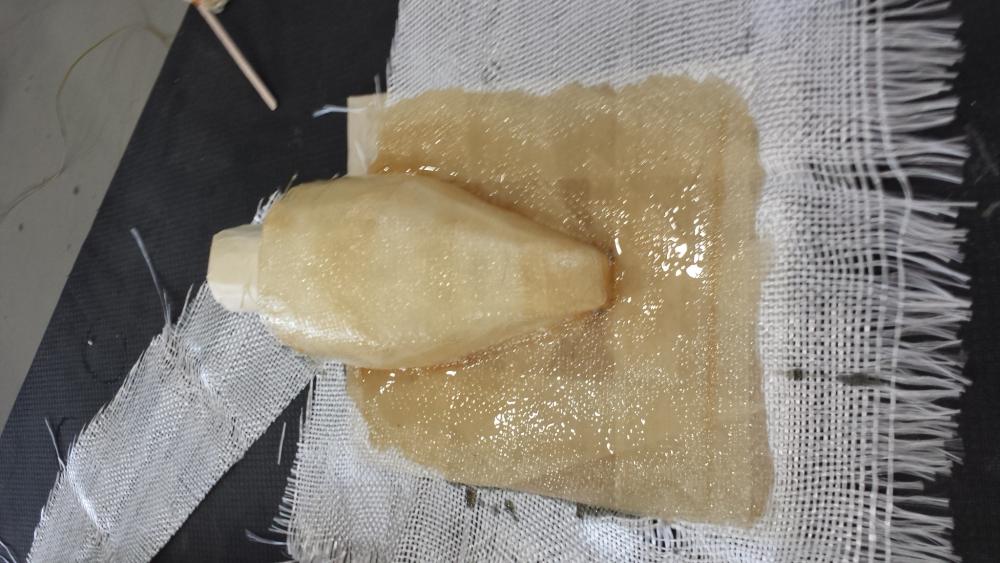
You will notice i did not bother wrapping around the back portion where the hose will connect, that will come later. You want to be able to use the mold again to make the second piece so it has to be able to release. You can join the pieces together later. Once you have both 1st layers made and you no longer need the mold i then laid down a second layer of the finer mesh. You can see it here.
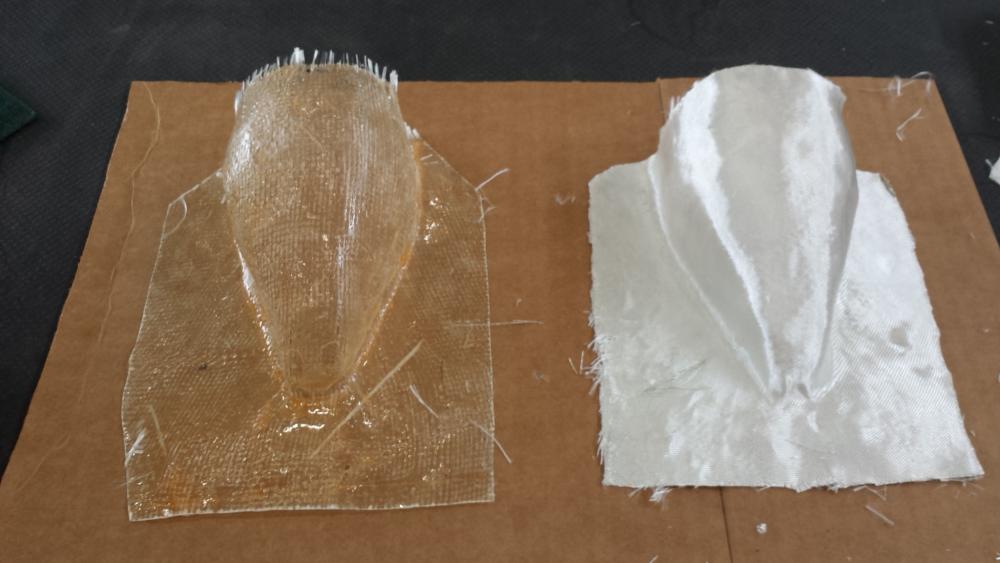
At this point while the second layer is drying go ahead and cut the back part of the mold off, i left enough that id have some space to join the two pieces and i added a few layers of tape to the mold to make it bigger where it will connect to the original piece. That will allow my second piece to fit over the first and keep bumps inside where the air will be down to a minimum.

Once you have created your second pieces (which dont have to be pretty) you then join the two. Use your head here...you will want to put layers to connect them on the outside and the inside. I did the outside first, let it dry, and then added layers to the inside.
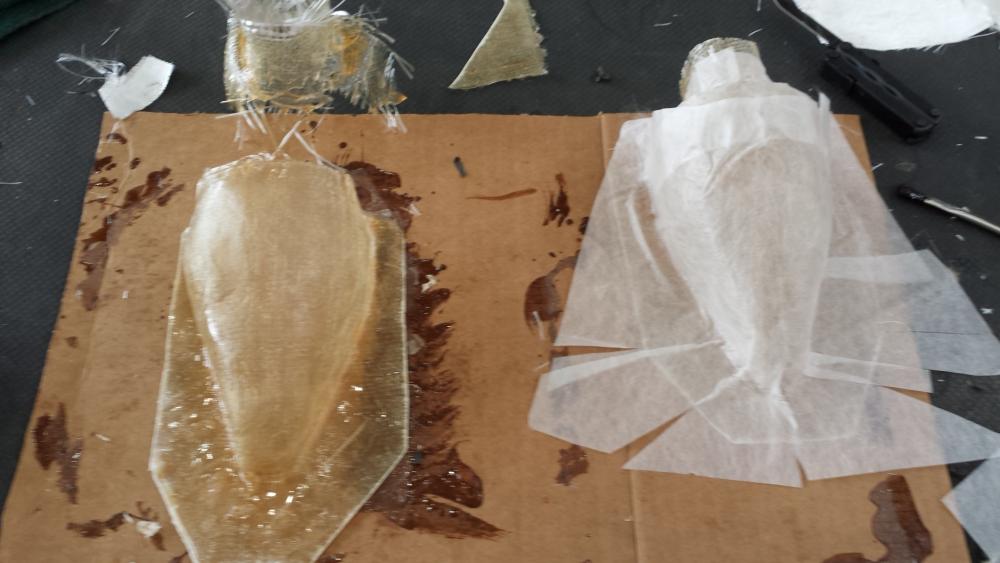
I will post more as i go. I dont expect these to fit on my car but it was a project to teach me the basics and i had fun. I will work on the actual ones for my bumper some time next week or so.