Quote:
Originally Posted by rts_kaneda

To be honest I do not know that much about photography either, all I've picked up about night photography is that if you make your aperture as low a number as possible (I normally have it between F3.5-F5), and then have a play around with different settings of manual exposure (whilst using a tripod) you will get quite crisp colours and edges so very little work will need to be done on Lightroom (what I use).
I'm not skilled enough yet unfortunately to find a location and instantly know what level of manual exposure is needed. But in the past without changing the aperture I would need to take 5-10 second photos and there would be a lot of grain. Since altering that setting first, the pictures are between 1/3 - 3 seconds to take (battery life goes a hell of a lot further too now) with little to no grain.
Hopefully this info can help you guys out too.
|
Quote:
Originally Posted by djtodd
As the others said, night photography for slow/stationary targets is best accomplished:
1) With a low iso (100/200) and longer exposures.
2) On a (good) tripod
3) With a remote release (Nikons have a fantastic super cheap remote that is all you'll ever need) It's the ML-L3 if you want to look it up, but you can get them anywhere online. I'm sure Canon has something similar.
4) If your frame has a delayed shutter release option, or mirror lock, use it. This raises the mirror then waits a short time before releasing the shutter, which lowers the chance of vibration/blur since you will be using a longer exposure.
One neat trick for night shots is to use a really strong filter on a remote flash to highlight a subject. Then adjust the color balance (easiest in post, but can be done in-camera), which puts your subject in correct WB and everything else gets shifted to an array of odd colors.
|
Quote:
Originally Posted by LunaZ
Don't forget you can use a reasonably higher ISO combined with a wide aperture to achieve a faster shutter speed.
Longer shutters will give you more noise.
Lr's noise reduction is pretty good at cleaning up your images.
One other thing to thing to think about is metering on the right spot.
|
Quote:
Originally Posted by djtodd
Yeah I normally only use it when I'm using a bigger, heavy lens. But it is handy!
Oh. one other thing. If you're using a tripod/remote with a VR or IS lens, turn vr/is OFF. No point and it actually can actually lower clarity as the vr/is motors move about.
|
Thanks guys! Someone else had messaged me as well and given me pretty much the same info as this, so I went out and tried some night shots on my street, but the street lights suck and put out a nasty yellow/orangish color so I'm gonna be trying at a few other places. I also purchased a tripod, I found a new one on craigslist for $15 lol. A wife was cleaning out her husbands garage and closet while he was on a trip, and she was selling everything for dirt cheap.

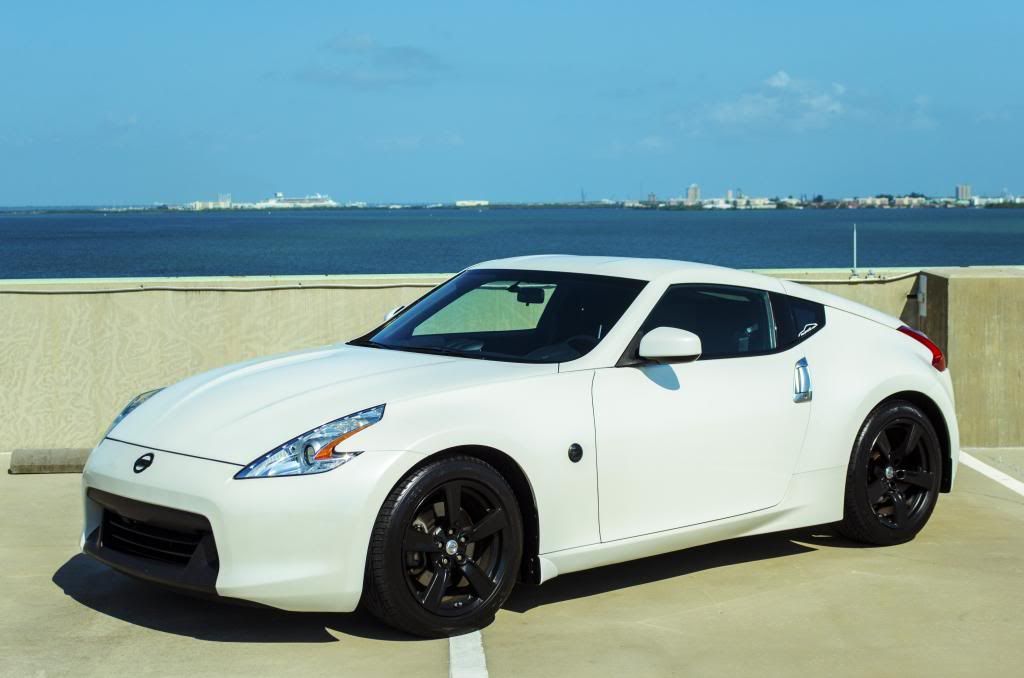
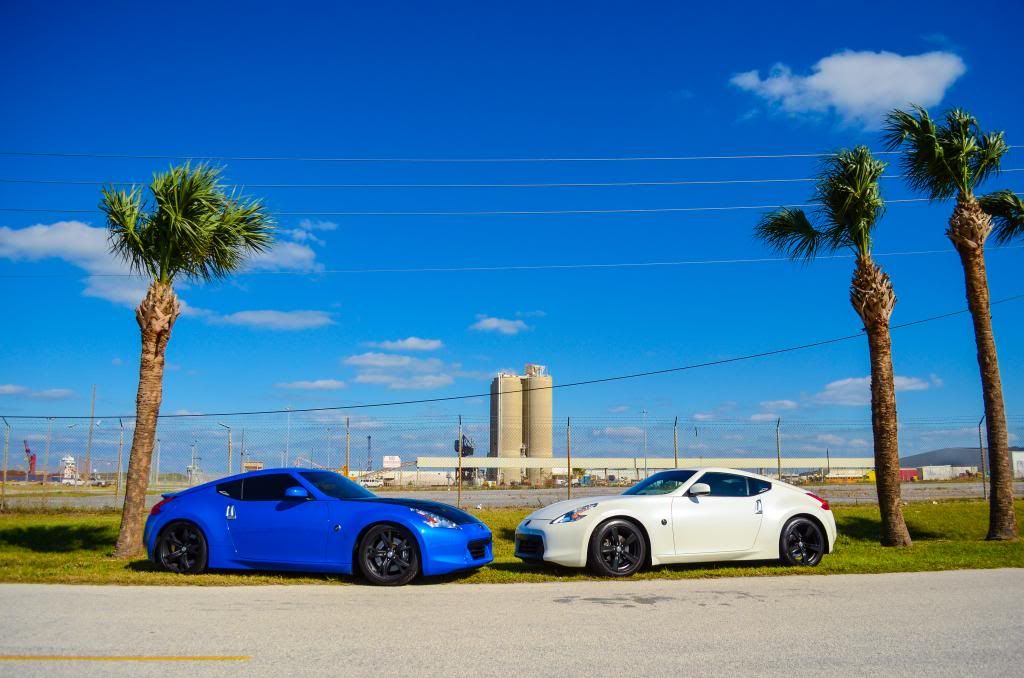
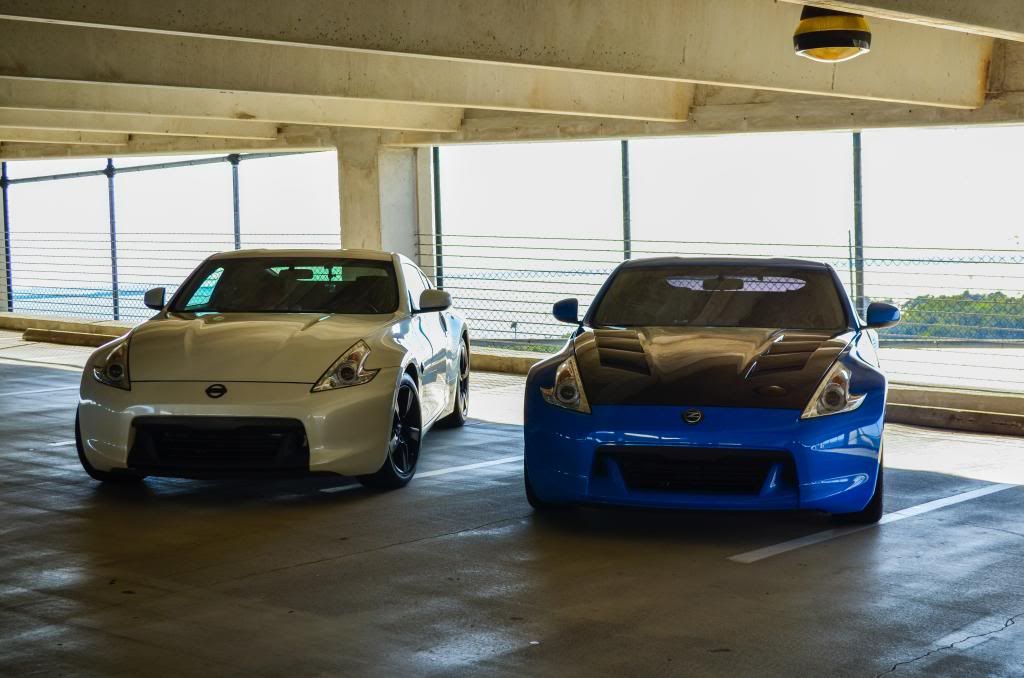
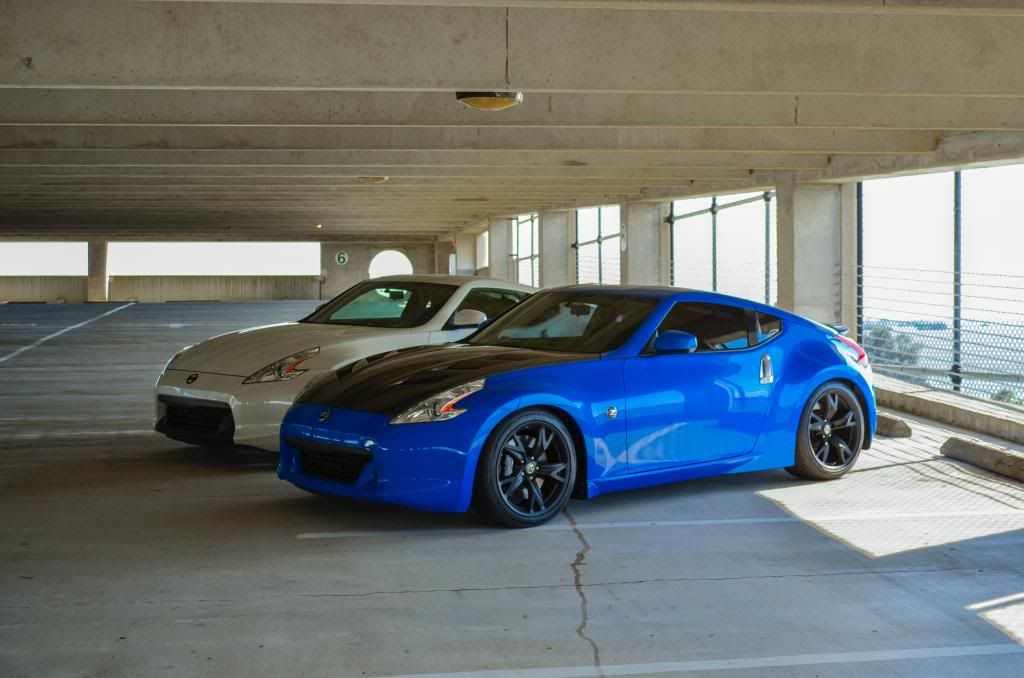
It's not super heavy duty and professional, but I think it will get the job done for now. I'll take some in the next few days and post them up. Here's a couple I've taken recently...