Picked up a STILLEN front splitter and installed it!
HUGE thanks to Josh@STILLEN!
Here it is!
Needed Tools:
Jack & Jack stands
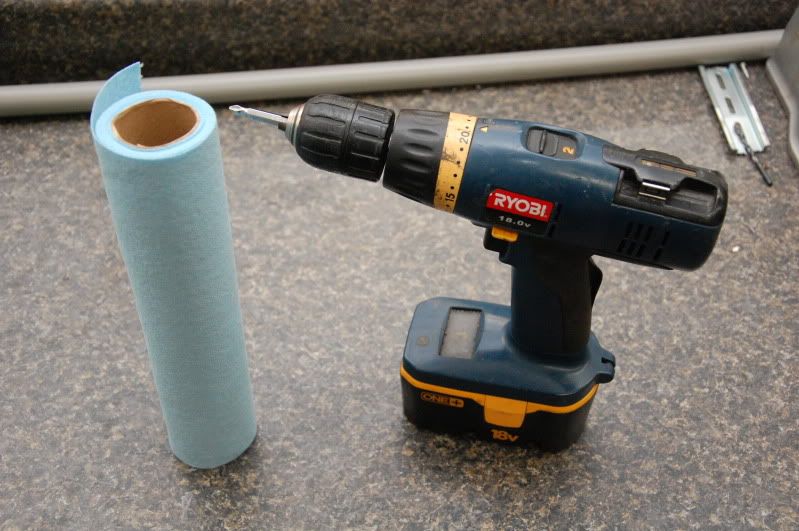
Screw Driver
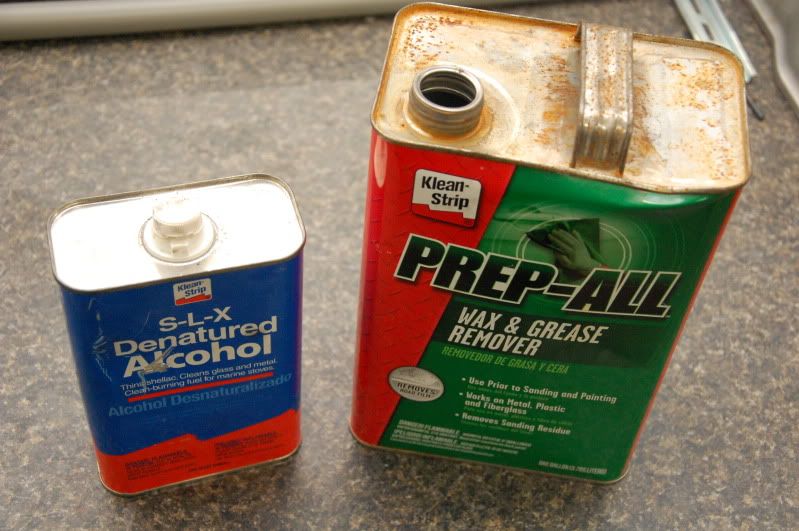
Wax and Grease remover
Denatured Alcohol
Shop towels
Recommended Tools:
Lift
Power Drill
A second set of hands to help hold the lip in place
Install time: 30 mins (with jack and stands 45mins)
Install Difficulty: .5 out of 10
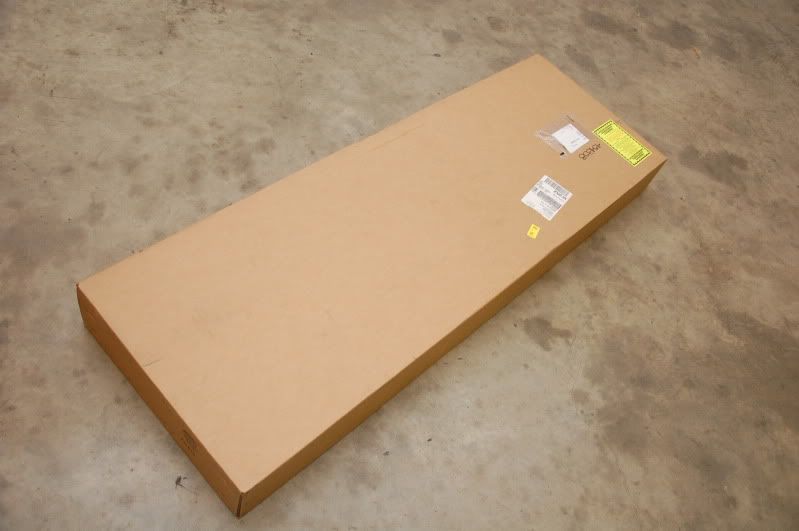
The lips was very well packaged and shipping was super fast!
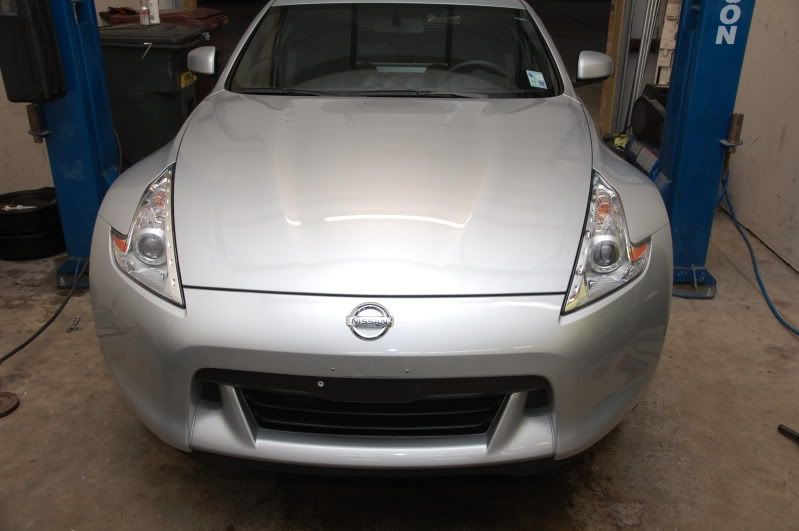
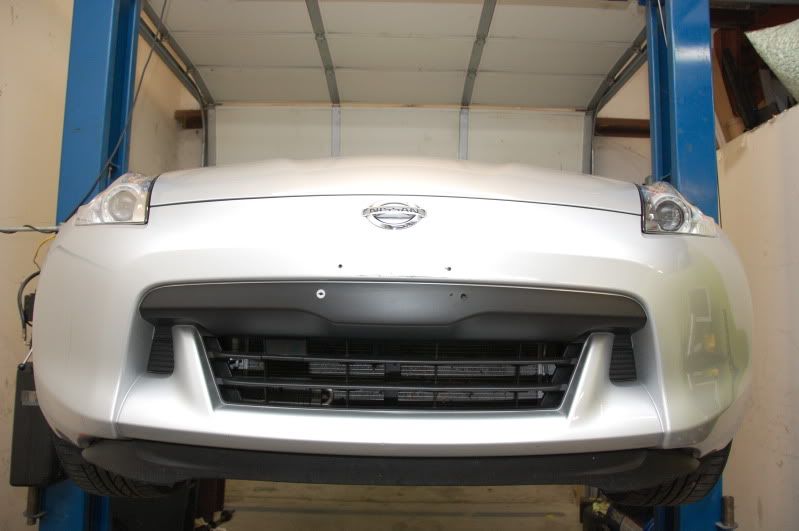
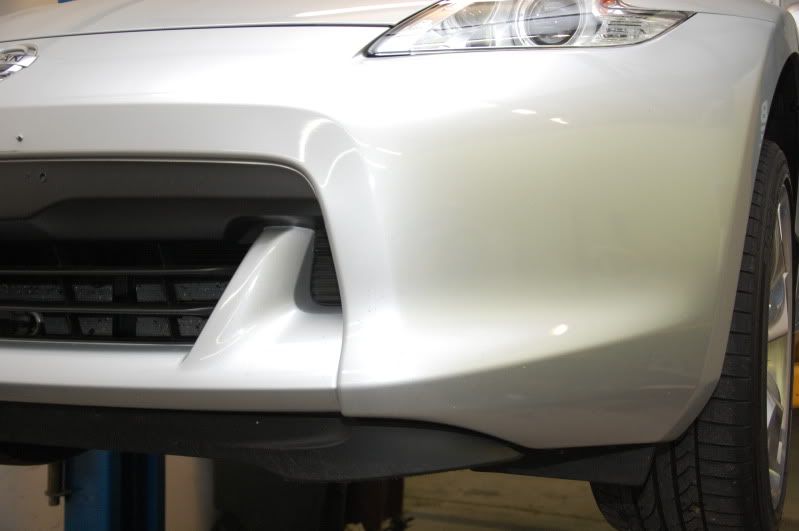
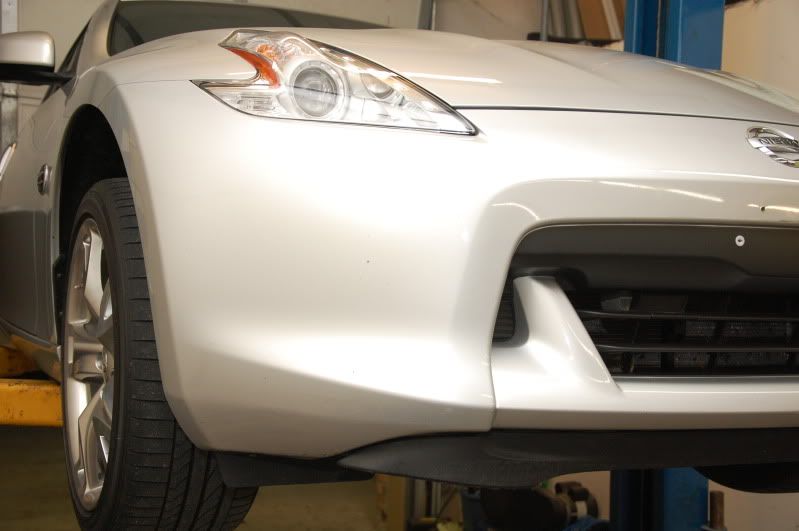
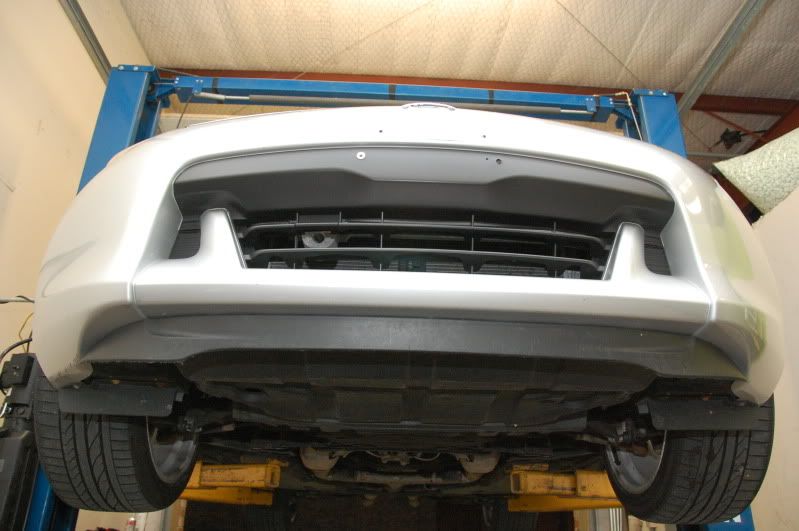
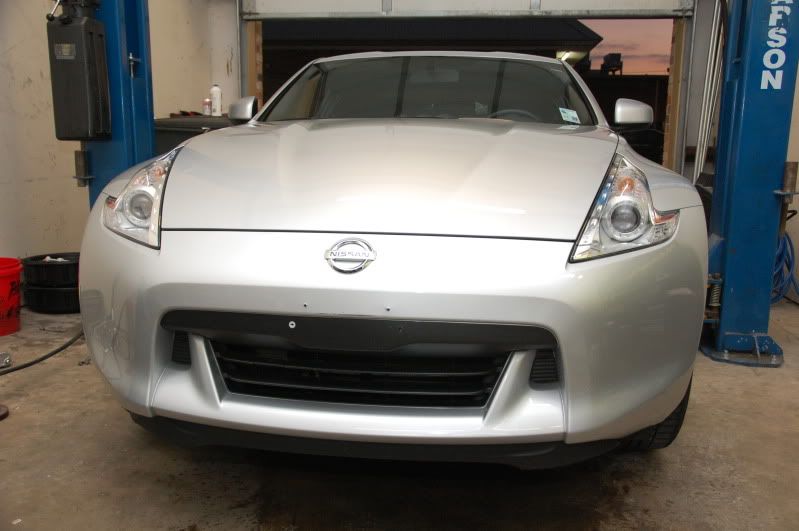
BEFORE PICS: (please excuse my dirty shop

)
Step 1.
Jack the front of your car up, or use a car lift (as pictured)
Step 2.
Remove the lip from the package (if you haven't already!

)
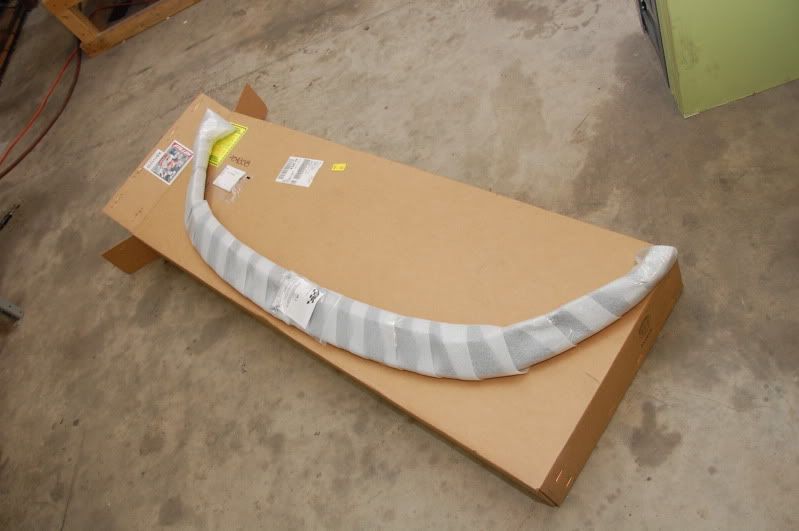
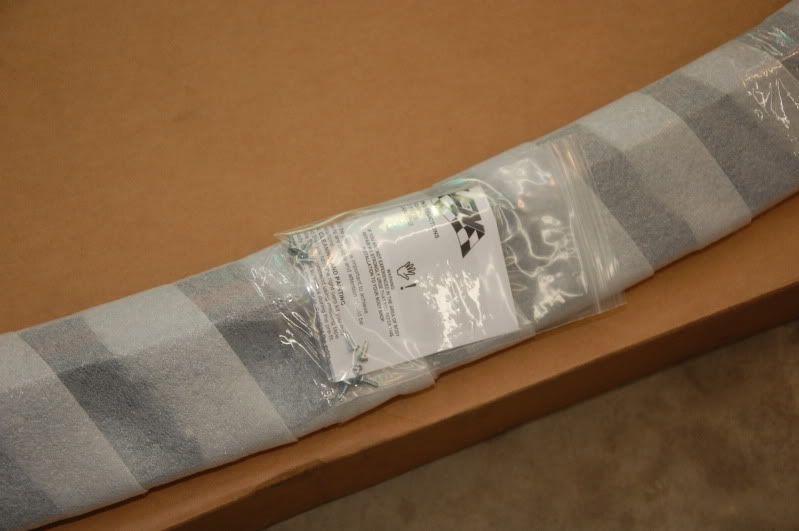
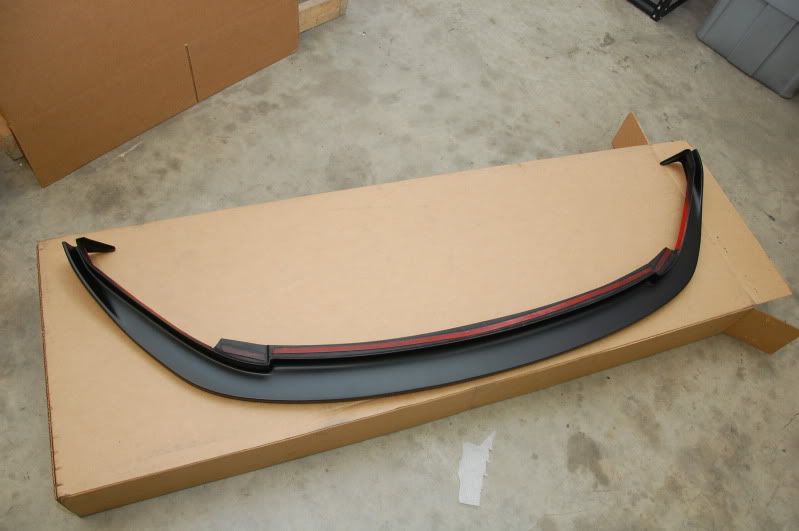
Step 3.
Hold the lip up to the bumper and check for fitment issues. (Mine had zero issues so this was pretty easy)
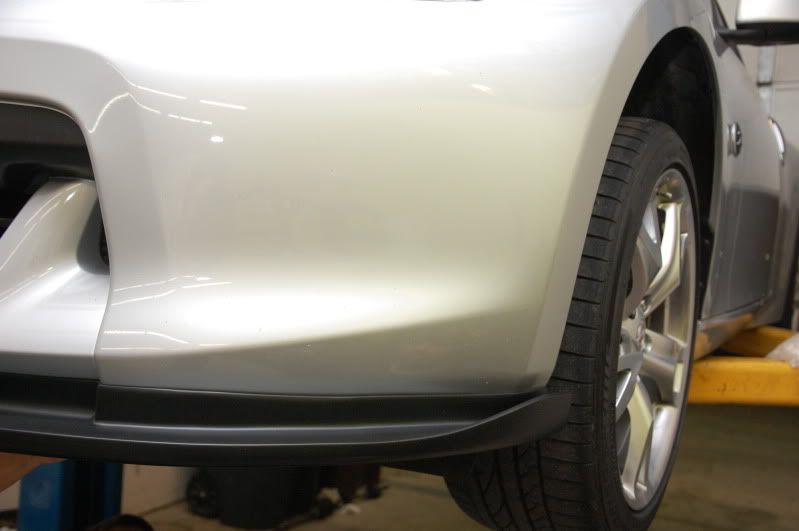
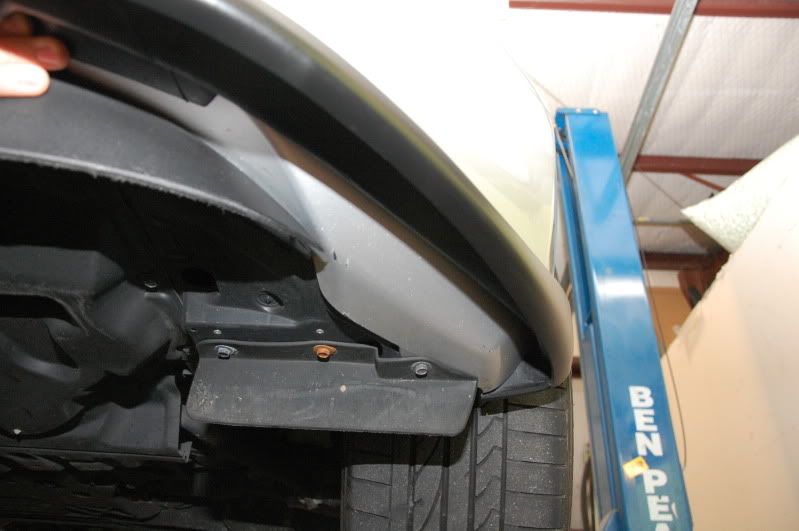
Step 4.
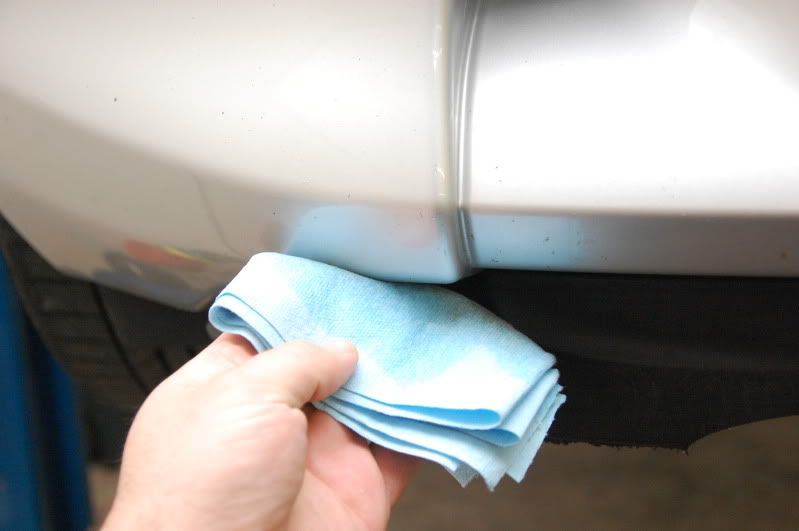
Take some shop towels and grease remover and wipe down the lower section of the bumper.
**This is very important as the lip has double sided 3M tape. If grease, oil or any other type of surface containment can compromise the tape from sticking.**
Step 5.
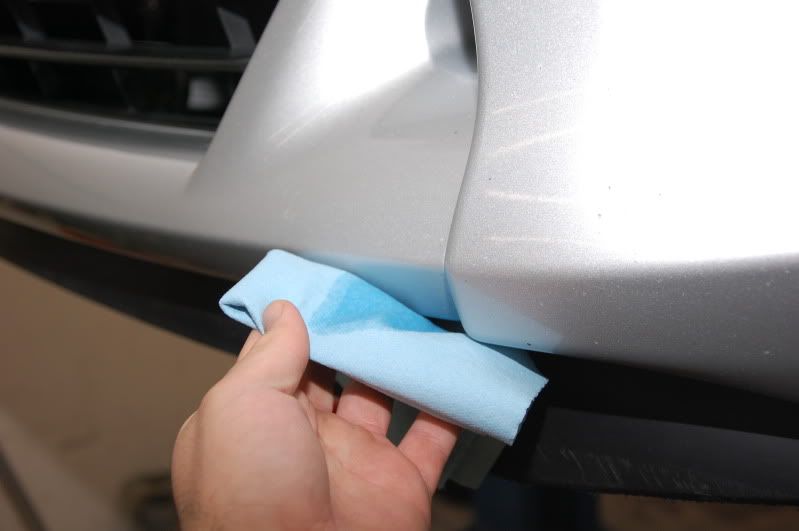
Once you've finished cleaning the lip with grease remover, take more shop towels and clean it again with denatured alcohol. This will remove whatever the grease remover left behind, leaving the surface even cleaner.
Step 6.
Wipe down the lip and remove and dust or dirt. Then remove the red backing cover off the 3M tape.
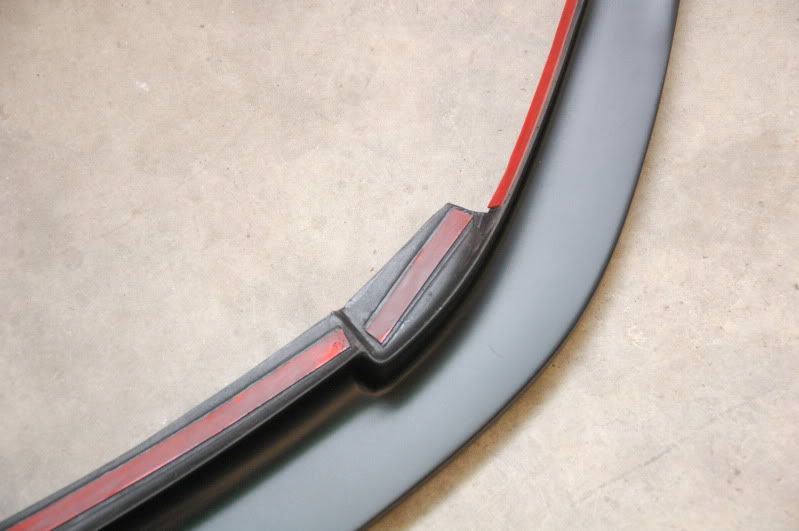
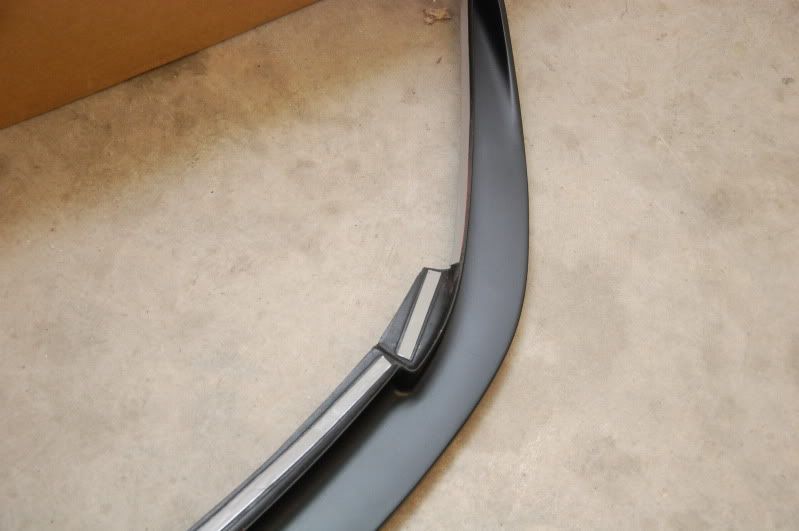
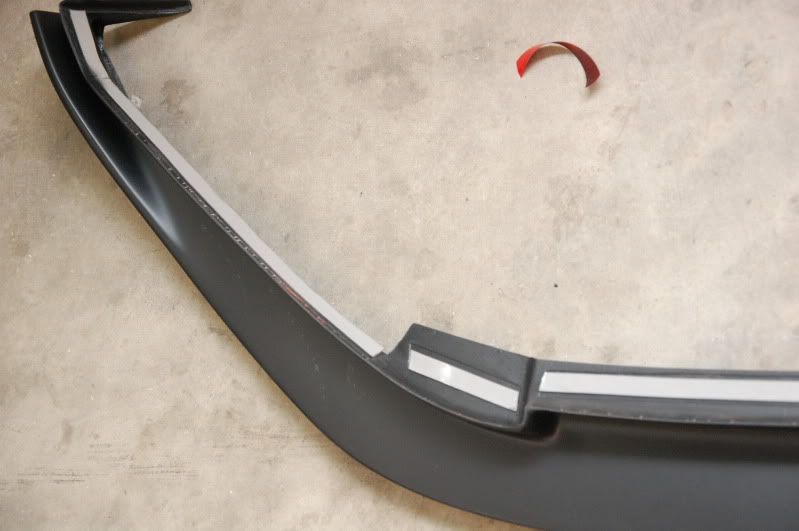
Step 7.
Since the tape is really a one time use thing, you've got to be careful when holding it up. My advice is to hold the lip up to the bumper in the middle and push it as far back as it can go.
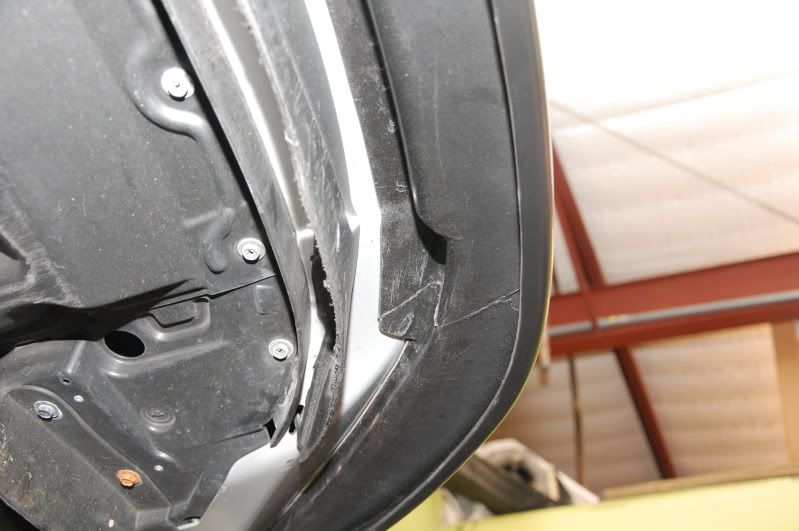
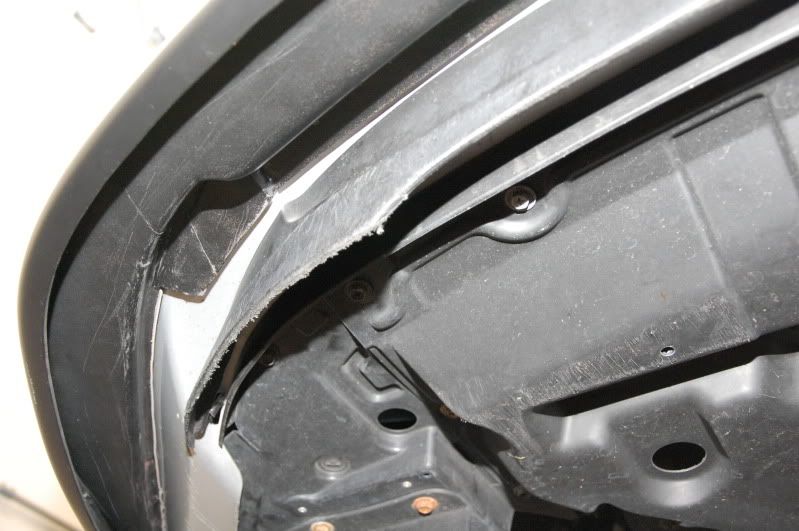

Then snap the sides of the lip over the bottom edge of the bumper fascia.
Step 8.
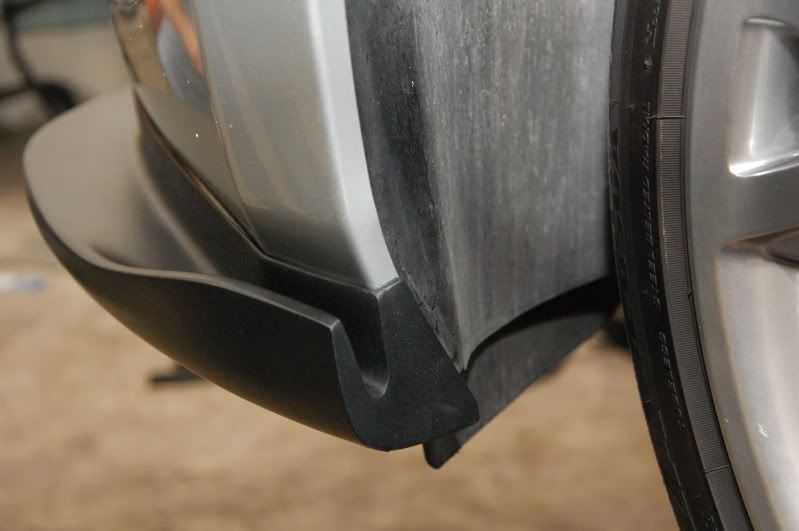
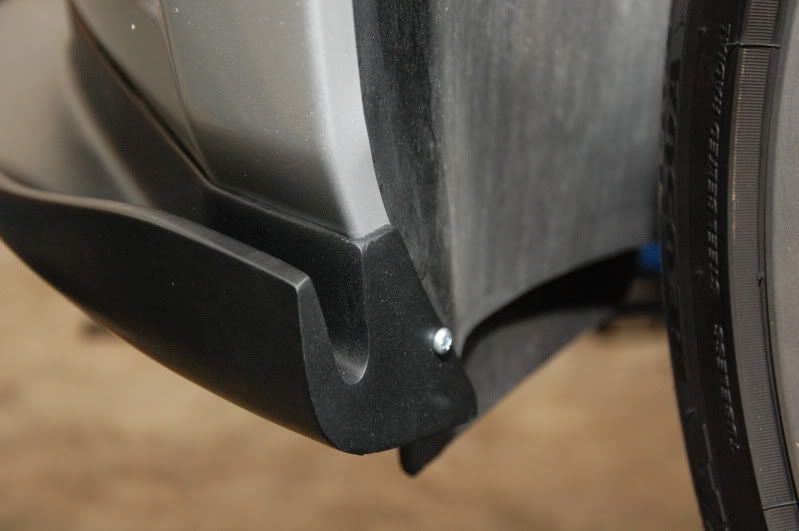
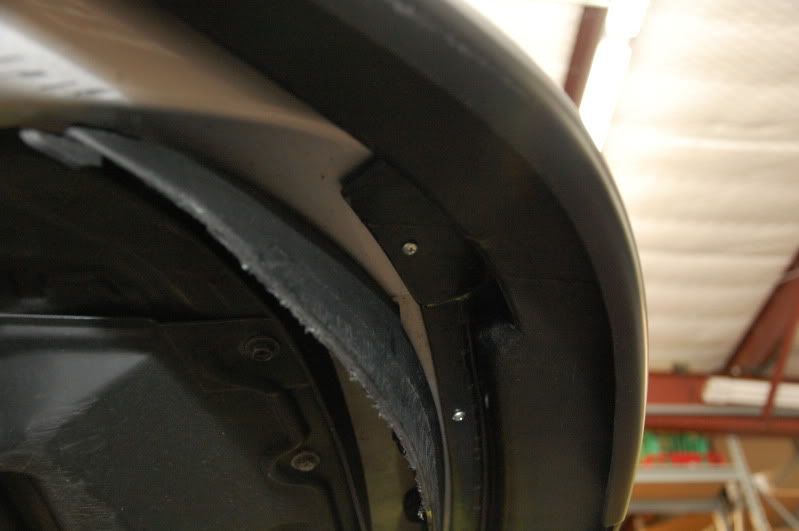
Once the lip is secured to the bumper with tape, it's time to use the supplied self taping screws to the underside for added strength. I put 2 in the sides, and the rest evenly throughout the front.
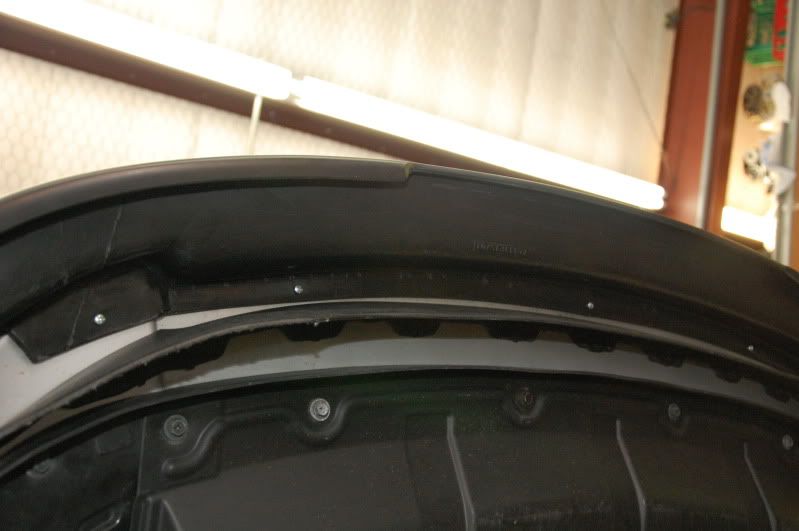
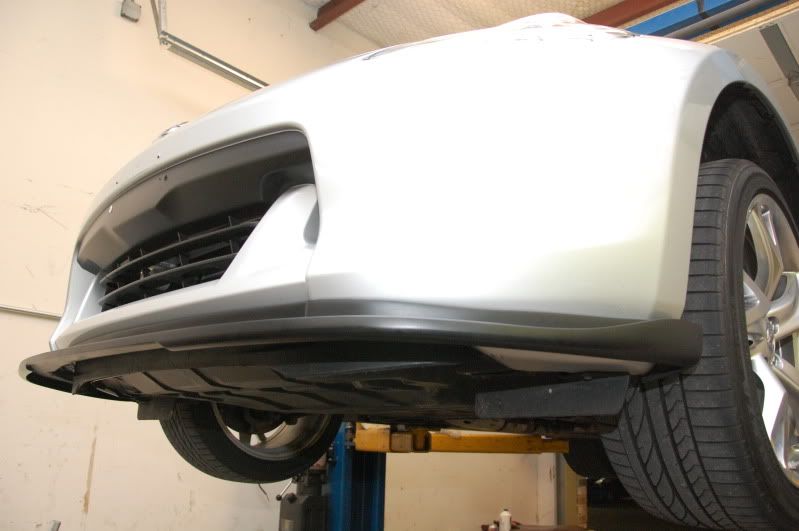
Step 9.
Lower the car and wipe off any dirt or hand prints and enjoy!
After pictures:
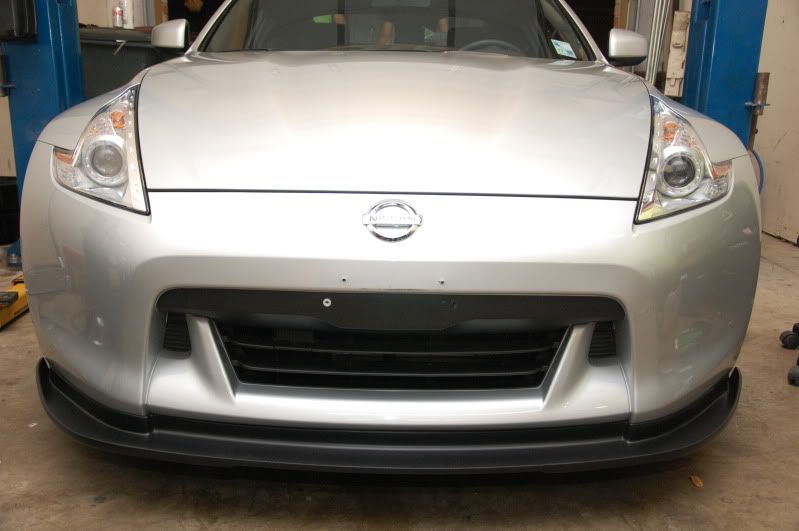
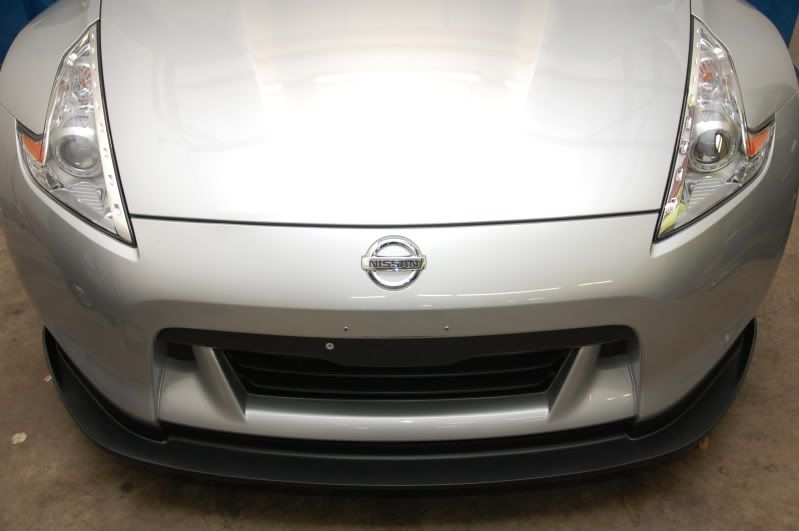
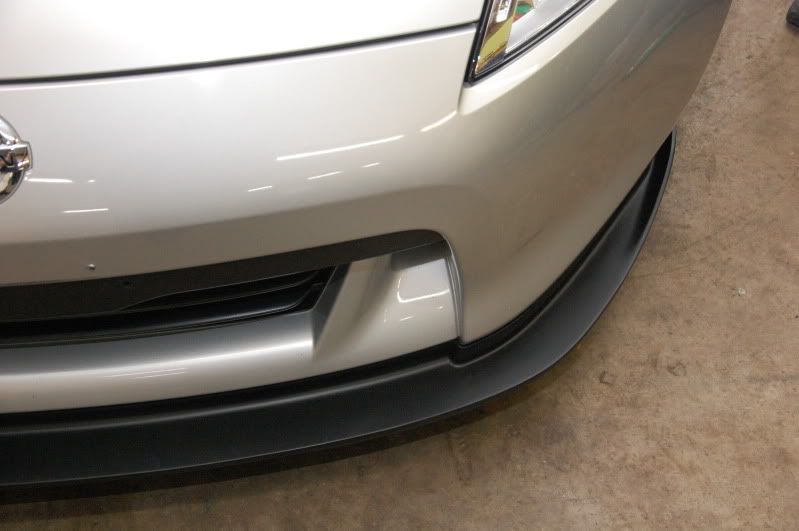
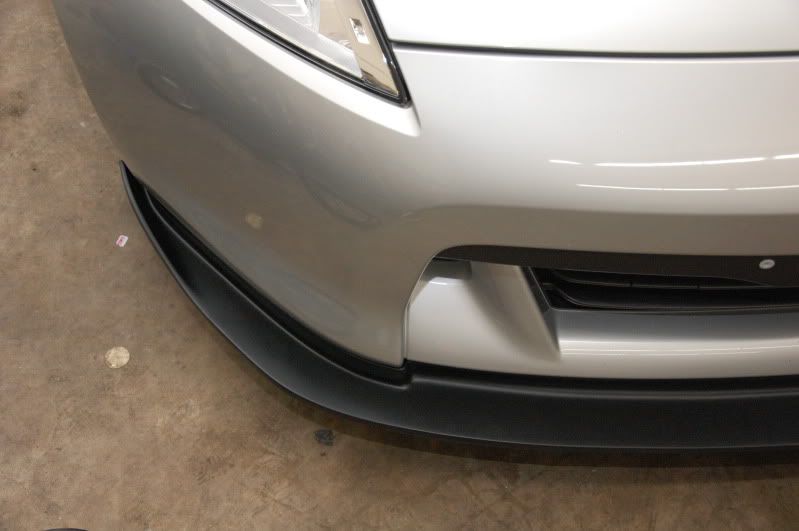
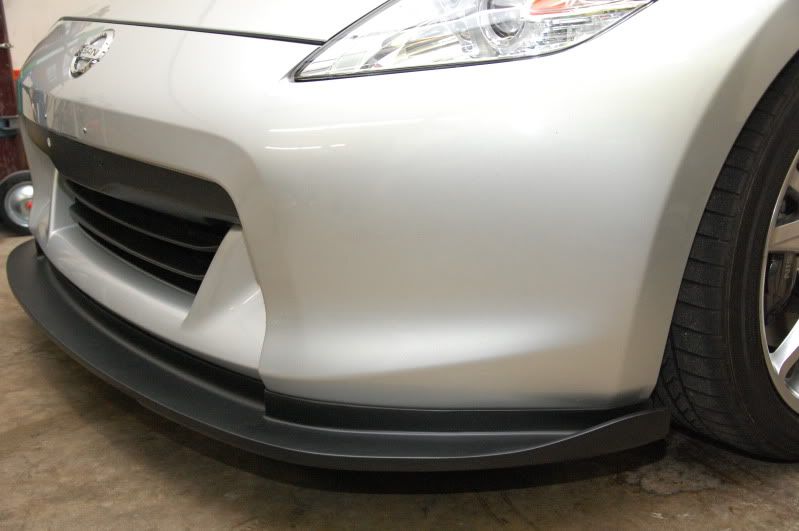
Daylight pictures:
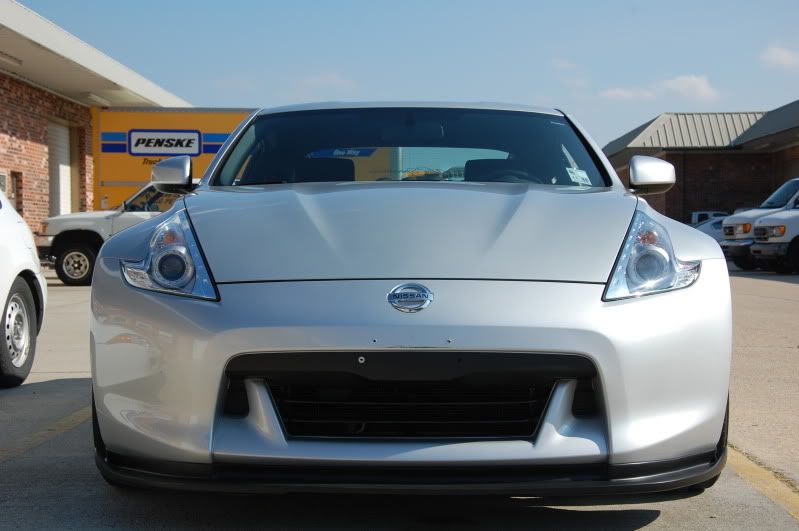
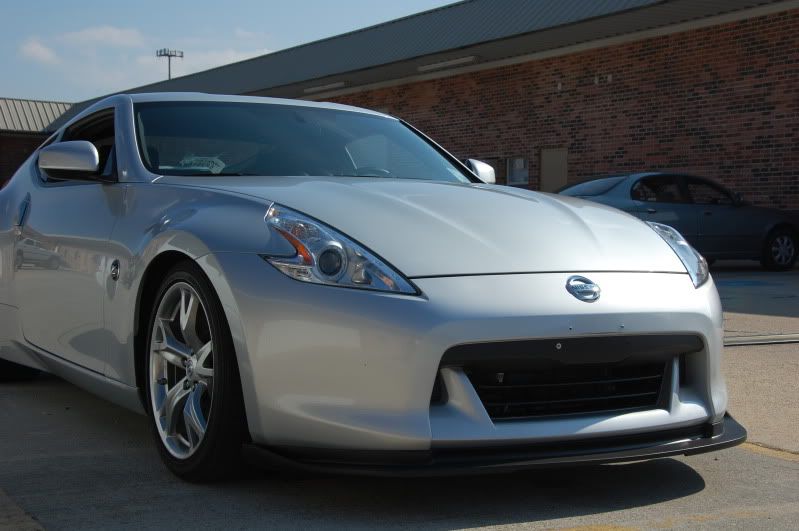

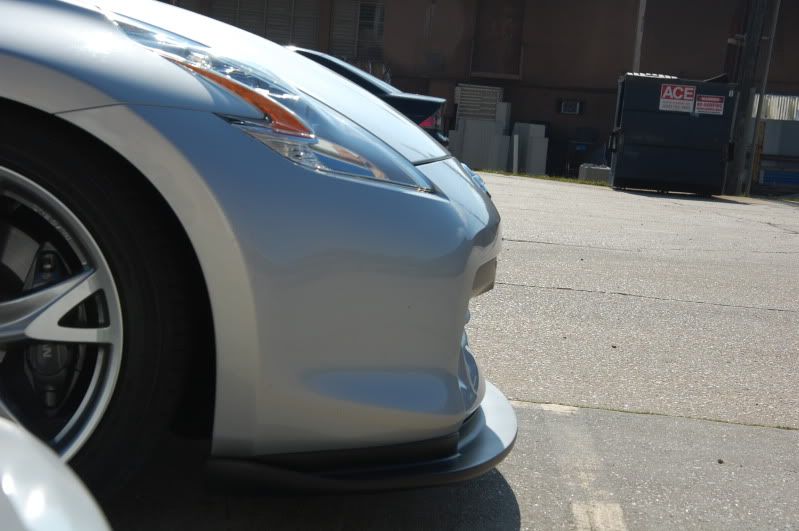
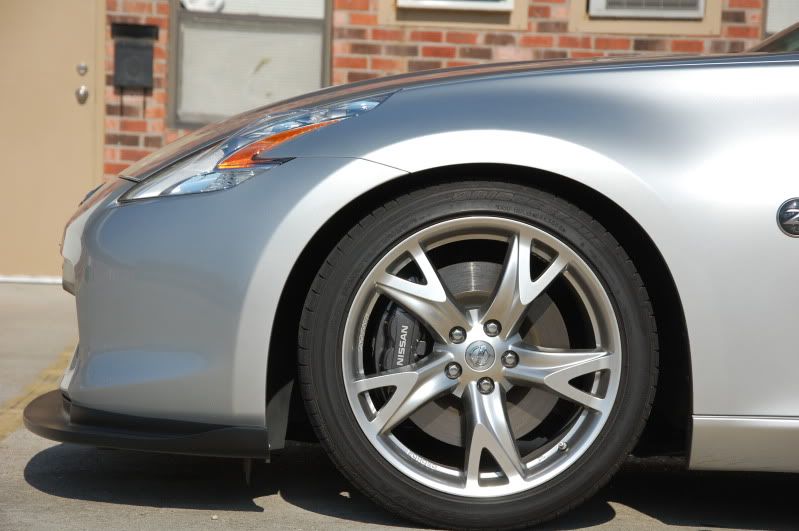
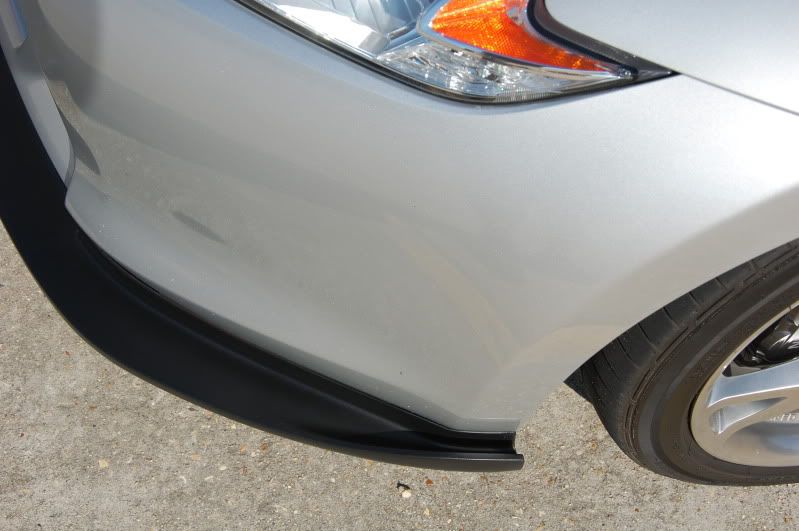
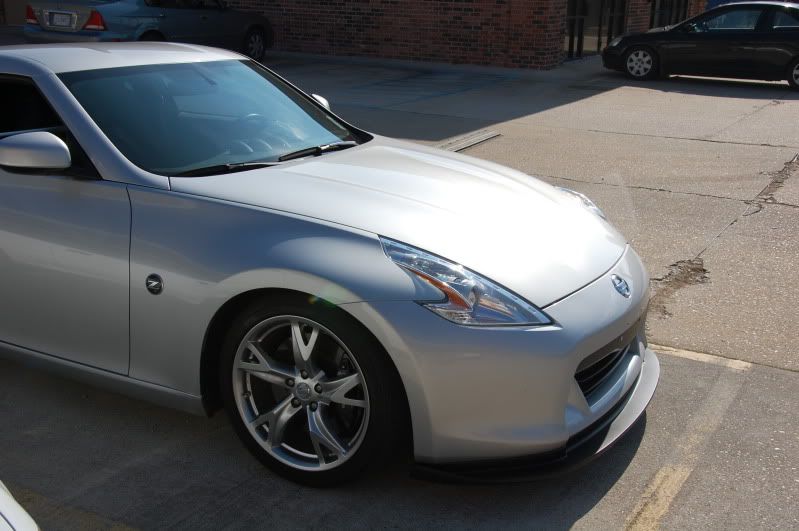
Conclusions:
I love this lip. I've been looking for lips for a long time and I really haven't found any that I really liked. I stumbled across the STILLEN lip on their site and had to have it, and I'm SUPER impressed with how well it fits. It's near OEM quality. For the price and quality, you can't beat it!
Check out STILLEN page for ordering and pricing info!
Thanks for checking this out, and if you've found it helpful, give me rep!

-David
**EDIT** 10/2/11
Updated picture of the lip color matched
