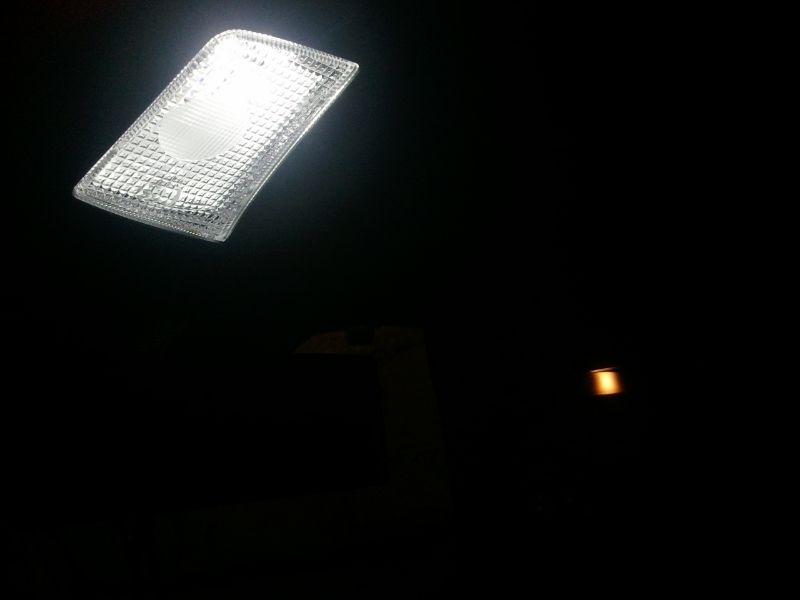
First off, I tried to follow this original DIY:
DIY: Interior LED Color Change
However, he made it seem easier said than done, so I am providing some things from my own experience and hopefully this will help others as well.
Difficulty level - 2
Time needed - Less than 10-15 minutes or more, YMMV.
Tools needed - LEDs, screwdriver with a pick like tip
First things first, work at your own risk! I'm not responsible if you scratch, chip, or break anything while you do this. When working with electrical things within the car, it is recommended to disconnect your battery!!
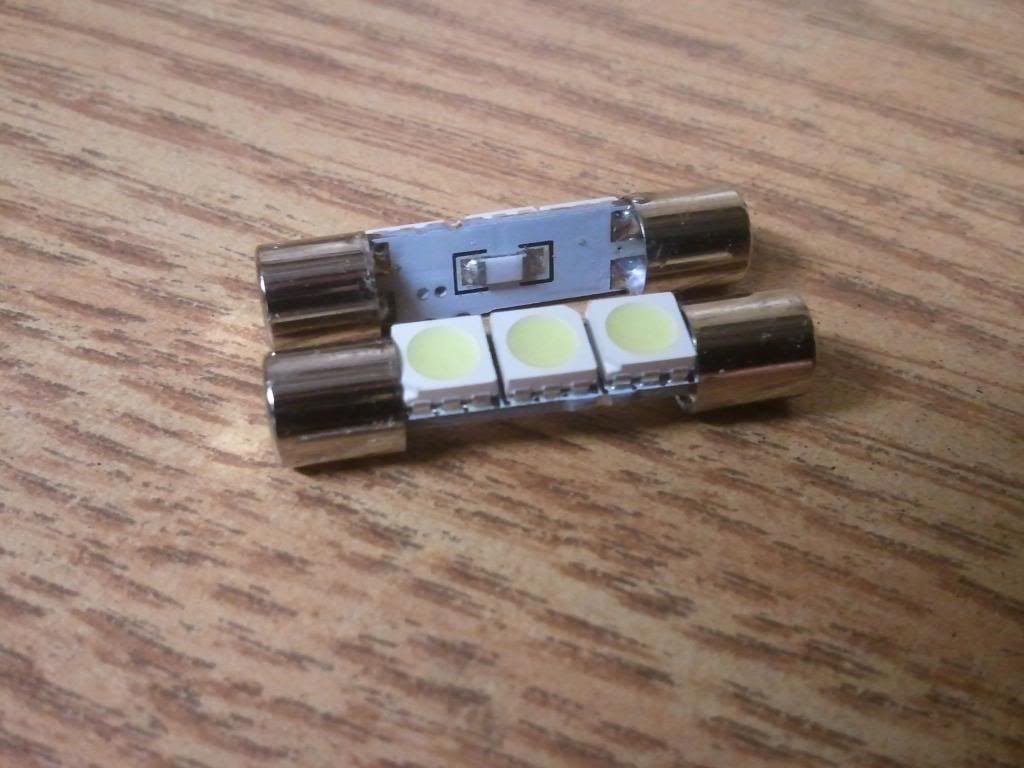
For the LEDs, I ordered them from iJDMToy. These are the ones I purchased:
iJDMTOY 3-SMD 6641 LED Vanity Light Bulbs For Car Sun Visor Lamps
Here's how they look like:
For the tools, I used this following one from Snap-On. You would need to use something like this to pop open the cover.
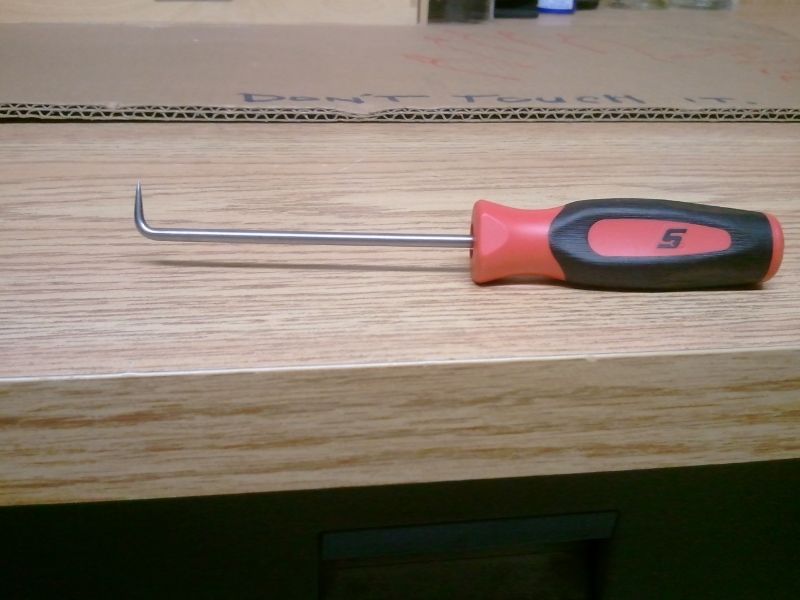
To pop open the cover, you can refer to the owner's manual, or just stick it in one corner and slowly work around the edges until it pops out.
Removed:
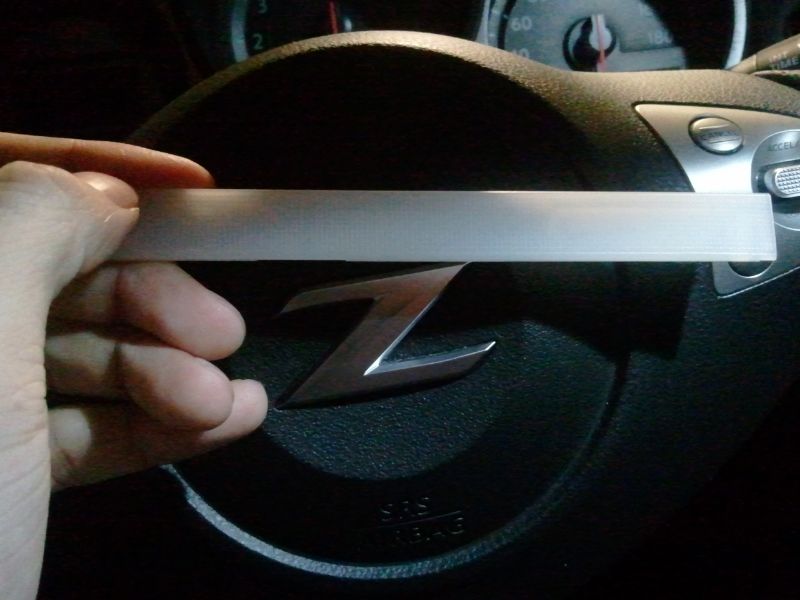
OEM Bulb:
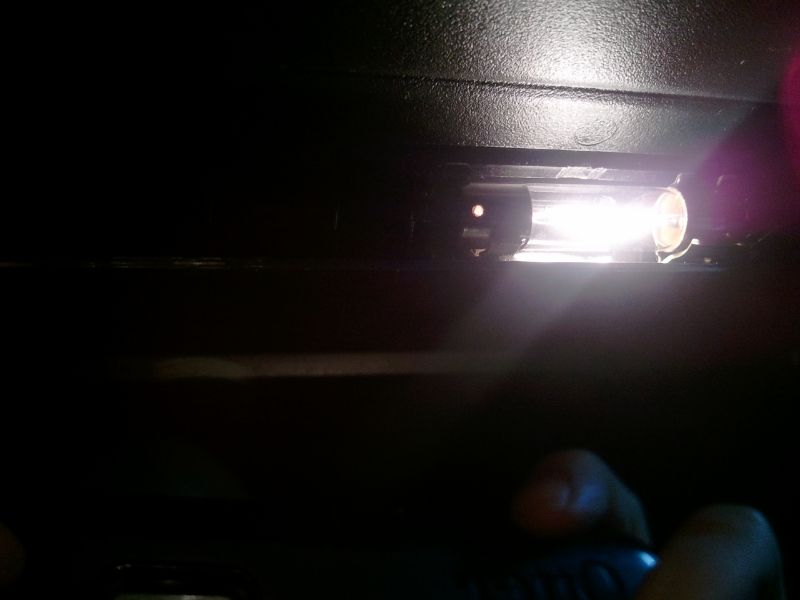
To take out the bulb, I used that same screwdriver and just popped it out.
OEM Removed:
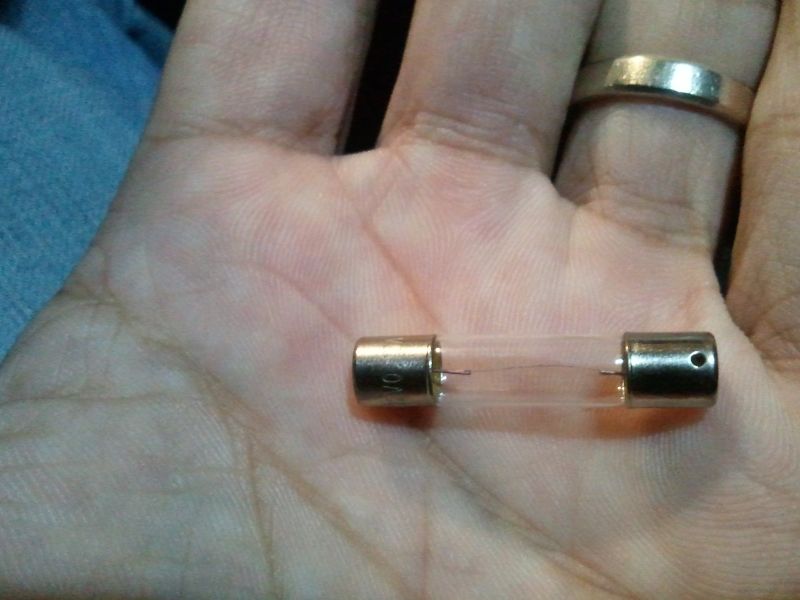
Comparison shot:
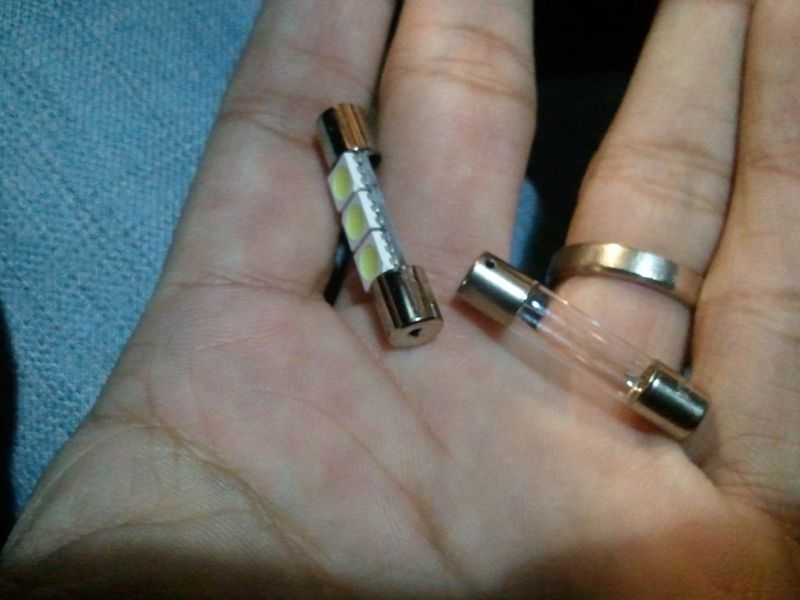
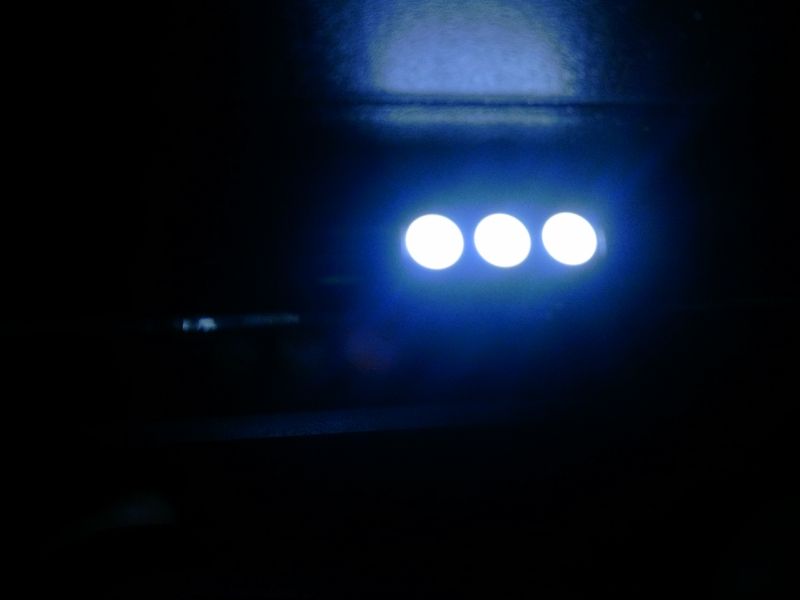
Now, just take your new LED one and pop it in. If it doesn't light up right away, switch it around and it will light up.
Installed:
Now just slowly, SLOWLY put the cover back on. To put the cover back on, I had to use a small flat head screwdriver to push the bottom tabs of the cover back in. PLEASE PLEASE PLEASE do this very carefully. I cannot stress this enough. If you rush it, this will happen to you:
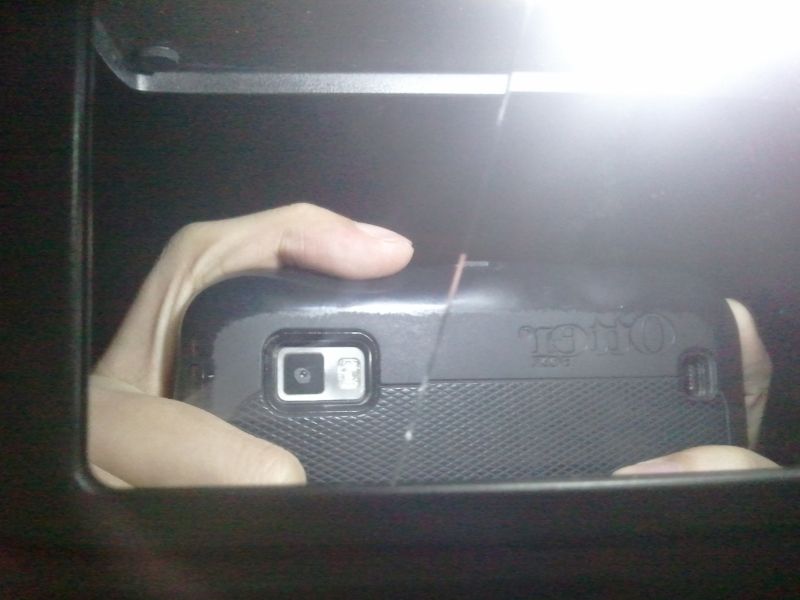
Yep, a full crack down the middle. A nice $134.00 replacement part.
Some more photos:
Stock:
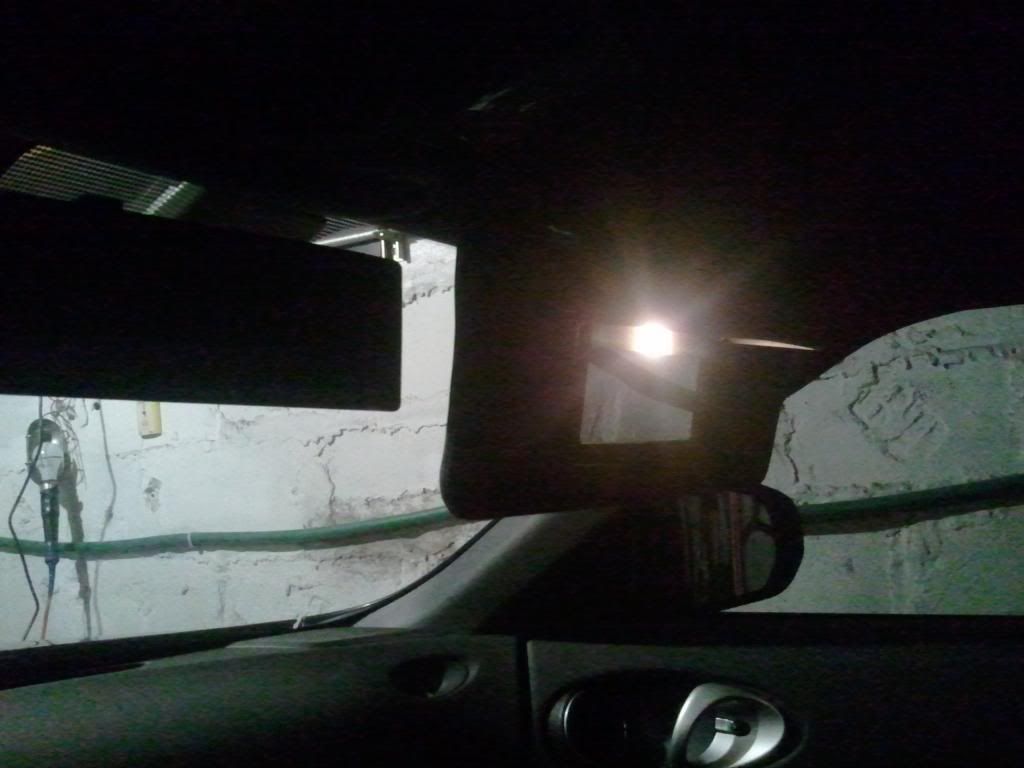
LED vs Stock (inside):
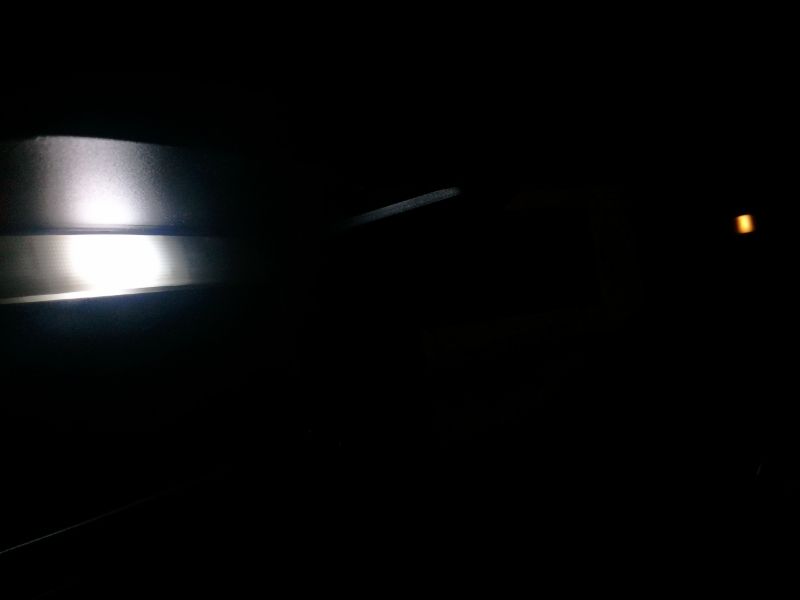
LED vs Stock (outside windows closed):
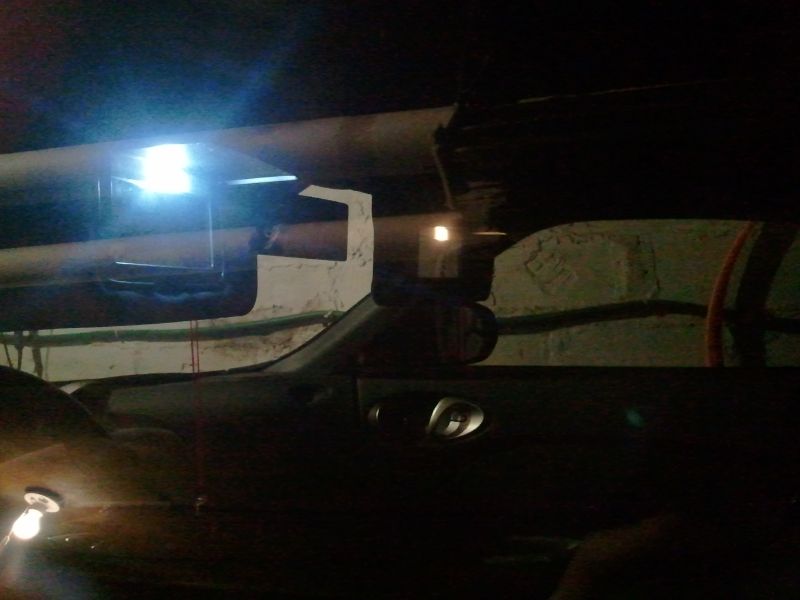
GTR Clear lens vs Stock:
