Hey guys, just got both of my headlights open for painting the housings as many have done here on the forum, and I recorded the WHOLE process including stripping the headlight of everything necessary to put it in the oven, showing you everything you'll need to get the job done, and the actual "opening" process itself. I've recently been PM'ing as many people as possible who have successfully and unsuccessfully opened their headlights using the oven method to see what works and what doesn't, as well as what I learned myself from getting the process wrong the first time.
The videos should explain everything, however if there is anything I missed or that you are concerned about just ask on this page so it can be displayed for everyone and I'll get back with answers ASAP.
This is a series of 3 videos because I do not skip anything or speed up the video and youtube limits your videos to around 10 minutes, there is just short of 30 minutes of video so there you go.
I'm not going to have all 3 videos on this page until late tonight or tomorrow as I just don't have enough time to upload/post it all before work, so there will be some missing pieces to the puzzle until I get off work tonight and upload the last video.
FIRST VIDEO
Stripping your Headlights for the Oven (part 1)
Video 2
Video 3
Baking your headlight and opening it
Please read the videos Description
NOTE!!!!
VERY IMPORTANT!!!
I took out the HID's ALL WRONG..... If you take them out the way I did in the video you may damage your hid bulb or the silver assembly attached to it.
THE PROPER WAY to take them out is, after removing the circular plastic piece by rotating it, giving you access to the HID assembly, you simply need to rotate the large silver piece and it comes right out AND THEN you will be able to remove you actual HID bulb separately from the larger silver square-ish shaped block by pinching those wires right behind the bulb to free it from the housing. This may sound confusing but once you just rotate the large silver block from the bulb it will be very obvious.
What I did was simply yank the whole thing out (silver block with HID attached) which is not smart lol however I had done no research at the time on stripping these or switching HID bulbs out.
ALSO IMPORTANT!!!!
If you place a towel underneath your light when taking it apart, MAKE SURE it is a Micro Fiber towel and not just any towel lying around, like we used. The reason I say this is, you will get scratches on your lens from the downward pressure placed on the light combined with the fact that it is hot out of the oven.... YOU WILL SCRATCH YOUR LENS so again, use a soft, clean microfiber towel and do not set your lens down on the carpet while its hot or that may also cause scratches.
IF YOU DO SCRATCH YOUR LENS
Its not the end of the world, you will just have to use some polishing compound with a microfiber applicator pad to get them out, possibly using some rubbing compound before the polish..... If thats not enough and the scratches are too deep, you will have to get a headlight restoration kit that includes fine grit sandpaper and wet sand it before using your polishing compound.
It will be easier to do this after you have painted and reassembled your lights but before putting them back on the car, or you will have to mask off your painted surfaces around the headlight to avoid scuffing your paint with the sandpaper as well as not getting any plastic restoration compounds from touching your paint as well.
Twist this off!! Do not pull it
ImageUploadedByTapatalk1360402506.451784.jpg
Light after opening
ImageUploadedByTapatalk1360402582.950807.jpg
5 screws (maybe 6) will be holding your housings, shrouds, and reflector to the lens, remove those, then you can take everything apart. I recommend practicing putting these parts back together a few times before painting them because if you aren't careful you'll scratch one of your painted surfaces trying to get these back together.
ImageUploadedByTapatalk1360402608.450574.jpg
Most people do not paint this little plastic piece
ImageUploadedByTapatalk1360402813.750711.jpg
Nothing will get completed before installing a professional paint booth in someone else's garage!
ImageUploadedByTapatalk1360402906.417847.jpg
After first coat.
Reflector, which by the way do not try to take the reflector apart from the silver/chrome piece it is attached to or you will most likely break it, just paint it all the same color, or mask off the silver/chrome edge if you do not want it painted.
ImageUploadedByTapatalk1360402967.968082.jpg
Housing.
DO LIGHT COATS!!
You can do as many coats as you feel necessary I suppose but do the light and from the recommended distance away from your surface or your paint will run, DO NOT try to get every little nook and cranny on the first few coats, just take your time, do one angle LIGHTLY, then after 10-15 minutes, do another angle lightly, until it is all covered and your happy.
Cannot stress the light coats enough, when I did my door handles, I tried to do too much in one coat and it started to run, so I had to sand it and prep it for paint again the next day.
ImageUploadedByTapatalk1360403001.368179.jpg
Blinker shroud.
I placed my blinker shroud on a small Dixie cup so I could get a better angle on it and good coverage. You will have to mask off the clear lens because it does not come apart.
ImageUploadedByTapatalk1360403020.100940.jpg
HID shroud.
For this I just set it straight on newspaper, this shot might have been after a few coats. Again, just do light coats. I was worried about getting good coverage in the "ridged circle" area but just spray at different angles and after a few coats everything will look great.
ImageUploadedByTapatalk1360403438.634141.jpg
Here's everything back in the kitchen, ready for reassembly after being painted. I'm pretty sure I only let the paint dry for an hour or so before we put these pieces back together and tossed the housings back in the oven.
ImageUploadedByTapatalk1360403575.084527.jpg
ImageUploadedByTapatalk1360403679.184408.jpg
ImageUploadedByTapatalk1360403691.867834.jpg
JUST TRYING TO SHOW YOU GUYS AS MANY PICTURES AS POSSIBLE!!
These are iPhone pics so excuse the resolution and quality.
When you are ready to put your lights back together make sure there is no dust on ANYTHING before putting them in the oven or it will be inside after they are back together. Just press them together as good as you can before placing them in the oven at 250 degrees for 10 minutes, the same way to took them apart. After the 10 minutes in the oven, immediately press them back together and put pressure on every area (best with 2 people) and have one person screw in all screws while the other is holding the light with pressure. I did not use any additional sealant, there really is a lot of silicon on both sides of your housing once they're separated and I did not feel the need to add anymore, as well as many others who have done this.
NOTE: when you pull your lights from the oven for reassembly, there will be moisture on your HID lens, which promptly dries and leaves no marks, it's just the heat pulling in moisture from the rag you had wet under your light in the oven.
ImageUploadedByTapatalk1360403797.700992.jpg
Now time for putting them back on your car.
ImageUploadedByTapatalk1360404205.084405.jpg
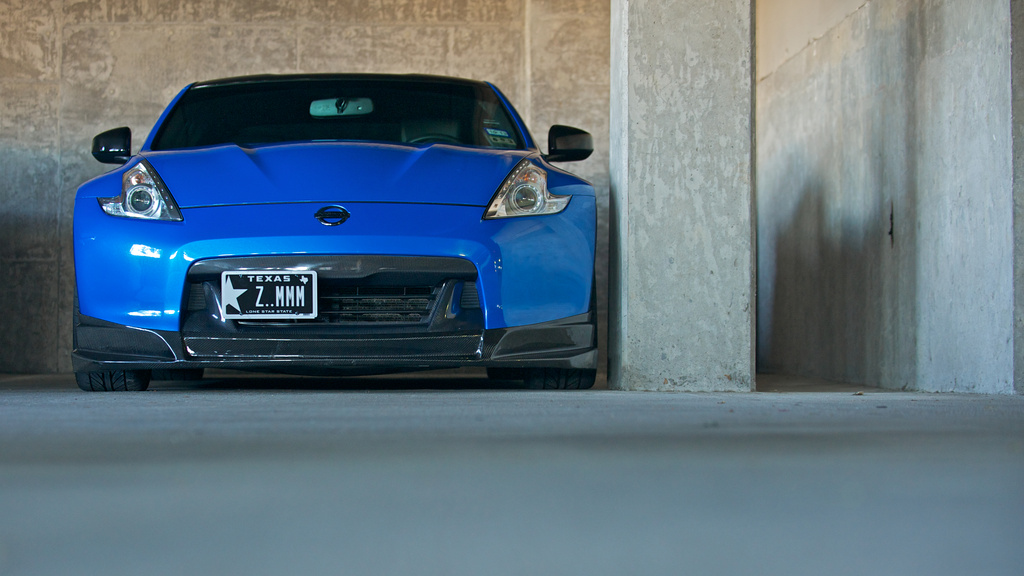
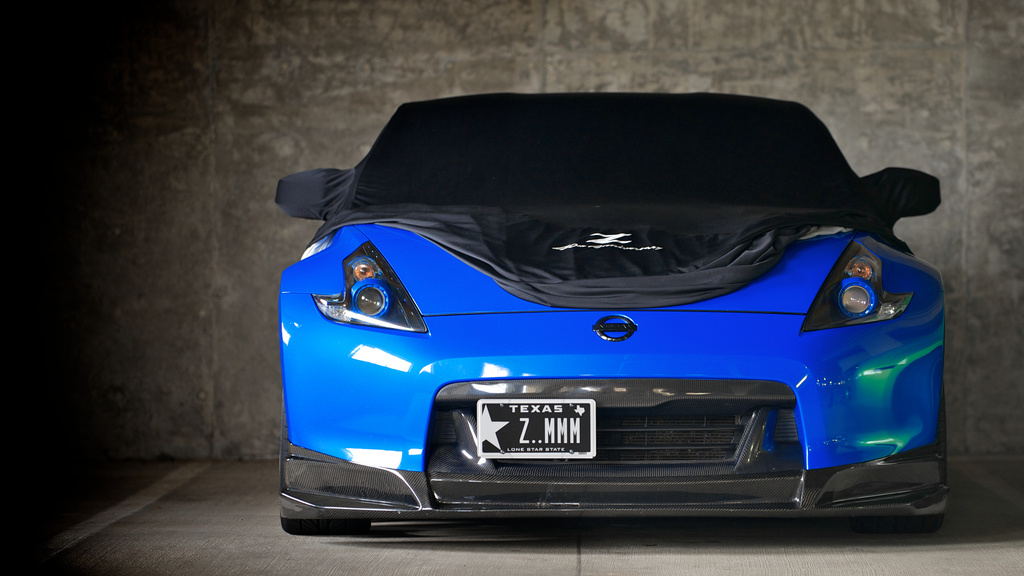
Perfect match!
ImageUploadedByTapatalk1360404232.451250.jpg
ImageUploadedByTapatalk1360404248.734358.jpg
BEFORE: YUCK!!!
 AFTER: OOOOH!
