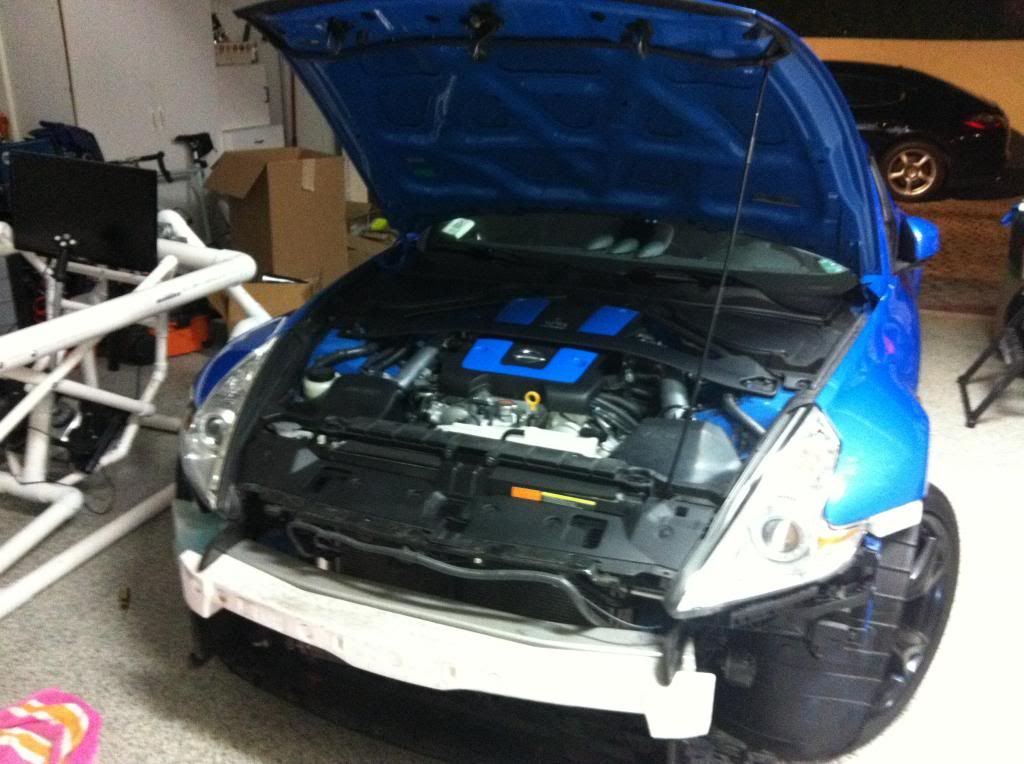
So after 2 months of contemplation and 2 days of labor, I did it.

I took a few pics here and there mainly for my own refrence but here you go.
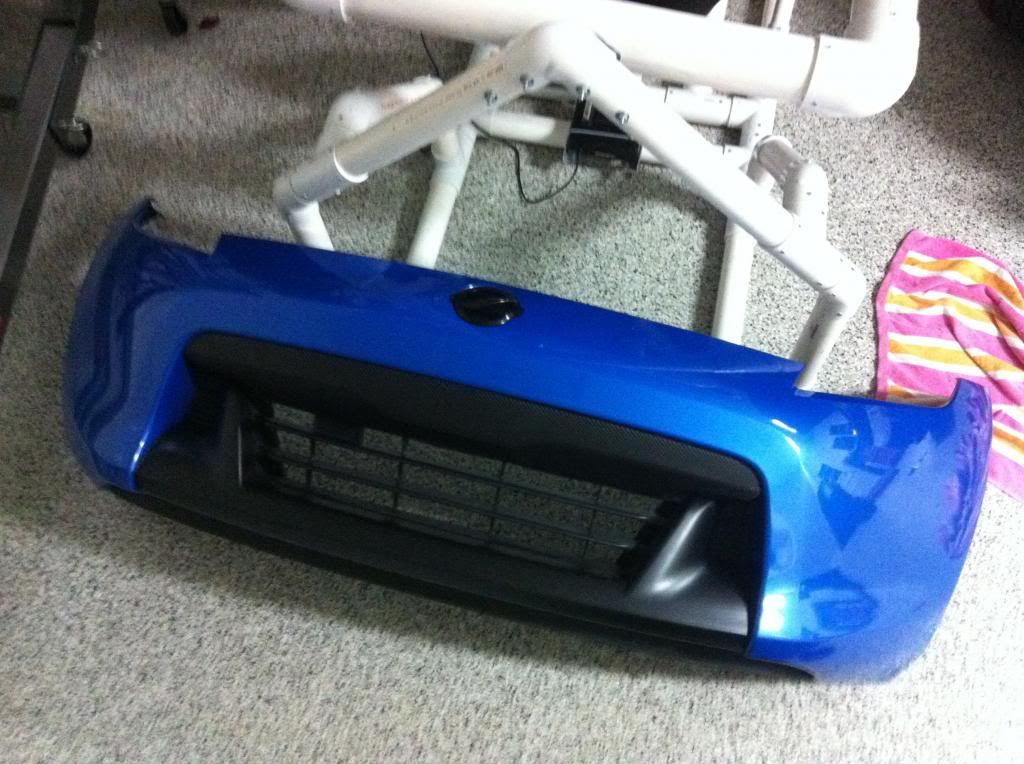
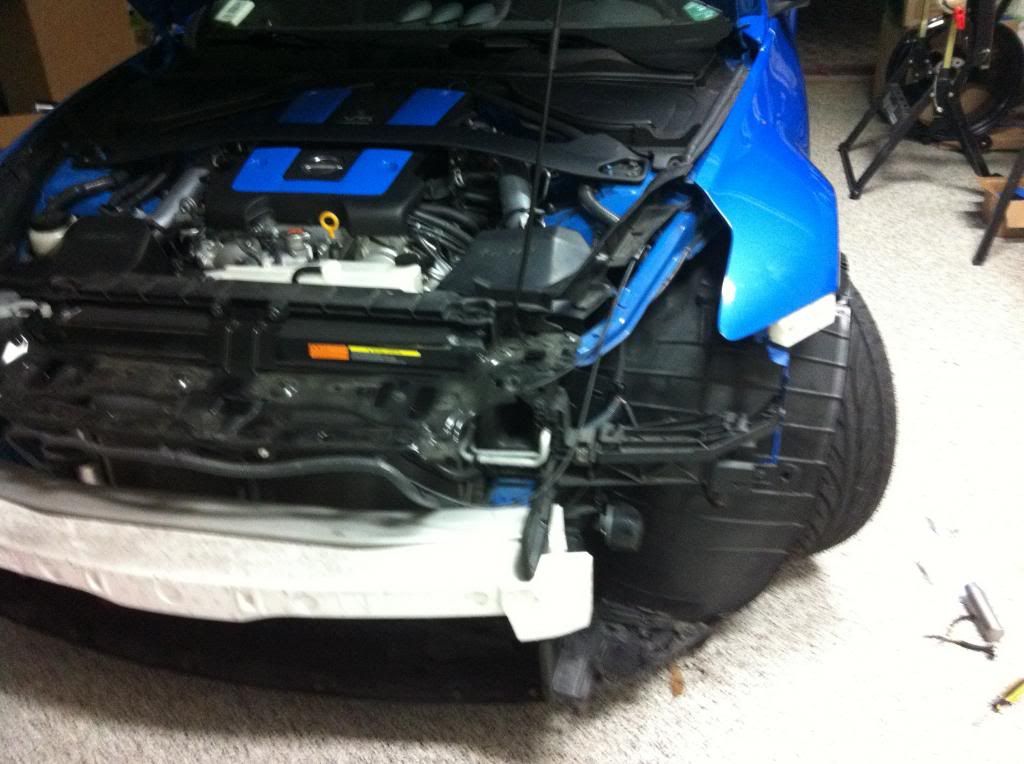
First I removed the bumper
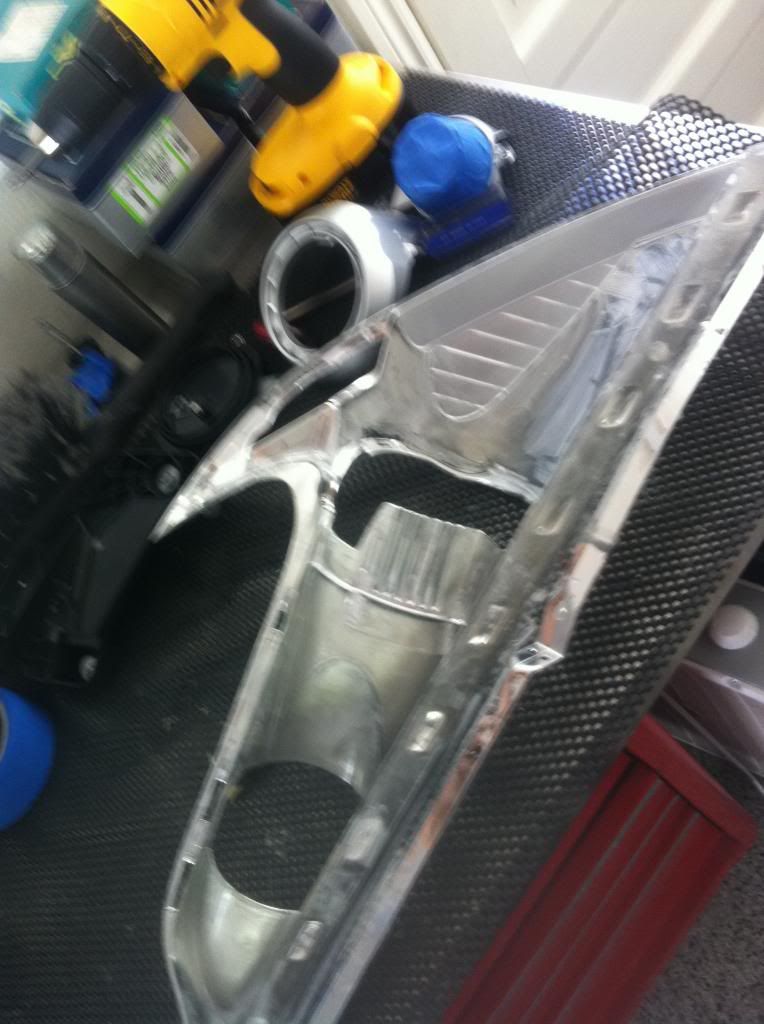
Then finally I got the headlights off
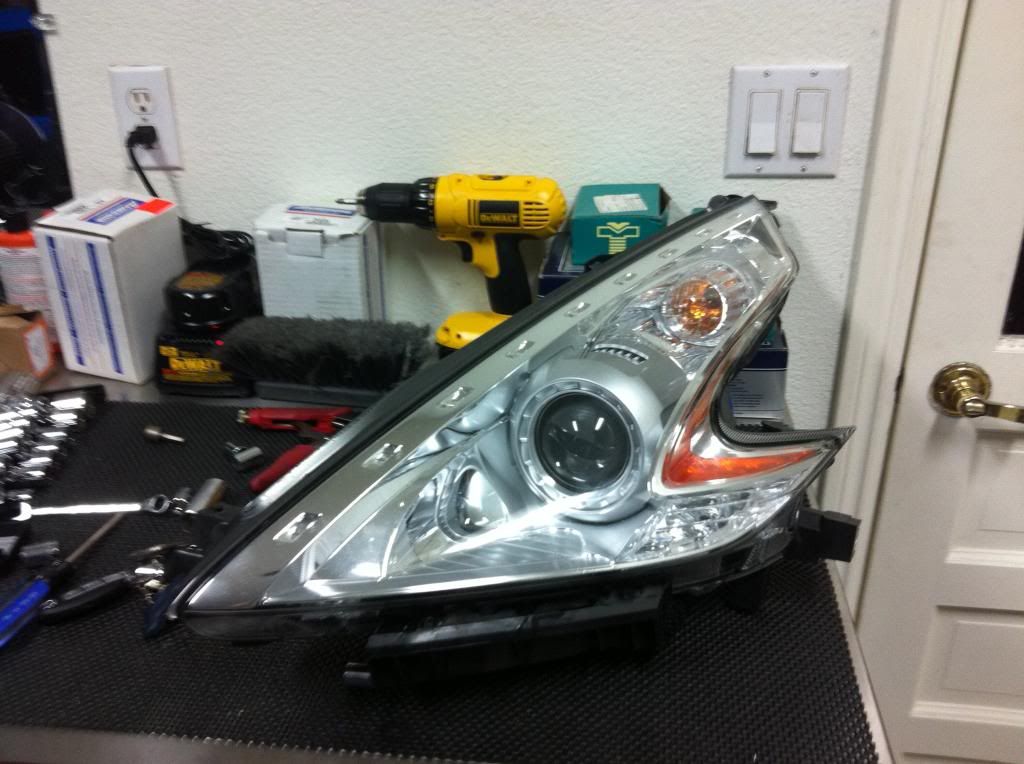
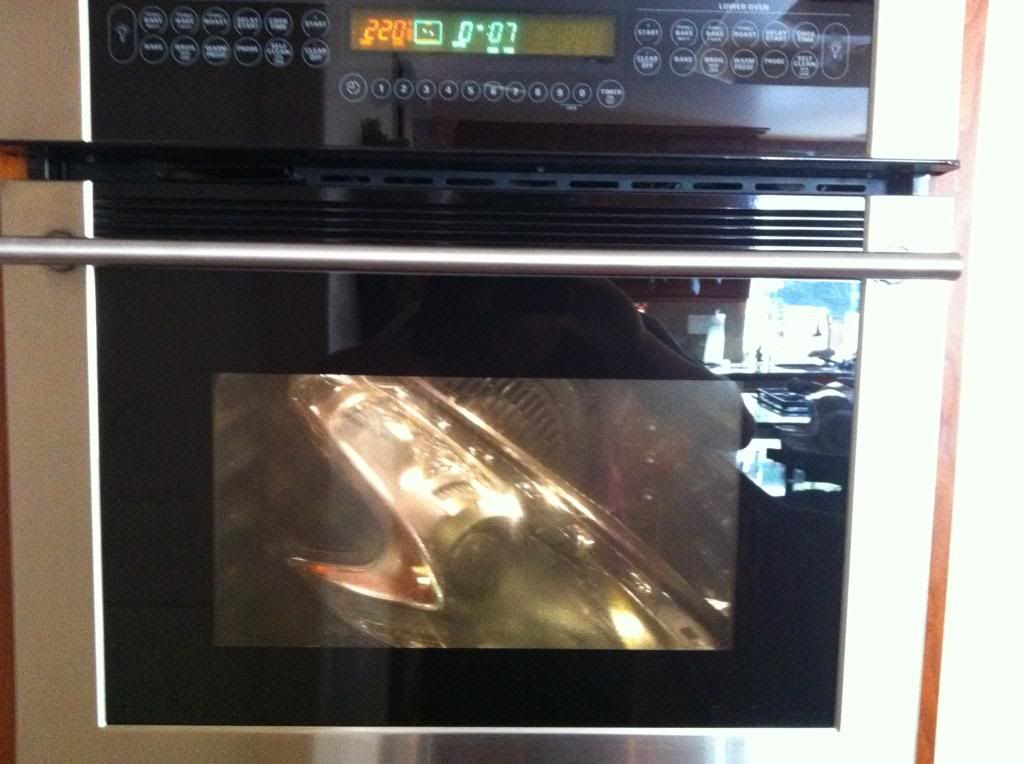
Then I put it in the oven first for 220° for 8 mins because I was afraid of melting them. But I finally bumped it up to 250° for 8 mins and it made it a lot easier.

Even though a lot of the DIYs said you didn't have to do any prep work, I decided to sand them just because it was such a pain to do it the first time that I didn't want to take the risk of them flaking eventually.

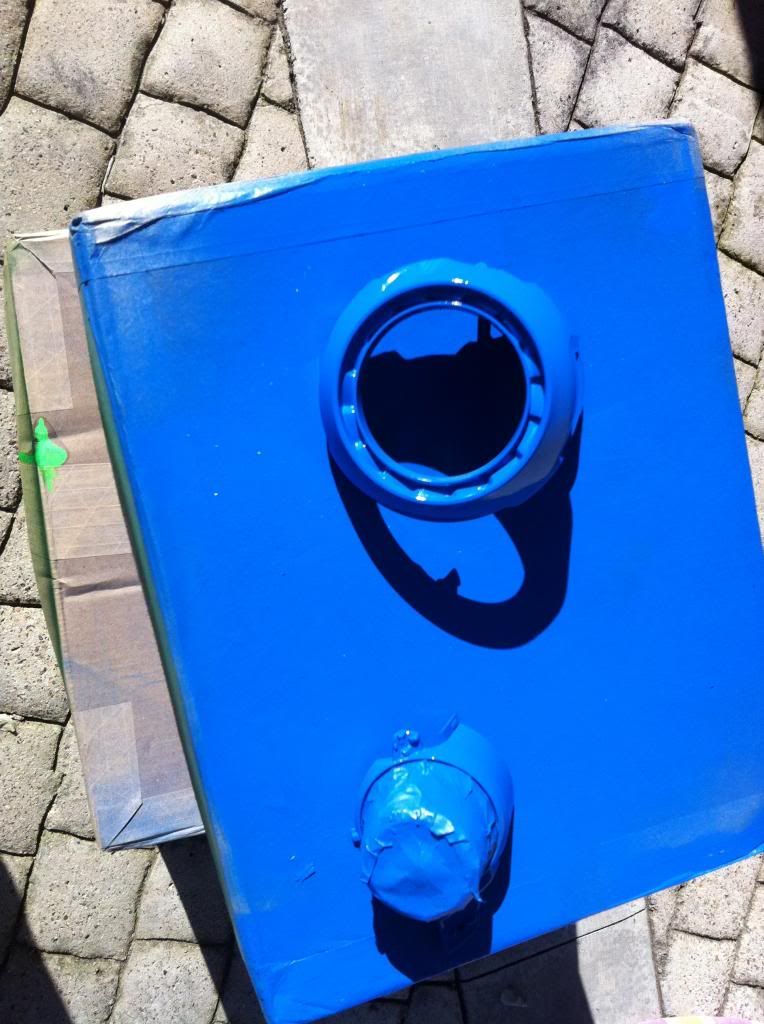
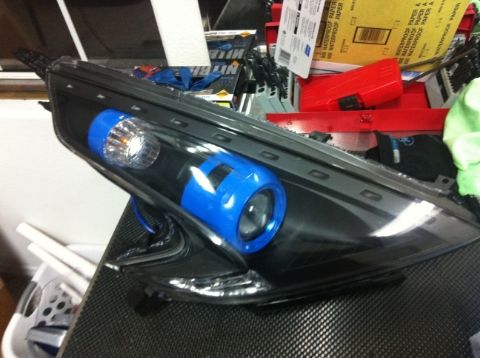
Paint.
Take your time.
I put new sealant on the light and then back into the oven for a few minutes at 250° then used a waterproof flexible sealant along the outside.
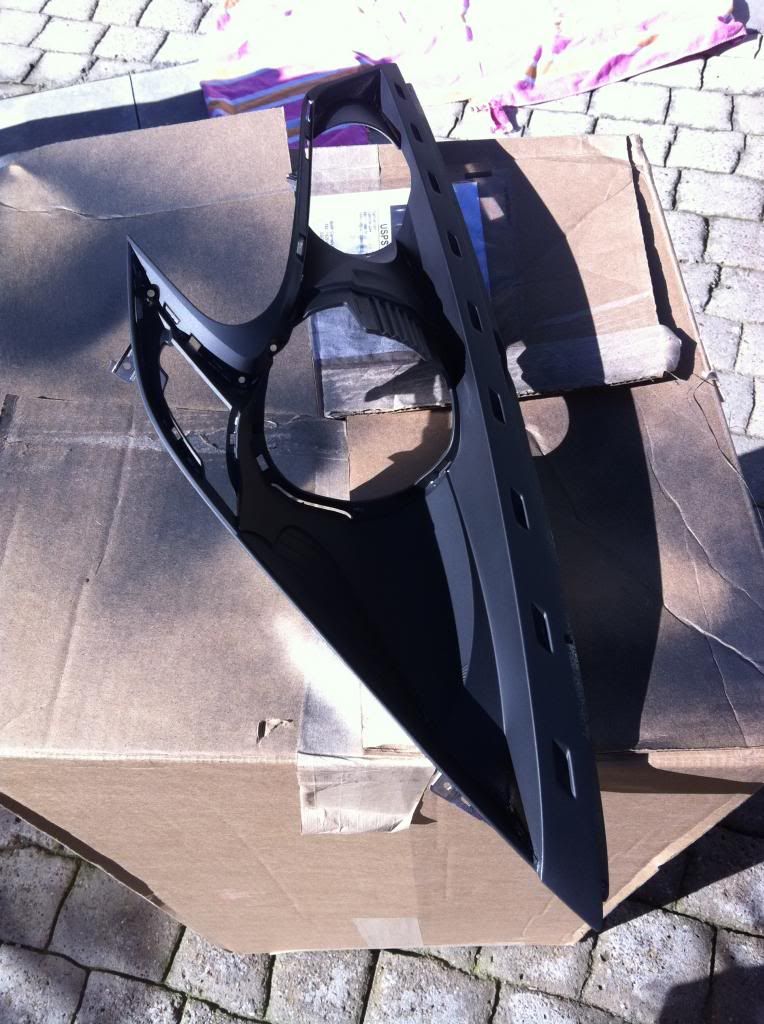
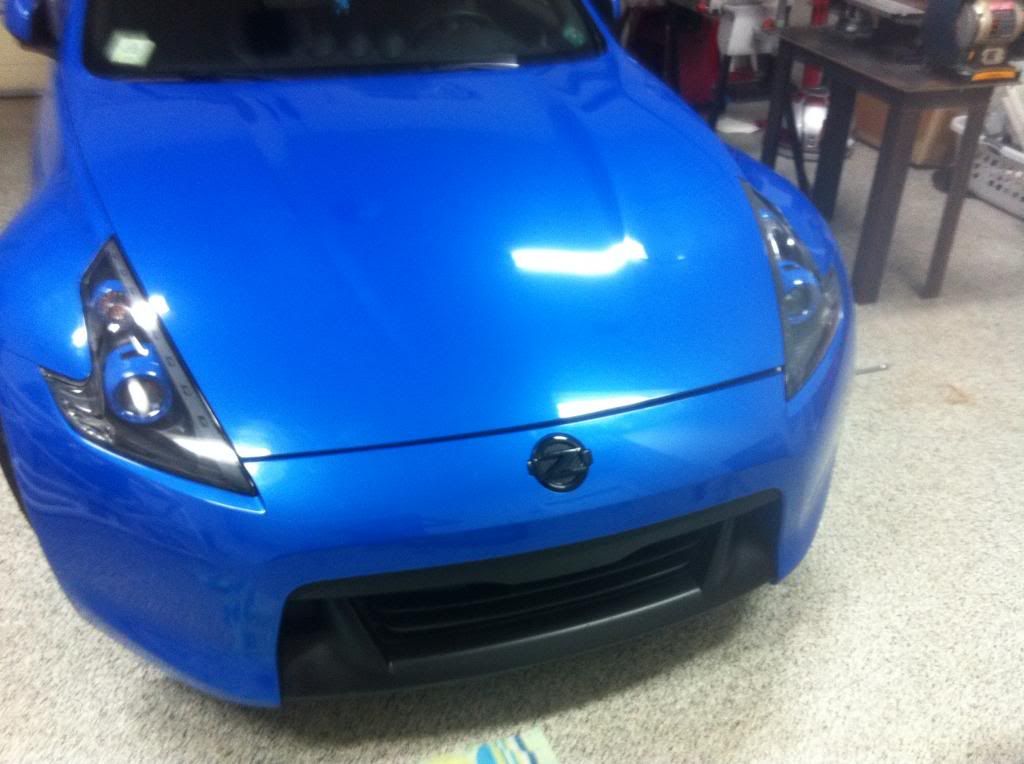
New > Stock
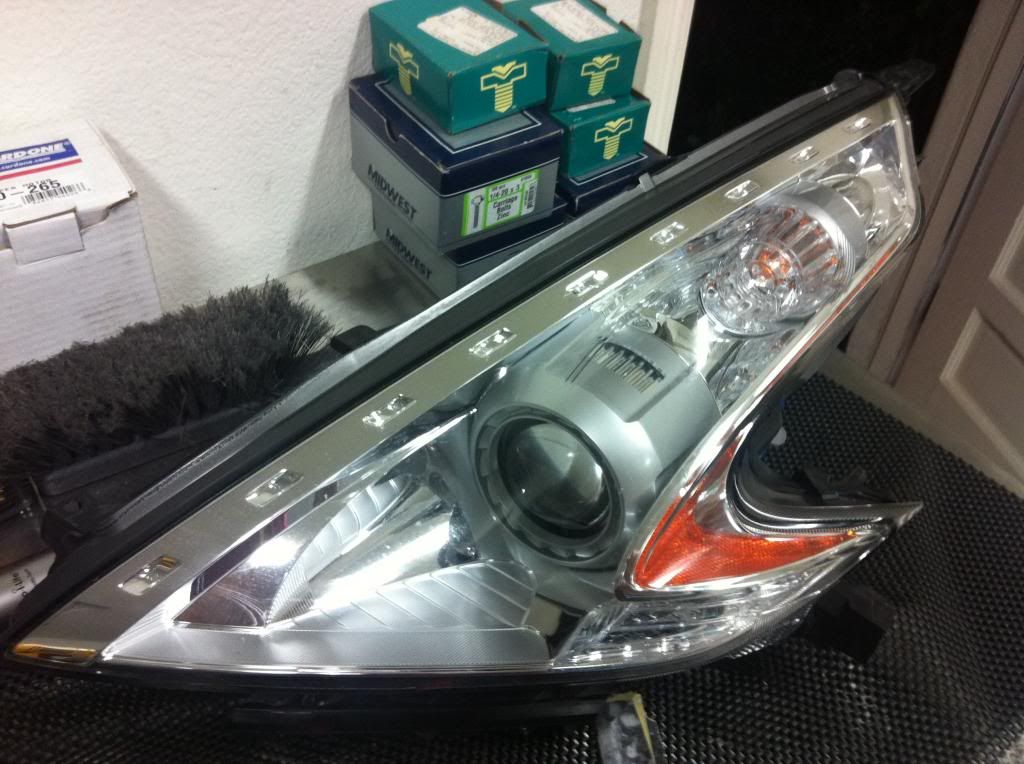
Finished product.
Sorry the quality isn't great, but I took these on my phone. I'll try to get better ones this weekend.
This project wasn't too difficult, just nerve-racking because you have to open something that isn't meant to be opened. Take your time and you'll be just fine
