Quote:
Originally Posted by Vichtz

thanks. Its just nasty! REAL bad in person. I would try those cleaning kits but I have heard a thousand horror stories. I dont know
|
Quote:
Originally Posted by kellyefields

if it is the yellowing that is just oxidation buildup on the lens. a good cleaner should remove it. if it is really bad and pitting has occured then a more agressive approach is needed like a lens repair kit that uses sandpaper. either way once you have repaired/cleaned the lens you will then have to protect it. The best thing I have found is to use a quality cleaner or clay bar to remove any imperfections and then protect it with a quality wax just like you do your paint.  |
Quote:
Originally Posted by Mr&Mrs

I would still like to know what is causing it. Any ideas? The lights on the other car have been modified for over two years with no yellowing. I dont want to take my lights apart every few months to try and fix this if it happens.
Edit: I wonder if it is some kind of fume put off from the heat/paint materials and then it stains the plastic?
|
Quote:
Originally Posted by kellyefields

usually the yellowing only occurs on the outside of the light. a combination of contimates that you do not see on the paint but can feel. that is why when you clay bar you find the most contaminated part is usually the front. on clear items like headlights it shows better
|
I may be able to help out here, I do professional headlight restoration as a side business, I've done around 30 sets of headlights now. I learned on those $20 kits from discount auto parts and you're right, they suck. Here's why.
Your headlight comes from the factory with a coat of UV protectant solution applied to the top of the plastic lens, something like a very hard wax. This keeps the UV rays from the sunlight from oxidizing your plastic lens (as far as I know, this isn't a problem with glass lenses, but then again they shatter and scratch very easily

). This UV clearcoat will last for a very long time if your car is garaged, but if it's out in the sun all the time or you're parking it in the driveway like mine

then after a while your headlights are going to oxidize and you're going to have to refinish them.
The reason the kits are crap is because they only get rid of the oxidation, and they don't provide a good clearcoat for you to reapply. What you really need to do is remove the UV clearcoat completely, even the part that's not damaged yet, and then using 4-6 grades of progressive sandpaper re-smooth the lens and buff it out. Then you want to apply a good quality UV clearcoat, not just something off the shelves of the auto parts store.
The problem is that it's hard to find just a small, affordable amount of the quality stuff. I use the 4.1 system for all my headlights and I absolutely love it, but it's about $90 for the 8oz bottle. There's a lot of other ones out there, like C2P or Shinebright, but they all have drawbacks that I don't like to deal with. For me, the 4.1 stuff has worked really well.
So for those of you that want to do this yourself, here's what I suggest doing:
Start sanding with 320 sandpaper. You have to get all the way through the clearcoat, and you will be able to tell that you've done this when the powder from your sanding starts turning a little bit whiter. That's the actual plastic lens you're sanding then. Do the whole headlight like this. Then you want to repeat the process using 500, 800, 1200 and/or 1500, and then finally a 3000 pad, wiping the lens down with a microfiber cloth or terry cloth between the 1200/1500 and 3000. If the 3000 pad doesn't completely clear up the lens of all scratches, then you can use some Meguiare's PlasticX or some kind of polishing compound. After this you should have a crystal clear lens, and most of my customers are amazed at how much better it looks and try to give me money right then, but you're not done. This is where you apply your UV clearcoat. The 4.1 system is pretty much self leveling, so I just use a blue shop towel that's dirt and lint free and wipe the stuff on there. If you aren't using a UV clearcoat, then I would suggest a coat of wax and a pass with the claybar every single week. I don't know how long they will last like that. I used the auto parts store kit on my mother in law's lights when I first started about maybe 6 months ago, and they are worse than they were before.
Another option that you have that includes a little down time is you can ship them to me, I'll restore them for you the right way, and then I ship them back to you. I recently did a friends G37 lenses for him, he lived about an hour and a half away, he overnighted just the lenses to me while he was doing pretty much the same mod that Nut_n_Much did, and I got them back to him 3 days later.
I hope this helps you guys out. As far as the inside of the lens, I don't know for sure but I think that would be from putting the headlight together to quickly. You might need to let the paint dry a little bit more before you seal it back up. I've always been told 24 to 48 hours to let it air out before you seal the lens again, otherwise you can get a oily, yellowish looking hue on the inside from the fumes. You could probably take them apart and just use a good TSP cleaner or mineral spirits to cut through that stuff, then use a microfiber cloth to get it all shiny again

Here's a few pics to show you guys the difference

(sorry for the crappy iPhone pics, I'm investing in a new camera soon)
VW Jetta Before


and after


Toyota Tundra


after


My S10 (RIP)
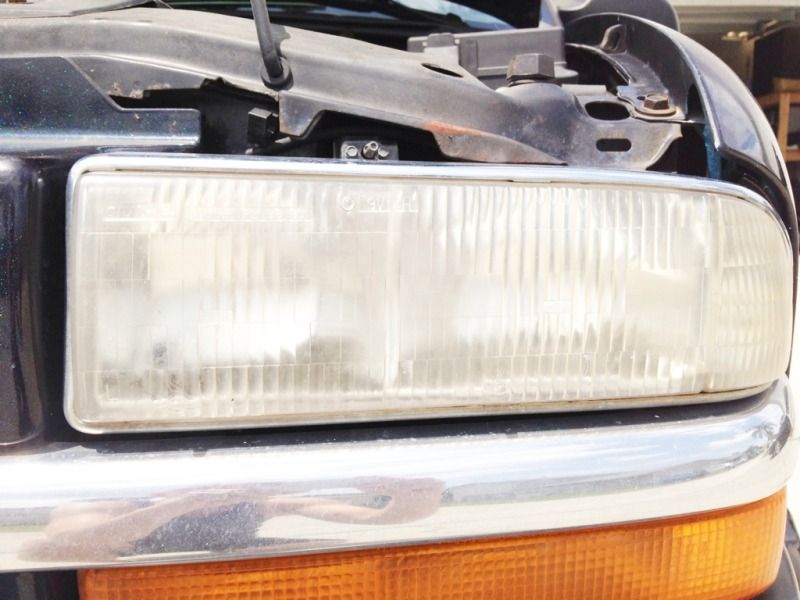
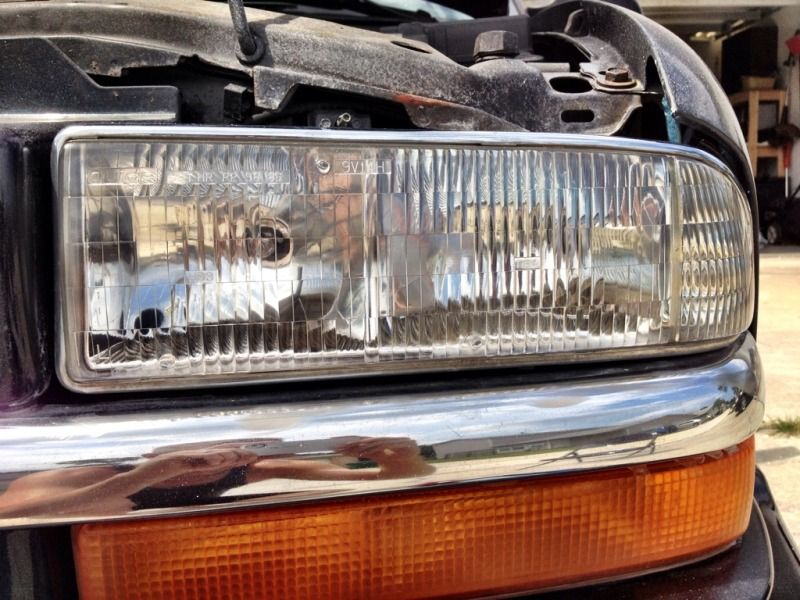
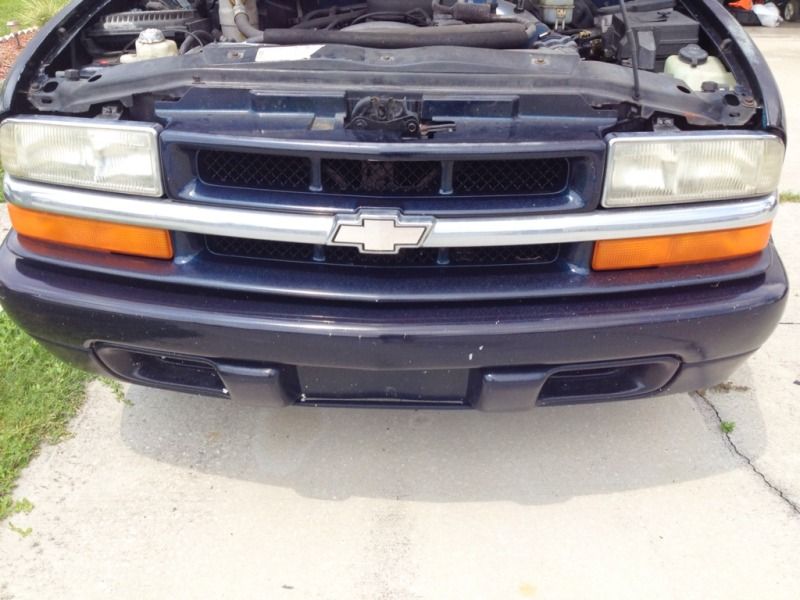
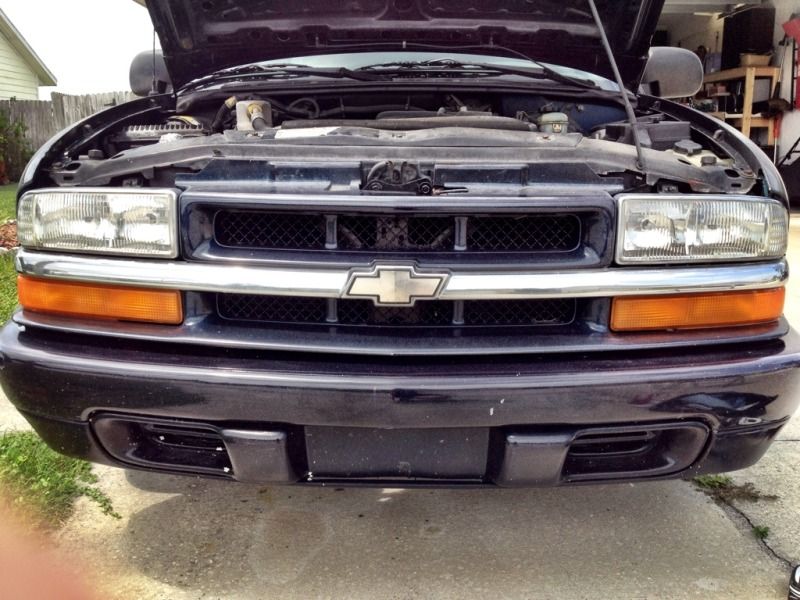
Scion tC
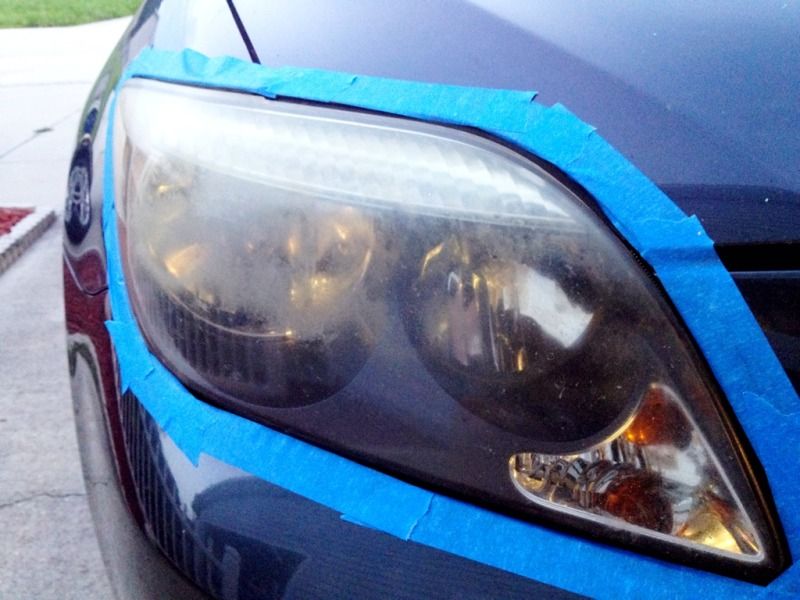
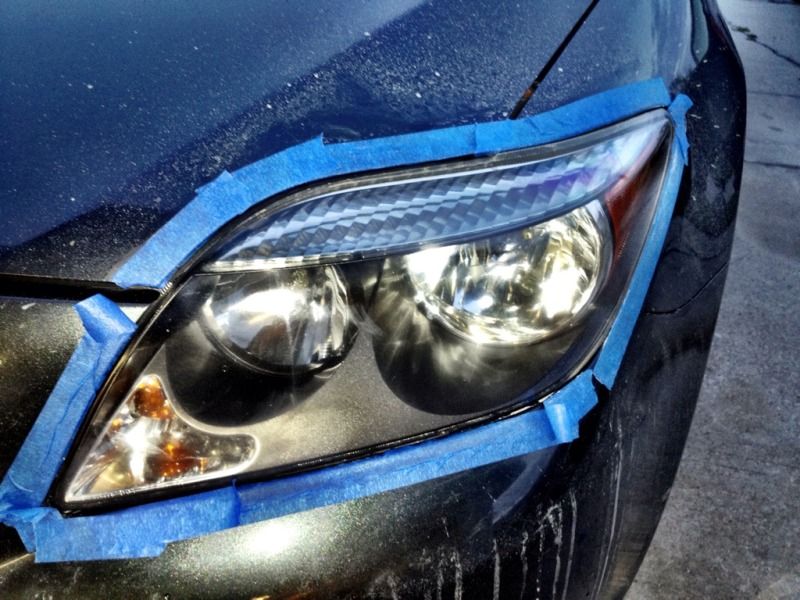
Here's my wife's old headlights from her Civic that I was just playing around on to show people the difference, so please ignore the cracks and stuff. This one is purely for demonstrational purposes. You couldn't see into these things AT ALL. This is just to show that as long as plastic lens is still there, you CAN bring it back from the dead. I may use this as a demo lens for my sales pitches to potential customers

