After your test fit you can clean it up and smooth it out repaint it if needed. Remember the grey is all that will be seen.. When you glue the lens on its goop is clear but try to avoid getting it all over the lens.
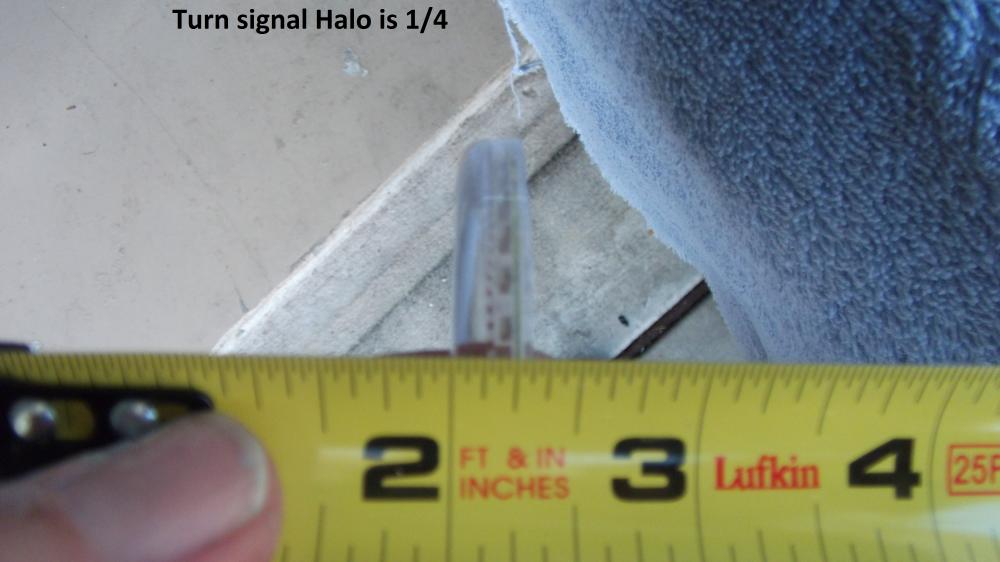
I measured the halo, its 1/4 inch width then I measured the gap between the Light Shroud and The Turn Signal Shroud we just modified. It looks like the halo wont fit with out modifying the Light Shroud. So I need to cut 1/4 out of the housing. I have to figure out how to do it, if I cut the wrong side I ruin the hole thing. So when you mark it check it twice before cutting.


Mounted the modded turn signal shroud and slide the halo in front of it. This will show you which side you need to cut. Once cut it will allow the halo to sit centered on the shroud. Once you figure out what you need to cut off the light shroud you can go ahead and glue the halo on the turn signal shroud you modified.
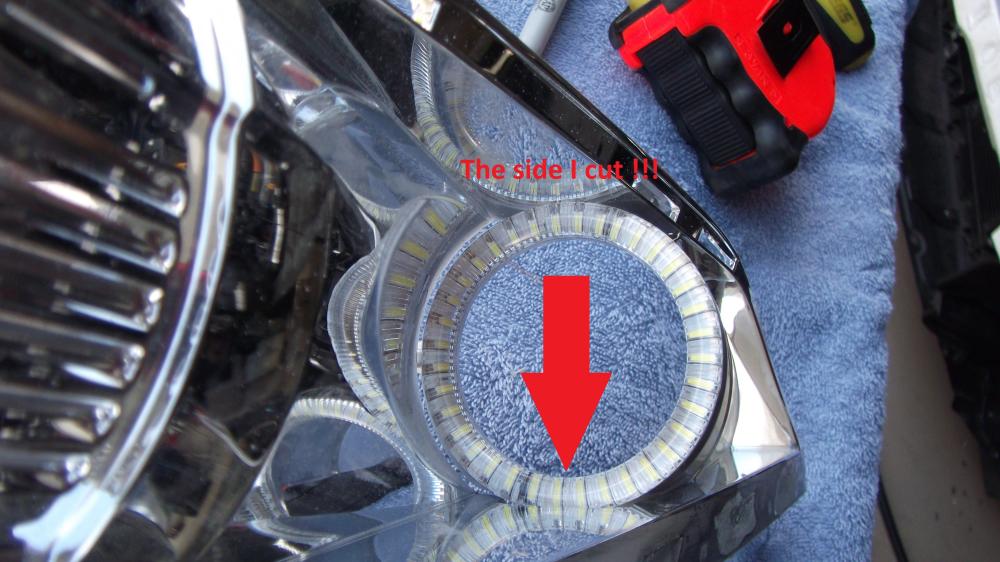
I marked were i needed to cut with a marker and used the air grinder to grind it out slowly and get a good tight fit. Check it as you go you don't want a huge gap. You should be able to slide the turn signal shroud (with everything mounted to it) in and out freely. If you grind to much don't worry, once the lights are painted its not very visiable unless guys like us are looking for it.

My cut worked perfectly see the pic. Also gave me a good location to run the wires to the control box.


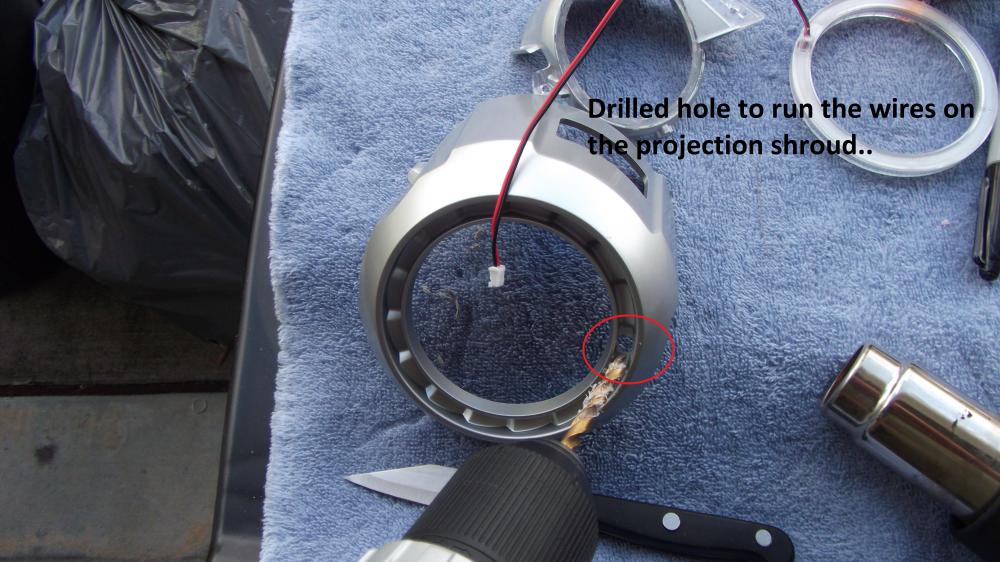
The hard part over is now over, just remember what you did and do it again to the other light. Next I figured out how I wanted my 90mm halo wire to run so I drilled a small hole in the projection light shroud. Now I have done a lot of lights I recommend running wires through the top of the shroud, if you run them at the bottom or on the side they will be visible once they are put back together. The picture is old and shows the hole being on the side, drill at the top not the side.
The retrofitsource.com XB halo's fit snugly in the valley of the shroud. This halo ring from LitWurkz (Angel Eye Kit) will not sit in the valley. They are glued to the outside. This DIY I used the lightwurks kit and also ordered LED Turn Signals. ****You will want to replace the stock turn signal light bulb**** The stock bulb gives off a lot of heat, that heat will transfer to the G35 Lens we installed, That lens will get hot enough to cause your paint to bubble up over time.

I hate wrapping, I tried to do it with one piece. NOT going to happen with me at the helm. I did what I could..


Came out okay just worried about the heat. I have seen a few forum members wrap the inside of the lights but not on the shroud itself. I guess we will find out. The worst that can happen is I take it off and paint it some crazy color

.
The wife says to stop and eat, I have been at it all day and it started to rain. Good timing. Please REP +! and LIKE if you like the progress or this build helps you do your own.. Thanks for lookin !
