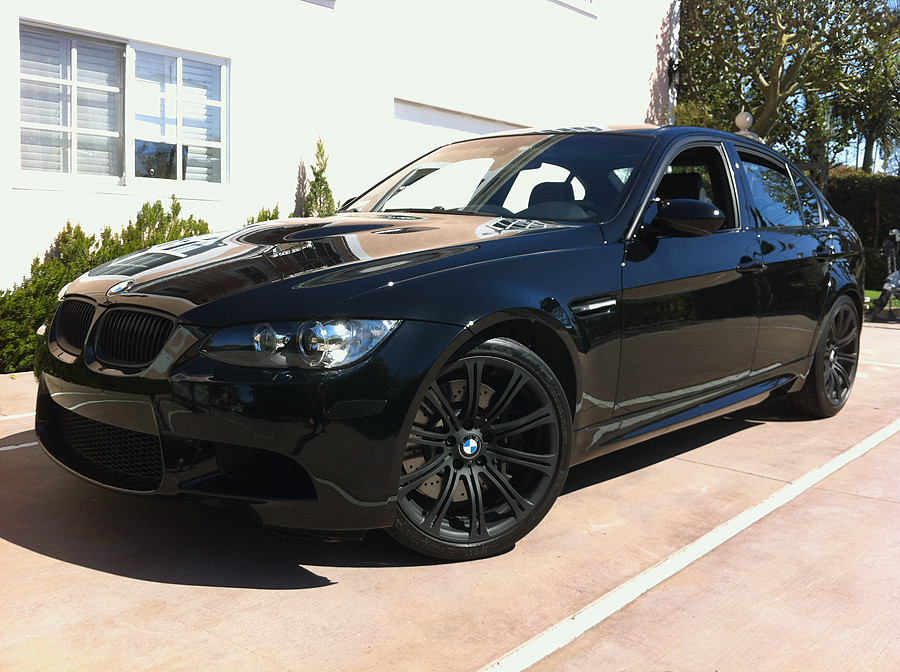
Here's how I spent today...
I decided after much research and video watching to try out Plastidip. I wanted to black out my wheels while also blacking out some other accents. Since I have a jet black I thought some matte black accents might look the part I was shooting for. Plus, when and if I get tired of it I just have to peel it off and the stock parts are still in tact and protected in the meantime. Here's how it went...
I ordered the gloss black wheel kit from Plastidip which is basically 4 cans of their matte black along with 3 cans of clear gloss (Glossifier). Initially I was going to go the gloss black route but after seeing the matte finish on the first wheel, my mind was made up. I did NOT use the glossifier for this particular project.
The wheel kit:

Step 1, get that ride up and get them wheels off! They say you can spray 'em right on the car but as with any spray, there is a lot of overspray and the proper way to do it is just get 'em off. Besides, it gives you a chance to inspect things and get the wheels completely clean:

Next up... a good wash. Front back, side to side. Must get all traces of contaminates off for good adhesion with the Plastidip:

After a good scrub-a-dub it's off to station 2... the drying station. Gotta get these suckers dry. Nothing a 5 hp blower can't handle. Finish it up with a paper towel to soak up any little droplets:


Time for a little prep. Some index cards strategically placed will keep overspray off the actual tire. Yes, you can just peel it off the tire I guess afterward but why create more work?:

First layer (of 5 total)... just a light dusting!:

Close up:

Alright so the weather was nice and warm (and dry) so I waited roughly 7-10 minutes between coats 2,3,4 and the final 5th coating. You didn't want to see all those pics too did you? Me neither.
Okie dokie.. here's how the final product looks after the 5th and final coating:


Close up showing texture and very even finish!

On the car :thumbsup: :

So all in all I am very happy with the ease of use along with the final result. If you want to retain your original colors/finishes and protect them in the process of giving them a color change then I highly recommend this stuff. :clap:
Here's a couple pics of the other parts I sprayed to match:
Side gills:

The overspray peels right off the area that you don't want it:

Front grills (I already had painted these but wanted them to match the other accents):

I also did the hood vents (not pictured) and overall I am very happy with it. From some videos I have seen, it holds up very well to regular washes (even with a power washer) and lasts for months.
Now what else can I spray...
