 08-23-2009, 02:22 PM
|
#1 (permalink)
|
|
Base Member
Join Date: Jul 2009
Location: Central FL
Posts: 199
Drives: 2009 370Z Sport
Rep Power: 16
|
 DIY: Center Console Mounted Radar Detector Mute Button
By popular demand, here is my best attempt at a DYI for my first mod
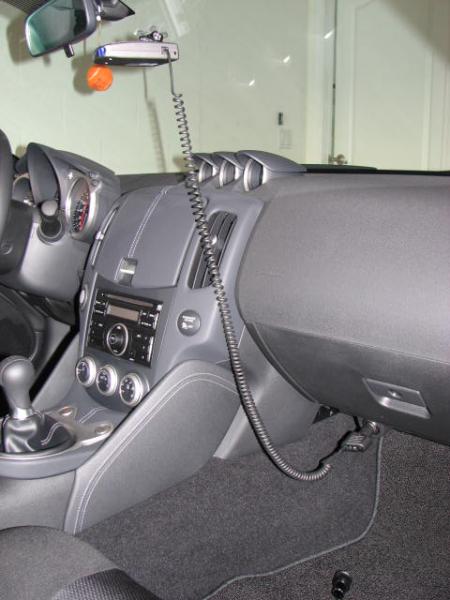
Before:
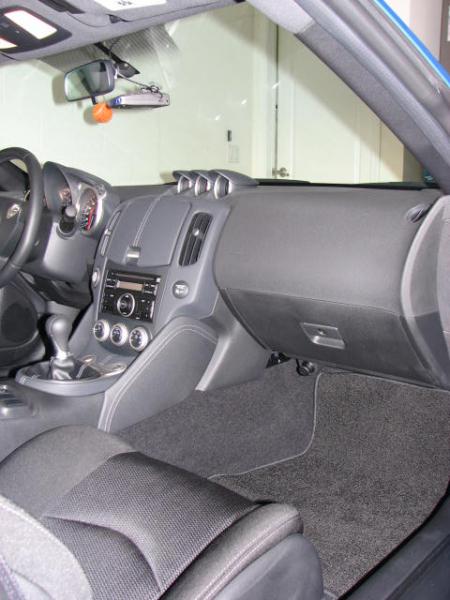
After:
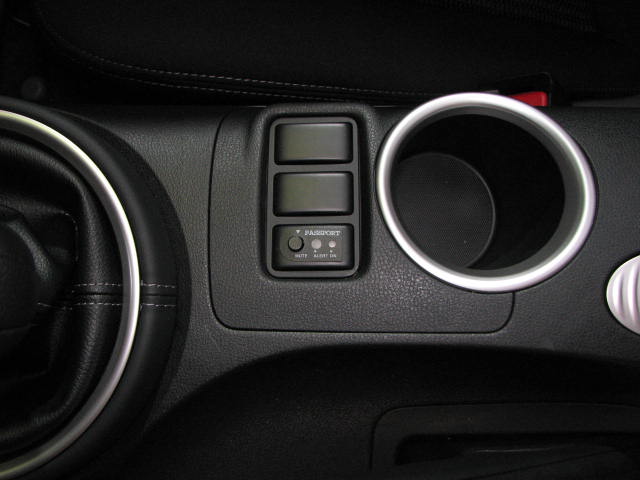
There are some gaps, but this should be more than enough to get you started. Note: For some of the pictures, I used a lighter plug assembly instead of the direct wire kit. The internals are identical - you should be able to connect the dots.
- Start by pulling apart the center console. You can stick your hand in the cup holder and just pull up. It will pop out with a little bit of force.
- (Thanks to tommyguns for pointing this out) Mark the switch blank with a piece of tape, indicating which end points forward. Apparently the switch blanks only fully snap in, in one direction.
- Using a flat head screwdriver, remove the switch blank you want to modify. There are two tabs on the ends holding it in place. Place it aside for later.
- Using an exacto knife, take a direct wire kit and gently remove the label from the top. Do not crease the label. Keep in a clean place for later.
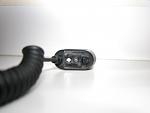
- Using a Small phillips bit, remove the screw(s) holding the direct wire kit together.
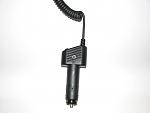
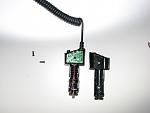
- Remove the Printed Circuit Board [PCB] (that little green thing) from the plastic surround- its press fit on the center post and gently pops off.
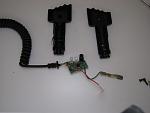
- Returning to the switch blank- Using your choice of tools, remove the internal bracing from the inside of the switch blank:
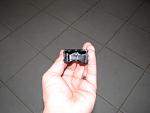
- Using the label, mark the center point of the three holes. DO NOT CUT THROUGH THE LABEL, Mark then check. I used some scotch tape to hold it in place while I marked and checked. (remember to check which end points towards the front of the car - the switch blanks are not reversible.)
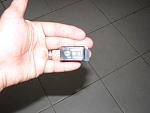
- Drill three pilot holes where you marked the center points.
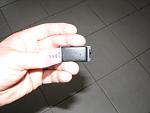
- Sadly I don't remember the sizes I used for the actual holes, but a nice step bit does the trick.

The two holes for the LED's ended up being connected, but it doesn't really matter- the label will cover up most of your handy work.
-Now for the fun part-
- You will need to take a dremel with a sanding cylinder to widen the switch blank enough to accommodate the PCB from the direct wire kit.
- For smoother operation, I recommend sanding the collar off of the mute button. The button just pops off, it'll look like a top hat, with a small flange at the bottom. Sand the 'brim' off until it looks just like a 55 gallon drum (only really small)...
I ended up just sanding a bit off the blank, and trying to fit the two together. Be careful not to rip the wires off the PCB while you're test fitting.
Once you've got it flush, and the button clicking smooth, use some hot glue to fix it in place. I used some rubber contact cement to re-affix the label to the switch blank.
- As far as power is concerned, you can either tap into the cigarette lighter located in the center console (there is a connector located just in front of the gear shift, look for the yellow/black wire combo) or run the wire back to the Fuse panel.
See this thread for some examples
- Once you have power, you'll have to run the wire back up to the Radar detector. The cable is almost the exact length needed to run from the center console,to the center of the windshield via the passengers side A pillar.
Good Luck!
Last edited by Division; 08-26-2009 at 10:02 PM.
|

|

|