If you find this thread helpful, give me some rep. 
How to install a GT Spec Rear Strut Cross Brace
Tools required:
- Metric Socket Set (12mm, 14mm, 17mm, 19mm - 21mm)
- Breaker bar
- Ratchets
- Metric Wrenches
- Jack and Jack Stands
- Adjustable Wrench
Recommended:
- Car Lift
- Air tools
- Pizza, Beer and cheerleaders

Install time (with all of the right tools and a lift): 2.5 hrs
Difficulty scale 1-10: 2 (because of the plastic panel mod required)
Camera: Cannon T3i with Speedlight
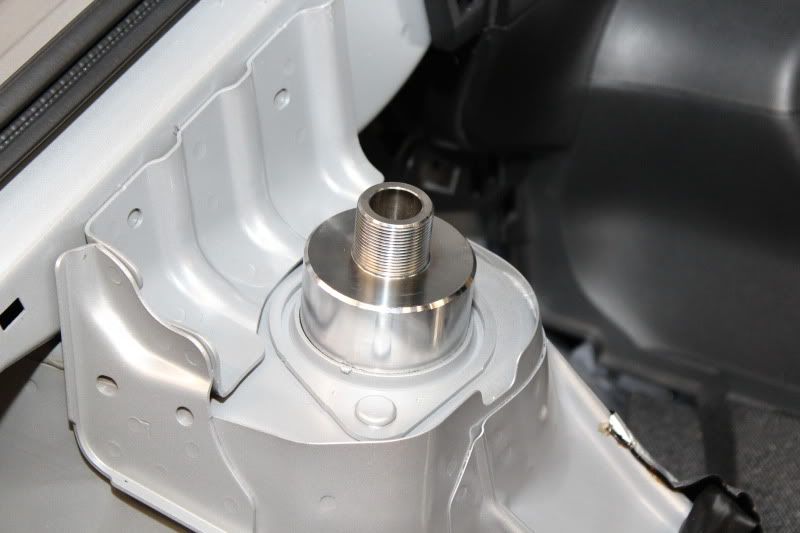
Because the brace can't be bolted in from the top, the kit gives you cups to mount to the top of the rear strut area. These will poke through the top rear section and allow you to bolt on the rear braces.
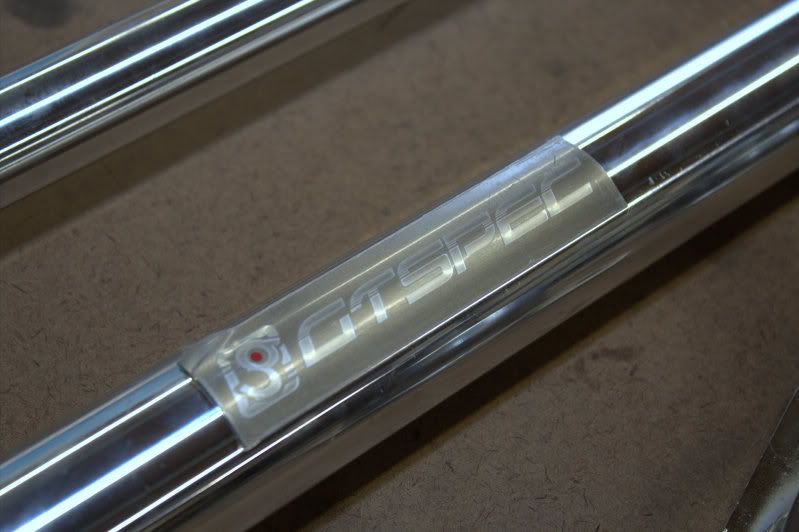
**What is getting installed**
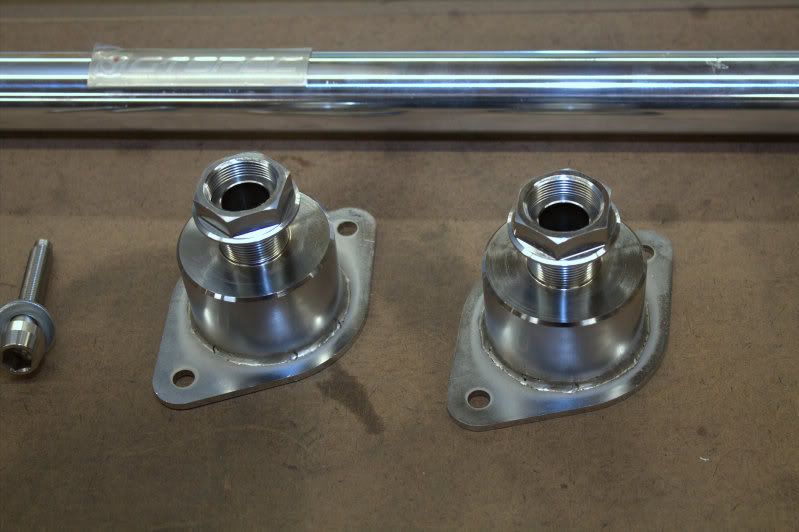
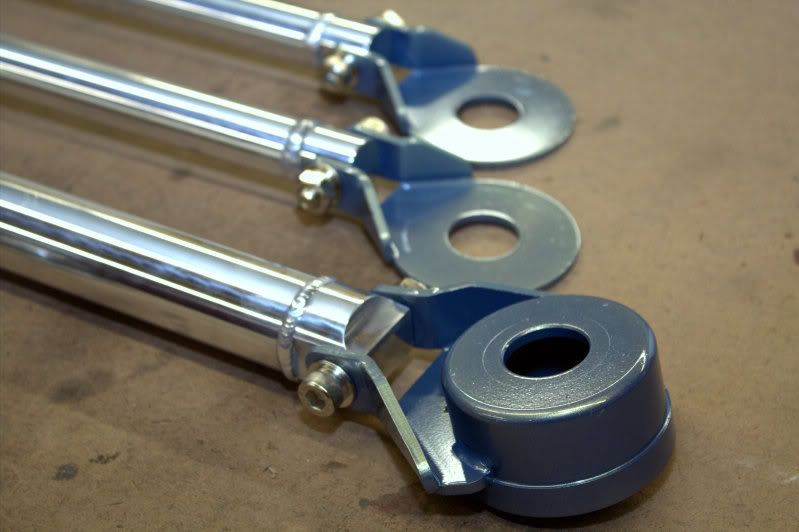
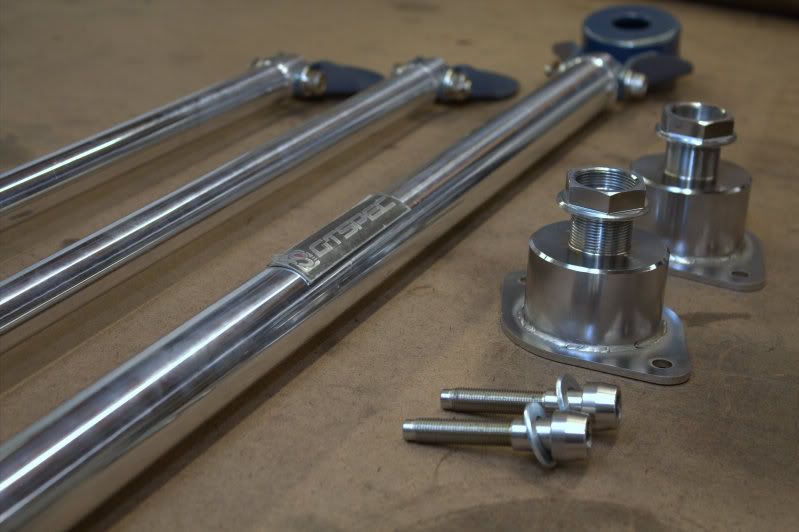
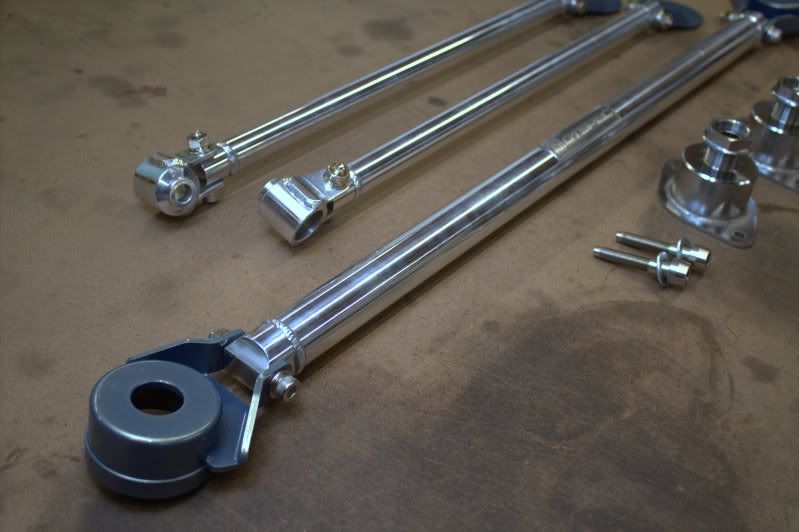
 **Removing the factory interior panels**
1. There are 4 clips that must be removed before you can unsnap the plastic panels. There is 1 on each side of the strut panels, and 2 on the rear. Use a flat tip screw driver and carefully pop them open. Once they pop, just pull them out.
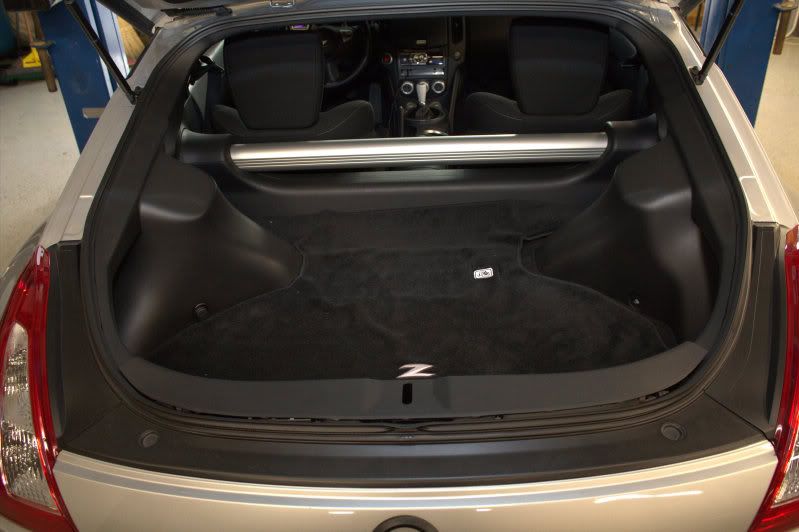
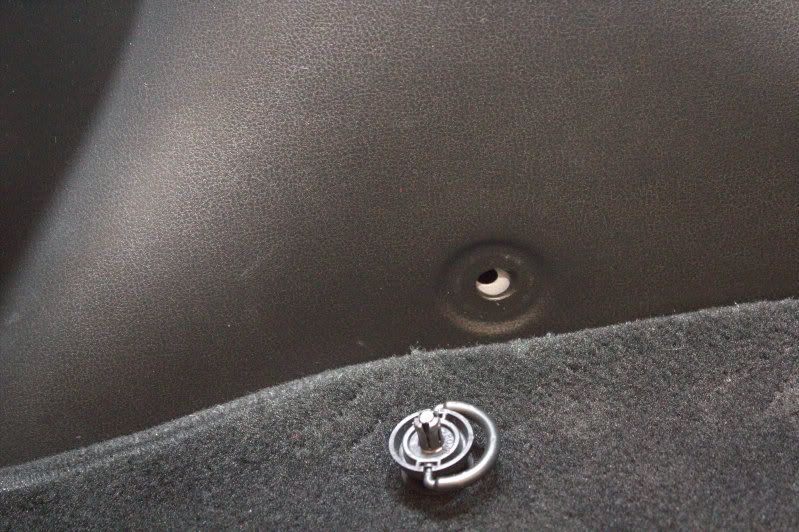
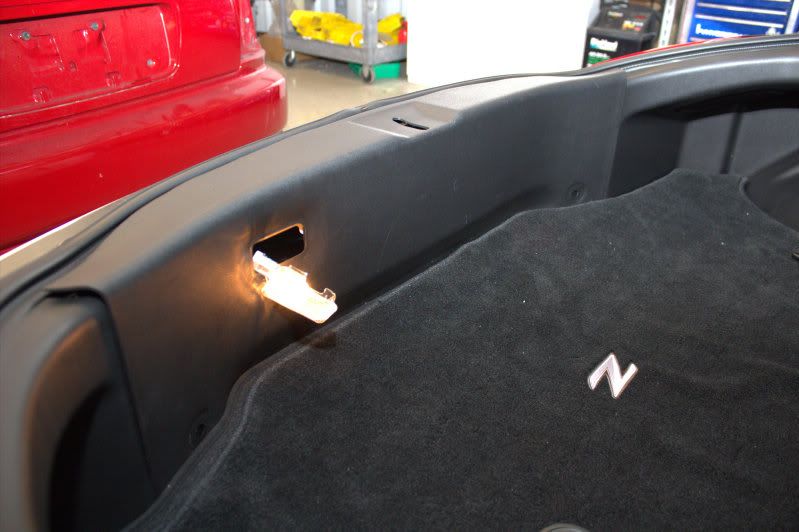
2. Pull out the trunk liner, carpet and base. Pull up on the rear panel first, make sure the cargo light is not clipped in. There are no screws or bolts holding the panels in, so a good yank and they should pop free. Remove all of them to expose the rear strut area.
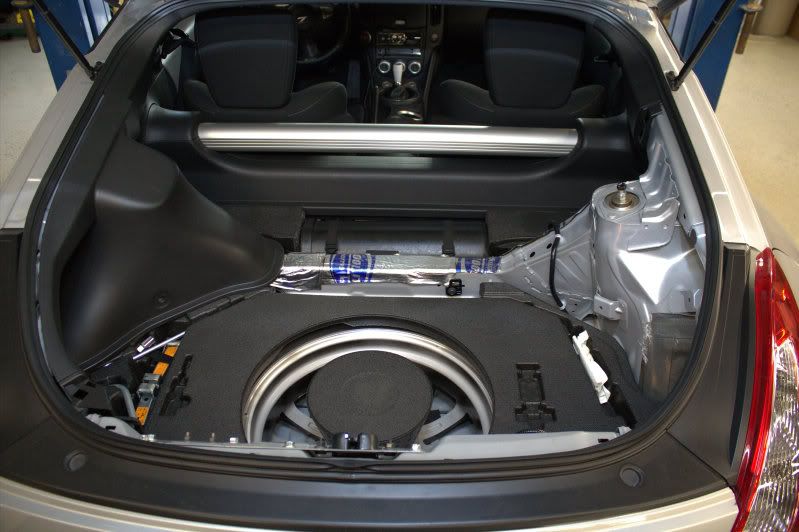
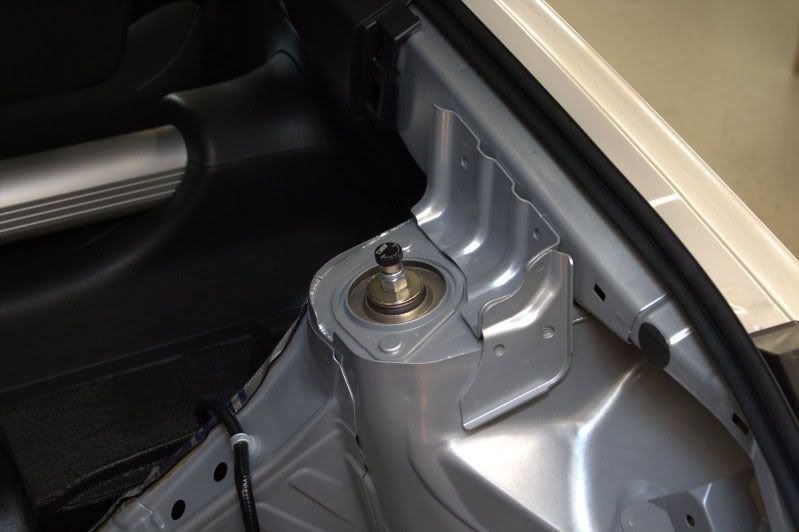 **Installing the strut mounting cups**
1. Start by removing your wheels. Obviously a jack and jack stands are going to be needed.
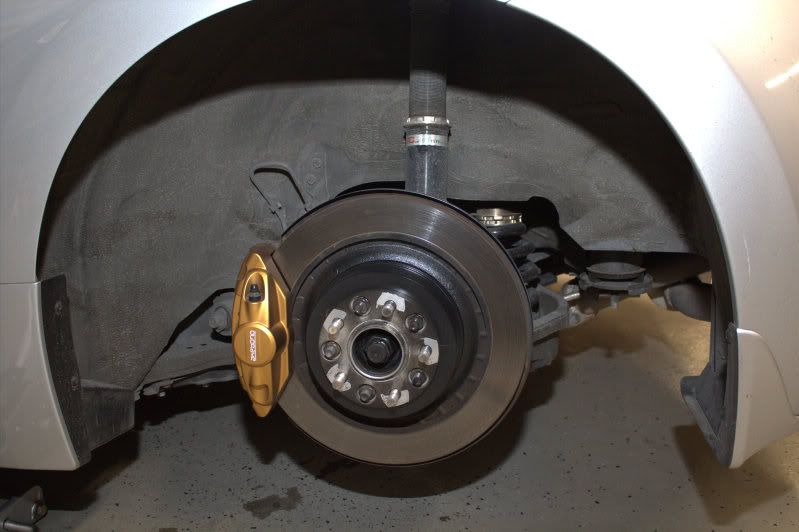
2. Once the wheel is removed, locate the top strut mount. These are 2, 12mm nuts. Remove them.
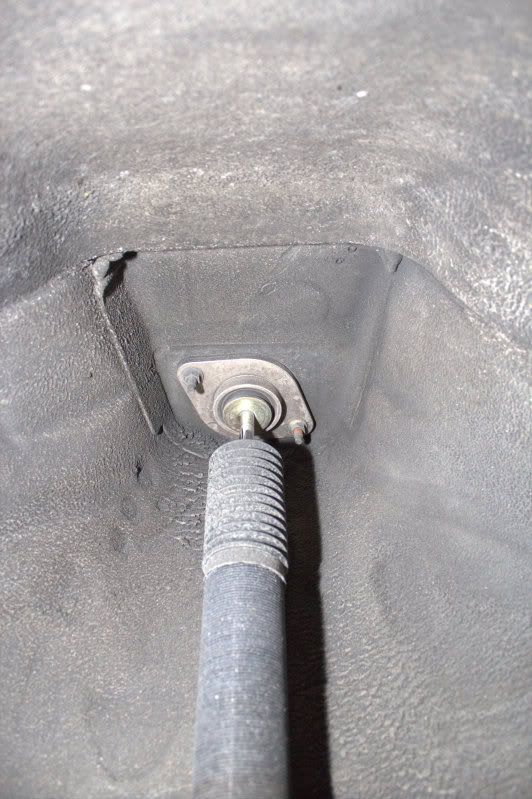
3. Locate the bottom strut mount. This is a 17mm bolt, with a 17mm nut. Remove these and pull the strut out.
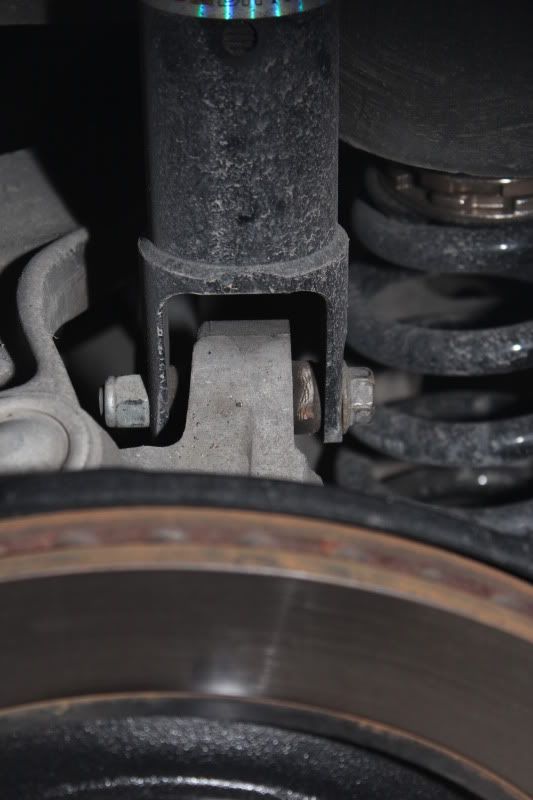
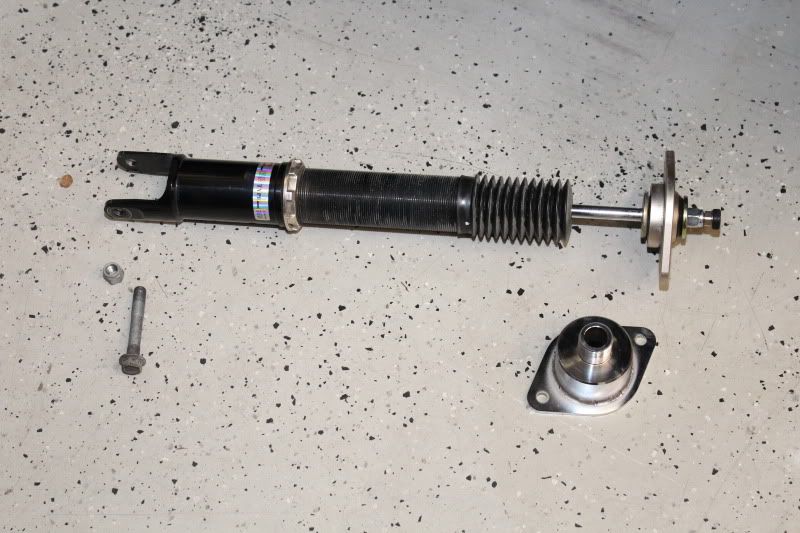
4. Take the GT Spec cup and place it on the top of the strut mount.
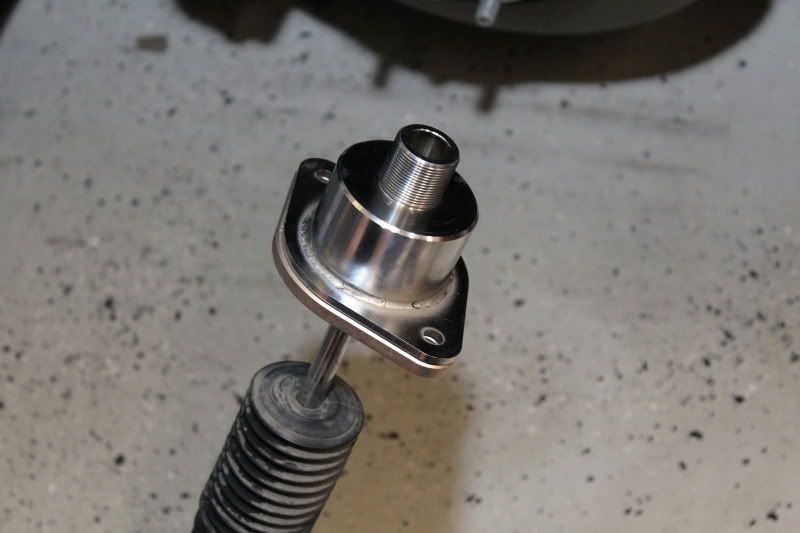
5. Bolt the strut back in, installation is the reverse of removal.
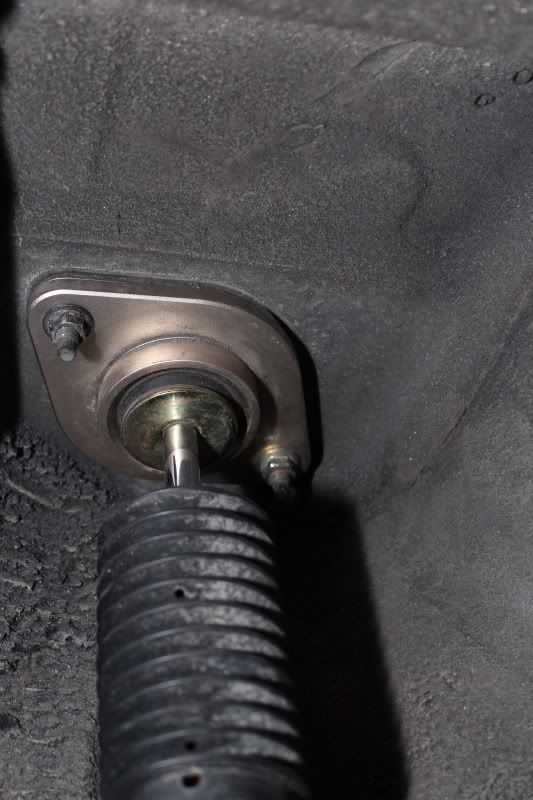
6. Once the cup is strut is bolted back on, you should see this.
7. Do both sides, exactly the same. Make sure to tighten all suspension and wheel bolts to spec.
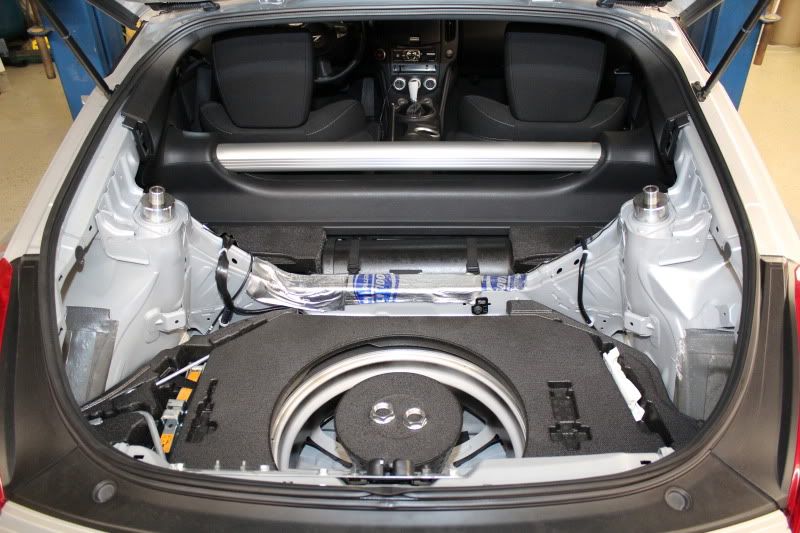
8. Now install the braces!
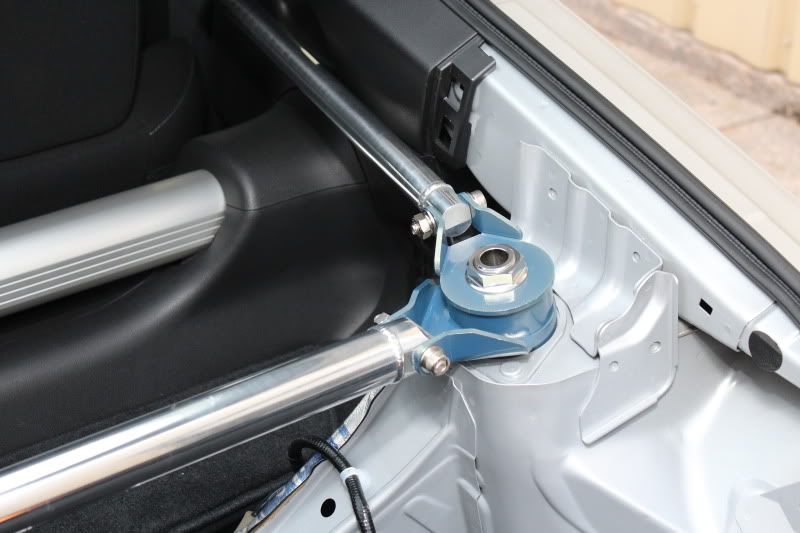
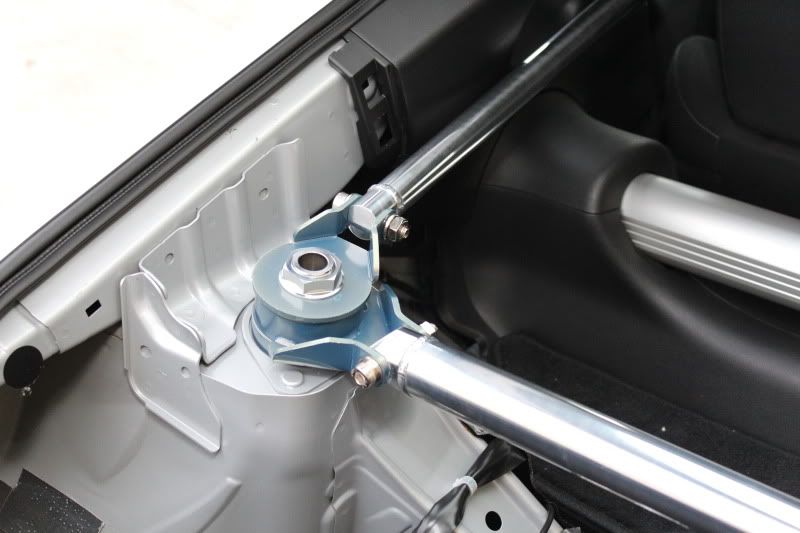
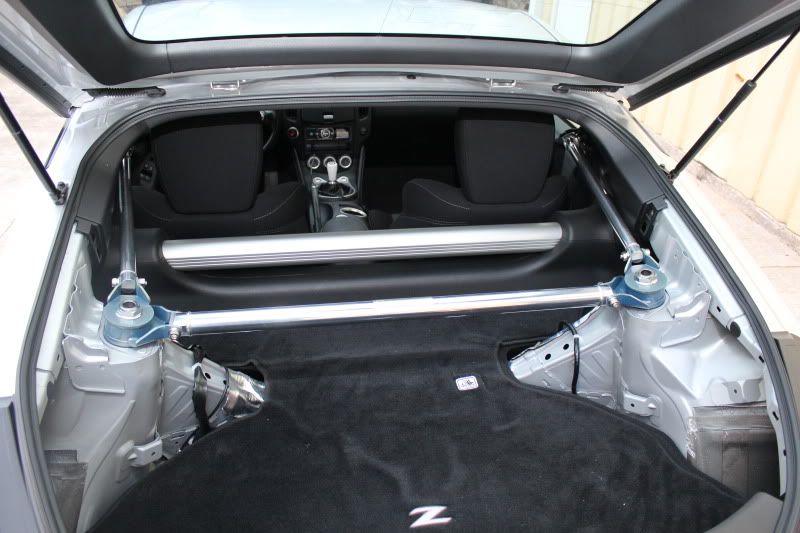
9. If you want to be a no interior thug, then you are done... just make sure you tighten all of the bolts. However, I'm not very hard, so I have to install my interior, which means.. I gotta cut it.
Go ahead and remove the braces and put the stock sides back in.
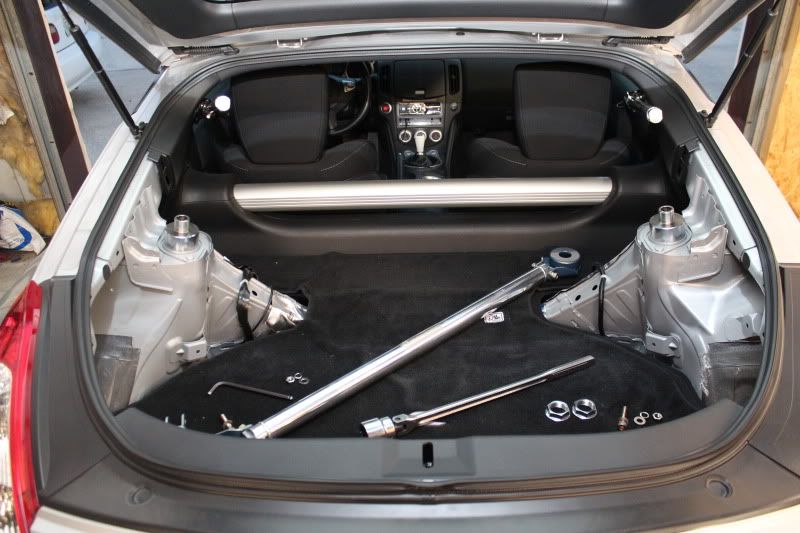
10. This is the hardest part of the install.. mainly because I'm not very good at cutting things that are important. So, I used as much tape as possible. I began by putting the panel on and tapping the plastic with a mallet, it will show where the mount hit. I then tapped it with a punch to mark where I would drill.
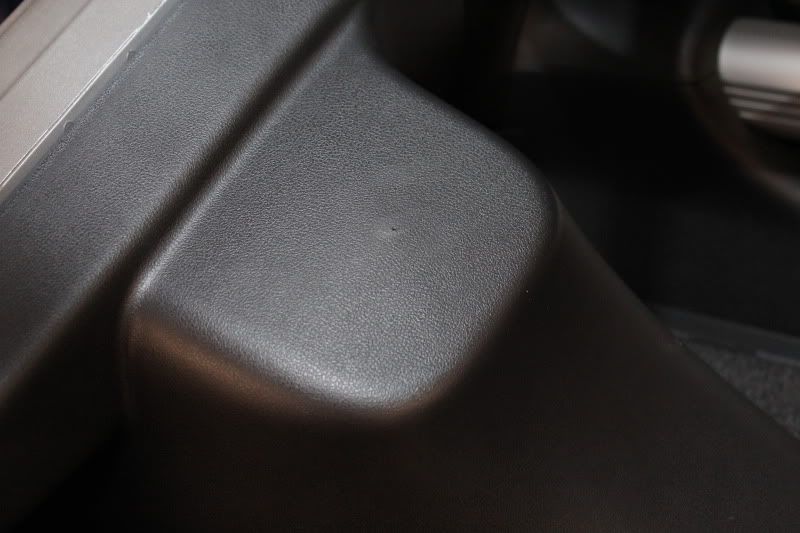
11. Time to cut, so I covered in blue painters tape.
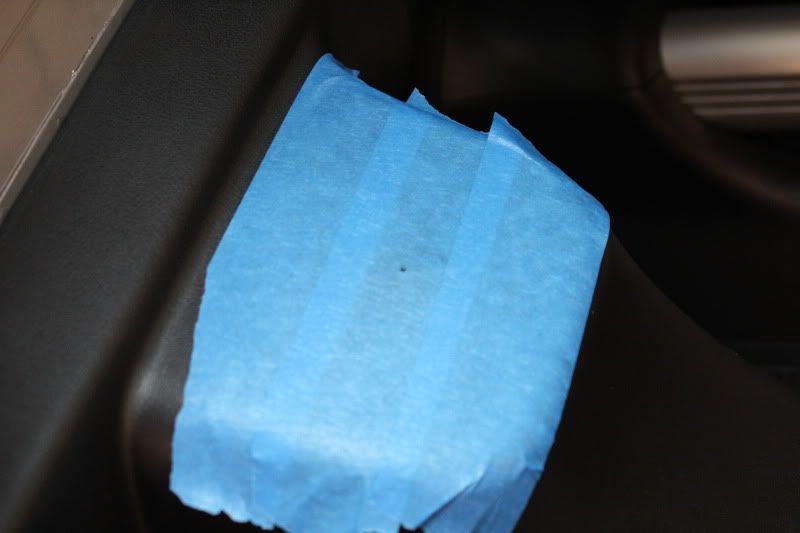
12. Since everyone likes to do things their own way... feel free to cut how you see fit. I tried to cut AS LITTLE as possible, so it took a while, but this is necessary, otherwise you won't be able to put the bolts in.
I took a hole saw and went to town.
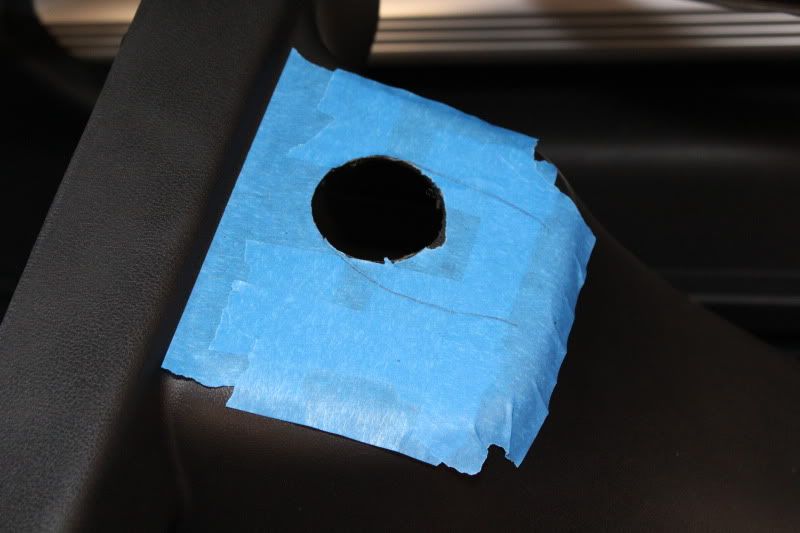
13. I measured it out and traced where I wanted to cut.
YOU CAN ALWAYS CUT MORE, BUT YOU CAN'T PUT IT BACK!
Go as fast or as slow as you wish. I went slow and took my time.
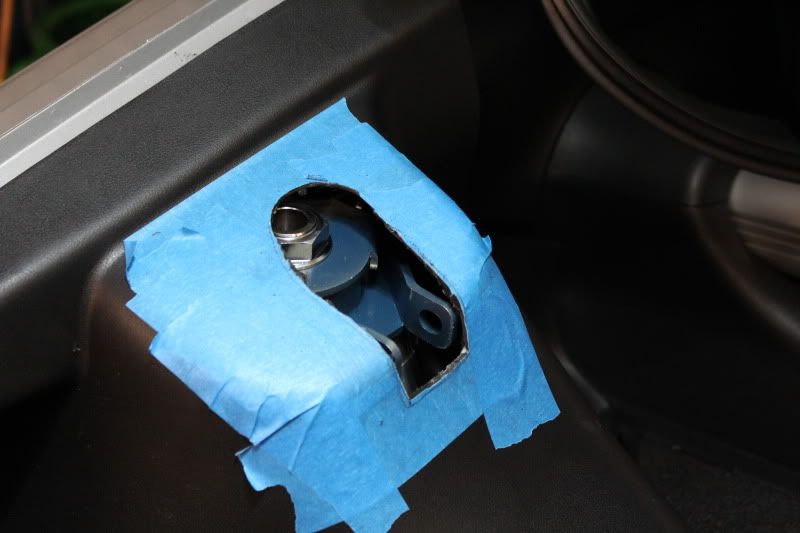
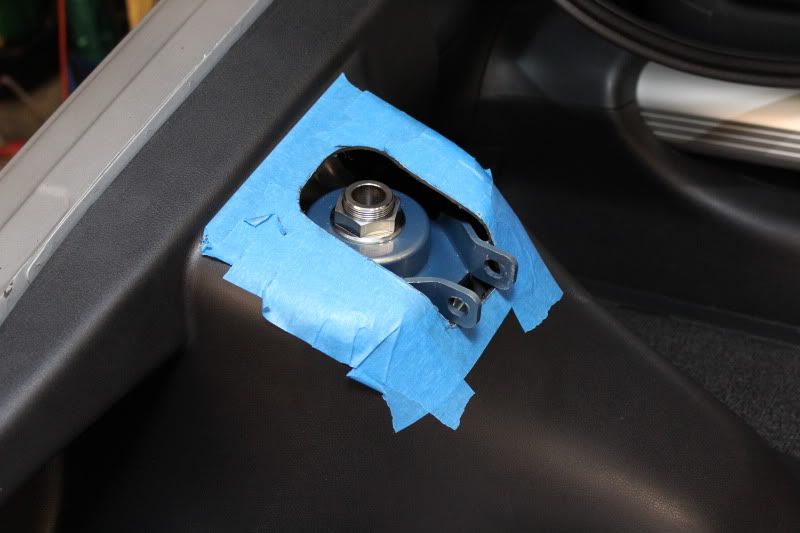
14. Once you can put the bar on, do the same thing for the seat belt brace.
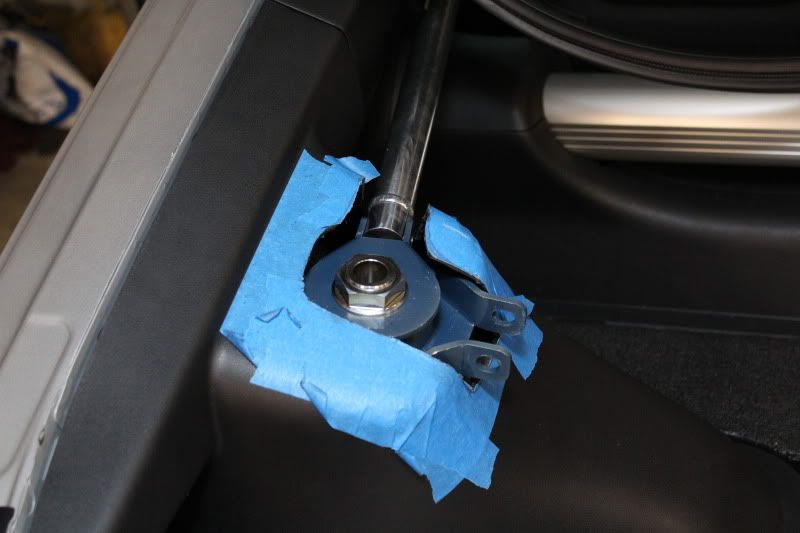
15. When you are happy with the way it looks, take a piece of paper and trace out the inside hole. You will use this as a negative for the other side. Measure it out, tape it on and trace with a marker.
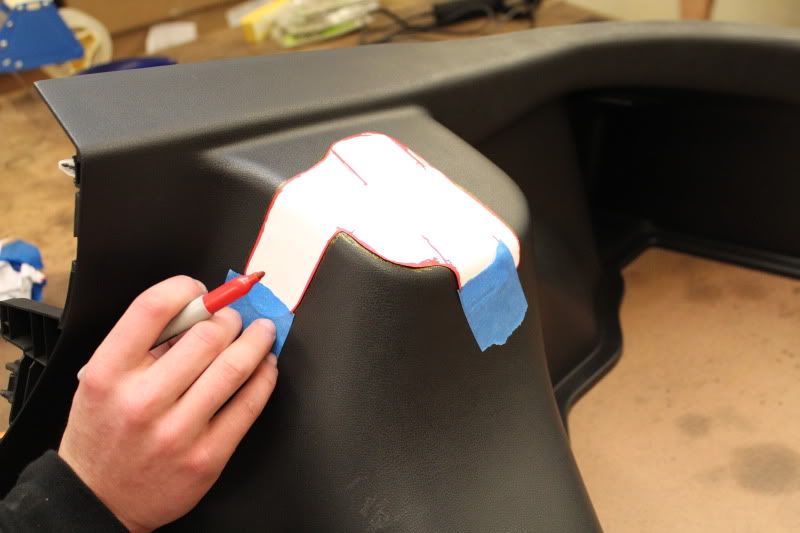
16. Match it, cut it out and install it. You will have to get creative as to how to tighten all of the bolts, but it's possible. You can also remove the braces without taking the panels out.
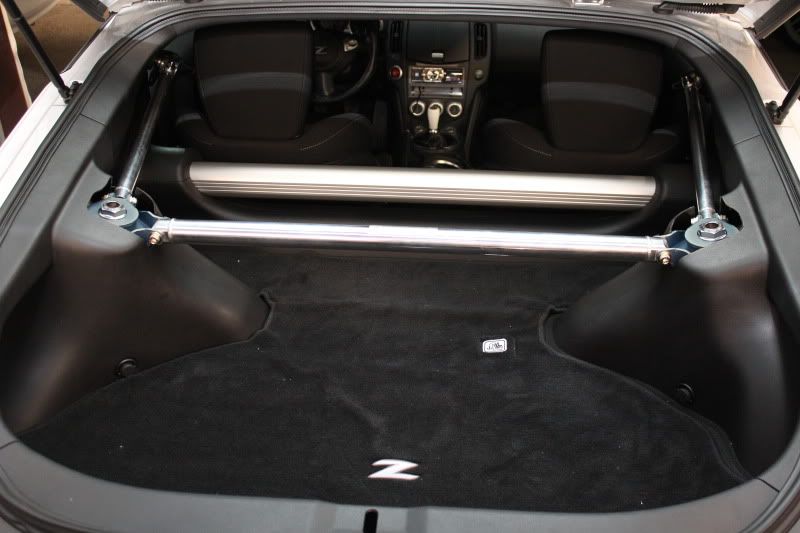
Thanks for looking! I'll have more pics once the weather clears up!
-David