This takes 2-3 hours depending on how fast you work. It helps to have one person help with the pop rivets. Otherwise this is an easy cooling addition to the oil cooler location using the GTM Supercharger Stage 1. It might work for Stage 2 if the oil cooler is in the same location as the Stage 1 kit.
All you do is remove a louvered section from an Audi fender lining and then pop rivet the section to a hole cut in your 370Z fender protector.
Parts Required:
Audi Splash Shield Part Number: 9595250
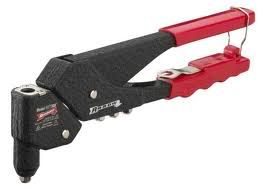
Pop Rivet Gun
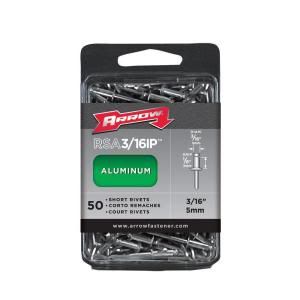
3/16" Large length Aluminum Pop Rivets (You could probably use Medium but Small will be too short). Lowes and Home Depot both should carry these pop rivets. They are a common size.
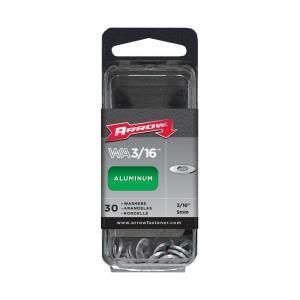
3/16" Aluminum Pop Rivet Washers
Sharp cutting utensil like a box cutter
Dremel for cutting / sanding
Assorted pliers and screw drivers to remove the Audi rivets
The Audi part is the entire fender lining and it is quite long (
that's what she said). You are just interested in the bottom half and the part with the louvers. Once you have the part, cut off
ALL of the top half of the fender liner. It is much easier to work with after cutting off the top.

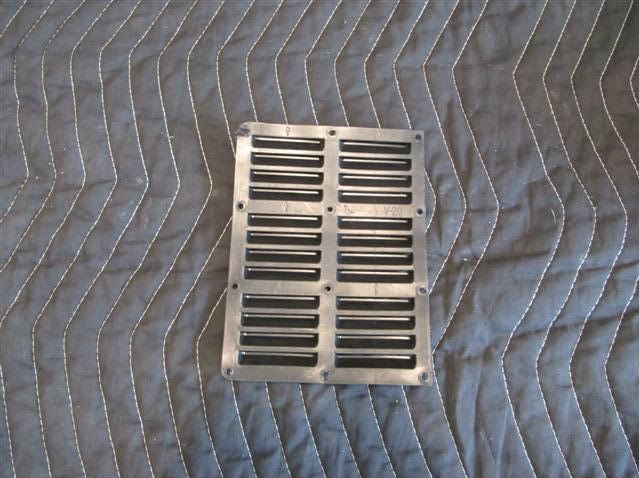
Use needle nose pliers and a small flat head screw driver to pry up and remove all of the star pop rivets (there are 10) to remove the louvered section from the Audi splash shield. You can drill out the Audi rivets but be careful because it is easy to melt the plastic. I used hand tools after melting one of the holes using a drill. This is louvered section you will have when you are done.
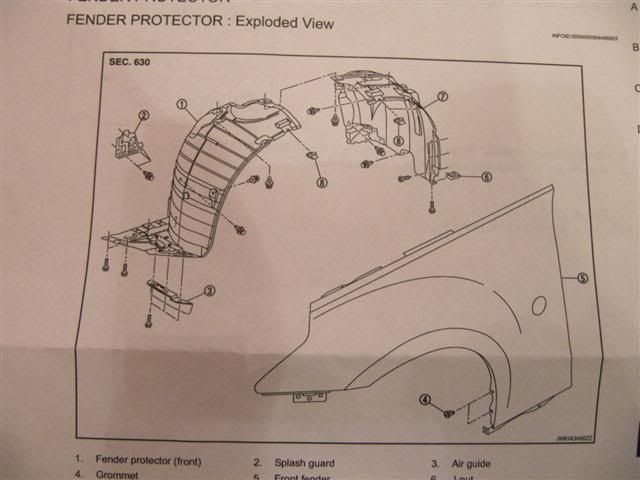
Now jack up the car and remove the front driver side wheel. Then you can remove the fender lining. Nissan calls it the fender protector and is item 1 is this picture. It is held in place with just a bunch of clips.
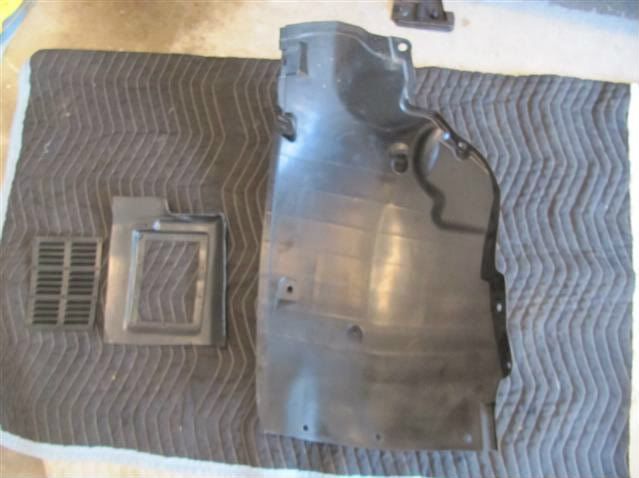
This is a shot of the 3 parts you have: The louvered section, the part you removed the louvered section from, and the Nissan fender protector:
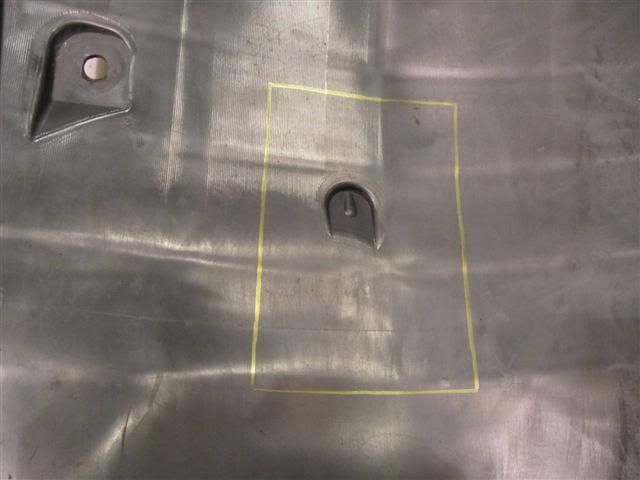
Use the middle part to as a template to draw out the section to be removed from the Nissan fender protector. You need to measure carefully as this part has to be very exact. There is not a lot of variance so measure three times and cut once.
This shows where I marked to cut
Use a sharp box knife with a new blade or something that you can control to make the cut. You could use a Dremel but you have to be careful to not melt the plastic. I was able to use a sharp box knife to cut most of the section away and used a Dremel to clean up the section.
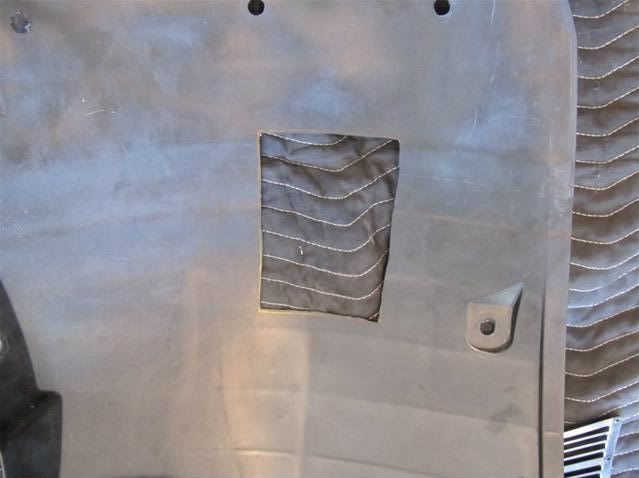
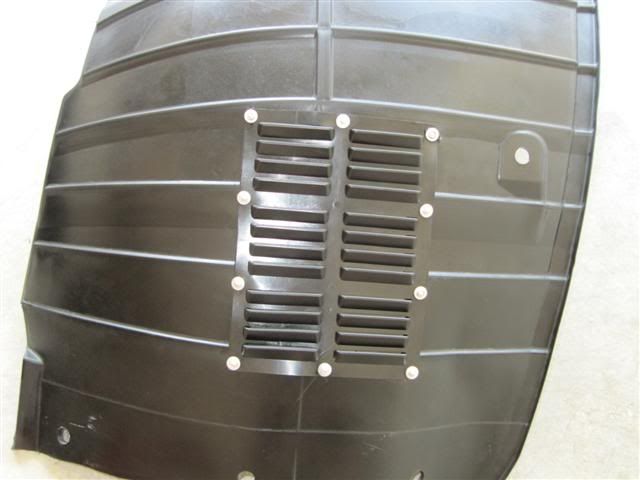
Use pop rivets and washers to mount the louvered section to the hole you cut out of the fender protector. This is a shot of the back after pop riveting the section to the fender protector:
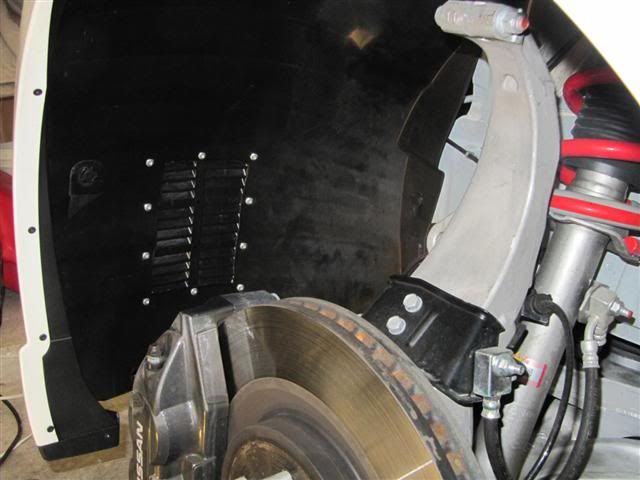
This is as shot after reinstalling the fender protector:
That is all there is to venting your fender lining. I used 3/16" Large Aluminum Pop Rivets with washers. The washers give a more positive engagement at the back of the rivet.
I hope this helps those people who still have high oil temps WITH an oil cooler and the GTM Supercharger kit.