**** Completed Pictures to come later today ****
Inspired by Simota and
DIY: of complete FOG LAMP install, I decided to pull apart the black thing we get stock to see what I could do with it.
It turns out, the black fog-lamp we get in the US is actually a heavily smoked lens. Behind it is the normal fog lamp housing as well, so that makes this DIY pretty easy.
I had some leftover LED's from
DIY: Headlight LED's and blackout, so I decided to wire up a string of 3 and put them in the housing and see how they lit it up. Turns out you could definitely see it in the dark, and you might be able to see it a little bit in the day time as well. Not like you can brake lights, but I just want something subtle down there.
Ok, here is the DIY
Step 1: Follow the directions Simota gave to remove the stock "lamp"
DIY: of complete FOG LAMP install
Step 2: bring the housing inside to work on, it's probably more comfortable inside (100 degrees here today)
Step 3: take a small flathead screwdriver and go around the lens and pop it off. Do this slowly, as it is super-glued to the housing. You will probably break it quite a bit around the edges, but as long as you don't crack the visible part of the lens its no big deal. you'll seal it again later with silicone.
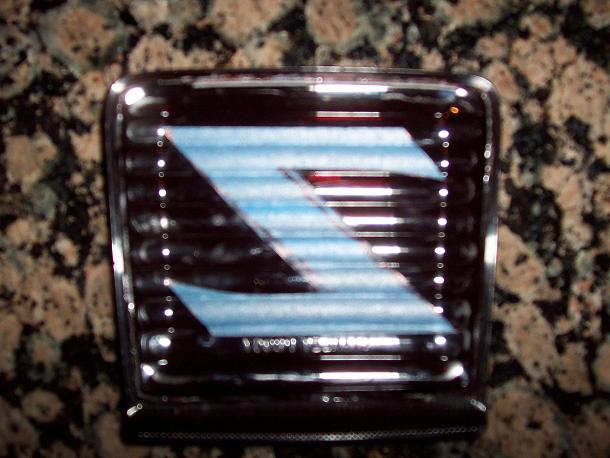
Step 4: once the lens is off, decide what you want it to look like when it is lit up. I wanted the "Z" so I masked off a backwards Z on the inside part of the lamp and then painted the inside part of the housing with krylon fuzion (also leftover from my other DIY). Take your time with the masking and get it exactly how you want it before painting.
Step 5: LED time, wire up a set of 3 LED's, more details in my other DIY, but my wiring was: 12" long red wire -> LED -> 3" green wire -> LED -> 3" green wire -> LED -> 150ohm resistor -> 12" long black wire. Test your string with a 12v battery to ensure it is working.
Step 6: Time to mount the LED's. There is a flat circular part in the back bottom side of the housing that looks like it could be drilled out for any auto-type light to be installed. I just drilled 3 3/16th inch holes in that circle and pushed the LED's into the holes and hot glued them in. Tuck the wires as best as you can behind there, then test fit the housing backside over it and make sure you have optimal clearance.
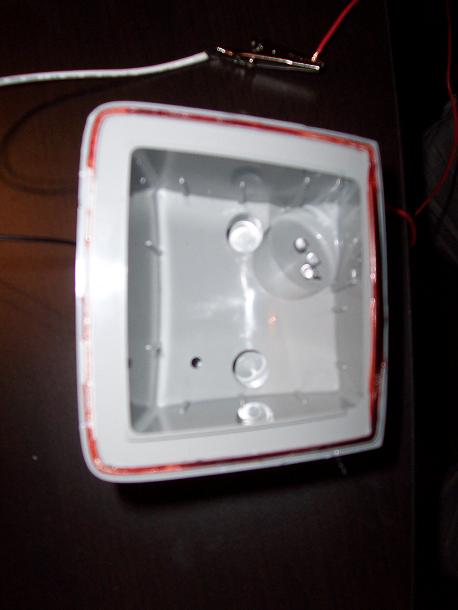
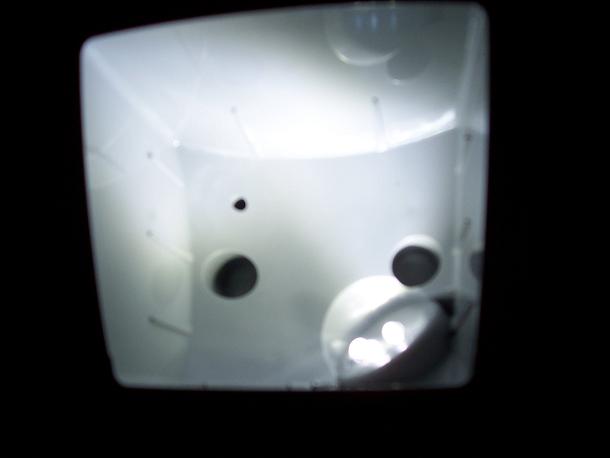
Step 7: Once the paint has dried on your lens, remove the masking and then take a light bead of silicone and adhere it back to the housing exactly where it was. Your housing is now complete, and ready to re-install (after drying time of course)
LED's off, with flash
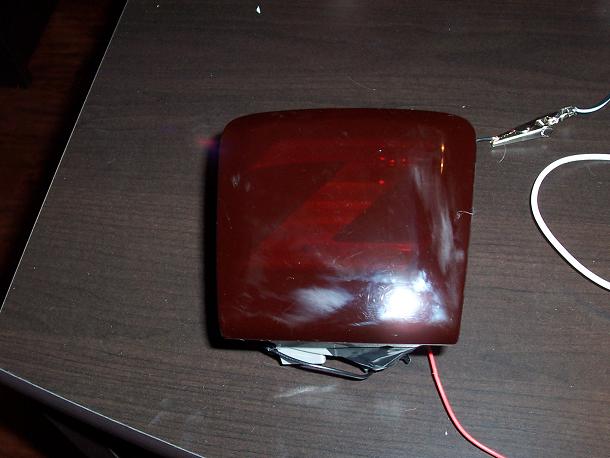
LED's on, with flash (is brighter than it looks)
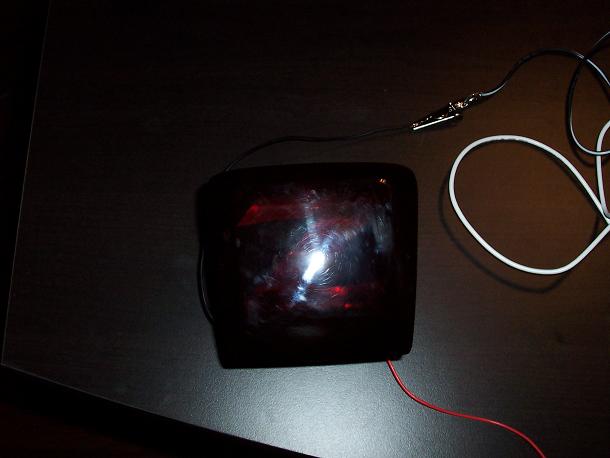
LED's on, all lights and flash off

Step 8: Time to wire, you can get creative like Simota did with flashers and everything if you want, but I just did the easy route and tapped into the license plate light and ran the wire down the inside of the back bumper. I used solder and electrical tape, but connectors are just fine as well
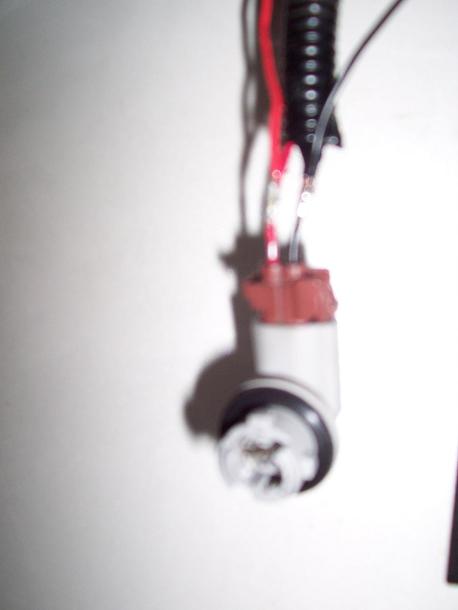
Step 9: you should have wire hanging down behind the back bumper down below it so you can easily get to them, then on your housing 12 inches of wire to work with as well. Re-install your housing, make sure all of your wiring stays easily accessible. Those clips are a PITA, so take your time
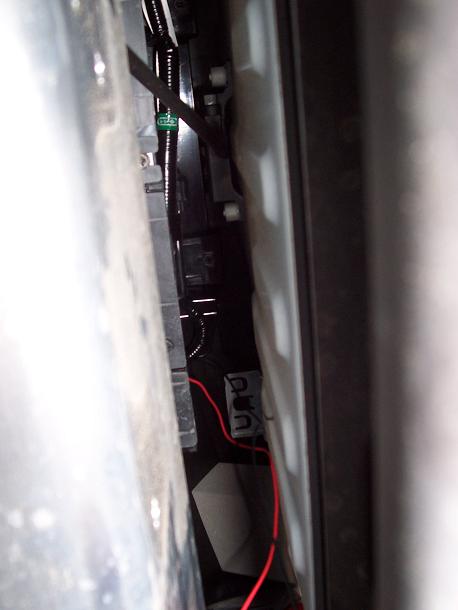
Step 10: use some sort of connector between the housing wire and the license plate light wire and now you should have power anytime the parking lights are on. MAKE SURE YOU NEATLY TUCK THE WIRING. remember, your exhaust is right there and could easily melt wiring if you don't tuck it in there well enough, so this is important.
Now you are done, with a new light in the back!